Showing posts with label Perfect Gundam. Show all posts

Thursday, 15 December 2011

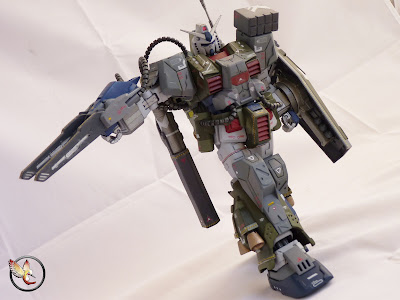
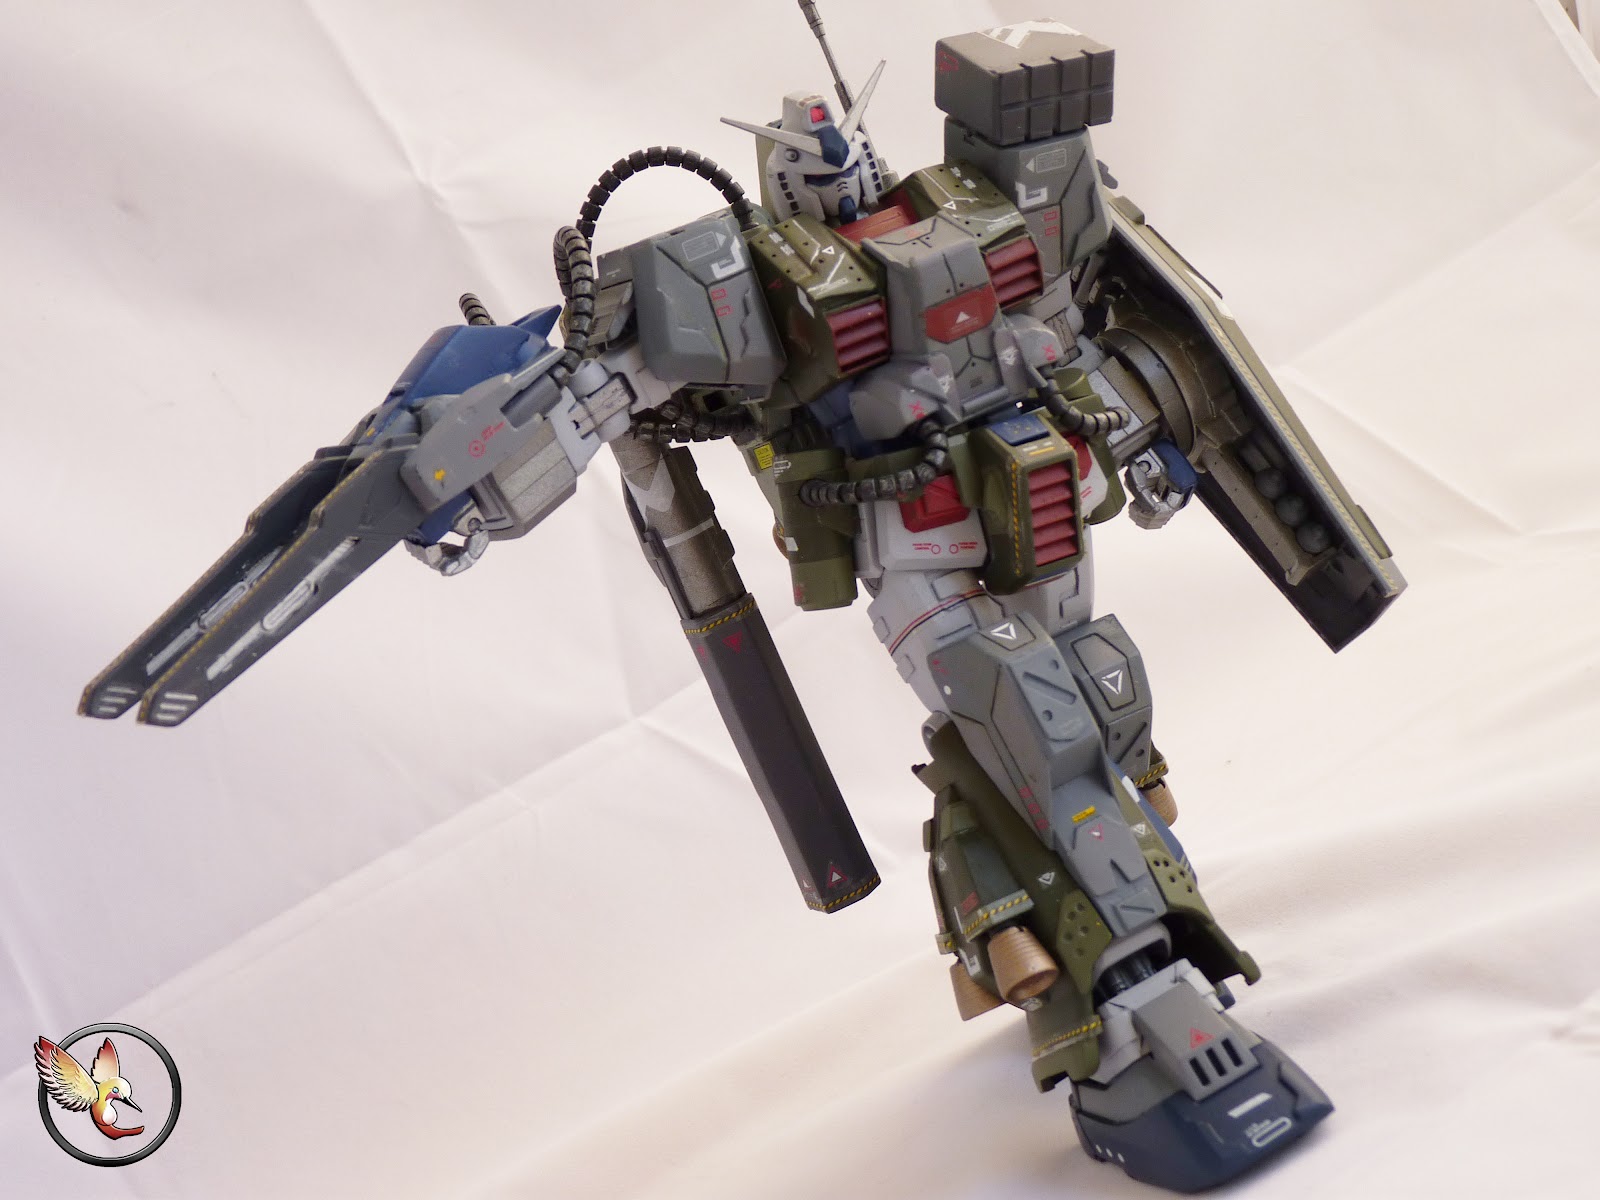
MG Perfect Gundam "Koenig Gustav'' Ver. H,Bird

Hello all and All hello.

First of all, this build has been really really fun for me.

I learned a lot from this build, learn where i am weak, learned what i need to improve upon and what not.

The concept is to just improve the look of the old MG perfect gundam as I love this kit and with some modding skills, it can be a awesome model. That is my target and concept.

The design is influenced by the Ver. Katoki version of this gundam but the final design is drawn out by a good friend who goes by the name of Thelmosengine. I would like to thank him for that designs he draw for the knees, shoulders and the cannon.

I would also like to thanks Kamm, Decay  and GondorDestiny of Plamo as the detail work on this perfect are influenced by their great models.

I would really like to thank a buddy , whose name is Harry ... as he was the one sorely responsible for giving me a great colour scheme. Thank you harry.

I would Like to extend my gratitude to my fans, peers and friends who have been with me through this build and your supports are very very much apprecaited.

Although I want this model to be perfect just like its name sake, I couldn't fulfill my goal as I still made some boo-boos ... I did however tried to clean up but still, some marks and what-not are still left in some hard to reach areas... things i missed during the clean up.

Also, I have improved with the water slides, I am still pretty much struggling with dry transfer and sticker ... I still need to practice on them AND it pretty much shows some boo-boos with them here on this model

Still, I love how this looks and by now, The Perfect Gundam will get more love that it deserve, I hope

If you are interested in the Work in progress, I have made the entire full account part by part, which I will list below - 
Part 1
Part 2
Part 3
Part 4
Part 5
Part 6
Part 7
Part 8
Part 9
Part 10

thank you all and enjoy the photos


My Most Favourite Pose


And some more poses


And Lets end this with a Bang ..


I hope you guys like this as much as I do and please show the original MG some love. Thanks all.

If you want to see more photos -
http://s1001.photobucket.com/albums/af133/hummingbird2012/Koenig%20Gustav/

oh, I almost forgot.. here is the before and after picture


Sept 2014 - Update
A little update - I am very harsh on myself and I know there's alot of area that could have been done better now that I look at this 3 years later. Some certain gaps, seams lines  and so on so forth but I am very proud of this and will remain so even with the imperfections.

C&C are welcome... just be gentle guys ... haha Thank you all
Read more >>

Monday, 5 December 2011

MG Perfect Gundam Ver H.Bird Part 10

Right ... this is my final update before I move on to painting ..... 

lets start shall we - 

First of all I did this - 
Posted Image

I had to drill that bit out so that that I can do something for the power cable to go into the gun, I mean, it would not be practical for a such a huge gun to function without a proper power source -

The drilled out part was then attached on the gun's gimmick as you can see in the photo and that part is further refined -
Posted Image

So, now the power cable will go into the gun like so -
Posted Image

And I also put on some new parts on to the gun .. as a mean of refining it .. 
Posted Image

After that , I put on a strip of plate along the seams there the two halves of the leg armour meet - 
Posted Image

That's my little trick of avoiding permanent sealed panel lines .. :P

Didn't want to go heavy on panel lines and/or pla plate so I only put on these on the feet 
Posted Image

after that, put those little plates on the back of the leg armour for details - 
Posted Image

Scribed panel lines on the shoulder armour, left and right, on both front and back 
Posted Image

After that, clean up the chest armous and scribed some panel lines on it 
Posted Image

More scribing ... more panel lines 
Posted Image

And want to try more platings and detailings so went happy-happy-plating on the shield 
Posted Image

Posted Image

Well.. that's about it ..... I haven't build anything with that much details and panel lines so the Perfect is acting as a test bed for me to improve on my detailing skills ... and I have to say, I enjoy all those detailings 

This is it for any works to be done on this baby... next update, would be painting ... I am still thinking about the paint scheme ..

oh and before I forget.. I name this Baby ... Just like my ''Raven '' .. This baby is named '' Koenig Gustav''' ... Gustav, being the name of the famous killer croc in africa ... 

Well, this it for today ... Thank you all for reading and being fan of my works.. you guys rocks.....

Stay Tuned for more
Read more >>

Thursday, 17 November 2011

MG Perfect Gundam Ver H.Bird Part 9

Hello, Mina-sama ... This is the Hummingbird yet again with another update on this build .....

Before continuing, I would like to stress that I haven't done any gimmick or mechanisms work here on this update so if i turn you down on your expectation, I truly do apologize....

I Have to start practicing detailing so,, here they are

Lets start with the leg armour boosters, shall we -
Posted Image
I'm sure pictures speak a thousand words and I hope my step by step is easily observable and reproducible ...

More on the Leg Booster parts -
Posted Image

Finalized by this -
Posted Image

Now that I am happy with those babies ... I cut out those little parts as you can see on the photo-
Posted Image

which will sit nice and tight on the knee like so -
Posted Image
You might notice two pieces of Koto part for some details
I will make the plating of plates with circles my signature move... as you will see more of them in this update as well as the future

Next, I cut up those little pates you see on this photo-
Posted Image

and glued them on to the armour like so -
Posted Image

I don't know about you guys.. but I love it ... I mean, I am weak in details but for the first serious detailing works, I find this awesome

so details, details and more details...
I scribe panel lines on the knee part
this is the side view
Posted Image

and this is the top view
Posted Image

After that, I did some trimming... I don't really like trimming but i do enjoying trimming some of those excess armours for cosmetic purposes...
Posted Image

all around
Posted Image

Don't worry about the Messy work.. Clean up will come, don't worry

right now, What I have is some details heavy leg armour... but i am really enjoying it and I might move on to the whole body with the detail works ... we will see...

I'm weak in details so, time to step up my game ...

Thanks for reading as always..... Stay Tuned for more ...
Read more >>

Wednesday, 2 November 2011

MG Perfect Gundam Ver H.Bird Part 8

Right, after a month of inactivity on this baby.. Work has been resumed ..... and here we go ...

First of all, I did this 
Posted Image
As you can see, I put in some exhaust for the smoke for the missile launcher, I know they are not perfect and kinda not identical but don't worry, I am planning to fix it anyway I can... LOL 

next is the cannon ... I was looking into it and I look very very plain and very very under-powered so I decided to up-gun it .... and I will show you step by step what I did ... 

Step 1 
I made the first base layout for the cannon barrel 
Posted Image

Do u see the round rods between each plates?
Posted Image

Those were added in so that I don't have to go through the tedious job of filling in the gap with putty... ( and It works )

Step 2 -
Added the sides of the barrel.. and just like the lower part.. the little ridges added by using the round rods 
Posted Image

Step 3- 
Closed the upper part ... added round rod in the gaps between the edges of the plates, and I got this ...
Posted Image

Next up... I did this for something that I have been planning ....
Posted Image

after making that little space.... I make this little device -
Posted Image

which can do this when an adapter is used -
Posted Image

Why this device you ask??? it is for this ..... ''BOOM ''
Posted Image

Test fit -
Posted Image

There you go... I still need to finalize the works ... still need to do some touch up on so many areas...

This is just the first process

oh and before any one else ''troll'', I got that idea of the inside of the cannon from the Virtue/Serevee's Bazooka ....

Thank you so much for reading and as ever, great appreciation for the support 

Stay Tuned guys... There will be more.. I promise
Read more >>

Friday, 21 October 2011

MG Perfect Gundam Ver H.Bird Part 7

Alright time to update on this baby...

last update, I stopped at the teaser of the shoulder, right ??

lets continue from there ..

right, here is the base -
Posted Image

After that, i plated another layer like the one you just see in the photo
Posted Image

And made a sort of, adapter ... like so
Posted Image

and glue that adapter under the missle launcher - oh, and here is the missle launcher -
Posted Image
i have only put on flaps... haven't put on the vents for smoke ventilation

And the missile launcher can be attached onto the shoulder like so -
Posted Image

and after that , I did some changes to the gun-shield ...

put in the vent like so -
Posted Image

and put on some more add-ons
Posted Image

I put on some panel lines and rivets holes on the chest
Posted Image

and panel lines and more rivets holes on the tummhy
Posted Image

After that .. I did some detailing on the arms
(greatly inspired by Kamm and Decay )
Posted Image
Cut those parts out first so that I can do that next step

Posted Image

And even more detailings on the fore-arms
Posted Image

and for the following works, the picture will speak a thousand words
Posted Image

Oh, yeah, i almost forgot, i put some details on the other shoulder too
Posted Image

that's it for this update ...

If anybody wants, I can make a tutorial of how to make the sliding mechanisms ....

Thank you so much for reading.... STay Tuned for more
Read more >>