

Good day to you people. Hope you readers having a good day and all are good.
As you all aware, I'm building a fleet of SPG and this is my sixth on the line after the Dana, Type 99, Pzh2000, AuF1 and the K9. The seventh and last will be the AS-90.
This beautiful baby is actually a gift from a friend. My most heart felt gratitude to my friend Paul Bicar who spent alot of money for this kit (£59.99 is not cheap ).
The kit is one of the Trumpeter's Early 2014 offering and the only kit in the plastic. I don't know the exact number of parts for the kit but the kit has over a 1000 pars including the tracks which the length and teeth are moulded separately. There are a total of 18 sprues and a lower hull, a upper hull and a turret. Two piece of large photo etch fret are provided for the add on details. A long metal wire is provided to make to two smaller cables. The Barrel is in two halves but it looks beautiful and just a bit of extra care is needed. All the parts are moulded exquisitely, devoid of any flash and the details just stunning. Aftermarket upgrade sets are yet to be released for this beautiful lady but nothing would be needed. From the body to the tracks, it's a wonderful kit and worth every bit of penny. Very little cleanup is needed. Only a very small amount of filling is needed; by my count, only 4 places needed filling.
The kit was painted with 2 colours from Vallejo Model Air and 2 Tamiya colours. I used Light Brown and Sand (Ivory) from Vallejo Model Air and Hull Red and Nato Green from Tamiya. The colour scheme is from the RAE 2013. I have wanted to paint it like this since last year but I don't know the colours until I managed to get the MENG terminator in my hands. There is a call out guide for the RAE 2013 show for the terminator so I jumped at the chance to apply that scheme on this. The amount of references I have are very limited and I can only find the pattern for the sides. I couldn't find any photos with the top view so I just winged the patterns on top of the turret and the hull.
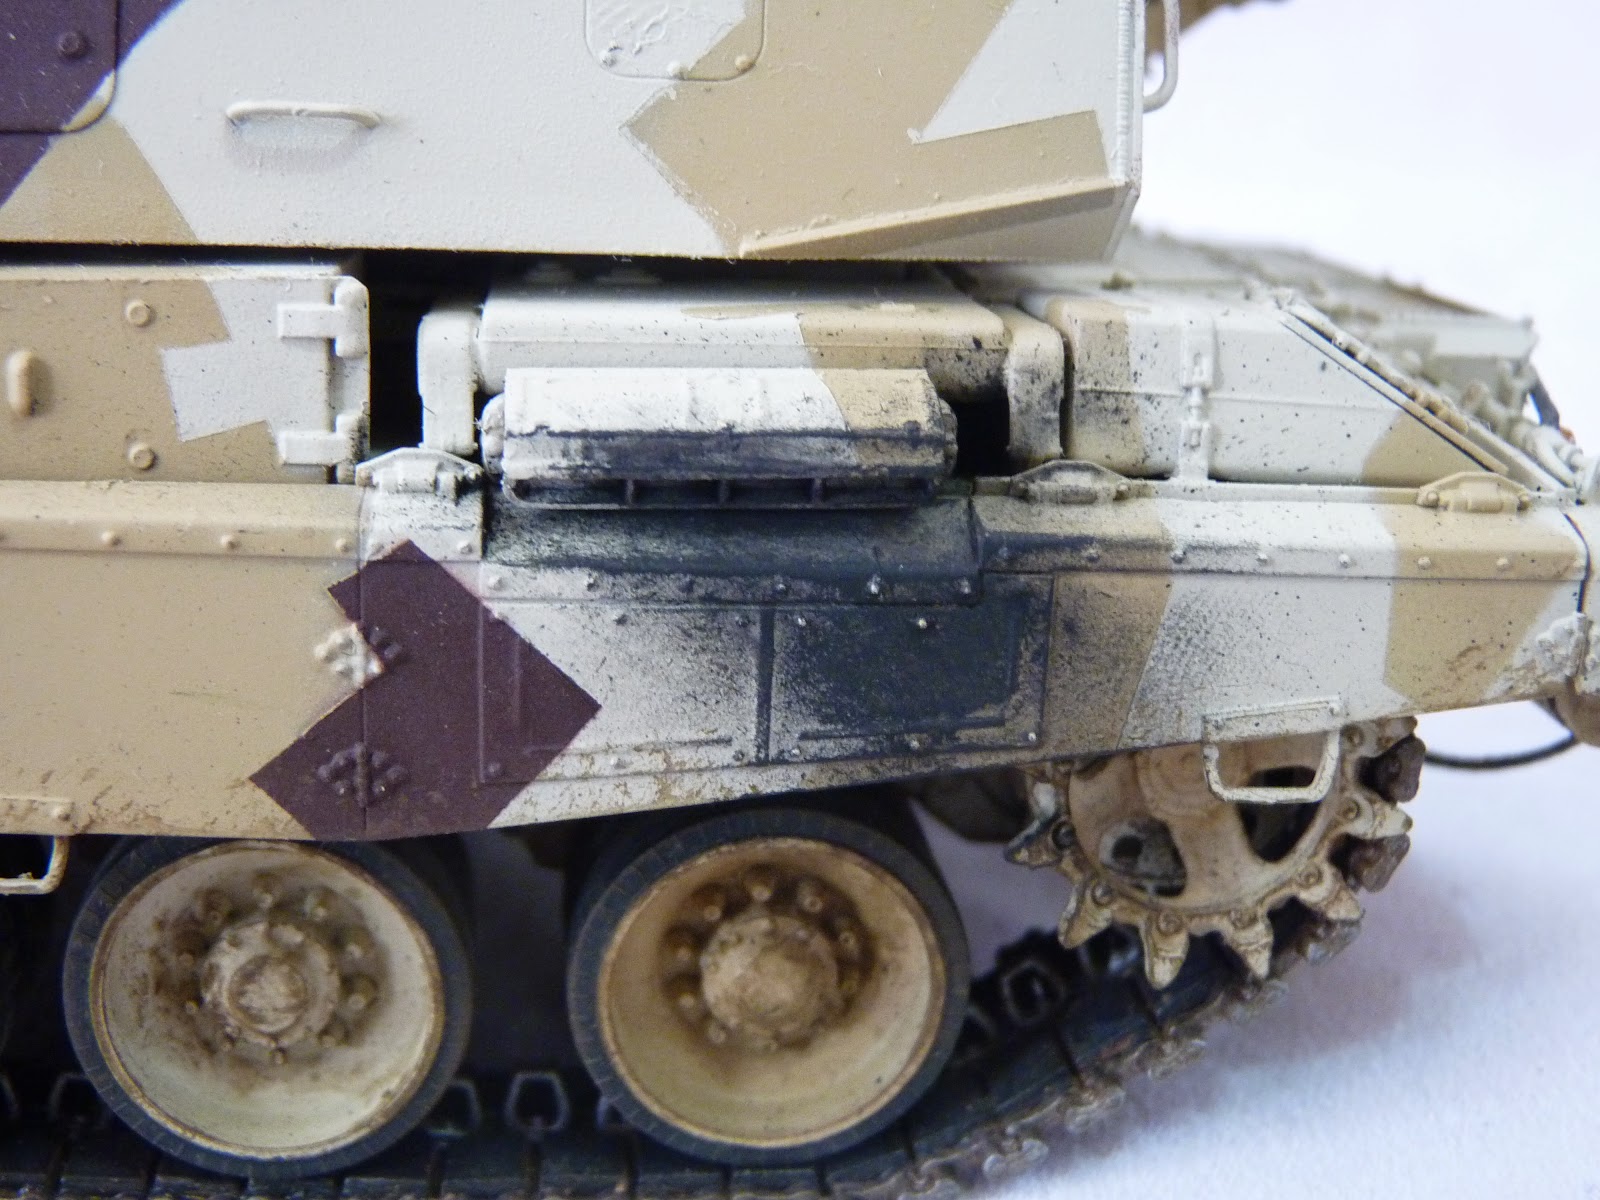
For weathering, I did it completely new and fresh without even a drop of pin wash but I had to dirty up the running gears a bit as these vehicles were shown going around the demonstration field during the RAE 2013. I also dirtied up the gun as the references photos show them as dirty with smoke stains. The same went for the exhaust.
The build was really enjoyable. I made a full account of the W.I.P in the previous posts and you are welcome to look over at them if you are curious about how well the kit goes together. Actually, let me make a list here for the Work in Progress posts -
Read more >>
As you all aware, I'm building a fleet of SPG and this is my sixth on the line after the Dana, Type 99, Pzh2000, AuF1 and the K9. The seventh and last will be the AS-90.
This beautiful baby is actually a gift from a friend. My most heart felt gratitude to my friend Paul Bicar who spent alot of money for this kit (£59.99 is not cheap ).
The kit is one of the Trumpeter's Early 2014 offering and the only kit in the plastic. I don't know the exact number of parts for the kit but the kit has over a 1000 pars including the tracks which the length and teeth are moulded separately. There are a total of 18 sprues and a lower hull, a upper hull and a turret. Two piece of large photo etch fret are provided for the add on details. A long metal wire is provided to make to two smaller cables. The Barrel is in two halves but it looks beautiful and just a bit of extra care is needed. All the parts are moulded exquisitely, devoid of any flash and the details just stunning. Aftermarket upgrade sets are yet to be released for this beautiful lady but nothing would be needed. From the body to the tracks, it's a wonderful kit and worth every bit of penny. Very little cleanup is needed. Only a very small amount of filling is needed; by my count, only 4 places needed filling.
The kit was painted with 2 colours from Vallejo Model Air and 2 Tamiya colours. I used Light Brown and Sand (Ivory) from Vallejo Model Air and Hull Red and Nato Green from Tamiya. The colour scheme is from the RAE 2013. I have wanted to paint it like this since last year but I don't know the colours until I managed to get the MENG terminator in my hands. There is a call out guide for the RAE 2013 show for the terminator so I jumped at the chance to apply that scheme on this. The amount of references I have are very limited and I can only find the pattern for the sides. I couldn't find any photos with the top view so I just winged the patterns on top of the turret and the hull.
For weathering, I did it completely new and fresh without even a drop of pin wash but I had to dirty up the running gears a bit as these vehicles were shown going around the demonstration field during the RAE 2013. I also dirtied up the gun as the references photos show them as dirty with smoke stains. The same went for the exhaust.
The build was really enjoyable. I made a full account of the W.I.P in the previous posts and you are welcome to look over at them if you are curious about how well the kit goes together. Actually, let me make a list here for the Work in Progress posts -
Part 3
Part 4
Well, that's about as much I can sum up about the build. The exact steps can be found in the 4-part W.I.P.
The running gears -


 Some close ups of the sights -


And the lights -


And the machine gun -

The smoke stains -
 And as usual, my show case photos from various angles -


And as usual from me, the Gary Wintin Shot -

Well, that's all I can say about this. As you all know, my patience is my bane so the usual hiccups are met but nothing I can complain. I could have done a better jobs on colouring the periscopes, some of the P.E works and also on some of the over- and under-sprays but at least it is presentable. All in all, this was a very enjoyable build apart from those hiccups but still, I am more than proud to have this on my shelf.
Part 4
Well, that's about as much I can sum up about the build. The exact steps can be found in the 4-part W.I.P.
I'm vary satisfied with what I did, albeit it could look better but still, I'm happy.
It's time for the photos -
(If you think some are small, just click on them ) The running gears -
And the lights -
And the machine gun -
The smoke stains -
Well, that's all I can say about this. As you all know, my patience is my bane so the usual hiccups are met but nothing I can complain. I could have done a better jobs on colouring the periscopes, some of the P.E works and also on some of the over- and under-sprays but at least it is presentable. All in all, this was a very enjoyable build apart from those hiccups but still, I am more than proud to have this on my shelf.
I couldn't keep building if not for my supporting friends and comrades. Thank you guys for always supporting me. Thank you dear readers for your patronage as well.
Until Next time.


