

Good day to you dear readers.. Hope you readers having a good day and all is well with you guys.
Yes, this is the T-80 that I have been building so slowly for about 2 months. Finally took some times off to take photos of this.
For a detail review of the kit, please refer to my review post I made for this - LINK.
I have purposely taken off the fuel drums as I think this baby looks better without them. I also took off the cables ... well.. just because. I have no reason for taking off the tow cables LOL.
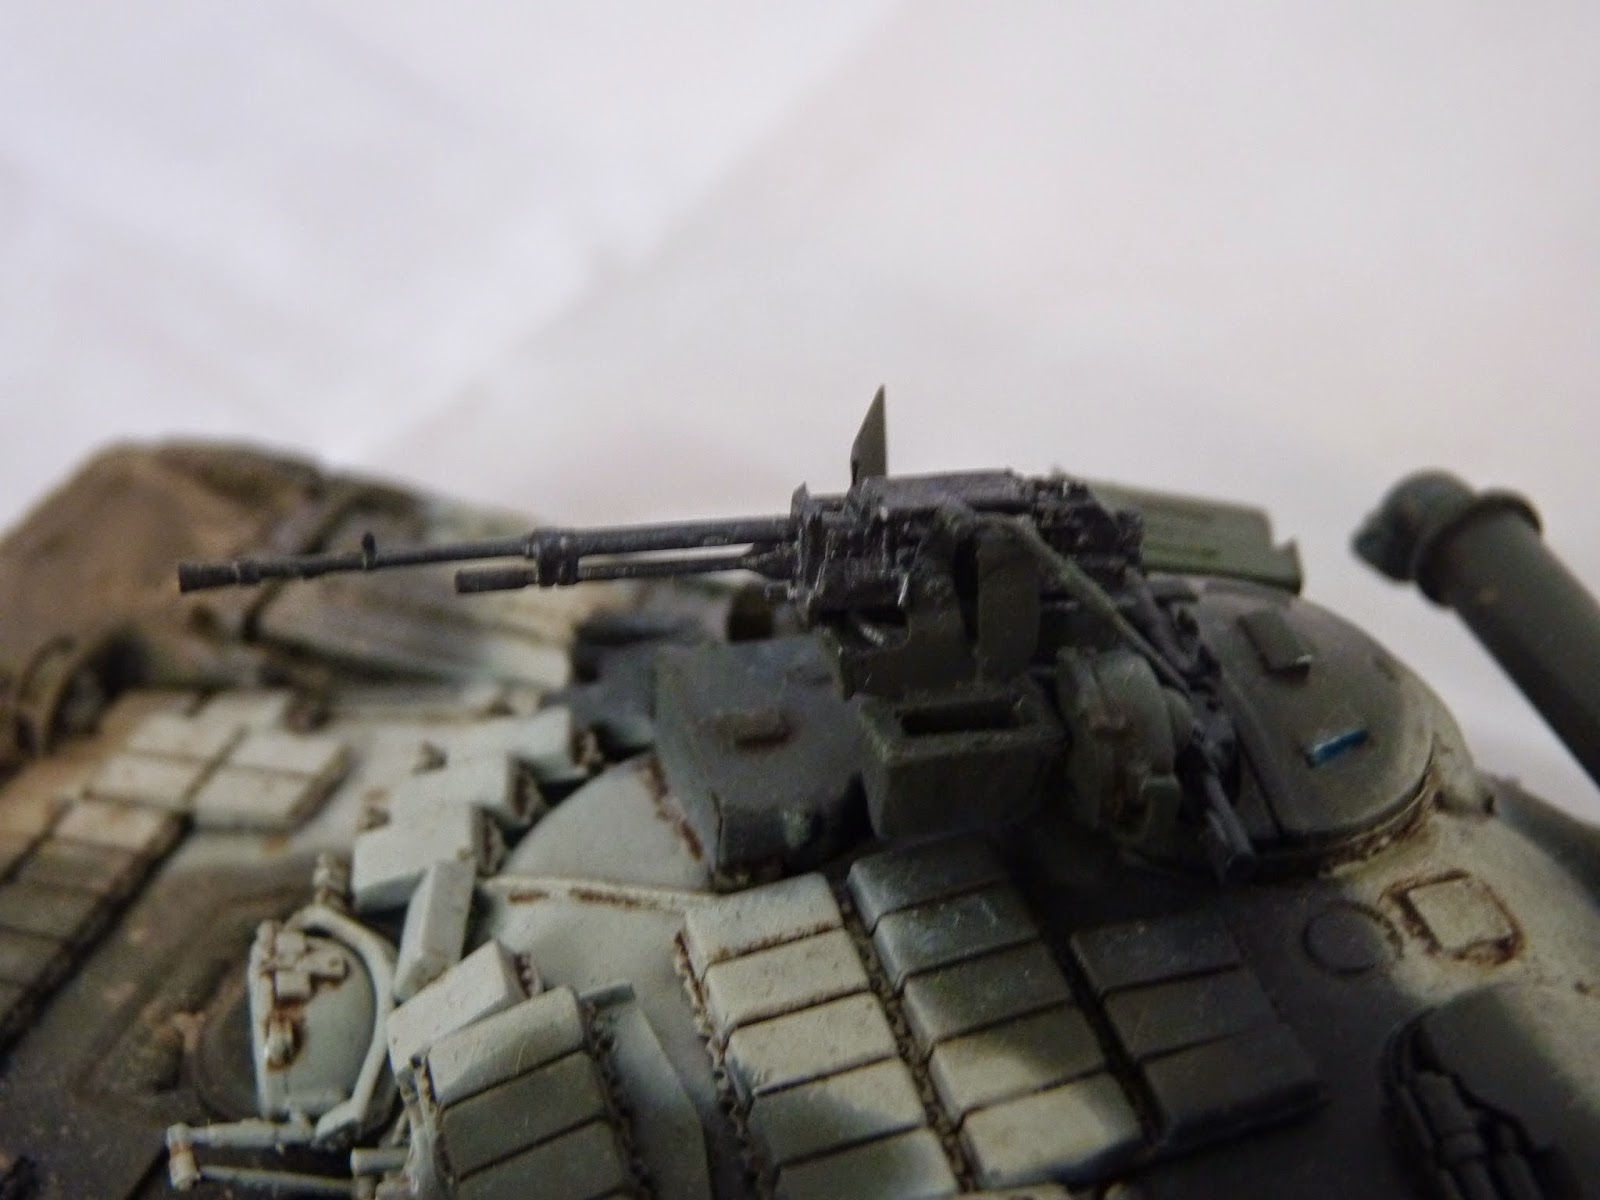
For the Colours, I used Tamiya Dark Green XF-70, Vallejo Air Black and Mr. Colour Aqueous Aircraft Gray H57. My choice of green was poor as you can see very obviously that it is too dark. It would have been acceptable just by itself but after I put on the Black patterns, it interacted with the dark green and made the green darker. Had I known that would happen, I would have used a lighter green or made the dark green a bit lighter. OH well.......
For weathering, I kept the entire vehicle clean, free of chippings and collected dust. Since this is a prototype ( according to what I have read at Armorama ), I wanted to put this in a scenario where they are testing out performance with the diesel engine on a relatively new vehicle. I was tired of making caked and solid mud and earth ( dry and wet ) so I thought of the kind of weathering I haven't done and I figured out that I haven't put on any kind of muddy water weathering.
Deciding on what kind of setting I want my weathering to show, I ponder for a bit on what product to use and my eyes felled on a half empty bottle of AK earth effect. So, I put some in the airbrush, lightly spray them onto the bigger parts and made a heavy spray near the edges of the skirts and the front rubber flaps. Once dried, I apply some more heavy amount of it by mean of brush to make more convening random effect of a surface stained by muddy water. Once fully satisfied, I took a glance on to the surface and applied some pledge( AKA future/Klear ) floor polish in the nooks and crannies of the ERA blocks on the very front hull to depict still wet waters trapped in them.
I made a full account of the W.I.P in the previous posts and you are welcome to look over at them if you are curious about how well the kit goes together. Actually, let me make a list here for the Work in Progress posts -
Read more >>
Yes, this is the T-80 that I have been building so slowly for about 2 months. Finally took some times off to take photos of this.
For a detail review of the kit, please refer to my review post I made for this - LINK.
I have purposely taken off the fuel drums as I think this baby looks better without them. I also took off the cables ... well.. just because. I have no reason for taking off the tow cables LOL.
For the Colours, I used Tamiya Dark Green XF-70, Vallejo Air Black and Mr. Colour Aqueous Aircraft Gray H57. My choice of green was poor as you can see very obviously that it is too dark. It would have been acceptable just by itself but after I put on the Black patterns, it interacted with the dark green and made the green darker. Had I known that would happen, I would have used a lighter green or made the dark green a bit lighter. OH well.......
For weathering, I kept the entire vehicle clean, free of chippings and collected dust. Since this is a prototype ( according to what I have read at Armorama ), I wanted to put this in a scenario where they are testing out performance with the diesel engine on a relatively new vehicle. I was tired of making caked and solid mud and earth ( dry and wet ) so I thought of the kind of weathering I haven't done and I figured out that I haven't put on any kind of muddy water weathering.
Deciding on what kind of setting I want my weathering to show, I ponder for a bit on what product to use and my eyes felled on a half empty bottle of AK earth effect. So, I put some in the airbrush, lightly spray them onto the bigger parts and made a heavy spray near the edges of the skirts and the front rubber flaps. Once dried, I apply some more heavy amount of it by mean of brush to make more convening random effect of a surface stained by muddy water. Once fully satisfied, I took a glance on to the surface and applied some pledge( AKA future/Klear ) floor polish in the nooks and crannies of the ERA blocks on the very front hull to depict still wet waters trapped in them.
I made a full account of the W.I.P in the previous posts and you are welcome to look over at them if you are curious about how well the kit goes together. Actually, let me make a list here for the Work in Progress posts -
Part 3
Part 4
Part 5
Part 4
Part 5
This is one of the few kits that I am absolutely happy with what I did. I did have to nitpick about some boo-boos but the enjoyment and seeing it finished far weight the boo-boos
It's time for the photos -
(Just click on the smaller ones and they will pop out )


The running gears -


 Some of the mud splashes and splatters-


Some random close ups -



And as usual, my show case photos from various angles -


And as usual from me -
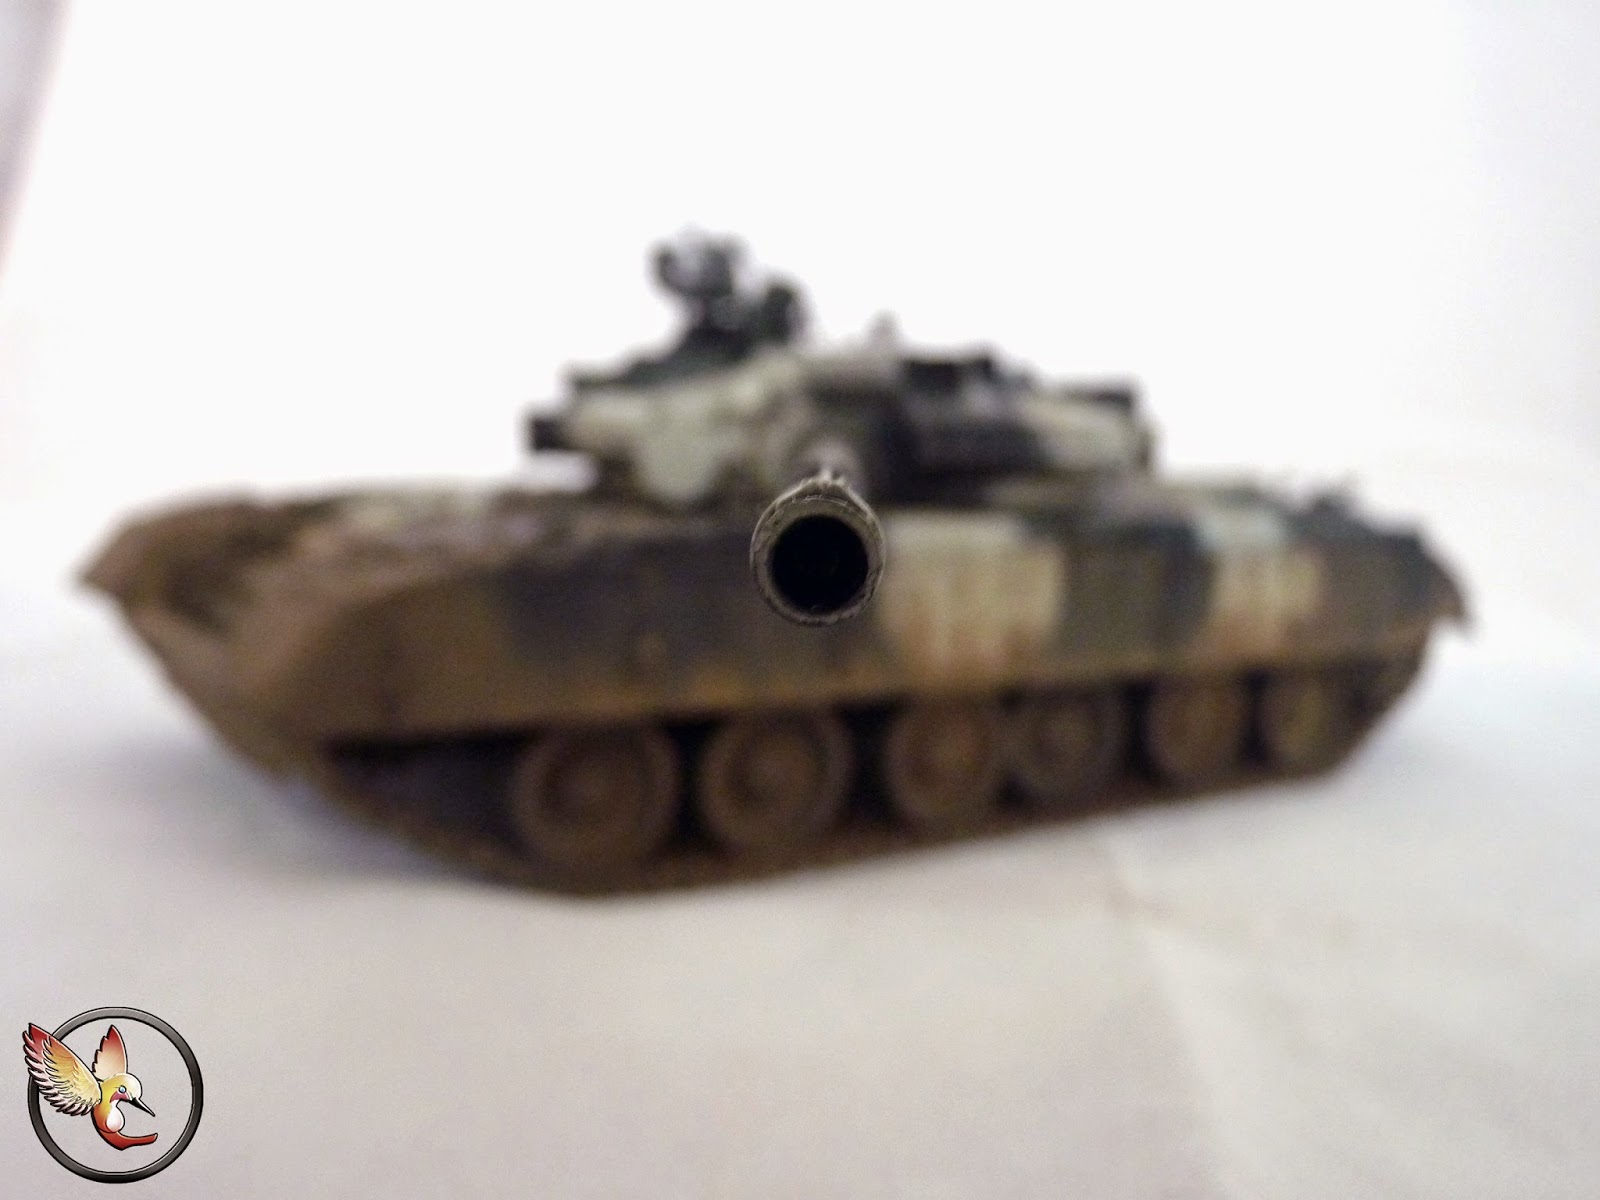
This is not one of my best works but my experiment with the enamel wash only weathering was a bit of a success. I been wanting to try muddy water stains rather than caked mud ( dry or wet) and this is quite satisfactory.
If I have to nick pick - I aboslutely hate that splatter on the left side of the front hull upper slope. It just doesn't look right. I thought it looked right but in hindsight, it doesn't. OH well.. what's done is done.
Learning from my ZSD-90, I tackled the white frosty finish of the infernal Matt varnish by rubbing them of with a brush that is very lightly wet with mineral spirit. Even still, there is some of these stupid unwanted effects still left on some places of the turret and the hatches.
Thirdly, I forgot to paint the convoy light's clear red over their silver base so it looks like the convoy lights are just normal white lenses instead of red lenses.
Fourth, I am not happy with the condition of the green as I have stated above.
Apart from these four points, I am really happy with this baby. The vehicles look just lovely and this is a milestone in my skills in applying . This is one baby I will be proud to have on my shelf or another one shelf should anybody would buy it as I have plans to sell it.
Speaking of selling, I am selling some of my built models so if any of you are interested, shoot me an offer on ebay -
http://www.ebay.co.uk/usr/romance6688
Internationals are welcomed as well but most likely have to be communicated via email and paypal as I did not turn on international shipping on ebay. So shoot me an offer on ebay or from email if anybody's interested.
(Just click on the smaller ones and they will pop out )
Some random close ups -
And as usual from me -
This is not one of my best works but my experiment with the enamel wash only weathering was a bit of a success. I been wanting to try muddy water stains rather than caked mud ( dry or wet) and this is quite satisfactory.
If I have to nick pick - I aboslutely hate that splatter on the left side of the front hull upper slope. It just doesn't look right. I thought it looked right but in hindsight, it doesn't. OH well.. what's done is done.
Learning from my ZSD-90, I tackled the white frosty finish of the infernal Matt varnish by rubbing them of with a brush that is very lightly wet with mineral spirit. Even still, there is some of these stupid unwanted effects still left on some places of the turret and the hatches.
Thirdly, I forgot to paint the convoy light's clear red over their silver base so it looks like the convoy lights are just normal white lenses instead of red lenses.
Fourth, I am not happy with the condition of the green as I have stated above.
Apart from these four points, I am really happy with this baby. The vehicles look just lovely and this is a milestone in my skills in applying . This is one baby I will be proud to have on my shelf or another one shelf should anybody would buy it as I have plans to sell it.
Speaking of selling, I am selling some of my built models so if any of you are interested, shoot me an offer on ebay -
http://www.ebay.co.uk/usr/romance6688
Internationals are welcomed as well but most likely have to be communicated via email and paypal as I did not turn on international shipping on ebay. So shoot me an offer on ebay or from email if anybody's interested.


