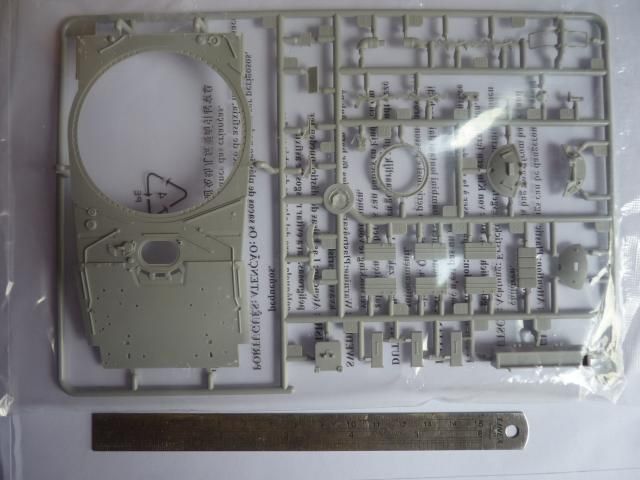
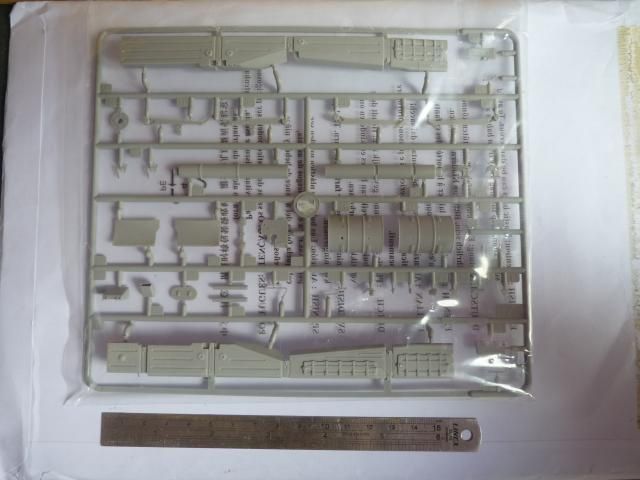
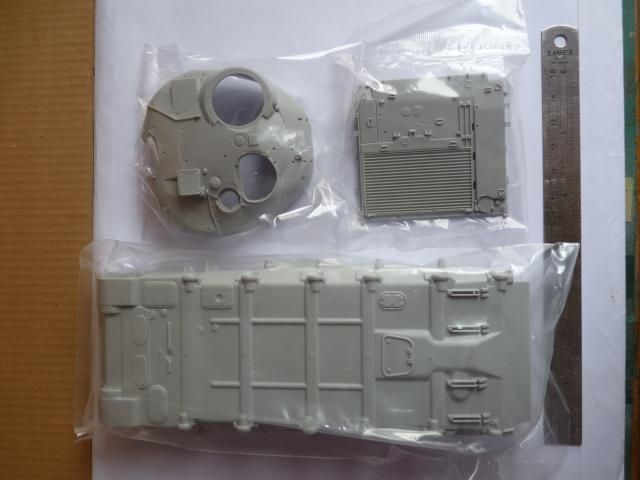
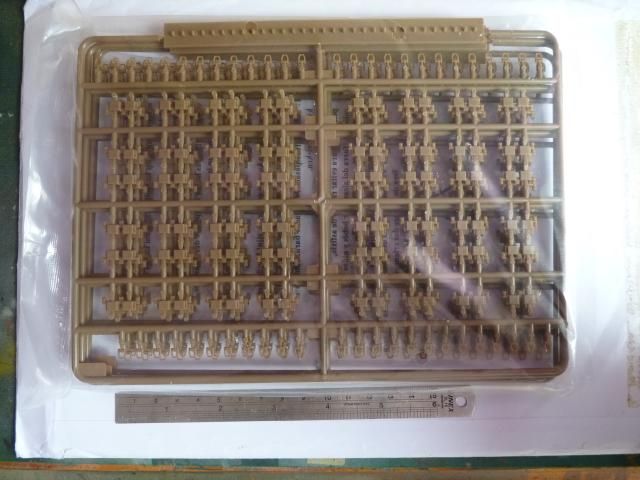
Now that I am satisfied with my line up of SPG, I decided to go for IFVs and SPAAGs and wheeled vehicles. I started my other fleets with this particularly beautiful and sci-fi looking vehicle from Japan.
This is one of two kit available in 1/35 for this vehicle, the other being an offering from Pit-Road, released locally in Japan solely with more decals offering.
The kit cost somewhere around £29 something but I was lucky enough to get it for £18 + PP.
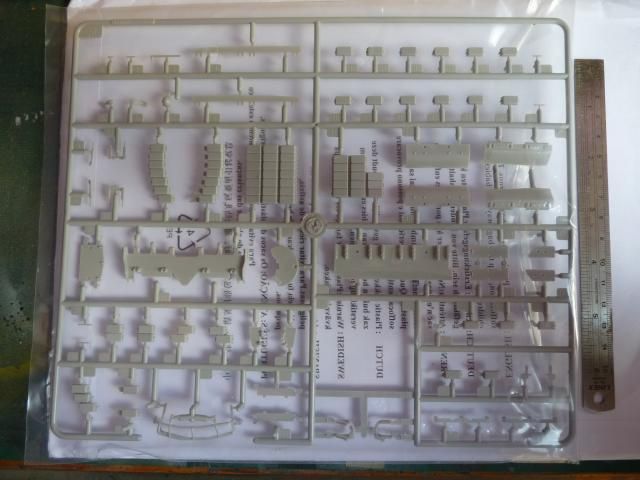
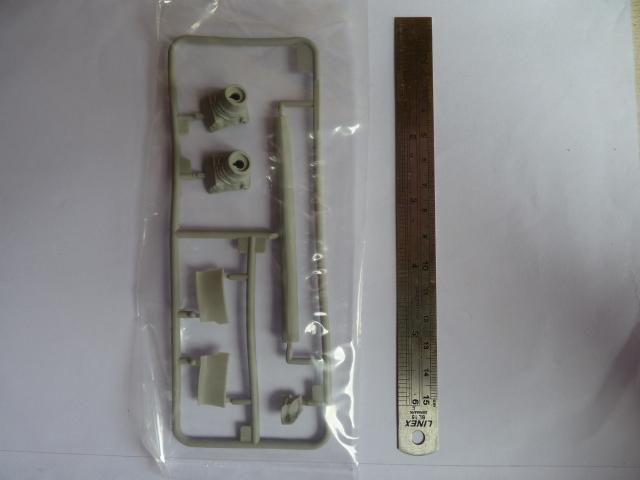
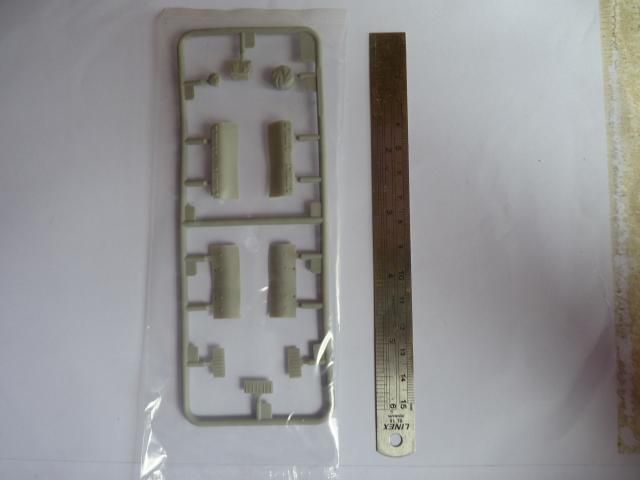
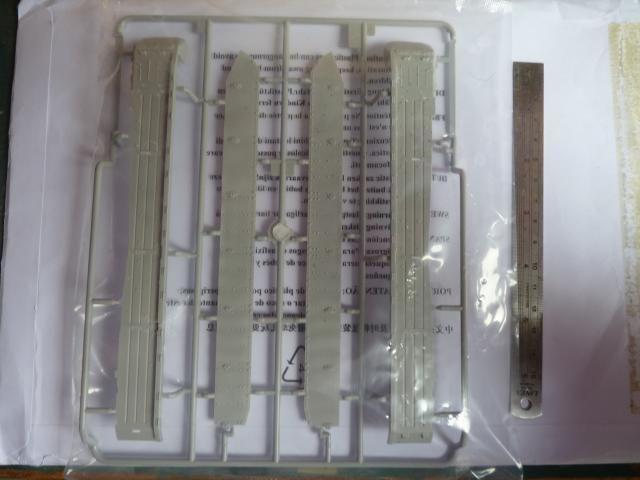
For a detail review of the kit, please refer to my review post I made for this - LINK.
I painted this beautiful gal in Tamiya JGSDF Brown and Dark Green. As I have painted the Type 90, Type 10 and the Type 99 with the Tamiya colours, I am more comfortable with those colours. Tamiya JGSDF could use a mix of dark green in it to make it look more closer to the actually green but meh. I'm not that much of a rivet counter anyway.
For weathering, I kept it rather clean apart from the various shades of mud and many streakings. I am very very weak in making streakings and since this baby offer a lot of nicely angled surfaces, I though I'd give streakings another try. I used a grey colour streaking wash which I applied following a friend's suggestion; that is to streak them from bottom to up. I let it dry and apply another gloss and put on streakings that go top to bottom using oil; just one colour for the streakings and I used Naples Yellow. Before, I used to just draw a line of un thinned oil paint straight from the tube but this time, I squeezed it out a bit, put it in a palette and thinned it down a bit and used thinned down oil to draw the streakings rather than straight from the tube. That resulted in much much bettr streakings then my usual streakings as you can see.
For weathering, I initially had no idea how to depict this but I have seen this vehicle in exercise in what seems to be a wet day of Japanese Autumn season. A quick check with my friend in Japan affirms me that in the transition from Summer to Autumn, the weather is dusty, humid and it rains. Therefore, I decided to show a lot of rain marks streakings with a layer of dusts on top.
The chassis was bombarded with various colour of pigment for collected earth and soil. Dry mud alone is used on the wheels to just freshly dried mud. So was the tracks. The tracks were dry brushed with Vallejo Steel for the polished steel effects. The dust effect was something I never though I would use, oil paint thinned down to watery consistency. I soak a brush in it and dab the brush at the surface, let it dry and remove with white spirit when needed.
The tools are painted the camo colour on top of their wood colour as references photos shows just like so. The same goes for the tow cable.
I made a full account of the W.I.P in the previous posts and you are welcome to look over at them if you are curious about how well the kit goes together. Actually, let me make a list here for the Work in Progress posts -
This is one of the few kits that I am absolutely happy with what I did. I did have to nitpick about some boo-boos but the enjoyment and seeing it finished far weight the boo-boos
It's time for the photos -
(Just click on the smaller ones and they will pop out )


 The running gears -


The streakings and dust -


 The lights and sights-


 The pioneer tools -


 And as usual, my show case photos from various angles -


Since this is a vehicle with two guns, I cannot do my signature Gary Wintin shot ... how sad :(.....
Well, that's all I can say about this. As you all know, my patience is my bane so the usual hiccups are met. I could have done a better jobs on colouring the periscopes and some of the P.E works, most noticeably the underneath cover for the SGL.
If I have to nit-pick, there is only two I can -
First is the rear lights. I totally botched up the clear paintings for the lights and it ended up not as nice as the front lights.
2nd is the accumulated dust that I put on by a wash of oil paint. On some part, it looks nice but on some, particularly on the turret, it just looks rubbish. I don't why but I think it looks like rubbish... grrrr....
On second though, I just saw a third boo-boo. its a big one. I think I just saw a huge finger print on the front glacis.... damn it.. somebody kill me now... damn it .. "$%£$%$^&"%$£%
Be that as it may, I love this vehicle and I will always be happy looking at this regardless of those two boo-boos. And my freaking finger print. GRRRR. well, I will just fix it later with more thinned oil OR pigment dust.
Until next time.
(Just click on the smaller ones and they will pop out )
Since this is a vehicle with two guns, I cannot do my signature Gary Wintin shot ... how sad :(.....
Well, that's all I can say about this. As you all know, my patience is my bane so the usual hiccups are met. I could have done a better jobs on colouring the periscopes and some of the P.E works, most noticeably the underneath cover for the SGL.
If I have to nit-pick, there is only two I can -
First is the rear lights. I totally botched up the clear paintings for the lights and it ended up not as nice as the front lights.
2nd is the accumulated dust that I put on by a wash of oil paint. On some part, it looks nice but on some, particularly on the turret, it just looks rubbish. I don't why but I think it looks like rubbish... grrrr....
On second though, I just saw a third boo-boo. its a big one. I think I just saw a huge finger print on the front glacis.... damn it.. somebody kill me now... damn it .. "$%£$%$^&"%$£%
Be that as it may, I love this vehicle and I will always be happy looking at this regardless of those two boo-boos. And my freaking finger print. GRRRR. well, I will just fix it later with more thinned oil OR pigment dust.
Until next time.