

I spent three evenings and made up the tracks -
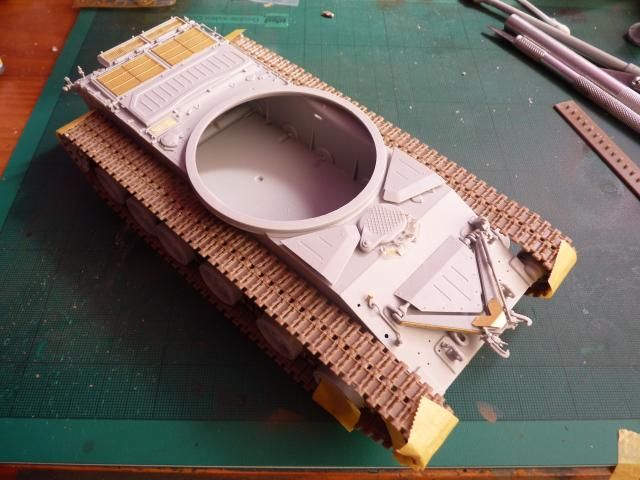
The tracks were a pain to clean but very lovely and beautifully casted.
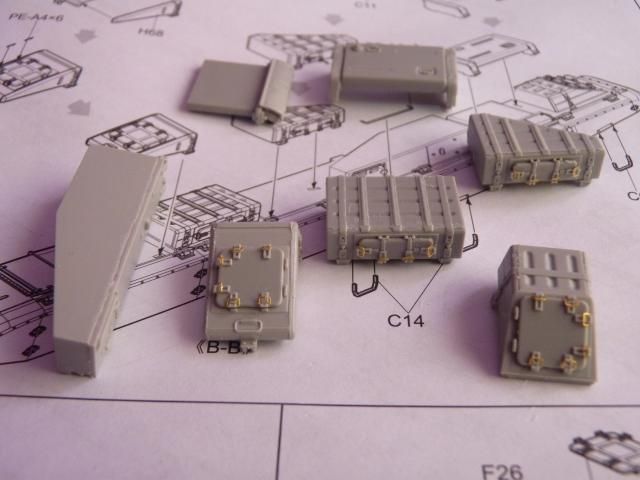
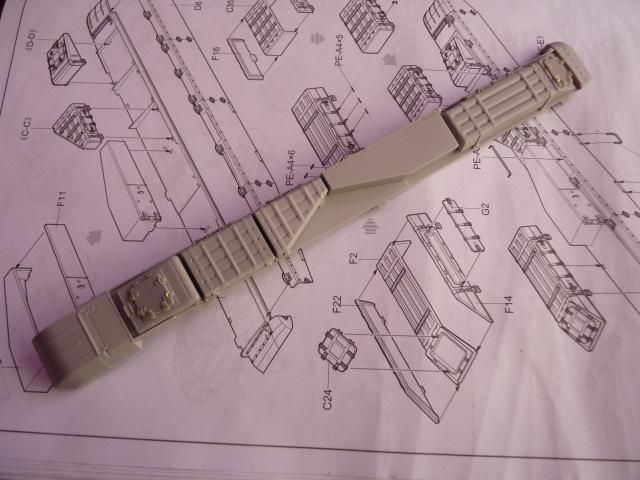
I carried on the build by building all the storage boxes and parts for the left fender; Be very careful when you put on the little P.E belt buckles-
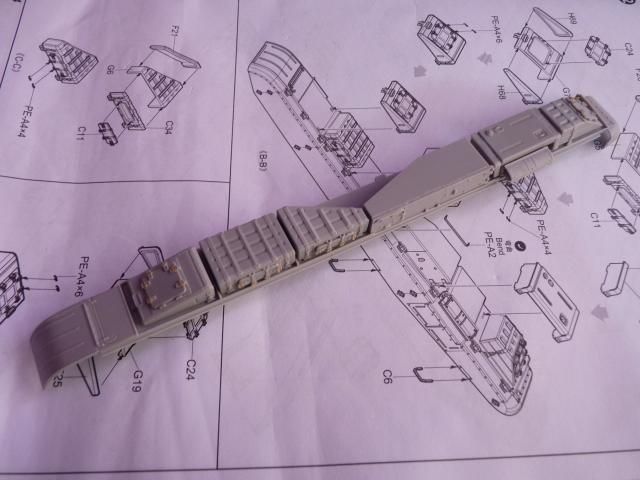
Which goes on the fender like so -
Boxes for the right fender -
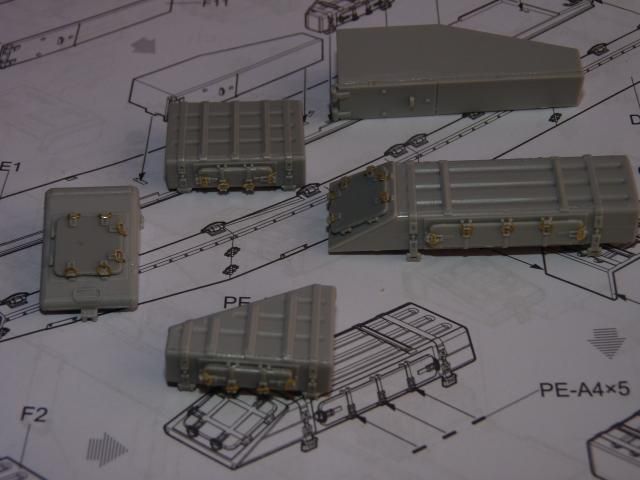
Which are glued onto the fender -
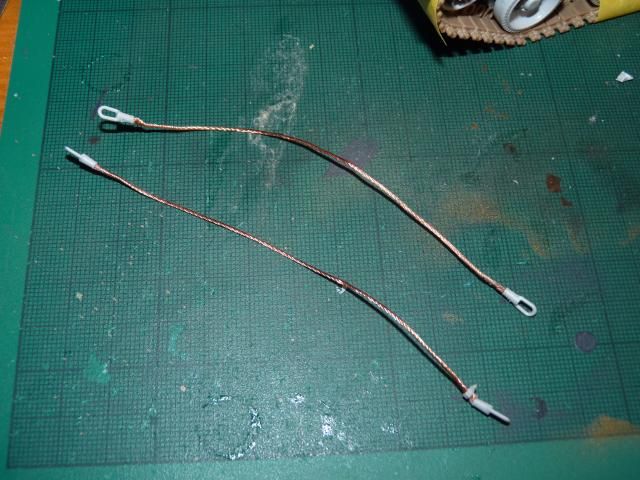
Two short towing cables; the kit supplied a long brass wire so you have to cut them to size-
Test fitting everything -
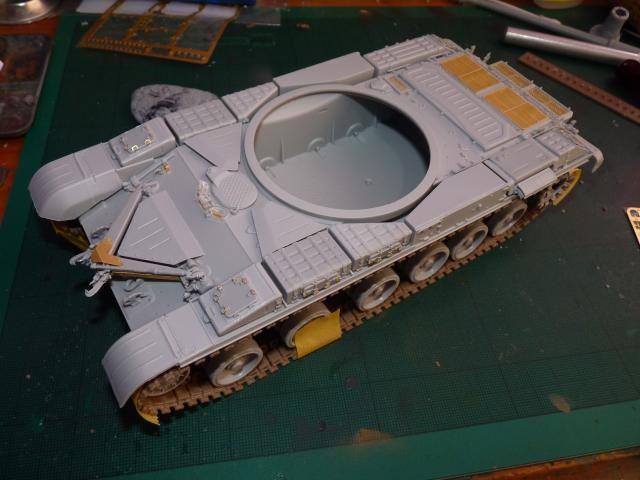
And with that, everything except the side skirts are done -
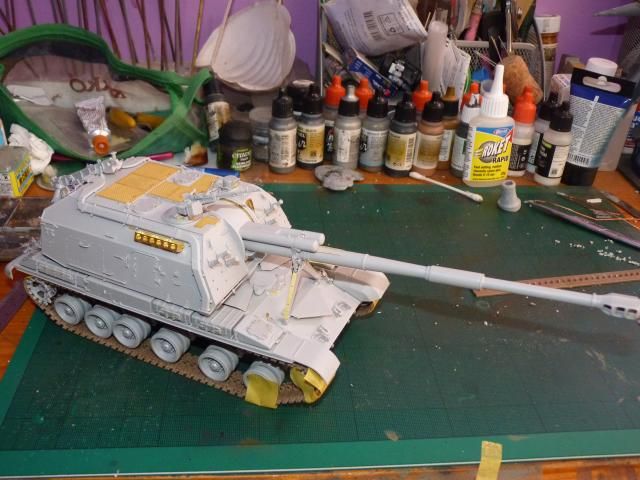
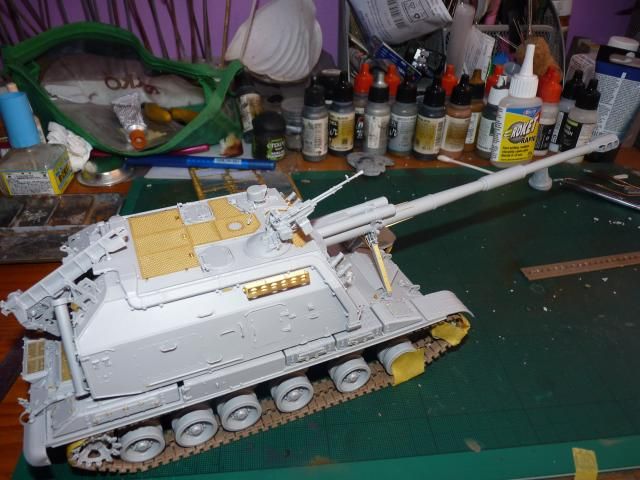
Due to the nature of the kit and parts break down, I had to paint the lower hull and wheels first before working on the tracks and gluing the fenders -
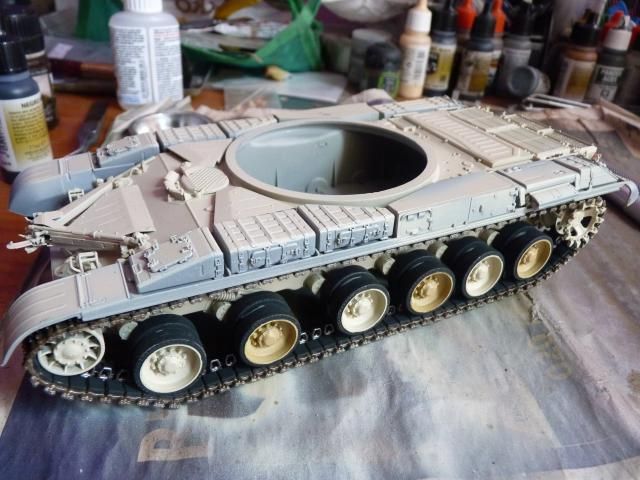

Glued on the fenders after that and finally closed it up with the side skirts -
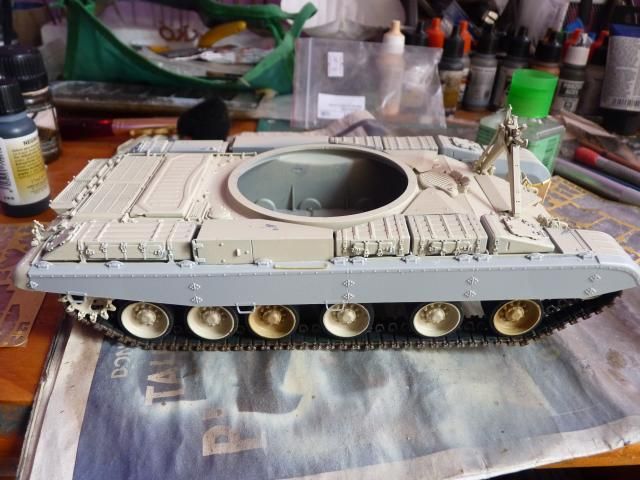
And the last touch is to glue on those little blade looking thingy that we all see on T-72 hulls-

And now. on to painting... primed and ready, I put on the first colour and masked them -

5 days of studying the photos, painting one layer after another, fixing the damned thing and touching ups over spray and I got this -
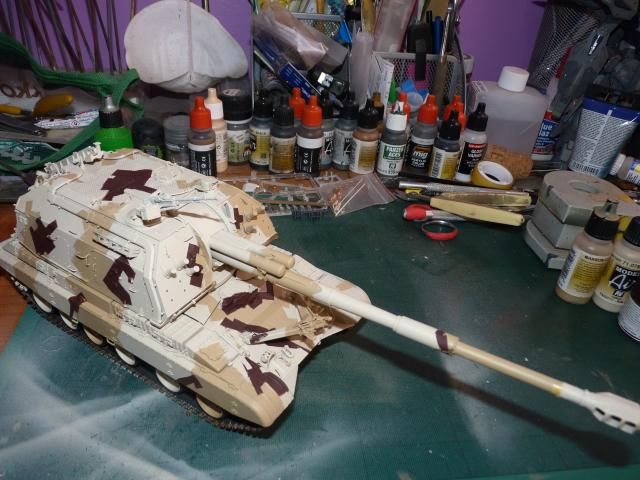
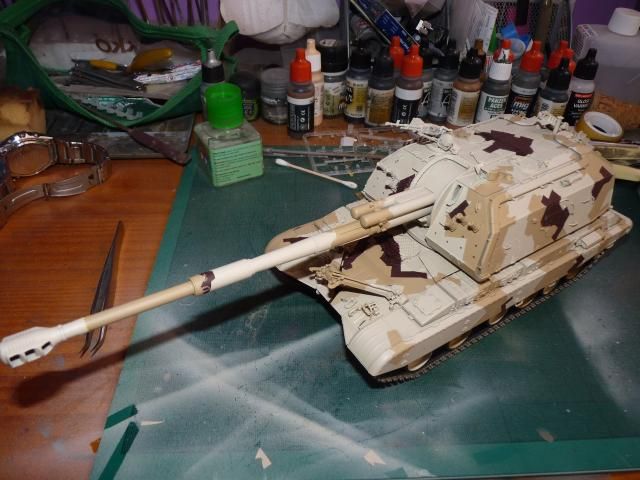
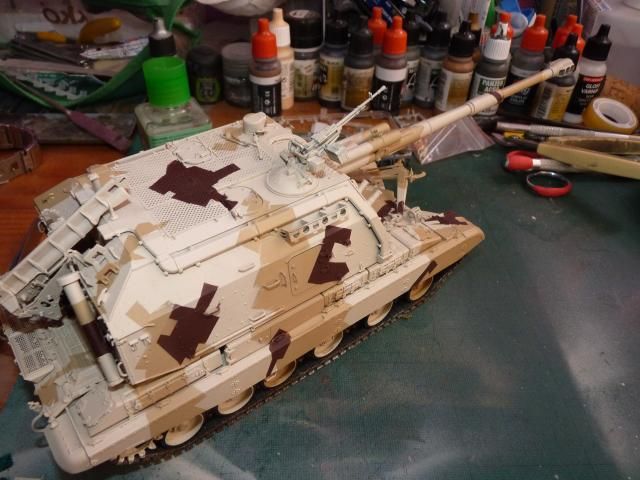

Still has alot of problems and many fixings need to be done...... why am I so attracted to this infernal scheme? LOL ...
Until the next update
0 comments:
Post a Comment