

Hello all and all hello. How have your Decembers been so far? Good? Christmas shopping done? Don't leave it to the last minutes folks.
I'm sure you all are aware that I am building a quick dual build of the KV-5 and the JS-4.Well, I have finished both of them. I will do a finished post for each separately so let's start with the KV-5 shall we?
For a detail review of the kit, please refer to my review post I made for this - LINK. (However, here's a few thing about the kit that I only found out after building it - the tracks are abysmal. The sprocket teeth are too big for the tracks so they have to be trimmed. I didn't trimmed it and it gave me so much trouble. )
For weathering, I kept the entire upper part of the vehicle clean, free of chippings and collected dust. Since this is paper panzer ( well technically it's not a panzer but meh), I wanted to put this in a scenario where they are testing out performance of a relatively new prototype. Instead of mud, I did my best to put on small amount of caked earth/soil effect on the tracks and on the chassis.
I simply apply pigments ( I forgot the exact colour ) dry and fix them with thinner and another layer fixed with white spirit. IMO, fixing with white spirit gives a much more textured finish. Thinner seems to dissolved some of the pigments. Let it dry for a day and I just rubbed Tamiya Modelling Stick ( the pen looking one ) along the tracks so that the caked earth finish would look better.
For the colours, I used a variety of paint. I used AK 033, the high light shade of 4BO from their 4BO modulation set. I don't ( and I cannot ) modulate colours so I don't see any point of me for getting a whole set. I have my own mixed of 4BO that I used for my JS-2 that is about 1/3 of a bottle left in an empy valljo bottle so I just squeezed out a substantial amount of AK 033 into that and I used that as a base. The high lights are straight AK 033 out of the bottle with very low pressure. The shadows are Tamiya Dark Green painted thick with a high pressure ( I wanted a feathery dark effect ). For the extreme high lights, I mixed in some white into AK 033. For the 2nd highest high lights, I used Mr. Hobby Aqueous Light Green H303.
Following the highlights and shadow on the whole vehicle, I pin wash with the colour Burnt Umber and used Naples yellow, Cobalt blue, white, Vandyke brown and a very small amount of black oil paints to blend all the colours in
I made a full account of the W.I.P in the previous posts and you are welcome to look over at them if you are curious about how well the kit goes together. Actually, let me make a list here for the Work in Progress posts -
Read more >>
I'm sure you all are aware that I am building a quick dual build of the KV-5 and the JS-4.Well, I have finished both of them. I will do a finished post for each separately so let's start with the KV-5 shall we?
For a detail review of the kit, please refer to my review post I made for this - LINK. (However, here's a few thing about the kit that I only found out after building it - the tracks are abysmal. The sprocket teeth are too big for the tracks so they have to be trimmed. I didn't trimmed it and it gave me so much trouble. )
For weathering, I kept the entire upper part of the vehicle clean, free of chippings and collected dust. Since this is paper panzer ( well technically it's not a panzer but meh), I wanted to put this in a scenario where they are testing out performance of a relatively new prototype. Instead of mud, I did my best to put on small amount of caked earth/soil effect on the tracks and on the chassis.
I simply apply pigments ( I forgot the exact colour ) dry and fix them with thinner and another layer fixed with white spirit. IMO, fixing with white spirit gives a much more textured finish. Thinner seems to dissolved some of the pigments. Let it dry for a day and I just rubbed Tamiya Modelling Stick ( the pen looking one ) along the tracks so that the caked earth finish would look better.
For the colours, I used a variety of paint. I used AK 033, the high light shade of 4BO from their 4BO modulation set. I don't ( and I cannot ) modulate colours so I don't see any point of me for getting a whole set. I have my own mixed of 4BO that I used for my JS-2 that is about 1/3 of a bottle left in an empy valljo bottle so I just squeezed out a substantial amount of AK 033 into that and I used that as a base. The high lights are straight AK 033 out of the bottle with very low pressure. The shadows are Tamiya Dark Green painted thick with a high pressure ( I wanted a feathery dark effect ). For the extreme high lights, I mixed in some white into AK 033. For the 2nd highest high lights, I used Mr. Hobby Aqueous Light Green H303.
Following the highlights and shadow on the whole vehicle, I pin wash with the colour Burnt Umber and used Naples yellow, Cobalt blue, white, Vandyke brown and a very small amount of black oil paints to blend all the colours in
I made a full account of the W.I.P in the previous posts and you are welcome to look over at them if you are curious about how well the kit goes together. Actually, let me make a list here for the Work in Progress posts -
Part 3
This is one of the few kits that I am absolutely happy with what I did. I did have to nitpick about some boo-boos but the enjoyment and seeing it finished far weight the boo-boos
It's time for the photos -
(Just click on the smaller ones and they will pop out )


The running gears -


Some random close ups -

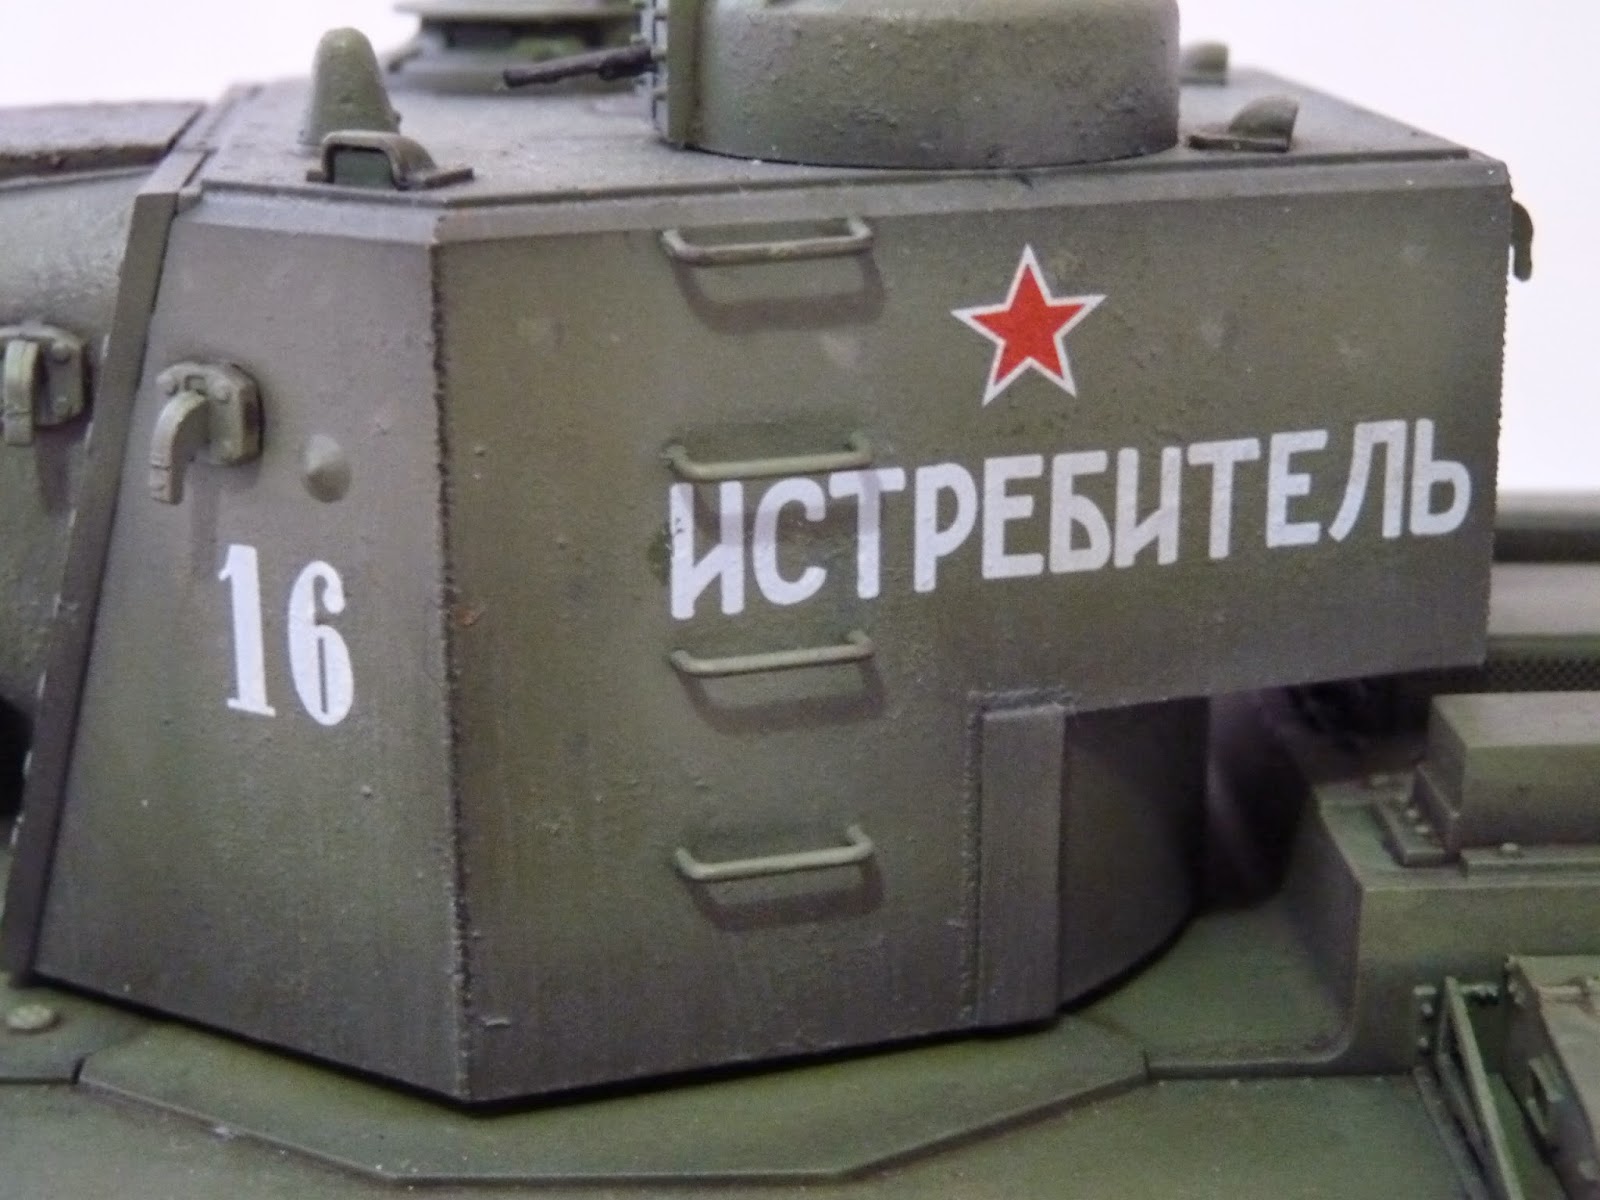


And as usual, my show case photos from various angles -


And as usual from me, the Gary Wintin shot -

And here it is, side by side with the JS-4,


The vehicle itself just looks lovely and I'm really happy with how this turns out. This is a milestone in my skills in highlights, contrasts and oil filtering/fading . This is one baby I will be proud to have on my shelf or another one's shelf should anybody would buy it as I have plans to sell it.
Speaking of selling, I am selling some of my built models so if any of you are interested, shoot me an offer on ebay -
http://www.ebay.co.uk/usr/romance6688
Internationals are welcomed as well but most likely have to be communicated via email and paypal as I did not turn on international shipping on ebay. So shoot me an offer on ebay or from email if anybody's interested.
(Just click on the smaller ones and they will pop out )
The running gears -
Some random close ups -
And as usual, my show case photos from various angles -
And as usual from me, the Gary Wintin shot -
And here it is, side by side with the JS-4,
The vehicle itself just looks lovely and I'm really happy with how this turns out. This is a milestone in my skills in highlights, contrasts and oil filtering/fading . This is one baby I will be proud to have on my shelf or another one's shelf should anybody would buy it as I have plans to sell it.
Speaking of selling, I am selling some of my built models so if any of you are interested, shoot me an offer on ebay -
http://www.ebay.co.uk/usr/romance6688
Internationals are welcomed as well but most likely have to be communicated via email and paypal as I did not turn on international shipping on ebay. So shoot me an offer on ebay or from email if anybody's interested.


