Hello all. The Hummingbird has another finished gunpla kit to show off. Well, ok, I wouldn't call this ''show off'' because I messed up alot with this kit. Anyway, this is a kit that has take me 2 year in the making.
Back in 2012, the guys from Mech Art Community ( including me ) forum decided on a big online competition and this legend was my entry build for that competition. A lot of things happened and the hosting venue moved to the Mecha Lounge and I kinda lost steam to work on this following a lot of events and this baby has been sitting in a box for 2 years. Just a few weeks ago, my friends encouraged me to finally finished this as this is about 98% finished so here it is.
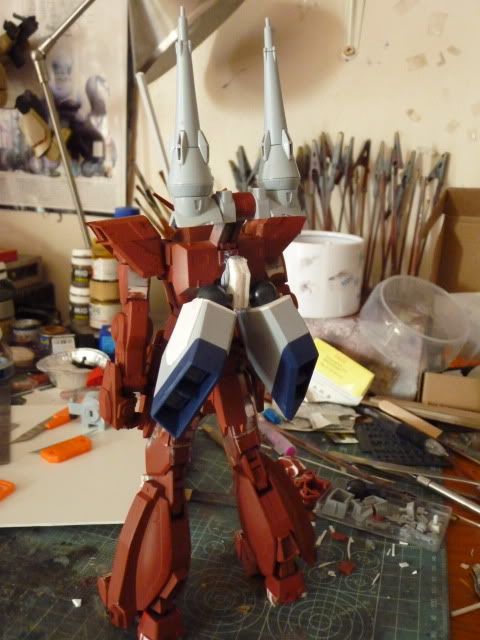
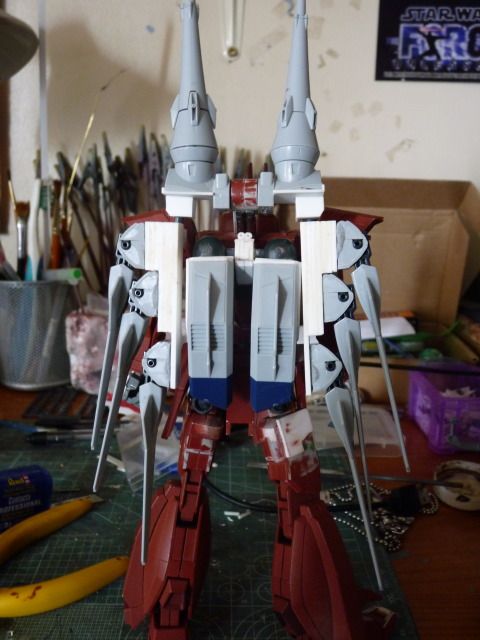
I have always loved the Legend but I never liked how the back pack looks so I decided to change the back pack. A lot of help comes from the '' thehelmosengine '' who is a great scratch builder ( check out his works on his blog ) in working out the designs and modding ideas. Thank you, brother. He is also responsible for suggesting the name ''Amaimon'' for this. I tend to name my gundams as some of you are aware. We were talking about the hit anime at that time '' Aoi no Exorcist '' and he suggested that I gave the Legend Amaimon so yeah.
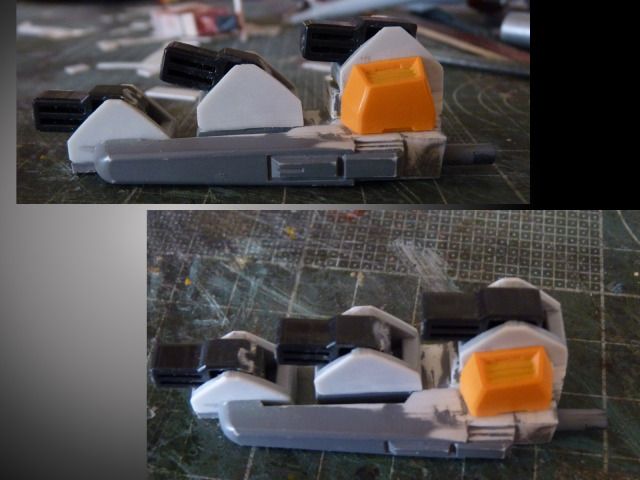
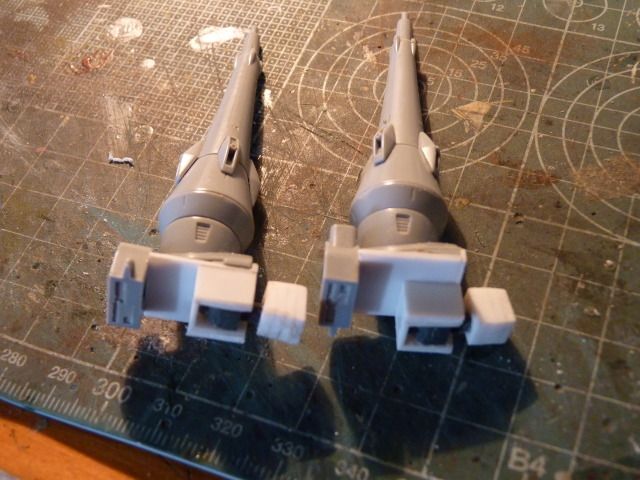
For the colours, I used Black, Dark Grey and Blue which are all Tamiya. For the life of me, I cannot remember which grey is the light shade. I think it's a mixed shade. The funnels are painted with a grey shade ( again, I forgot the exact shade ) mixed with some Vallejo Steel. The booster end is painted the same way as well; purple mixed with steel.
Read more >>
Back in 2012, the guys from Mech Art Community ( including me ) forum decided on a big online competition and this legend was my entry build for that competition. A lot of things happened and the hosting venue moved to the Mecha Lounge and I kinda lost steam to work on this following a lot of events and this baby has been sitting in a box for 2 years. Just a few weeks ago, my friends encouraged me to finally finished this as this is about 98% finished so here it is.
I have always loved the Legend but I never liked how the back pack looks so I decided to change the back pack. A lot of help comes from the '' thehelmosengine '' who is a great scratch builder ( check out his works on his blog ) in working out the designs and modding ideas. Thank you, brother. He is also responsible for suggesting the name ''Amaimon'' for this. I tend to name my gundams as some of you are aware. We were talking about the hit anime at that time '' Aoi no Exorcist '' and he suggested that I gave the Legend Amaimon so yeah.
For the colours, I used Black, Dark Grey and Blue which are all Tamiya. For the life of me, I cannot remember which grey is the light shade. I think it's a mixed shade. The funnels are painted with a grey shade ( again, I forgot the exact shade ) mixed with some Vallejo Steel. The booster end is painted the same way as well; purple mixed with steel.
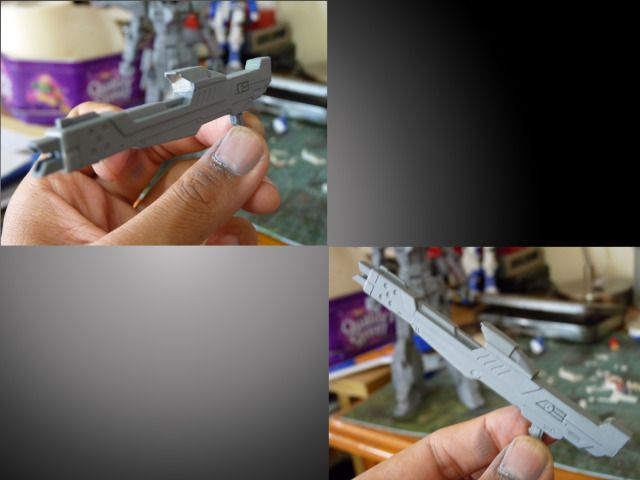
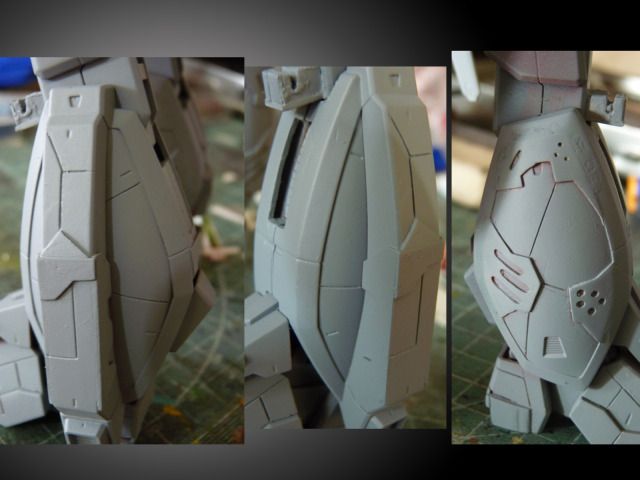
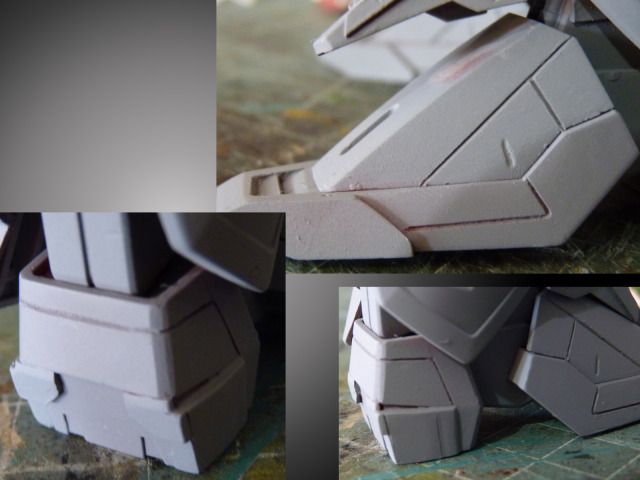
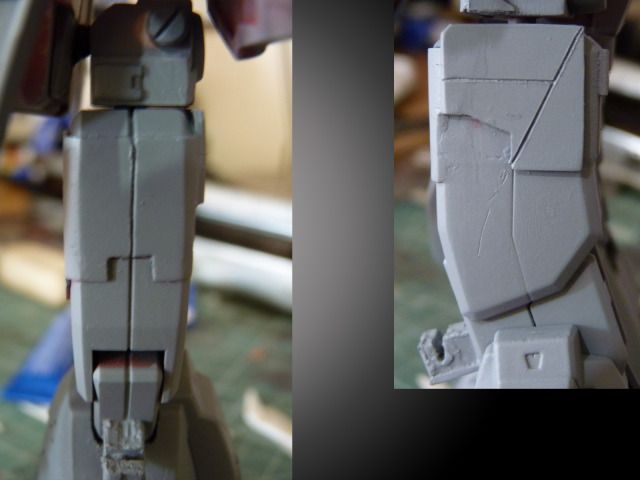
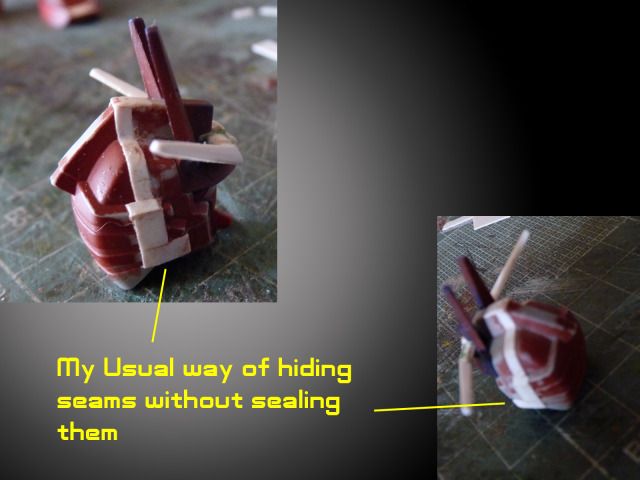
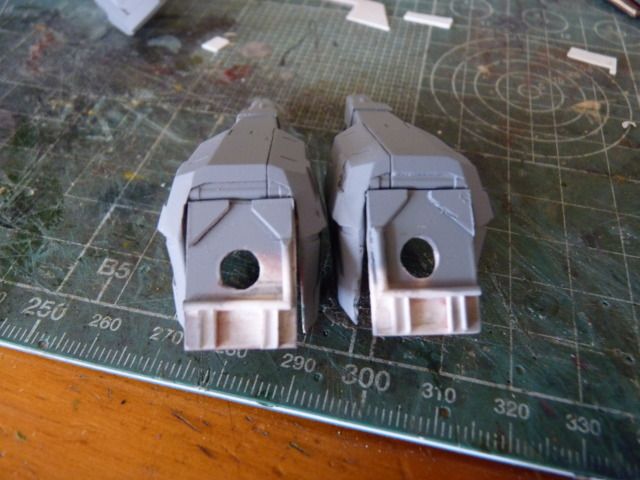
I did a lot of big modifications. These include; extending the waist, shortening the thighs, changing the gun, making a double ball jointed torso, scratching an entirely new knee, installing a moving MG knee, making the shoulder armour separate pieces ( I'm sure you are aware of how the HG and NG shoulders are made ), an entirely redesigned back pack and aesthetic detailing on the legs and arms.
I did make a full build log for 9 parts which I haven't updated after the 9th post. Please check these out for full details on what I modded and scratch built -
Part 1
Part 2
Part 3
Part 4
Part 5
Part 6
Part 7
Part 8
Part 9
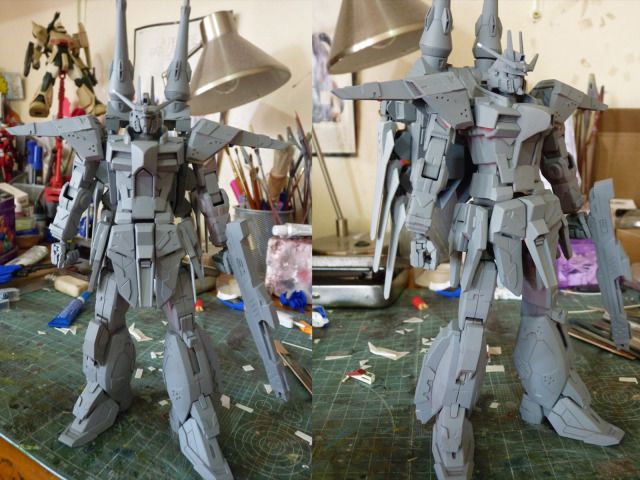
Here's the all around view -


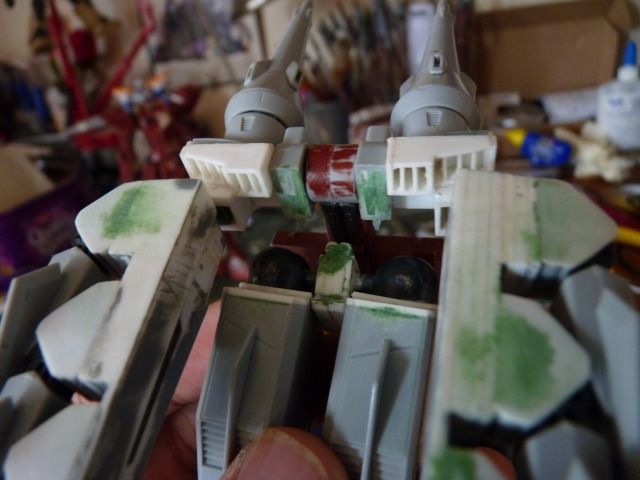
and here's some of the close up ( you will notice a lot of massive boo-boos I made) -
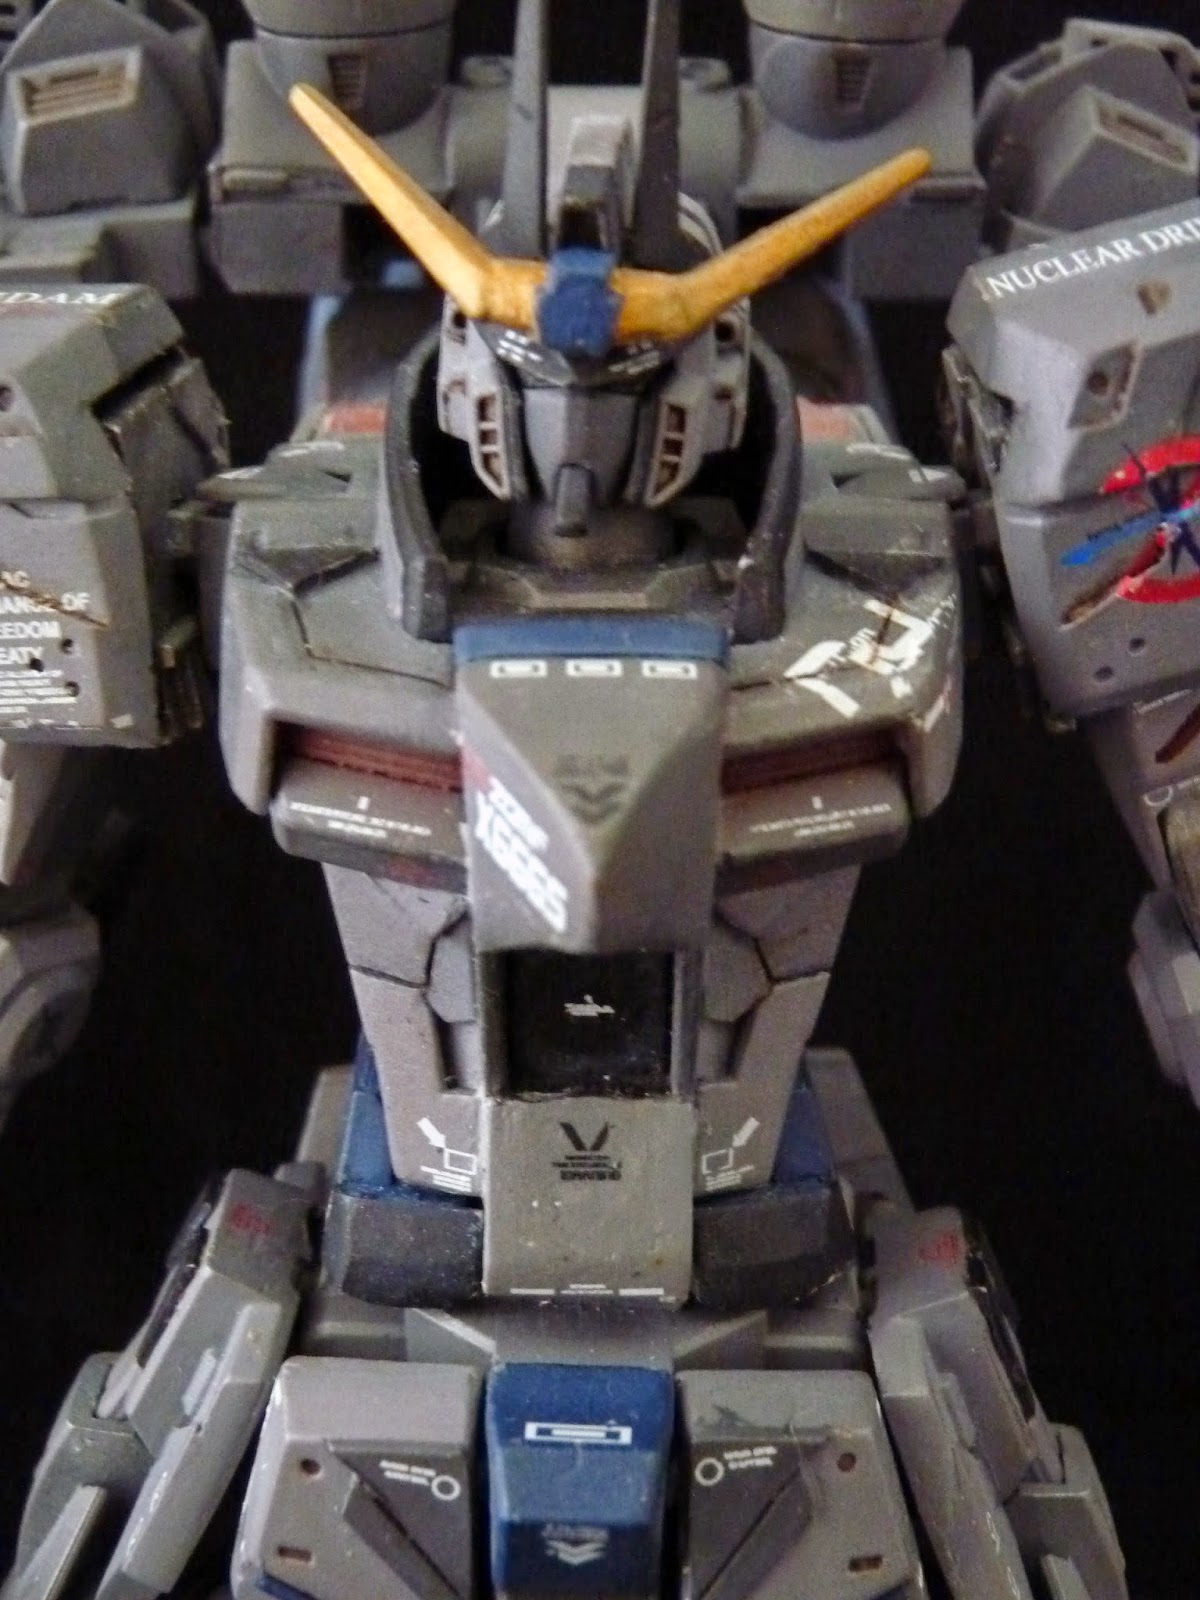


I am my own harshest critique and there are some aspect of it that I could have done better. I did get rid of the seams on the guns but it wasn't enough. I can still see a little bit of seam on some places on the guns. I over extended the proportion of the kit and it looks stupid, like totally really stupid. I regretted putting on the ball joints in the torso as it was nothing but a waste of time and effort because after everything I have done, the ball joint snapped so I had to glue it on and keep the torso glued straight. All my efforts were for naught. Another thing I'm absolutely pissed about is how the decals got silvered. You can clearly see it on the left funnel docking structure. I am not happy that I was too rough with it and I chipped away alot of paints on pointy edges and I have to repaint things over and over again. But this was a kit that I painted way back in late 2012 where my skills weren't as good as they are now in 2014 ( check out my 2014 works ) so at least I can take solace in that fact and I see this as a very valuable kit that gave me so much experience on scratch building.
My sincerest thanks to these people for the continued support on my gunpla works and pushing me to finish this -
Simon Curry, Darren Ling , Derick Siu , Pawel Zynk, Marc Mayer, Fransiska, Thanos, Justin, Jeff and Paul Bicar.
I did make a full build log for 9 parts which I haven't updated after the 9th post. Please check these out for full details on what I modded and scratch built -
Part 1
Part 2
Part 3
Part 4
Part 5
Part 6
Part 7
Part 8
Part 9
Here's the all around view -
and here's some of the close up ( you will notice a lot of massive boo-boos I made) -
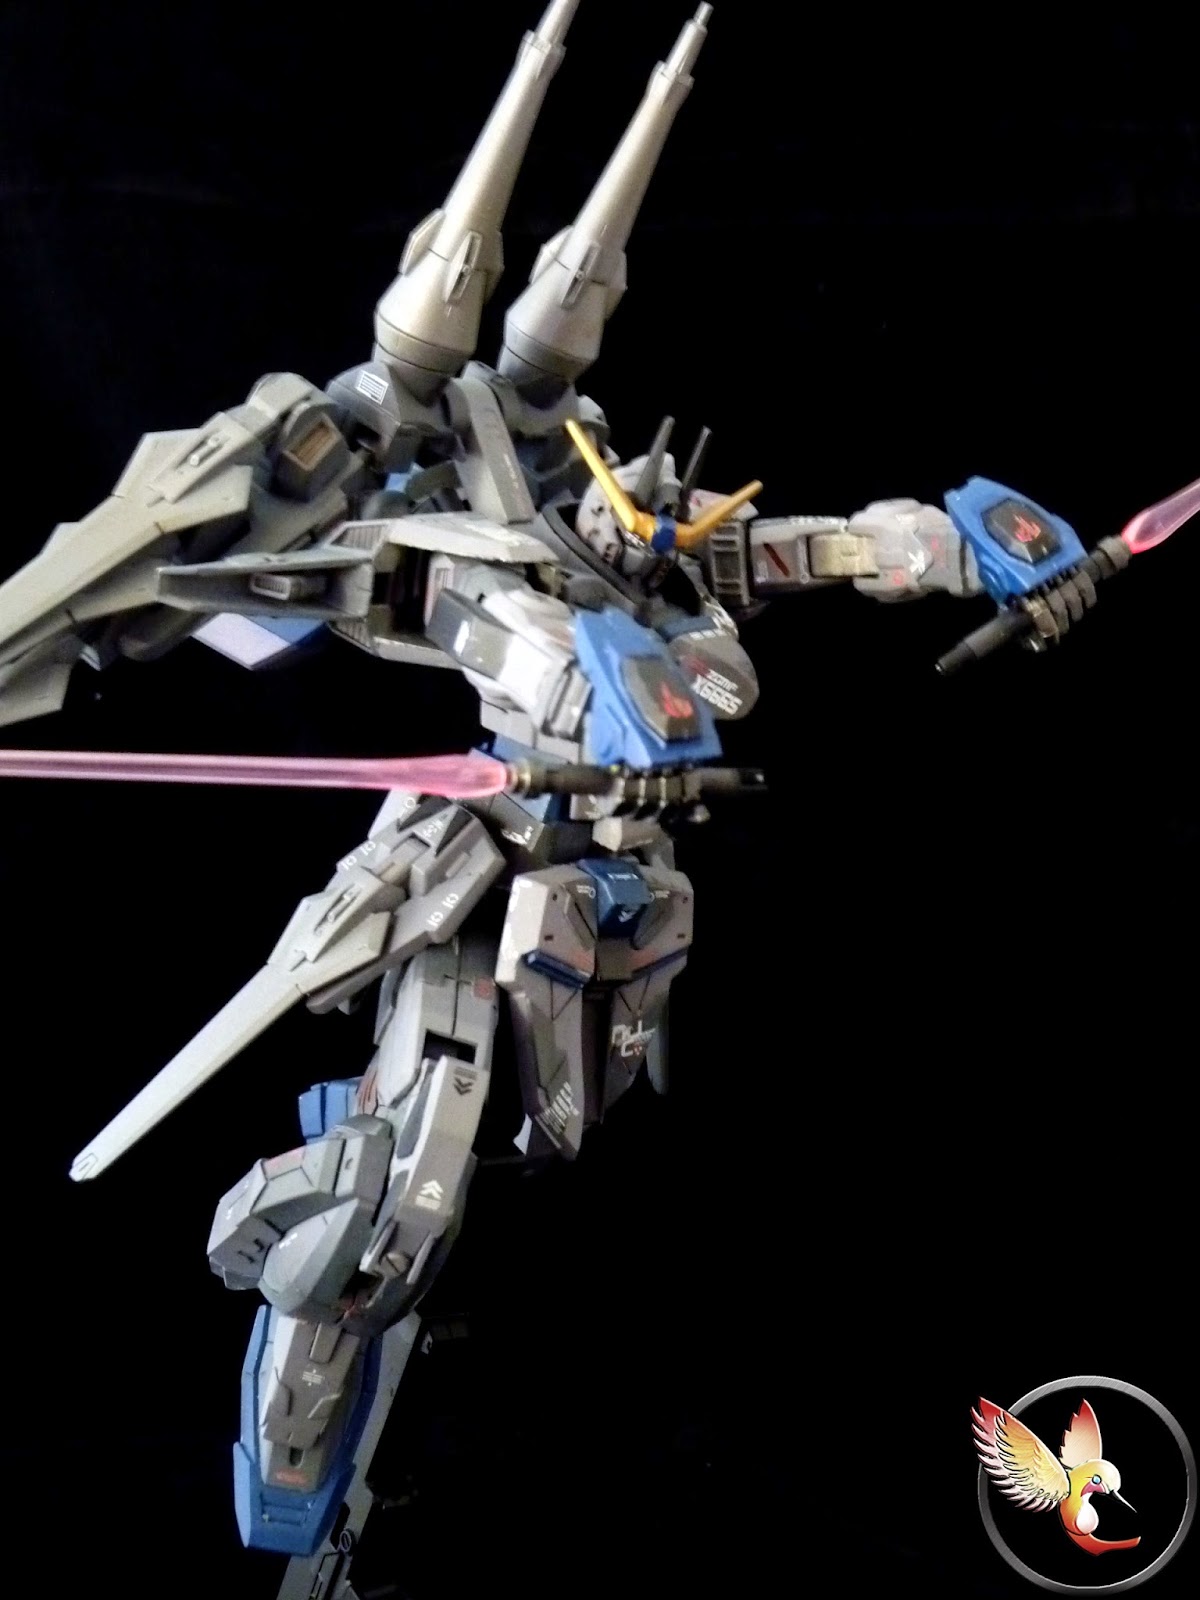
Per the norm from me, here's a number of poses -
My sincerest thanks to these people for the continued support on my gunpla works and pushing me to finish this -
Simon Curry, Darren Ling , Derick Siu , Pawel Zynk, Marc Mayer, Fransiska, Thanos, Justin, Jeff and Paul Bicar.