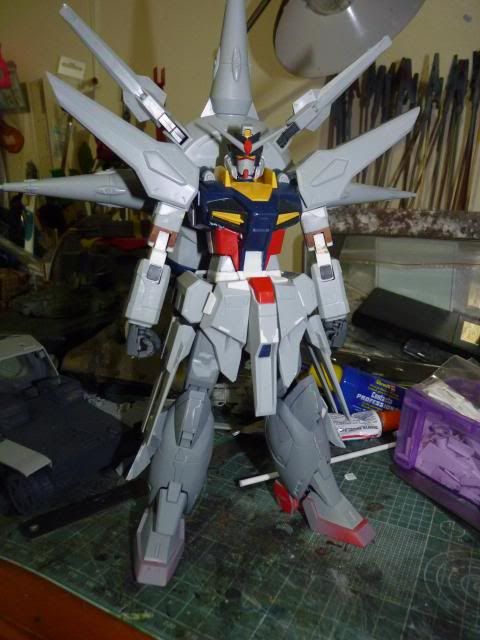
G'day to you ladies (if any) and gents. It was a lazy chilly spring day in London and out of boredom due to the gloomy weather, I managed to made some update on the Providence -
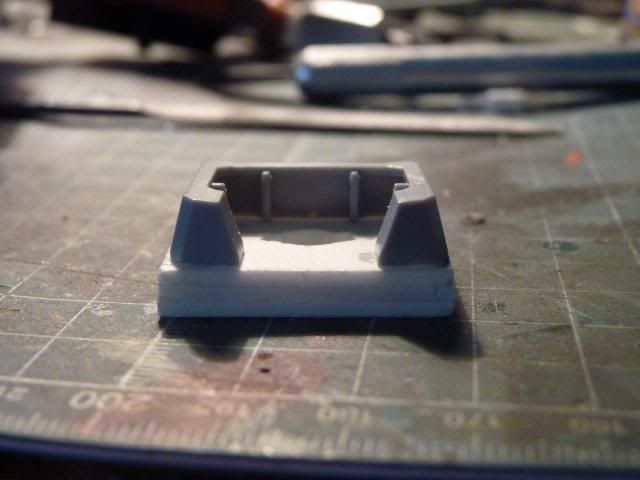
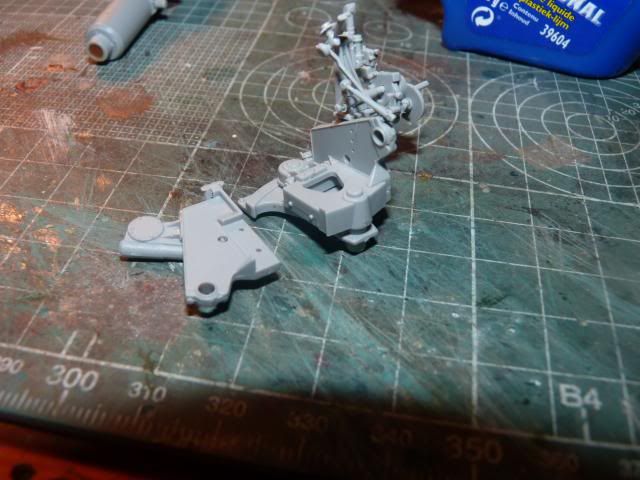
Firstly, I filled the front skirts with epoxy putty. It was just ugly to leave hollow there. I still need to sand it down though -
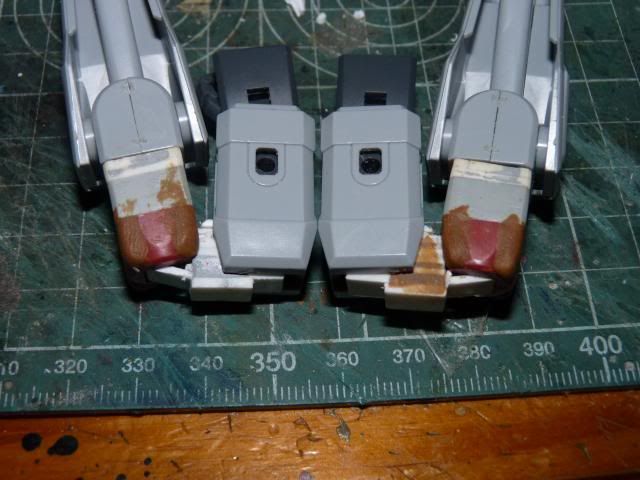
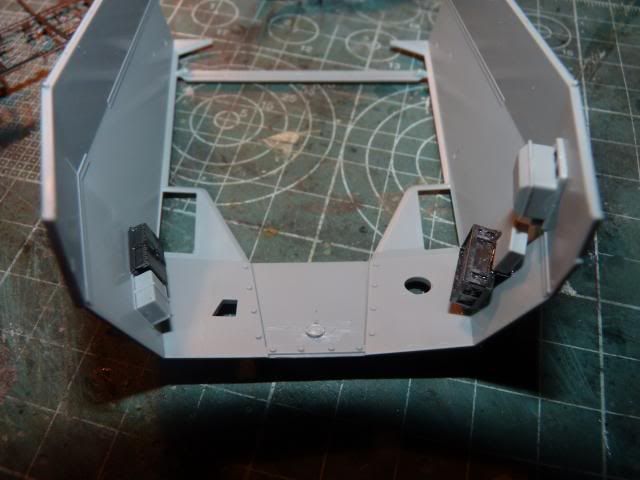
I wanted to improve the over all look so I started to put on plates on the body parts for aesthetic purposes. I started with some simple platings on the groin armour
and some more simple plates on the front skits -left -
and right -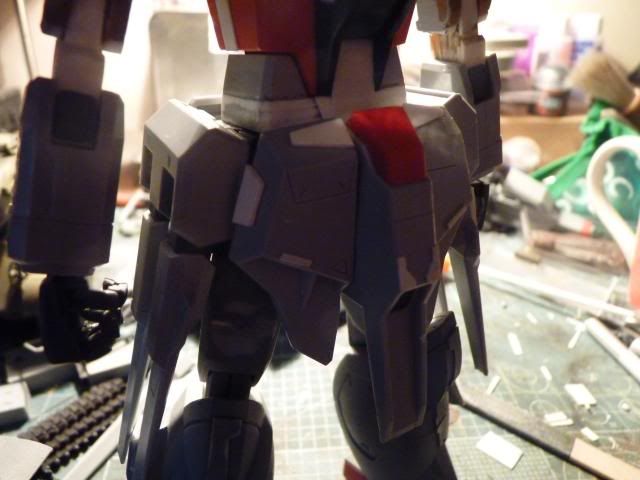
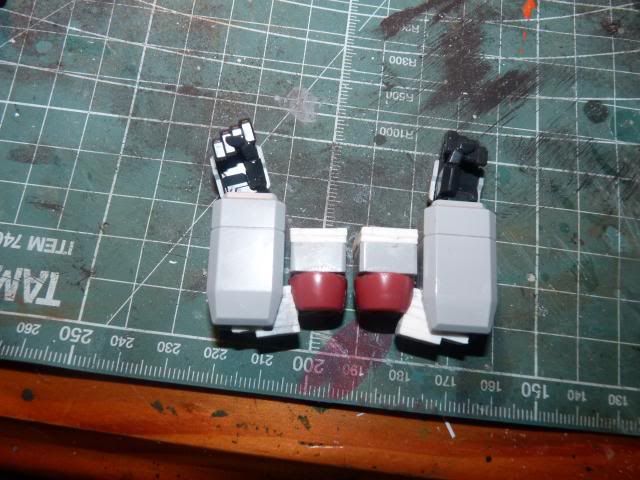
And I carried on the platings on to the upper arm -Front -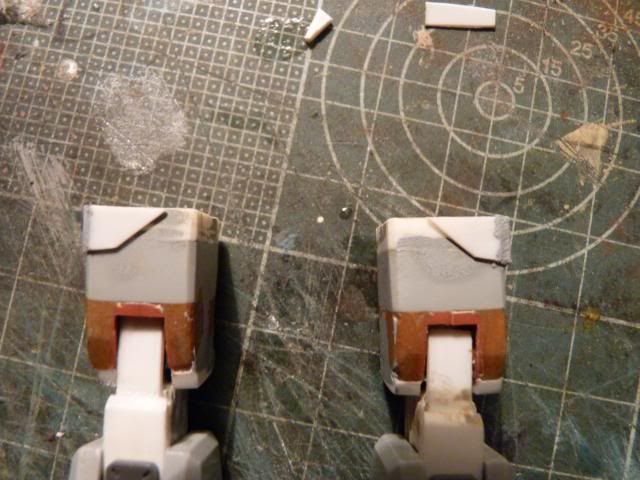
sides -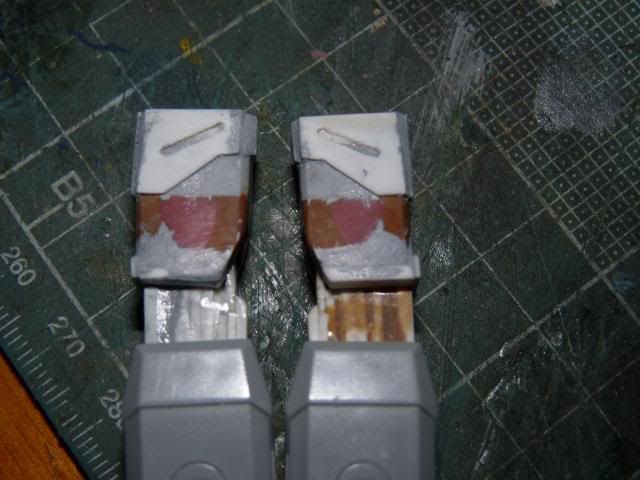
back -
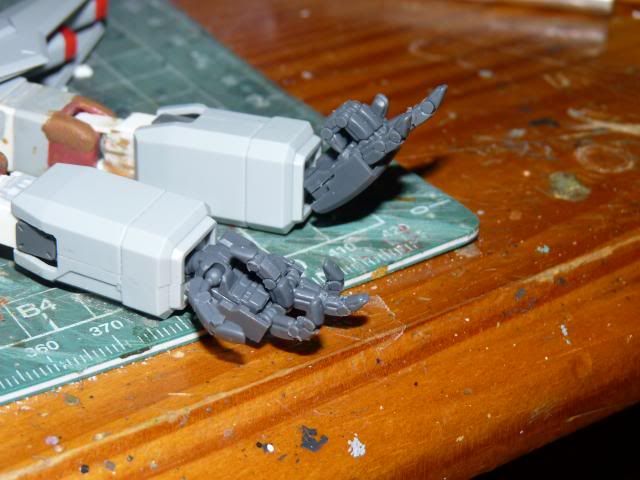
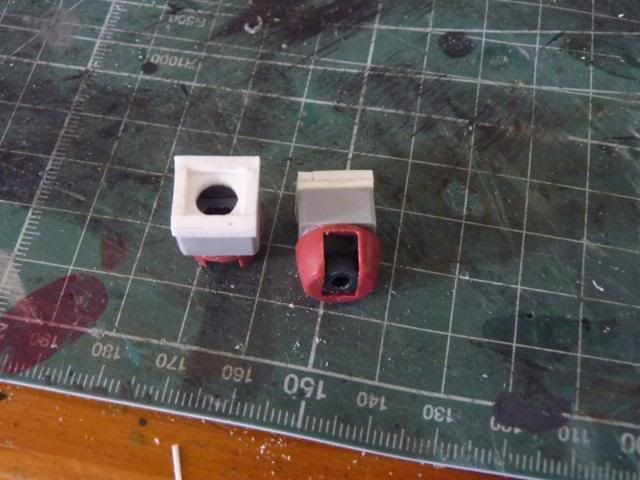
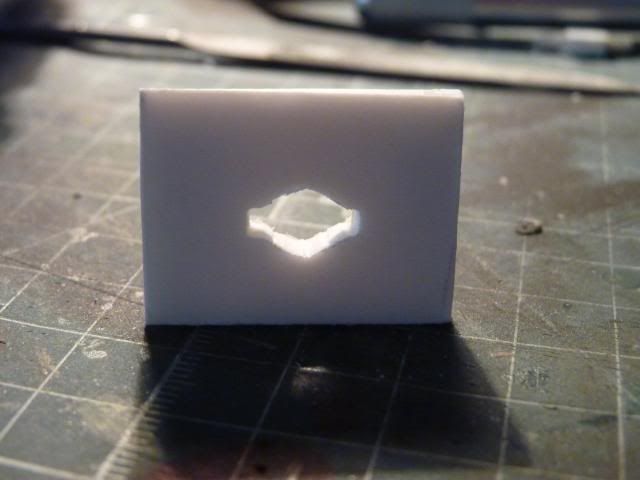
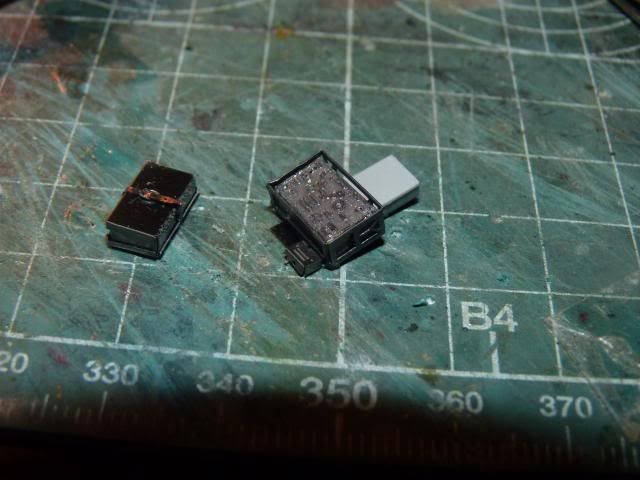
And While I was working on the arms, I Managed to fix a small issue that was bothering me -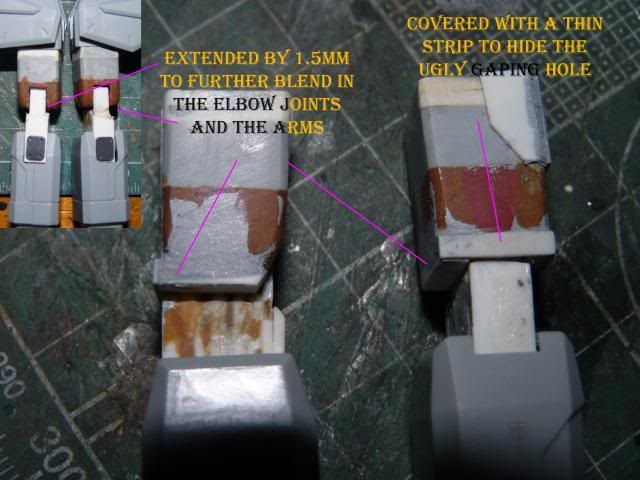
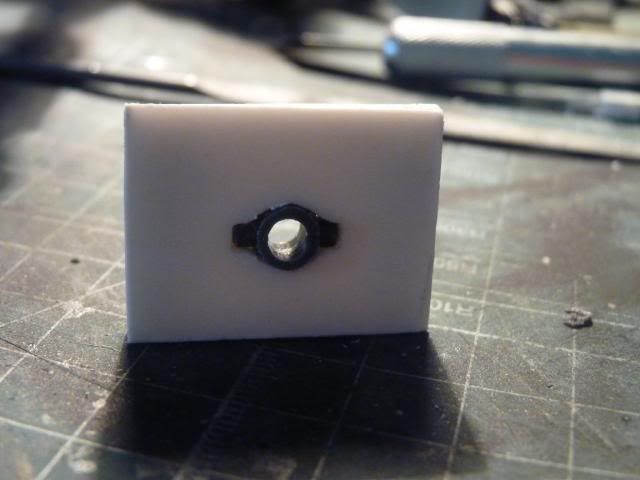
The texts in the photo should be self explanatory. The darn things are still not as flashed as I want them to though, gonna have to sand more.After that, I used my usual method to hide the seam lines without gluing and keeping the parts removable -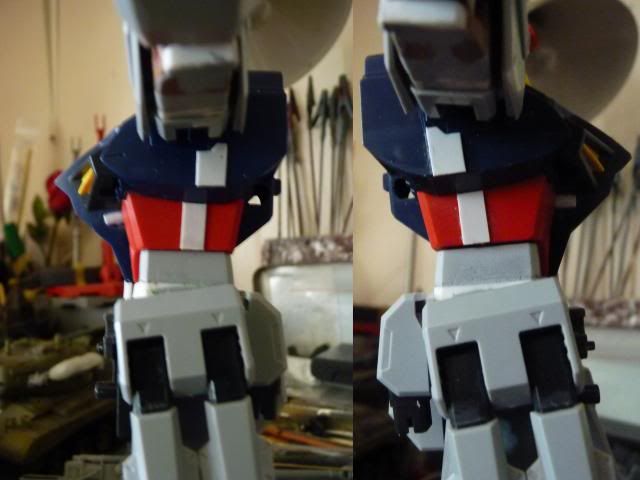
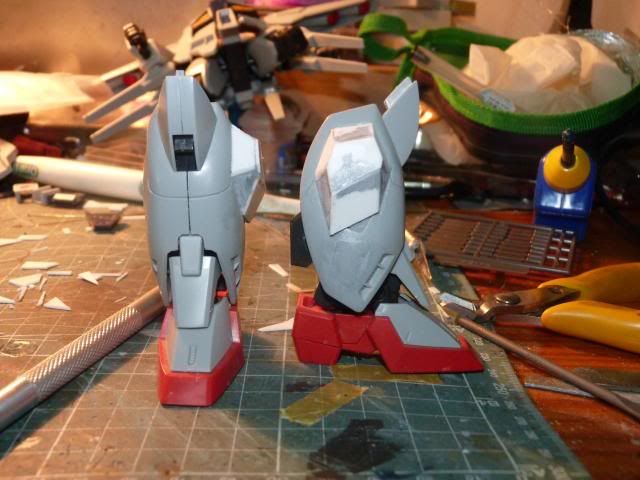
Following that, I decided to hide the seams on the lower legs the same way.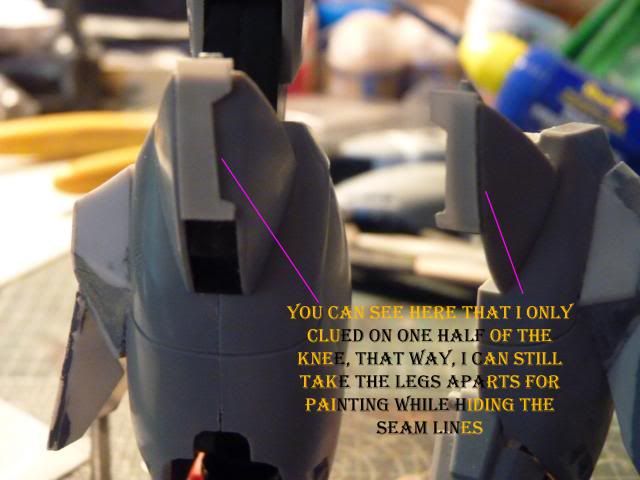
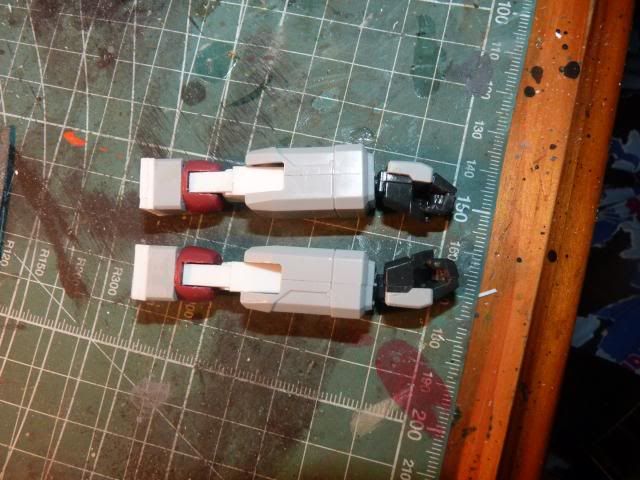
After the knee, I moved on to the shin -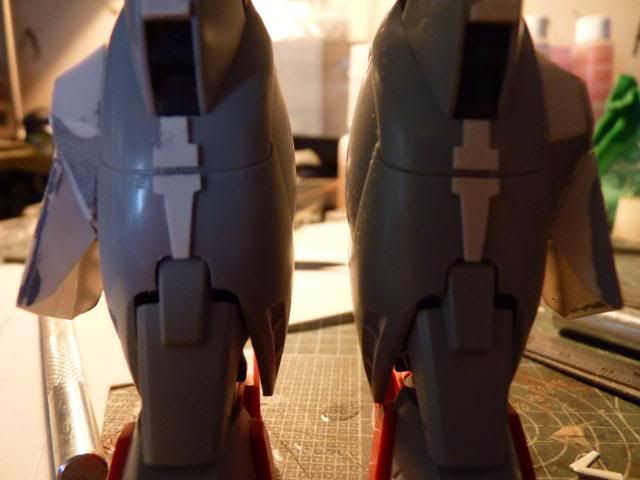
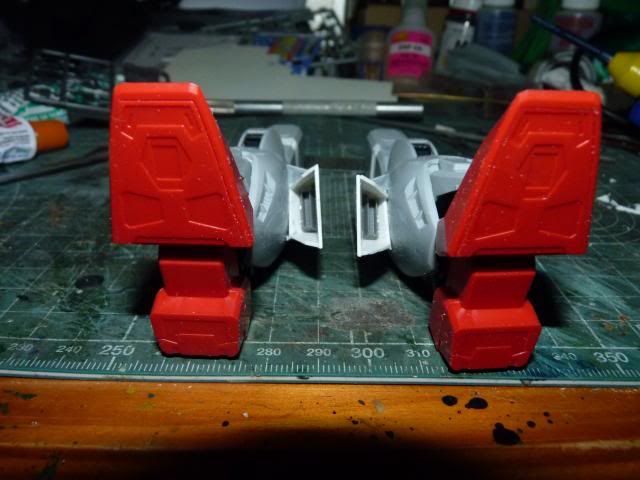
and after the shin, I moved on to the calves -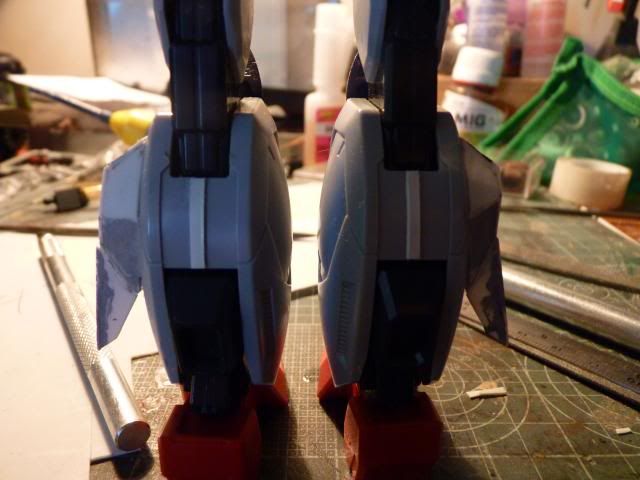
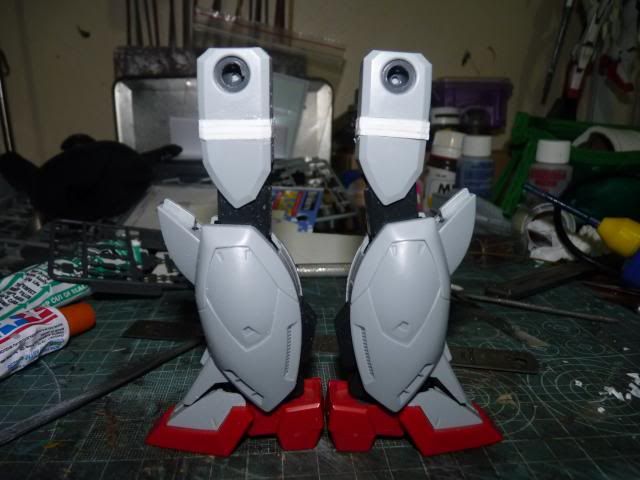
and this is how the front of the legs looks with the '' seam camo '' in place-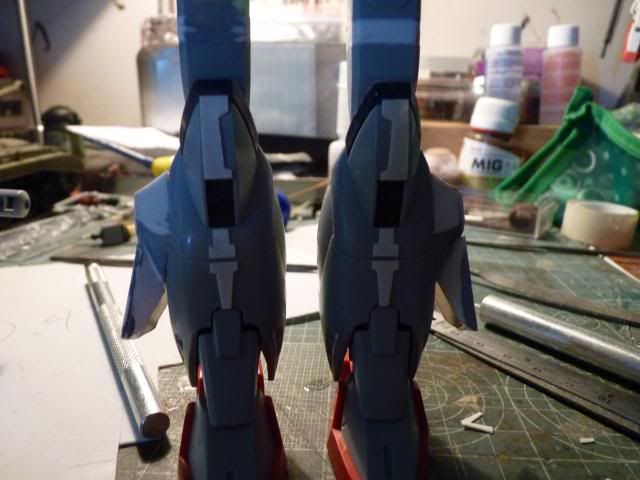
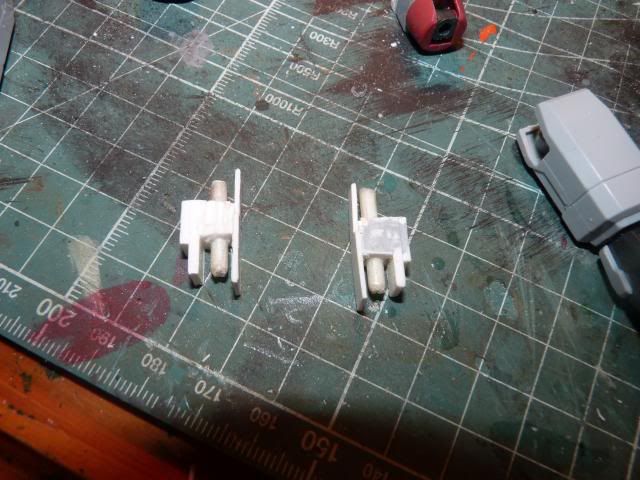
While working on hiding the seams on the legs, I noticed something that needed to be fixed on the movement of the knee joints. The darn things bend forward as well and make the joints turn into a reverse joint type legs so I fixed it like to -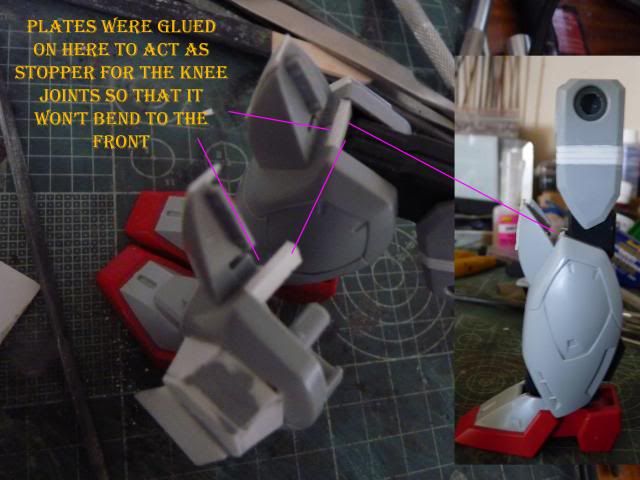
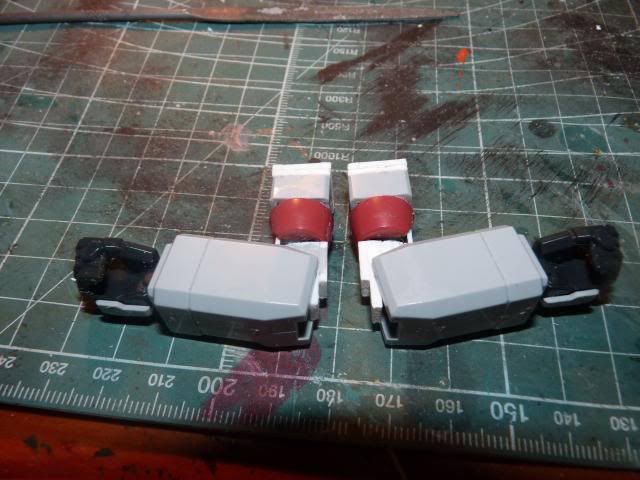
I hate the concept of pipes showing obviously on the body so decided to throw away the pips that comes along with it and it left a gaping whole on the back which I filled up like so -
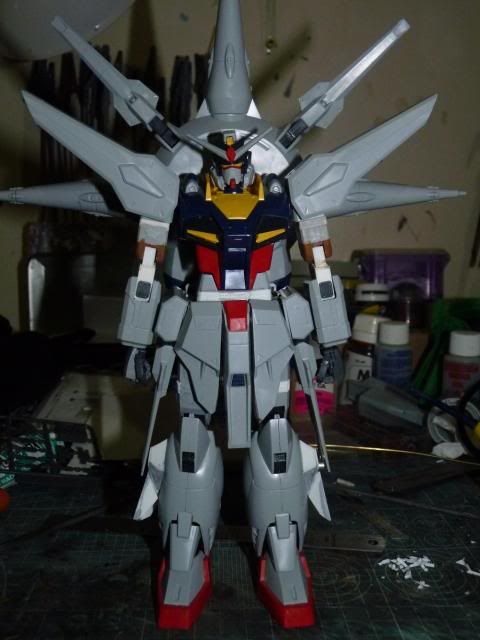
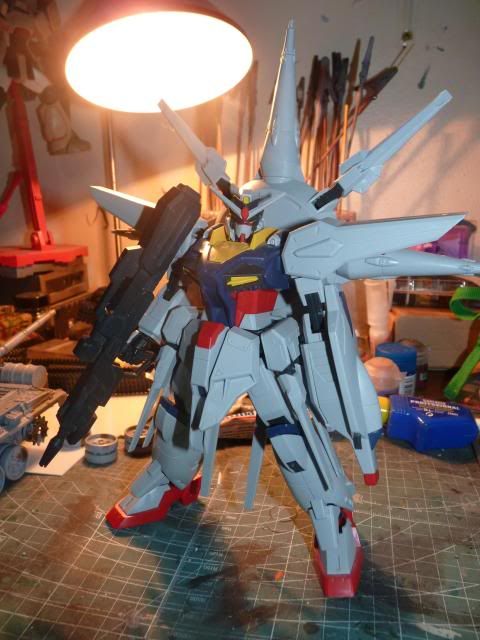
and This is how it looks now -Without the backpack -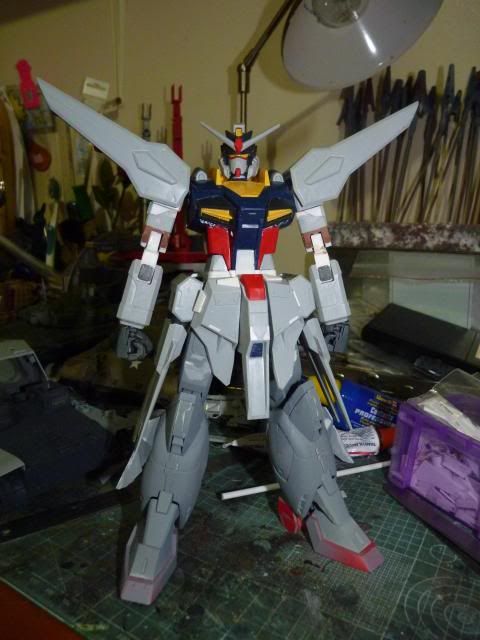
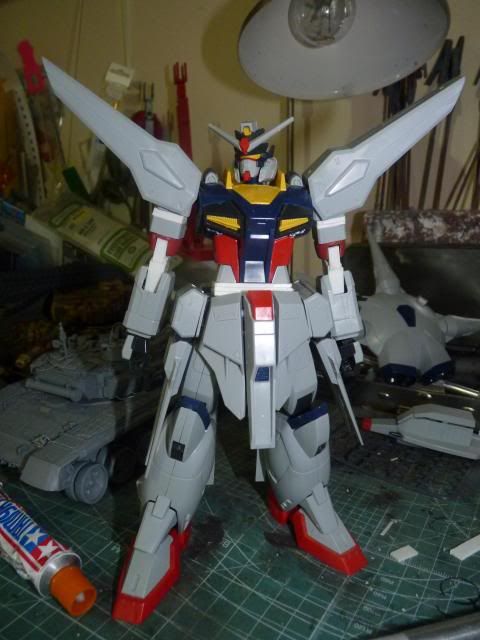
and with the backpack -
I'm pretty happy with the proportions .. I was having my doubt but after seeing these last two photos, I'm quite happy. Well, that's it for now. I don't want to give myself a great burden or work by making big/major mods so I will mostly be doing platings mods in the next updates.Stay Tuned for more and Thank you guys for the support as always.
Read more >>
Firstly, I filled the front skirts with epoxy putty. It was just ugly to leave hollow there. I still need to sand it down though -

I wanted to improve the over all look so I started to put on plates on the body parts for aesthetic purposes. I started with some simple platings on the groin armour

and some more simple plates on the front skits -left -

and right -

And I carried on the platings on to the upper arm -Front -

sides -

back -

And While I was working on the arms, I Managed to fix a small issue that was bothering me -

The texts in the photo should be self explanatory. The darn things are still not as flashed as I want them to though, gonna have to sand more.After that, I used my usual method to hide the seam lines without gluing and keeping the parts removable -

Following that, I decided to hide the seams on the lower legs the same way.

After the knee, I moved on to the shin -

and after the shin, I moved on to the calves -

and this is how the front of the legs looks with the '' seam camo '' in place-

While working on hiding the seams on the legs, I noticed something that needed to be fixed on the movement of the knee joints. The darn things bend forward as well and make the joints turn into a reverse joint type legs so I fixed it like to -

I hate the concept of pipes showing obviously on the body so decided to throw away the pips that comes along with it and it left a gaping whole on the back which I filled up like so -

and This is how it looks now -Without the backpack -

and with the backpack -

I'm pretty happy with the proportions .. I was having my doubt but after seeing these last two photos, I'm quite happy. Well, that's it for now. I don't want to give myself a great burden or work by making big/major mods so I will mostly be doing platings mods in the next updates.Stay Tuned for more and Thank you guys for the support as always.