Sunday 28 July 2013

Update from Monoeye Publishing

Hello Gentlemen and Ladies ( if any )

I was just contacted by GDX regarding about the Mecha Modelling Guide book and its progress. He and Monoeye Publishing would like to ensure you all that they are indeed working hard and the book will be out after all the chapters have been edited, spell-checked,error-checked and etc.

He even kindly gave me a sample chapter to look at and I have to admit, its looking pretty nice. I debated myself if I should just give you all the link to download it or to show you here but I chose to do the latter. Saves you the trouble of downloading but in anycase you all want to download for a closer look at the sample chapter - here you go http://www.mediafire.com/view/wyp87132m9pc732/mmg_sample_chapter.pdf .

GDX also ask that if anyone spots any errors in the sample, or has any constructive suggestions for improving the book please let us know at monoeyepress@gmail.com! If you guys do see something, please let them know; bear in mind that this is their very first time publishing so there ARE some kinks they need to work out.

GDX assured me that the book will definitely come out in a month or two as the editing is progressin in full speed and would like to apologize for the dely in the process and would like to say thank you for everyone's support and patience.

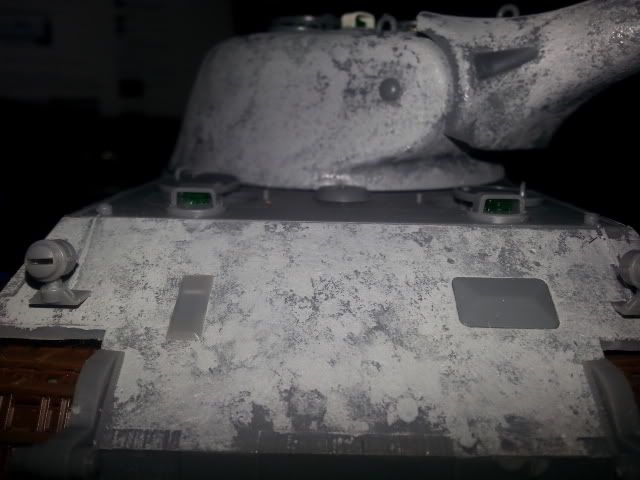
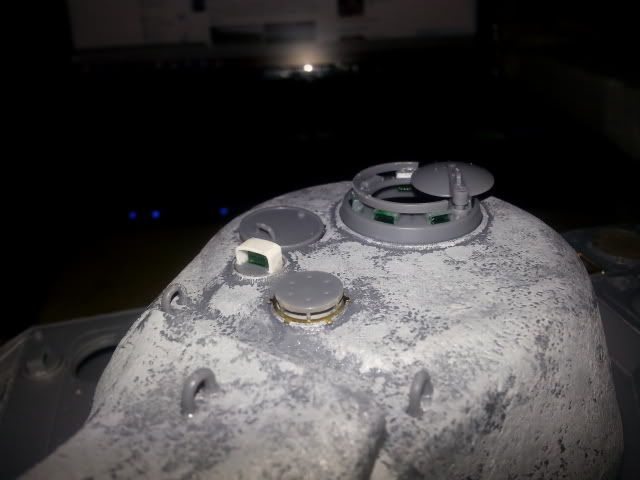
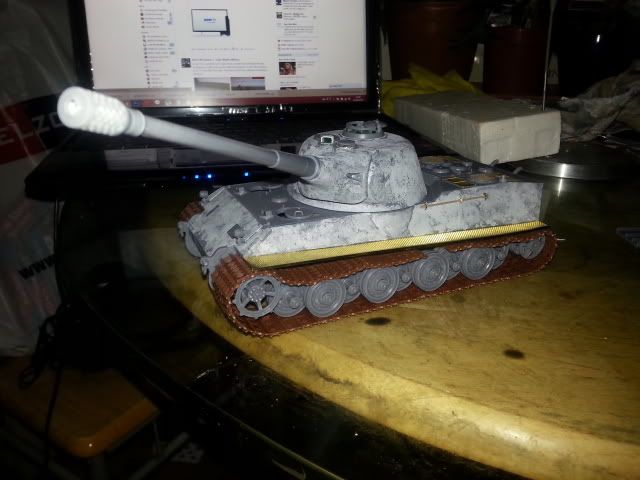
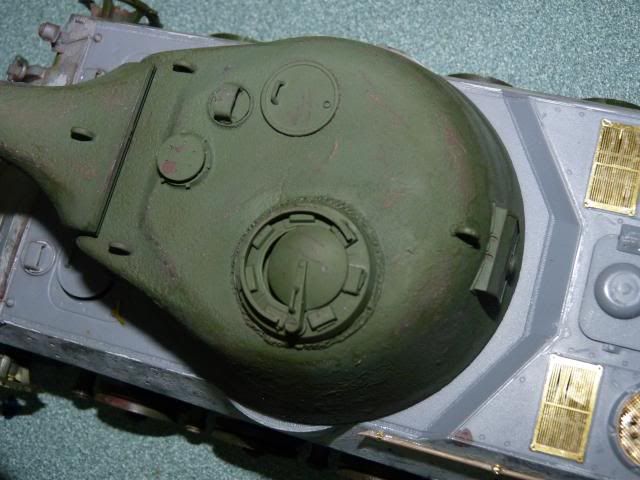
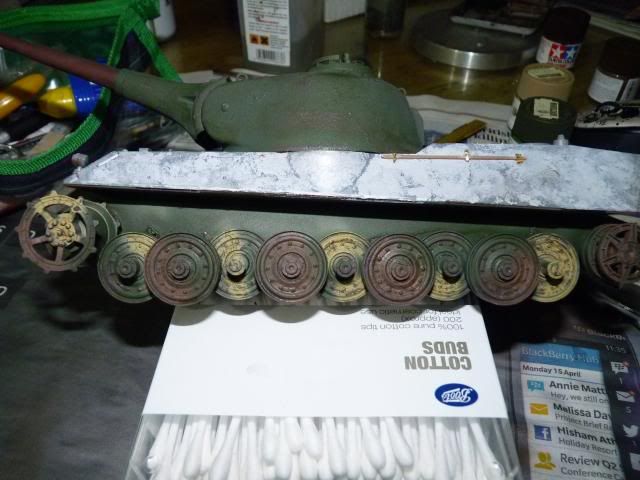
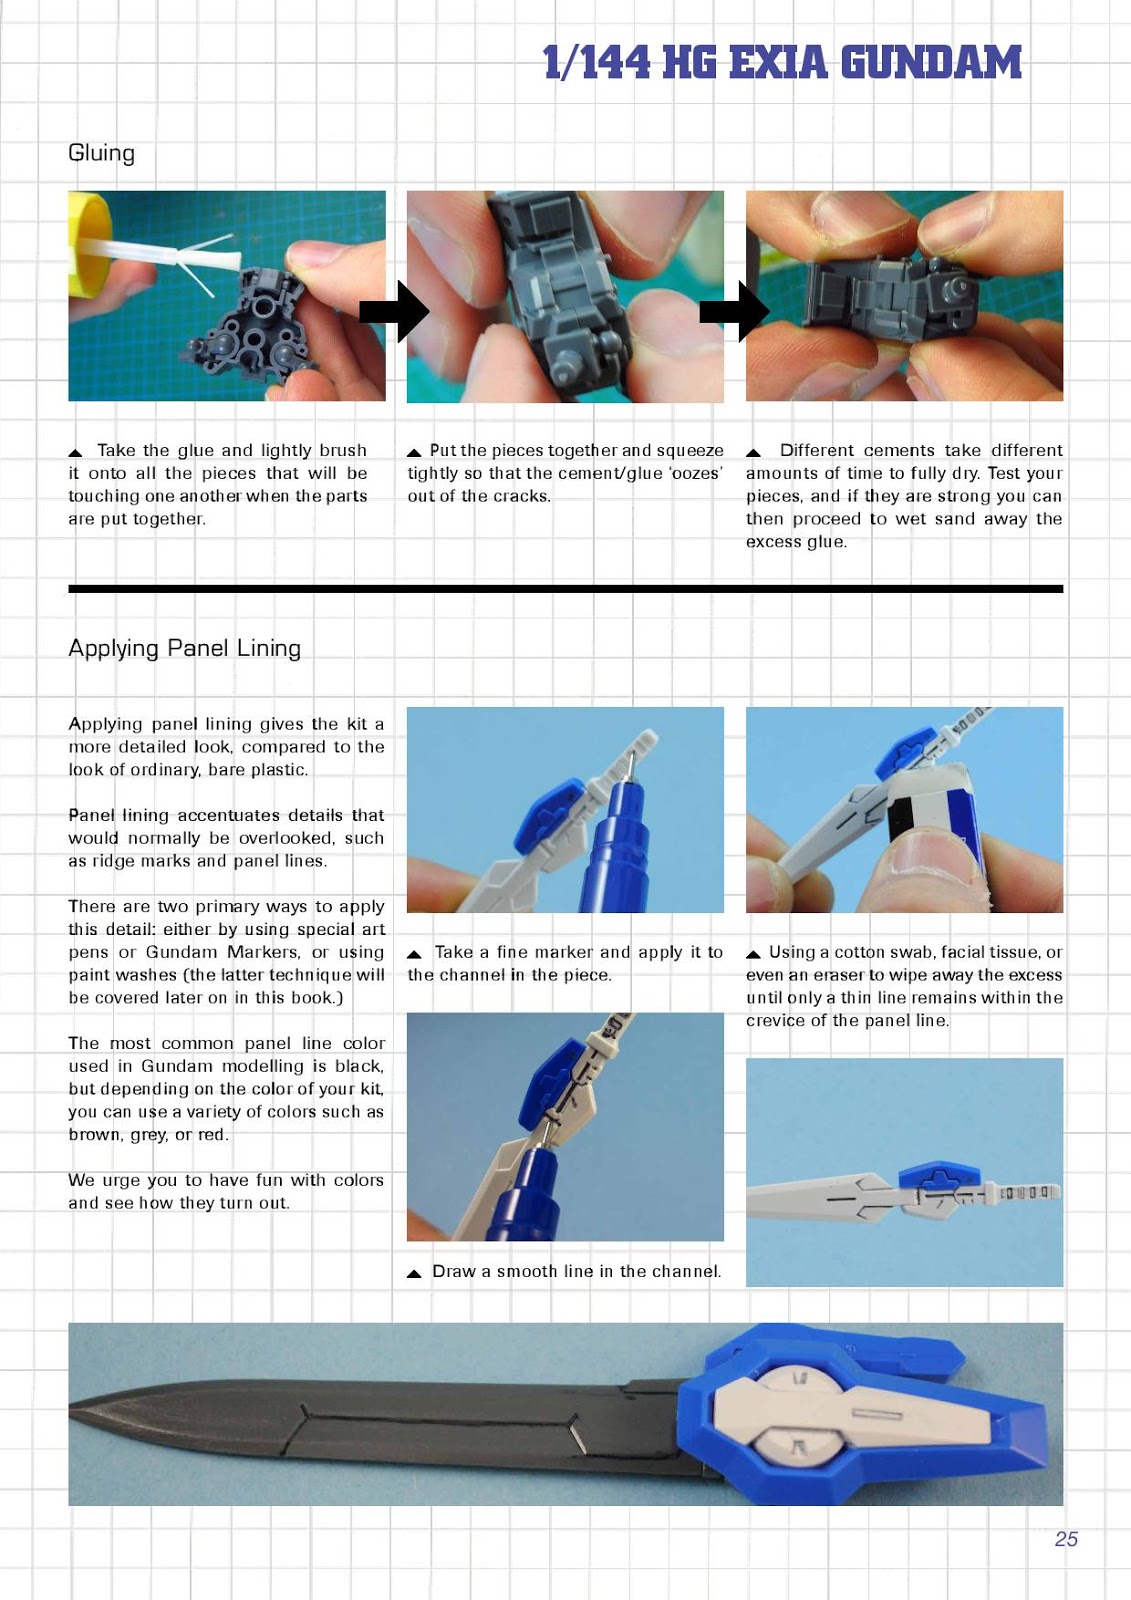
I have uploaded the pages from the sample chapter so just click on them, bring up the bigger image and you can see for yourself that good work they are doing.


Do drop by on their FB page https://www.facebook.com/MonoeyePress for any quires enquiries or support you may have.
Read more >>

Thursday 18 July 2013

Amusing Hobby 1/35 Lowe WIP - Part 4

Alright Gentleman.. time for an update. I do apologize for the delay between the updates as I was applying for masters and had to spend a lot of time discussing things with my parents. Dramas after dramas, oy vey... you know, Asian parents ....
Anyway, lets carry on with the wip -

The voyager instructions call for 2 different option, one where the tools are attached directly on the hull and the other where there is some kind of layout (I don't know what its called. Its also seen on the panthers as well). I chose to go with the latter options as I don't really enjoy seeing the tools just stuck on the hull.

This is the right side -

and this is the left -


Followed by the gun-cleaning-rods and the tow cable -
Right side - 

I chose to omit the two cable on the left side -

The Jack block and its clamps

Following all these, I made the fenders. The kit supplied fenders are rather plain and lacking in details and I wasn't particularly motivated to use them so I decided to use the voyager fenders. It wasn't easy making them and many a time, curses flew around the air then I would like to admit but I managed to pull through.
This is the Rear fenders -

Sorry about the flash. Couldn't find a way to take better picture.
This is the front fenders-

I also bought a few extra items to add to improve the visual interest. First of all was this item -

I haven't build these yet but they are plastic and the casting quality seems to be top-notch.
I also bought a box of tamiya figure-

which I will try to place them like so -

Still deciding on the final places for the crew to stand on though.
managed to invest some time in painting and finished painting all over the entire vehicle. I been mixing my own shade of olive green, redbrown and dark yellow that this time, I decided to use straight from Tamiya instead of mixing my own shade. I have finished the panther and tigers I and II in dark yellow base and to be different, I used olive green as base this time.


Some close ups on the tools and the Jack Block -


I can't decide if I should paint the hatchet, wire-cutter and shovel in metallic colours with chipping or keep them like this now.Anyway, that would be a decision for another day.
Well, that's it for this update folks. Hope I don't bore you out with too many words.
See you all next update.
Read more >>

Friday 5 July 2013

Amusing Hobby 1/35 Lowe WIP - Part 3

Hey guys. Thanks for sticking with me on this. I'm pushing myself to pick up the pace on this one. Lets start from where we left off last time -

I was talking about the tracks. Lets deviate from that for a while as I decided to put on the PE parts from Voyager.
First thing I put on was those little hatch-lock-thingy. I had to cut off the moulded one and glue on the PE parts -


I then went about putting the two head lights ( I have to admit, I am impressed by the moulded on cables ) and a little rectangle block to close what I think is a pistol hole. I also decided to lose the letter box vision hatch. Knowing myself, I will break it and lose it if I left it open. LOL.


Followed up by a little ring of some sort that is supposed to go under the air-filter cap -


Managed to put in, with some difficulty, the chain and the close defence weapon port plug


I put on the periscopes for the driver and radio operate after ward -


Followed by the visor for the Loader. I had to fashion a Scratch-built periscope cover as I have seen to lost it somehow.

Now, lets get back to the tracks. Here is a pic that I test fitted. I have only put on 100 at this point.


And here's the dry-fitted track, a total of 102 links as per the instructions -


Now here comes a major modification to the kit I made. As you can see from the photos above, the commander cupola and hatch sits directly on the same axis of the gun. If I think I know about tanks, that would be directly behind the breech. For a 10.5cm gun in L/71 Calibre, the breech would be huge and if the commander is sitting there, he would have become pancake with the first shot. Not to mention, the loader would have a hard time loading as well, with the commander in the way, well, sort of. These may or may not be true as this is a paper-panzer and we will never know but I will let logic dictate on this one and I just went ahead without looking back. So, the most sensible thing to do here is the move the cupola to the left of the turret. Here is a picture of it -

Its quite faint but I even put in a weld seam around the bottom edge of the cupola.

As you can see, the turret is in the base colour, Olive Green. After the cupola modification, the turret was more or less finished so I went ahead and base coated it. While doing so, I went ahead and paint the wheels and the lower chassis in anticipation of the easier track painting and installation.

This is the left side and there, you can see Red-Brown patches on the outer wheels and Dark-Yellow patches on the inner. The right side is paint the other way around, Dark-yellow on the outside and Red-brown on the inside. Just wanted to do something different.

Well, that's it for this update folks. Thank you all for the kind comments I have been getting and thank you for viewing my work and being supportive. Stay Tuned for more.
Read more >>

Monday 1 July 2013

CyberHobby 1/35 M26 Pershings In Korea

Hello Guys. Welcome to yet another finished product from me. This time I would like to show my first ever diorama. Nothing too big, just a small base for the tank to sit on. I figured I gotta start from somewhere when it comes to diorama so yeah...

The kit I finished this time is from CyberHobby, a branched brand from the famous ( or rather, infamous) Dragon Model Limited. A 1/35 M26 Pershings that I got 25% off. Having no interest in WW2 US vehicle, I never build any US vehicles so I decided to give it a try.

One thing about this Orange-box kit, IT IS HORRIBLE. The fitting are just awful, the instructions left me frustrated, the suspension attachment were weak and many problems. As usual, I don't care that much about accuracy as I am not a rivet counter.

I used Vallejo Olive Darb but the colour was too stark and I had a change of heart so I bought the fantastic life colour contrast & saturation set for US vehicles and, dear god, that was probably the smoothest paint I ever painted. I mean, I painted it straight out of the bottle WITH a cheap £30 airbrush and it came out beautiful. Probably my best airbrush work to date.

I used various brands; Tamiya, Vallejo, Revell for the other stuffs like the machine guns, tires and so on so forth.

Decal wise - I chose to do the 1st Platoon, Company B of the 1st Tank Battalion of the Marine  Corps. The instruction says it was the time when it was operating in the Han River area. I tried to do some research but I failed to find out if that is true or not. That being said, I decided to put in heavy snow on the vehicles.

For snow, the same product I used for the Type 90 was used. It is a bit grainy and the grains are big but I love how it looks. I'm happy with the snow. Special tanks to my friend Derick for helping with the snow.

The base is nothing special; I bought a photo frame from a second hand shop and I used modelling clay to fill it in, apply glue over it, sprinkle a massive load of the snow product. I a VERY VERY green when it comes to dios and bases but for the very first one, I am happy to get even this level.

Apart from the bad kit quality and a few uncertainty about my own skills with the finishing, I love every bit of this gal, especially the painting.
But enough chit-chat .... Its time for the photos -


This is probably my only post with a small amount of photos. Since this is on a base, I cannot shoot so much and don't really want to as well.


 It won't really feel like a finished kit from me if I do not put this up -
:P :P :P

 And That covers all I have done.
I know I am not a pro and I still have much to learn but I really love how this looks ( successfully managed to put on a more than average base) and really enjoy knowing how much I can apply what I have learned these past few months. I'm really happy to add this in my list of finished kit.
And as always, I could not finish this without the support of my great friends and peers and comrades. Your supports are much appreciated.

Thanks for looking. C&C and feedbacks are welcomed.

P.S - I still don't like WW2 US Vehicles. This took me like 4 months total to finish just because I don't like the vehicle.

Read more >>