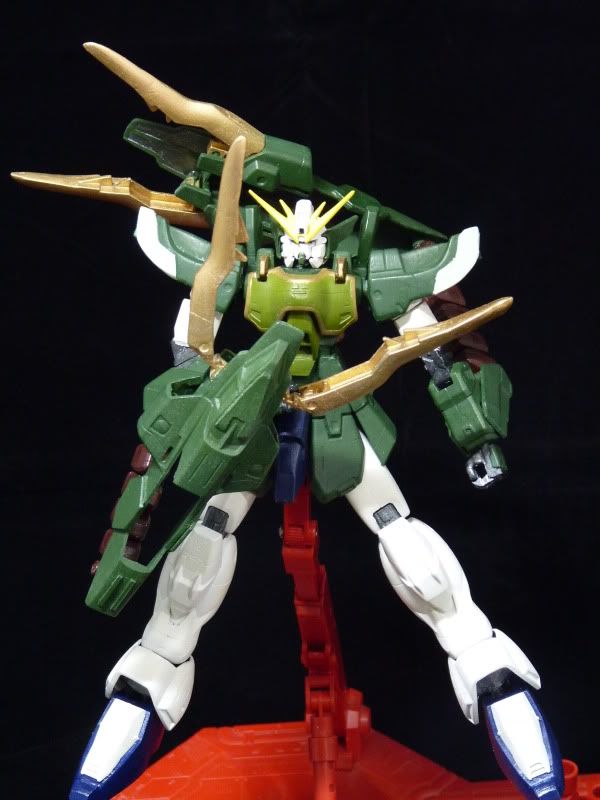
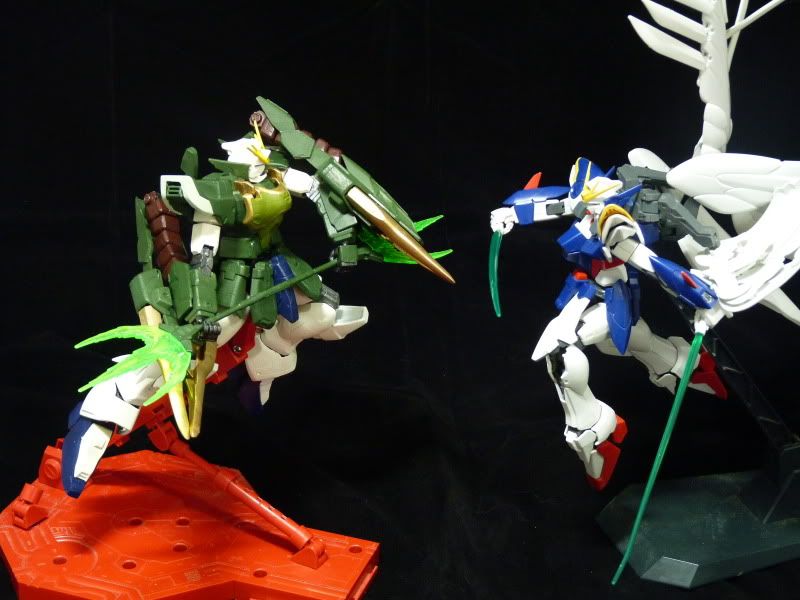
Right, This is update no. 7 and I wll be working on the face and the fangs from now on....at first, I was working to make the V-fin much better, make it thinner yet add a bit more length and bulk and the sorts..
As you can see, I install some plates by cutting off the Fins and gluing back together.... and add some thin plate on the sides of the large V-fins to add more ( I would say) bulk and sanded down and shaped into something similar to that of the WZC V-fins
Unfortunatly, I haven't take a photo of the sanded process for the V-fin so you would have to look at the works i done after a few more pictures...
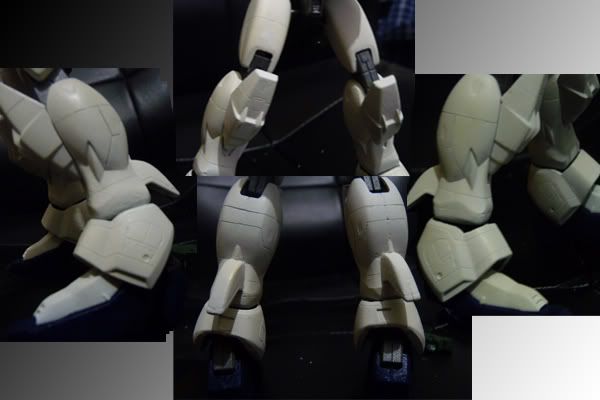
ok... and i was looking at the nataku head and I saw really really really small ''ears'' and I thought like ''what the heck are they doing there??'' and I decided to make a new pair myself...
As usual, you wanna make something new, you cut your pla-plate first so...
Step 1 :
I admit I based if off the ears of the WZC but I also tried to retain the orgial look
step 2 : some small details

That is my way of scribing, which is extremelly useful to scribe straight line - you see the lines I drew with black pen?? basically you just line up this '' Dymo tape'' along the pre-drawn line and after making sure the tapes are securelly adhered to the plates (make sure the tapes are not moving)... you just scribe by means of a scribe or a hobby knife...
and voila ... here is the finished new lines... the upper one is the exterior of the ''ears'' and the lower one is the inside of the ears..
after that, which is step 4, I just cut of the orginal part, precisely at the place where the ear started bending... and sanded my SB ears into a angle and glued with the orginal part like so in the picture ....
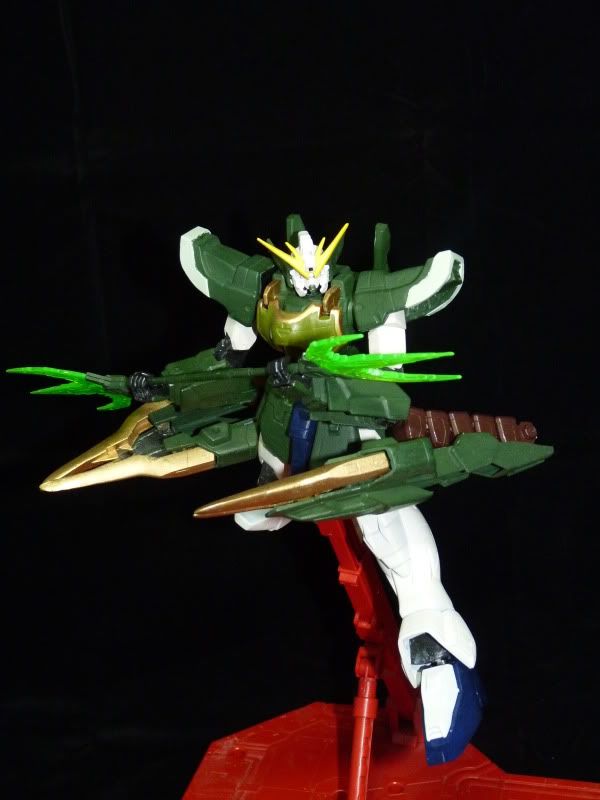
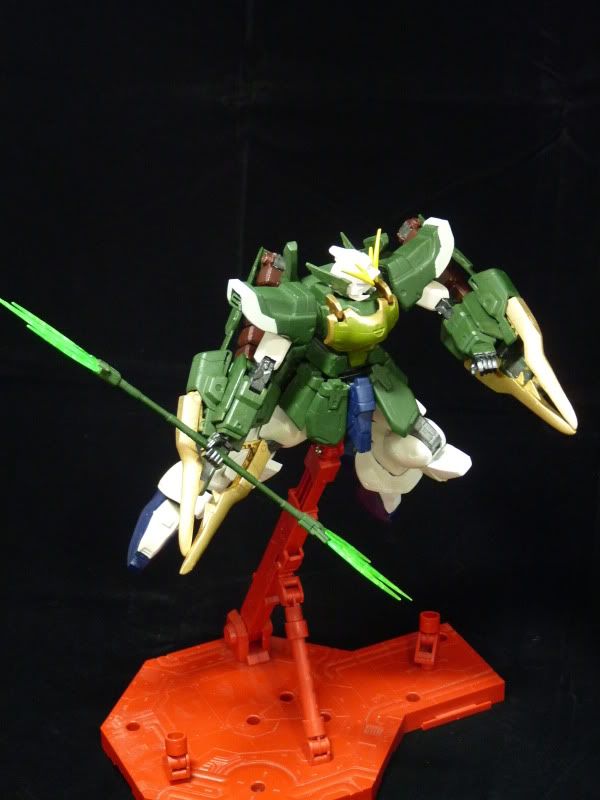
Can you guys see the early stages of the V-fins shaping?? That is so ovbiously messy and looks very bad and I just hated it cos its so hard to shape so I made a new V-fin out of scratch.. again, I love the WZC v-fin so I based this V-fan of the WZC V-fin... here is the result I get... which is pretty cool in my eyes...

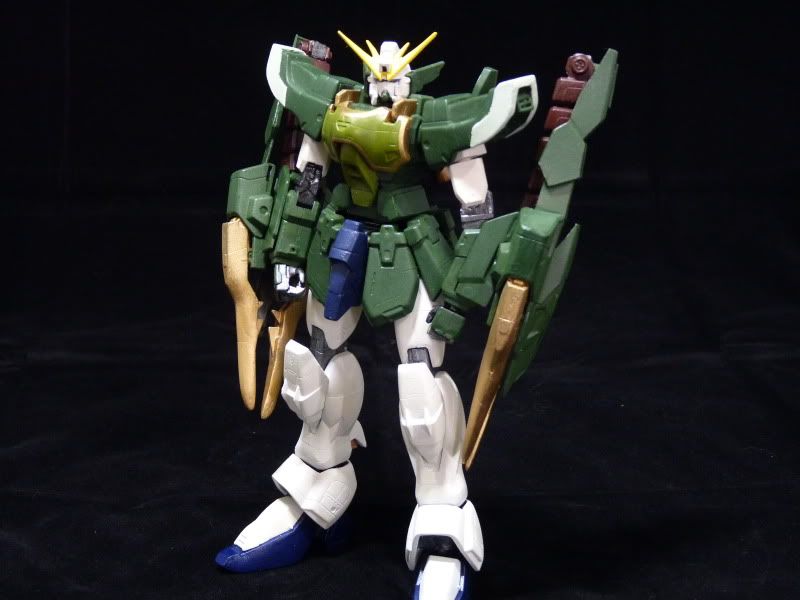
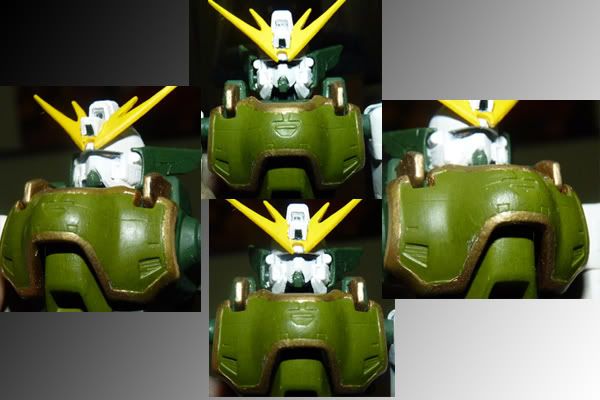
right.. that's the head done... all that's left to do seam line and some more tidy up.... next up is the dragon fangs....
as everyone knows, the fangs are quite a bit short and little bit dull, so I elongated and sharpen them a bit by means of pla-plate shapings reinforced by putty... and this is the result it give ....

I have to admit, the sharpening of the fangs are not exactly top-notch, but I am happy with what I got... and move to the detailing the shields...
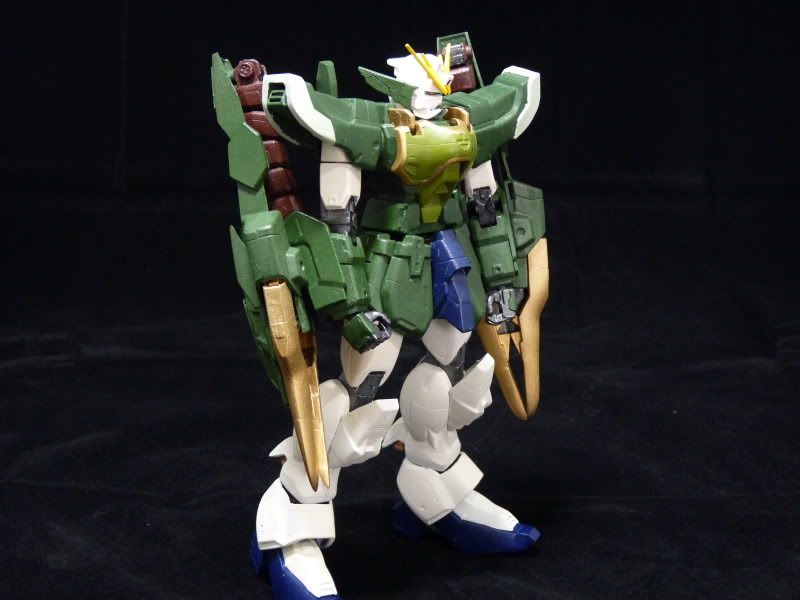
I was looking around the shield and found that it was too bare so i decided to detail it up... and i stared on the sides .... by cutting 4 plates like so ...

after that, I glued them on the sides of the shields and sanded down the sides to an angle to match with the shield, and the final version looks like this ...

and I thought, ''ok, the sides is done, happy with it.. what else??'' and I found that the 'head' of the shields looks rather plain so I just strap on a plate to detail is up a bit . The following picture describe that as well as shows you the upper portion of the shield..

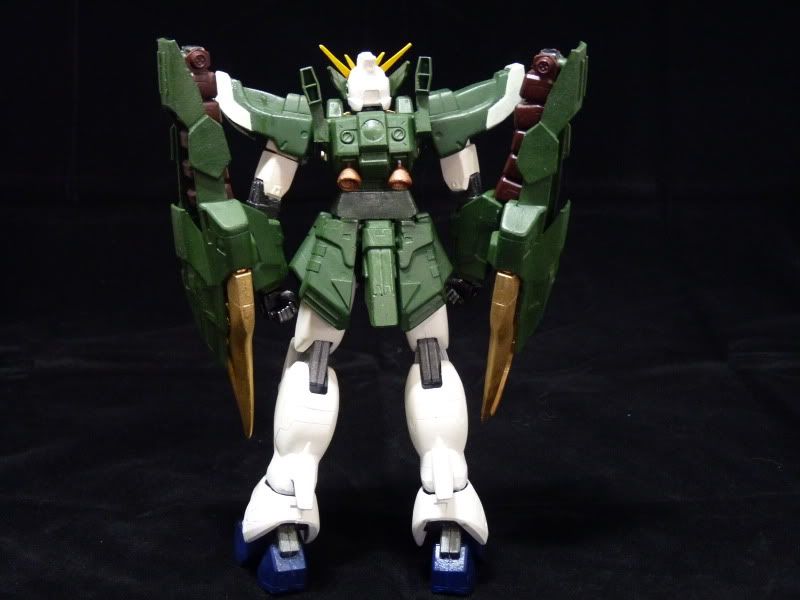
That's the upper portion of the shields done, so I moved on to the lower ( you say the interior of the shield or its belly)... As you all know, the underside of the head of the shield is hollow which is just awful so i filled that up with greey putty... and I used strips of pla plates to come up with that ''panel??'' looking part you see on the pictue.

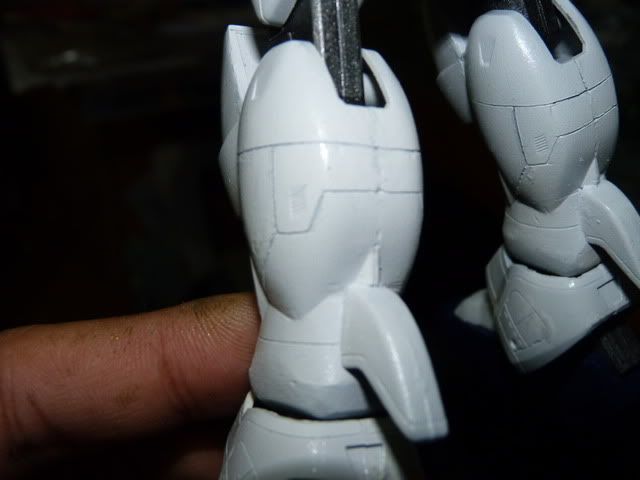
As you can see from the picture, I also detailed the hollow sections where the fangs go in when it is at their normal position. That hollow section was just aweful so filled that up with a plate, cut according to the shape and size of the hollow region and put on a kotobukiya vent part diagonally ... I was going to SB my own vents but i was just play lazy.. :P hehe ... and as you can see from the following picture (sorry about my ugly hand :P )... the details fit well after every part is fitted, although it's a little hard to see... hope you guys can see that

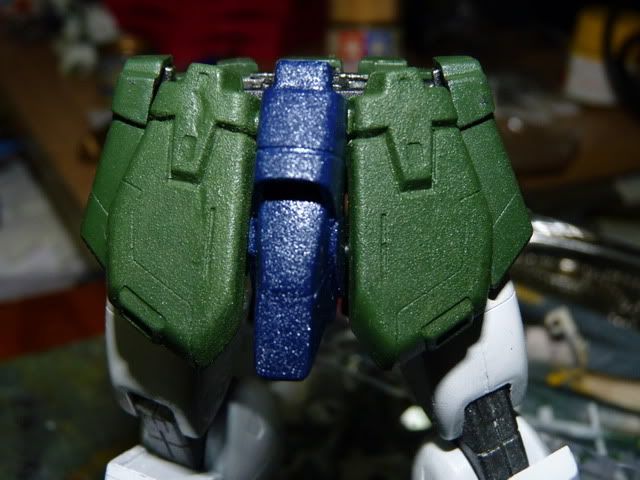
Now, it has come to the final part of the detailings of the shield... the peg on the posterior part of the shield goes into a polycap at the end of the red segmented chain (i'm talking about the circled part from the picture)

That was pure eye sore... a absolute bummer to the actual kit.... and so I decided to improvise an detailed up that part... like so...
It was done by surrounding with pla plates, fliing the gaps with green putty and putting another layer of alternating thin strips for cosmetic purposes...
Attached back to the chain, it looks like this...

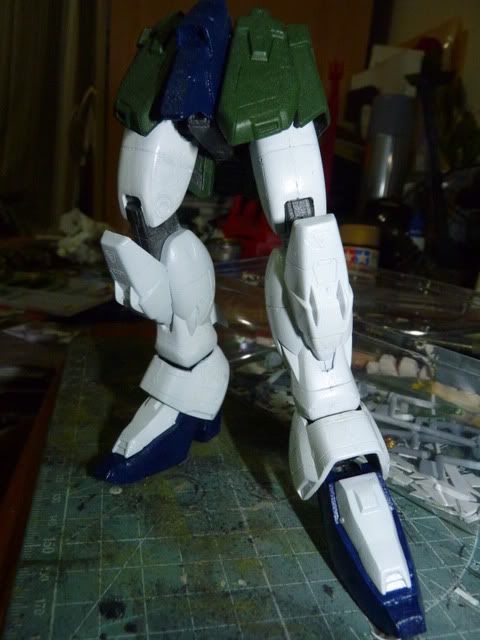
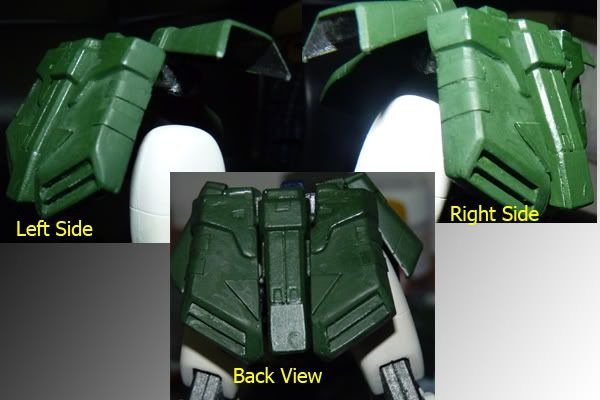
And I am very very very much facinated by my own results :P :P (if I'm not, who else would.. :P.. nah.. just joking around.. :P ) anyway, that's wrap up the dragon fangs/shield of my Nataku.. next up is the backpack.... Stay Tuned...


 - you will see that there are , how should i say, dots dots dots appearing all over the front skirts..
 - ta da, another pair of booster.. and that one swivel up and down and yes. the poor little 144 deathscythe had to gave up his parts for the glory of the double dragon..
  ( and yeah, the booster idea comes from the MK. II)
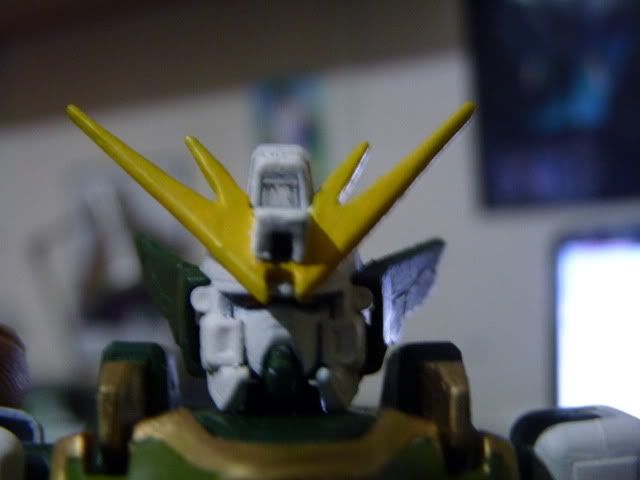


