Tuesday 29 April 2014

W.I.P - R.O.K.A K9 Thunder SPH - Part 2

Alright Time for an update for this gal .... 

On to the turret -
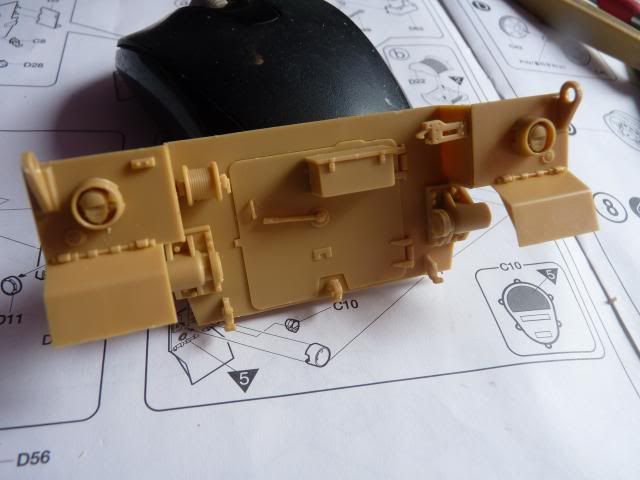
I glued the turret floor, roof and the back wall together - 


I put up the Mantlet after that; it's pretty well done and gun elevation is very stable and controlled. Love it. 


Image


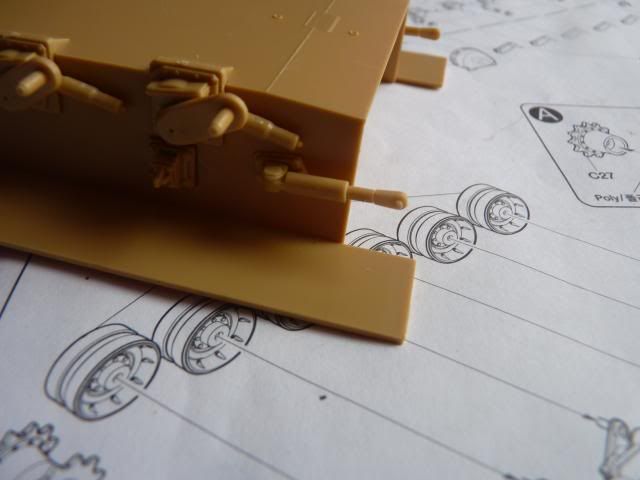
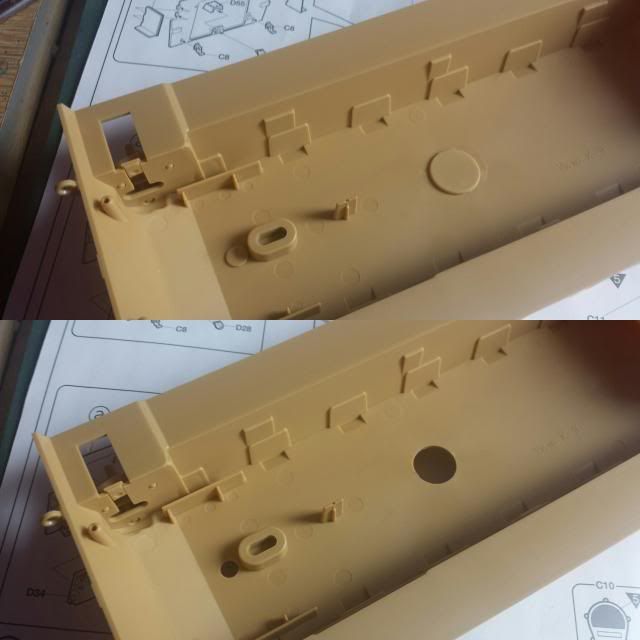
Coming up next is the gun barrel. I glued two halves of the lower half of the barrel, cut off the bag thingy ( for the life of me, I can't remember what is is called ) from the kit and glued on the resin piece. It looks a lot better and more defined-


Image


after that, finished up the barrel -


Image


The great size of the barrel can be appreciated here.. love those big guns 

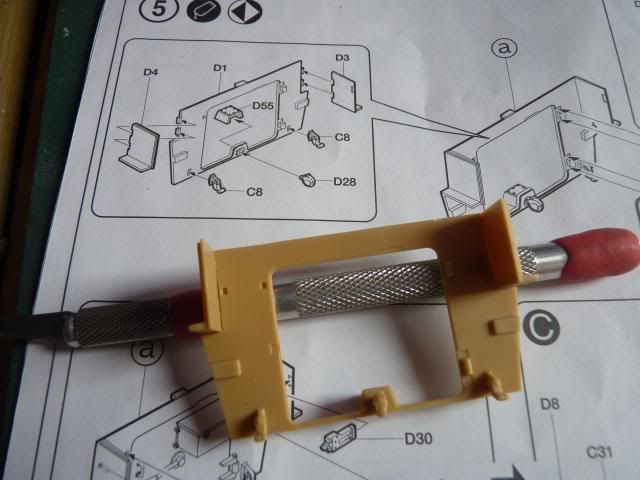
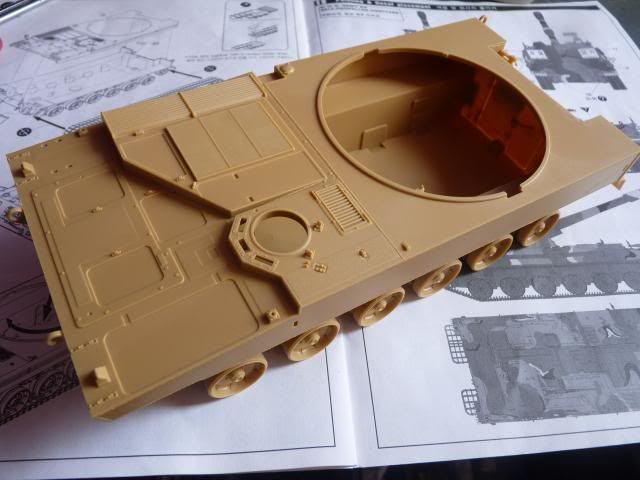
After that, I have to put on the floor of the gun mantlet on top of the big gaping hole on the turret floor -


Image


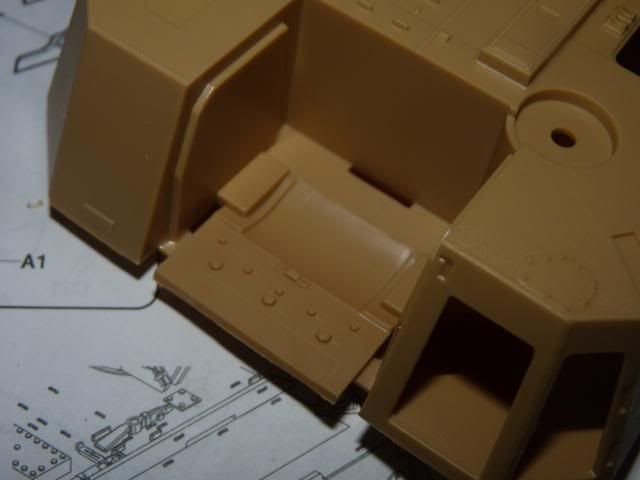
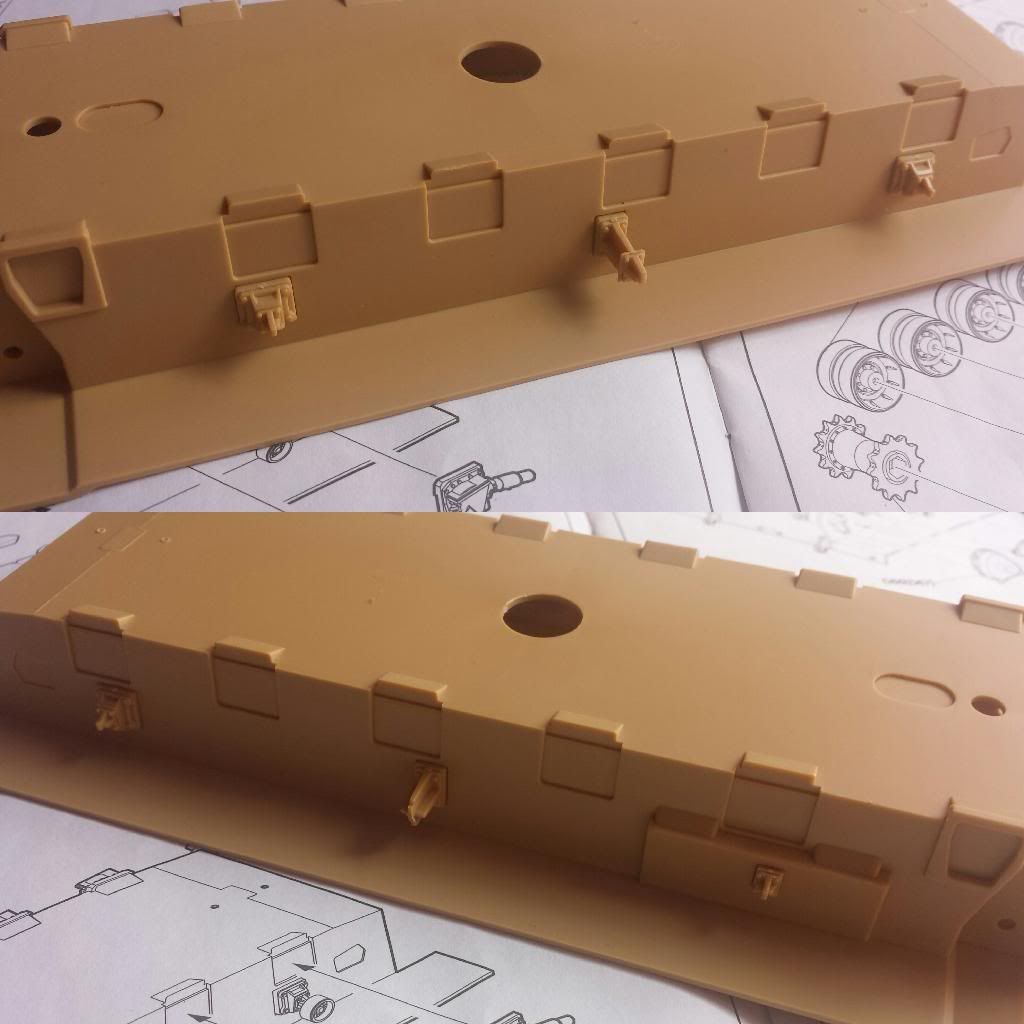
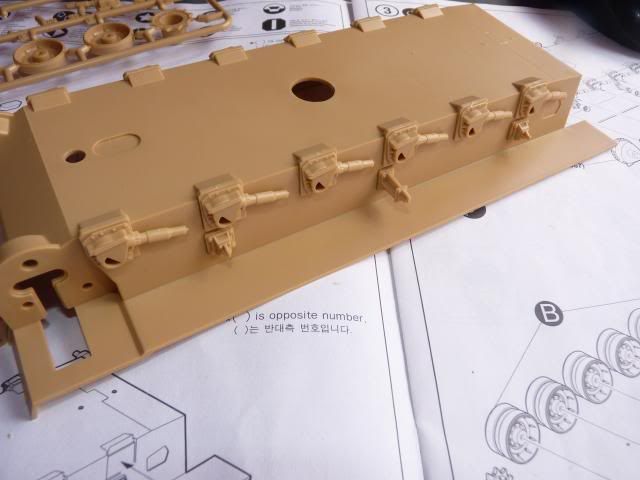
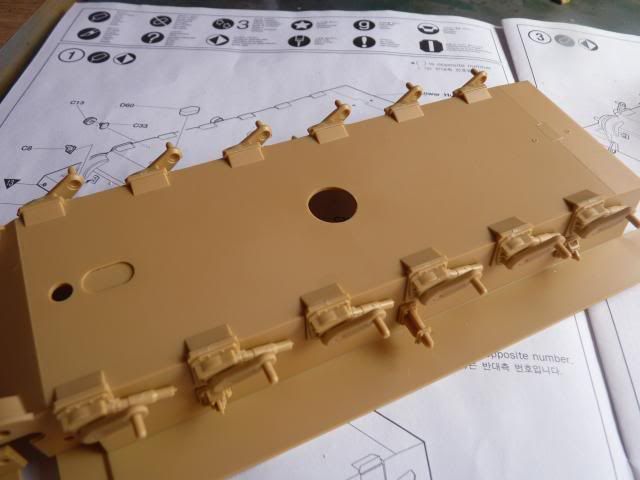
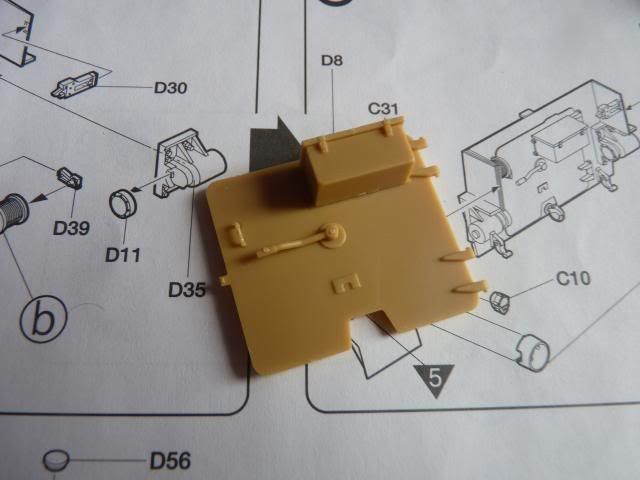
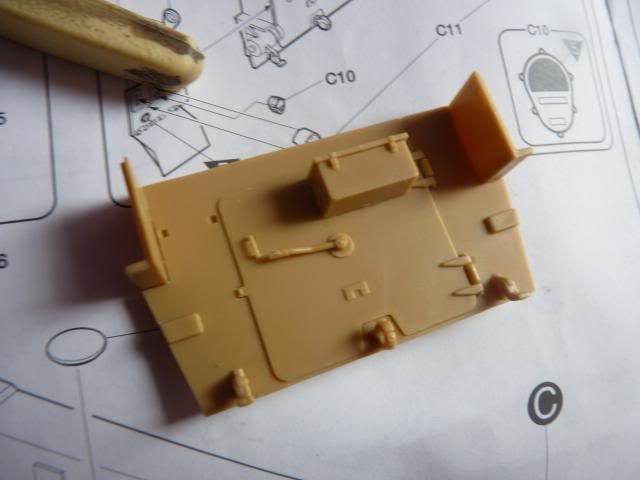
I followed that by putting on all the various doors on the sides of the turret -

Started with two on the rear of the turret -


Image


Image


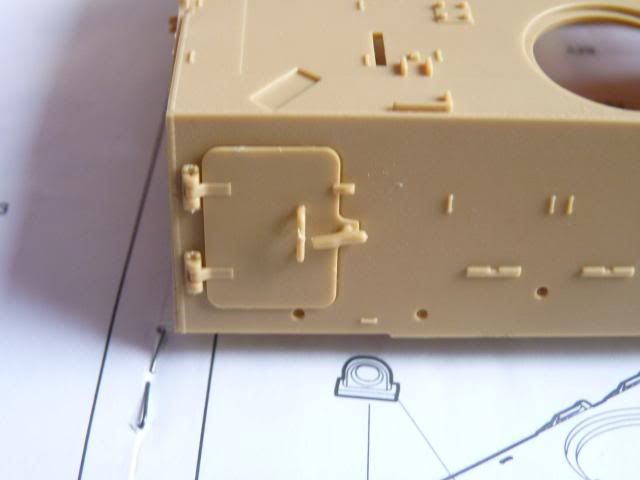
And the remaining doors on the front left side of the turret -


Image


Image

Image


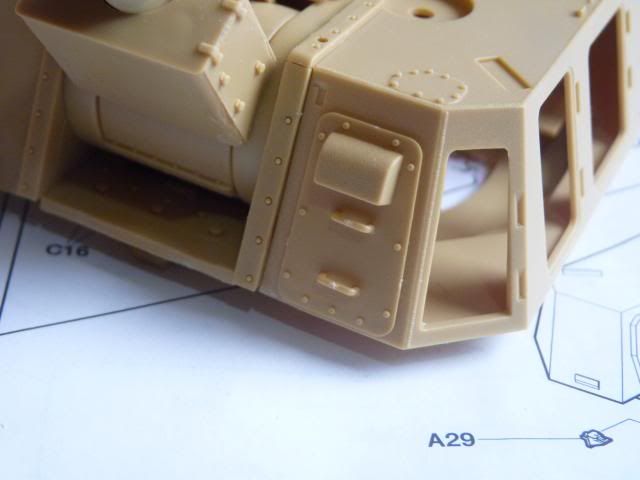
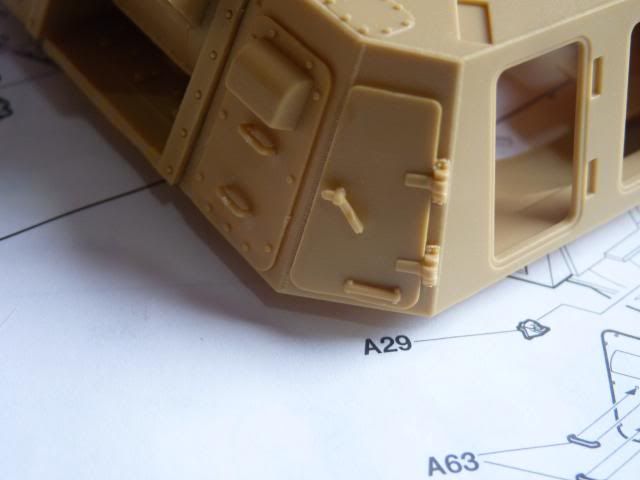
The small details are a little bit soft but looks pretty presentable.

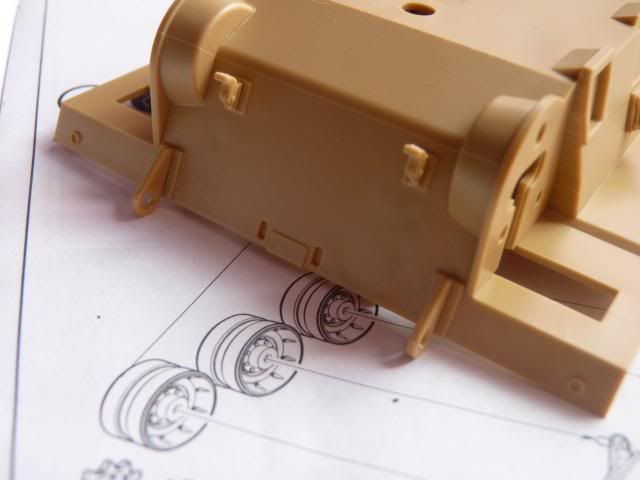
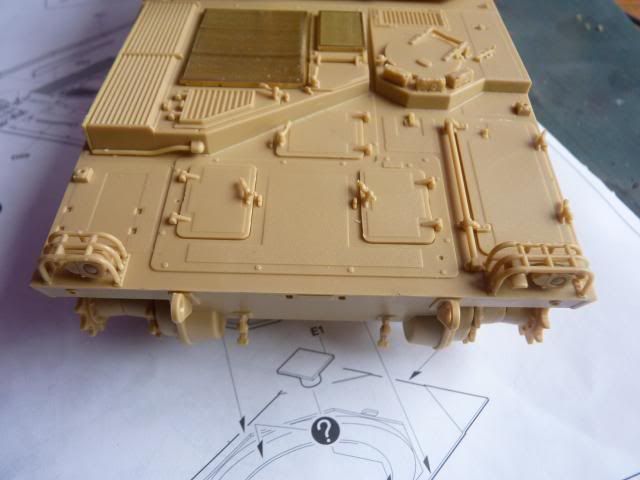
After that, I moved back to the front glacis plate. I put on all the hatches doors and some handles and lock -


Image


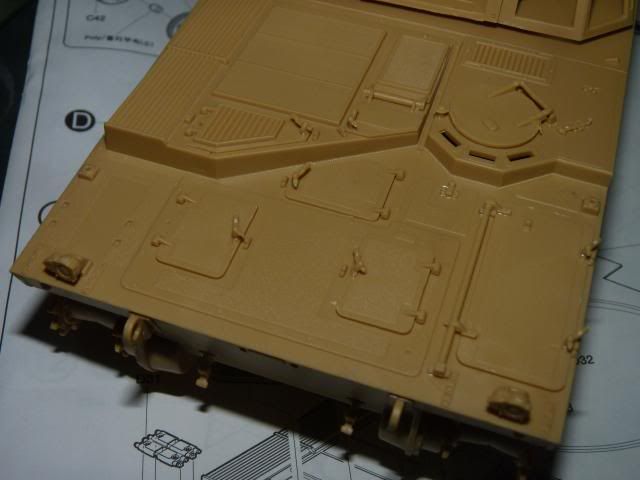
Put on the vision blocks for the driver. The blocks are provided with their covers closed. I could modify it into showing the covers opened but I couldn't be bothered.


Image


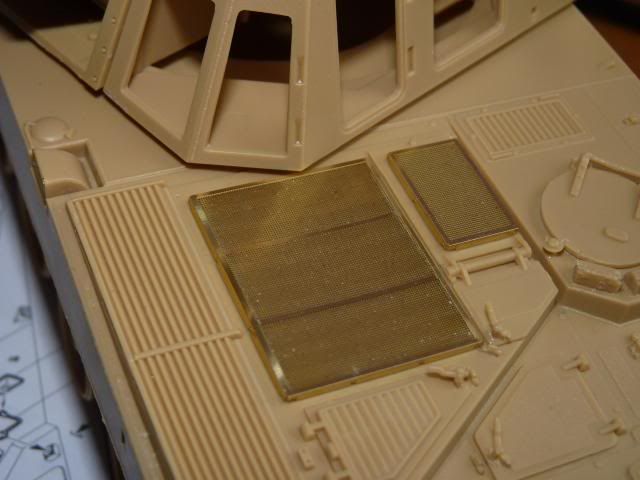
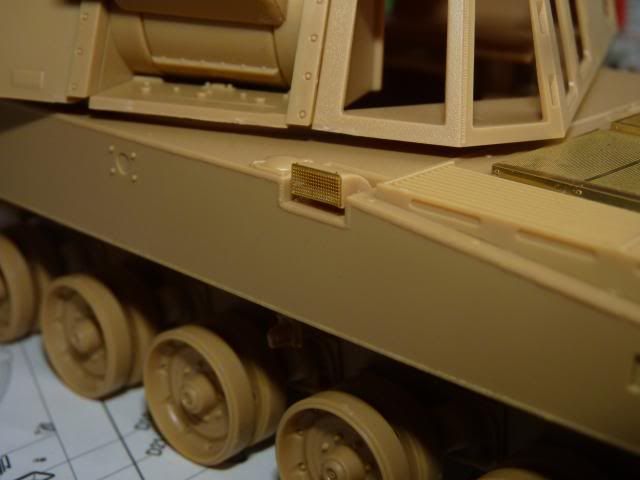
After that, I put on the photo etch for the engine grilles -


Image


and a exhaust cover -


Image


and put on the head lights -


Image


Doing pretty fine so far, haven't met with that much problem yet and enjoying ever bit of this. 
Wel, that's it for now... until the next update.... 
Thank you for looking...
Read more >>

Saturday 26 April 2014

W.I.P - R.O.K.A K9 Thunder SPH - Part 1

Hey guys.... As you all know, I have finished the Type 99, DANA and Pzh 2000 and I have been infected with the Arty fever. It doesn't help that Dr. Turner ( His YouTube Channel ) is also doing a similar theme like me so we become some what of a bit of rivals, racing with each other will be able to build as much ( or all ) of the SPG kits out there. So this time, to compliment my fleet of SPG, I will be adding the K9 thunder of the R.O.K army to the rooster. 

The kit is a few years ( I think it came out in 2010 ) one but a pretty decent one- 

Here's the box -


Sprue shots -
Image


Image


Image

Image

Image

Image


While walking around the Southen Expo show at Hornchurh a month back, I managed to accquired this little box -


Image


The resin parts are well casted and it also include a smell fret for the engine grilles. A lucky find indeed. I wanted to buy a more dedicated set from Orange Hobby but it was expensive so I backed out of that.

As per standard, everything starts from the lower hull -
The instructions calls for the gluing of the return rollers arms -


Image


following with the show absorbers ( I think they are shock absorbers ) -


Image

and the suspension arms -


Image

Followed up with two hooks and circles -


Image

The transmission and sprocket hub -
Image

Followed by what I believed to be a shock absorber for the idler wheels -


Image

Then, I had to build the rear hull, following the instructions as you can see in the picture -


Image

and the door of the rear hull -


Image

which goes on quite nice and tight on the rear hull -


Image

I then had to put on the sides of the rear hull and the mud flaps -


Image

Academy has made this kit into R/C convertible so they included some pieces that is used to closed up the holes on the belly -


Image


Image


Checking everything, I glued the lower hull and the upper hull together. There was no problem with the front, it went on very smoothly with no seams but the rear hull was a bit of a problem. I still have to fill the gap but also put in some welding seams as I have seen from some reference photos. -


Image


So that's it for now ... stay tuned for more..
I'm sure I will enjoy this as I enjoyed the Type 99.


Read more >>

Tuesday 22 April 2014

Rest in Peace, my dear cat

A great lost ..

He was really the best cat.

He was kind, quiet, gentle, and never cause any trouble. 

He was the sweetest cat ever and he always give massage while lying alongside me.

I will miss you so much Shittati.

I already do.

Rest in peace my very good friend.


May heaven open its gates to you for your friendship to me and my sister for nearly a decade .... ...


Read more >>

Friday 18 April 2014

Revell 1/35 Panzerhaubitze 2000

Good to to you guys.

First of all, let me wish you guys a happy new year. Yesterday was our Burmese happy new year and I was actually going to post this yesterday but I got lazy so yeah. Wishing my happy near year to all of my dear readers and may you all have a beautiful year all around. 

Right, I have here the Pzh (Panzerhaubitze) 2000 from Revell. This is an old kit, first released in 1999 and it is showing its age. There was, however, a surprise from a kit this old, and that surprise comes in the form of a metal barrel. I never knew about that and when I saw it, I was pretty impressed. Sadly, the metal barrel is VERY heavy and the mantlet attachment is very weak so alot of force was needed to glued on the mantlet. The kit is actually not that bad but the details are soft. I bought the eduard etch set for this girl which really made some differences.

This gal is painted in ( all from Tamiya ) Nato Green, Nato Brown and Nato Black. Scheme is per the instruction and references per the Bundeswehr as I saw that all German PZH2000 are painted in the same pattern, with the exception of the ones in Afghanistan.

The amount of sanding and taking off parts from from this old kit to put on the etches took its toll on me upon reaching the weathering stage. At this point, I was running on fumes and I couldn't be bothered with so much effect of weathering effects so I just went heavy with various colour of dusts. I could have done better and more but I just wanted to call it done and make way and time for more kits.


Well, that's about as much I can sum up about the build. 
I'm actually not that  satisfied with what I did but I ran out of fuel while weathering this and I just wanted to call it done. I'm glad that it is at least a little bit presentable.
It's time for the photos - 
(If you think some are small, just click on them ) 


The scopes - 


The running gears -


And as usual, my show case photos from various angles -


And as usual from me, the Gary Wintin Shot as coined by a friend -


Well, that's all I can say about this. As you all know, my patience is my bane so the usual hiccups are met but nothing I can complain, ok I can complain; I could have done a better job on the wheels  and other weathering effects and I really should have given the dust effects some more thoughts and a better job. Sadly, I ran out of fuel and just wanted to call it done.  All in all, this was a good build and it was quite enjoyable even with the annoying sanding and cutting off of the old parts.I am happy to have this on my shelf as this kit is getting rare and I also really love this vehicle. 


I couldn't keep building if not for my supporting friends and comrades. Thank you guys for always supporting me. Thank you dear readers for your patronage as well.

Until Next time.
Read more >>