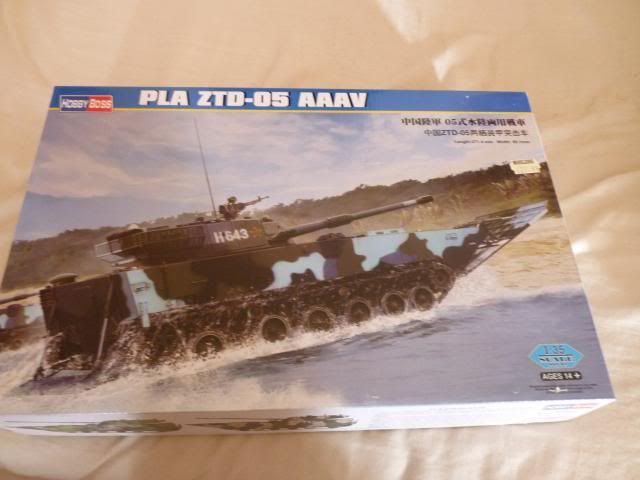
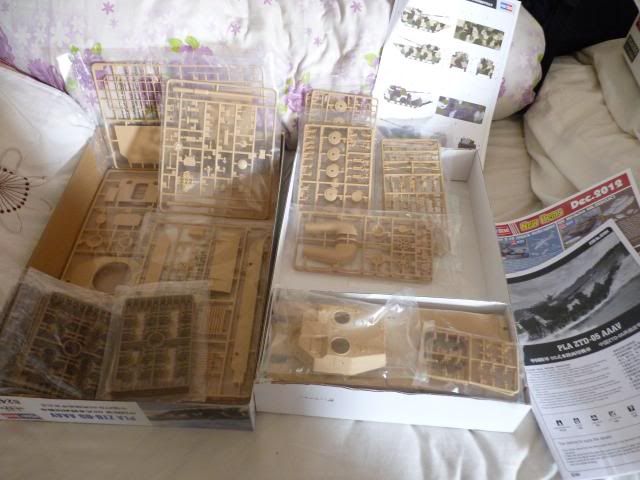
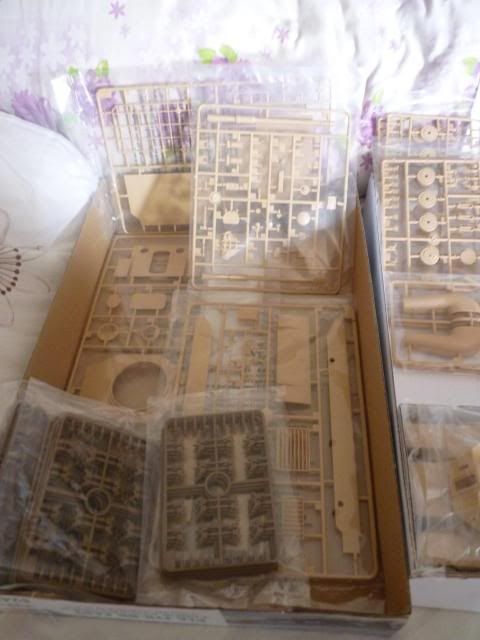
Right, I have an update here Gents ....
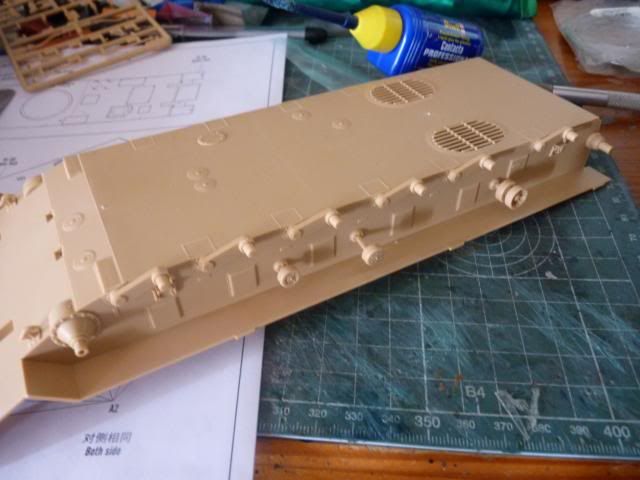
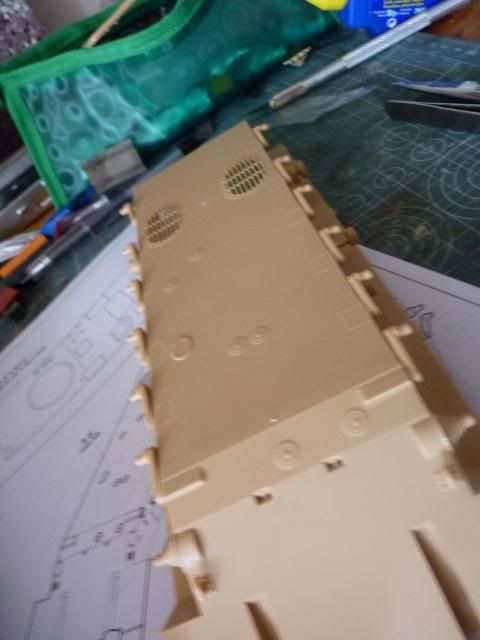
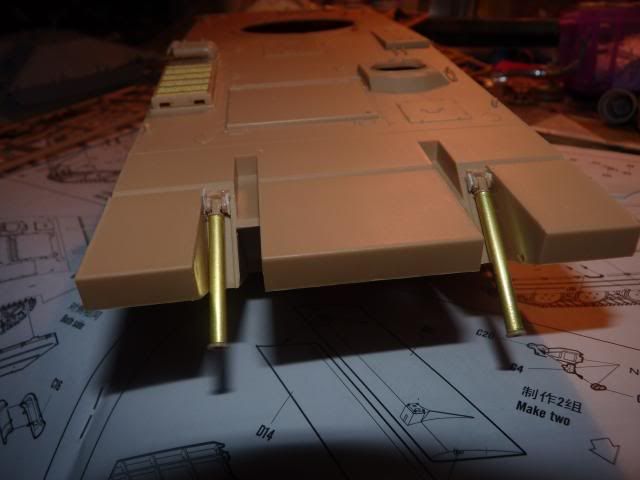
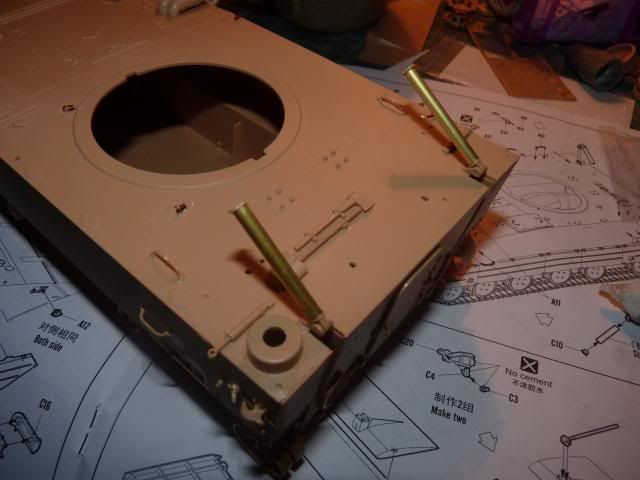
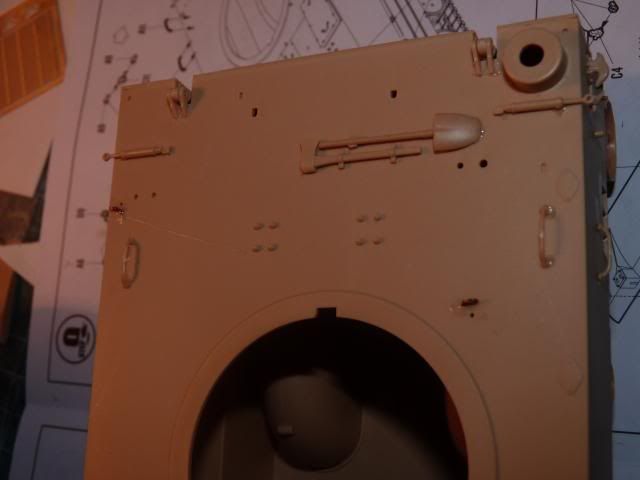
I carried on with some bits and bobs from on the top of of the hull. I put on the Exhaust pipes and one of the engine grille. The etch are from the kit itself -

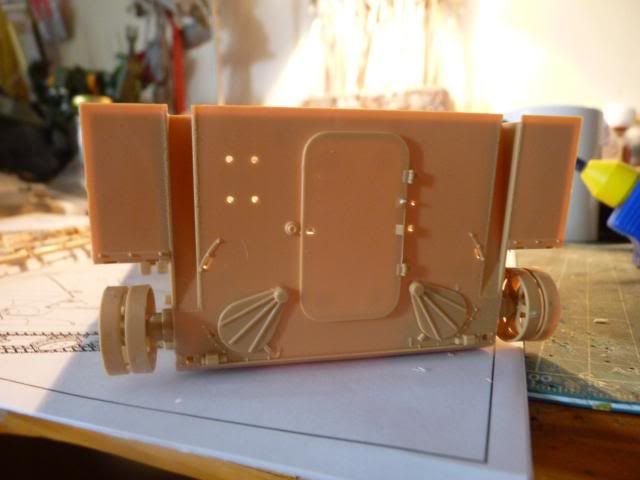
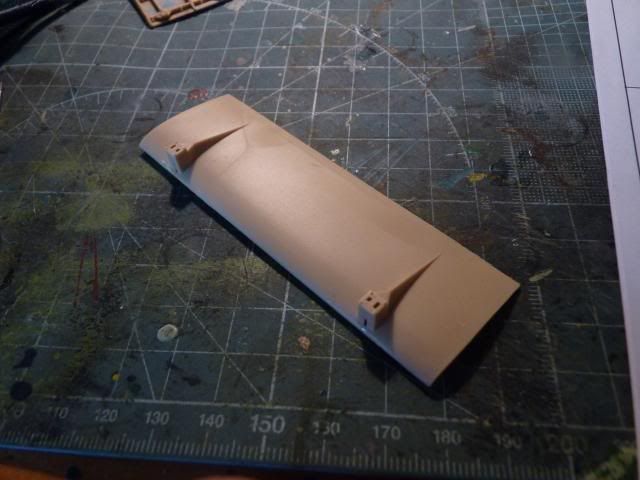
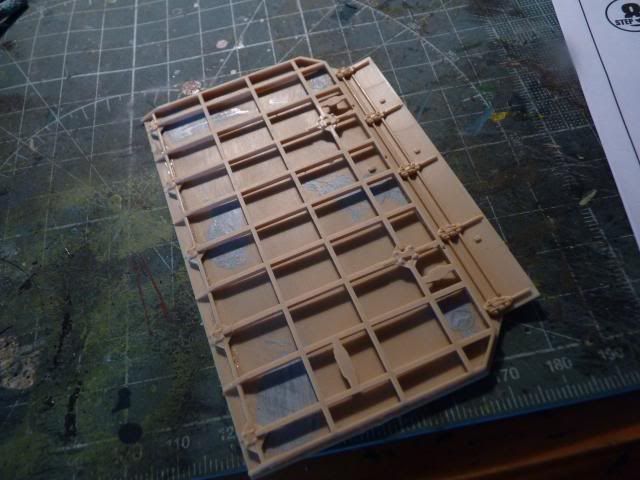
Knowing how annoying and complicated this workable flap will be, I decided to start building the bigger parts to make life easier. Here is the rear flap -
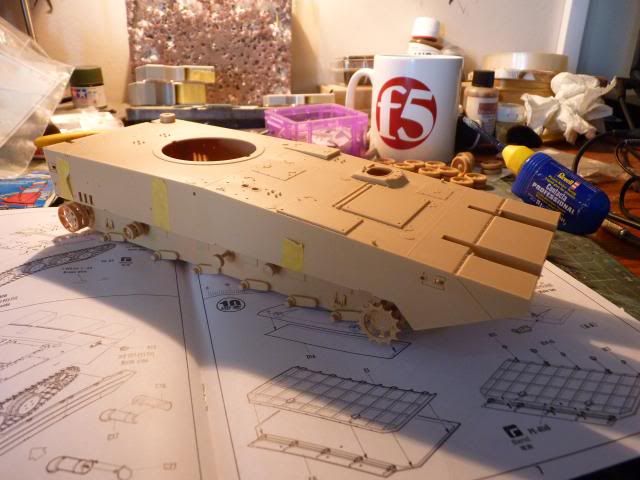
And this is outer part of the front flap. I had to put on those table like structure onto the flap. Stupid Hobbyboss had punch hole on that flap so I had to fill them. You can even see them in the photo there.
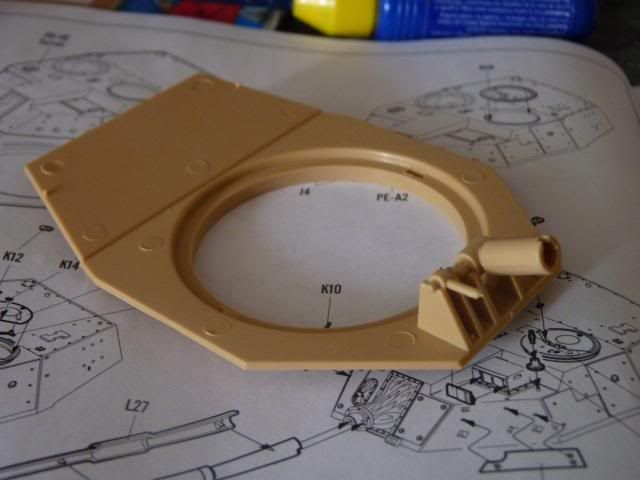
I deviate along from the instruction and started building the turret.
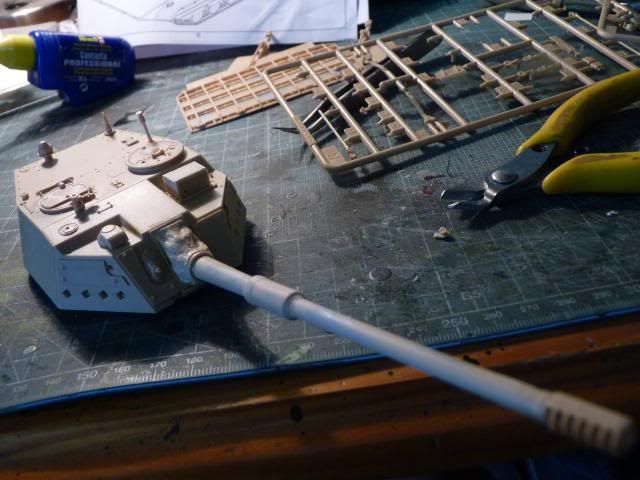
The gun was actually made to be moved up and down -
But after the mantlent and its cover was up, it cannot move anymore. I don't know why they would do it like that .
.
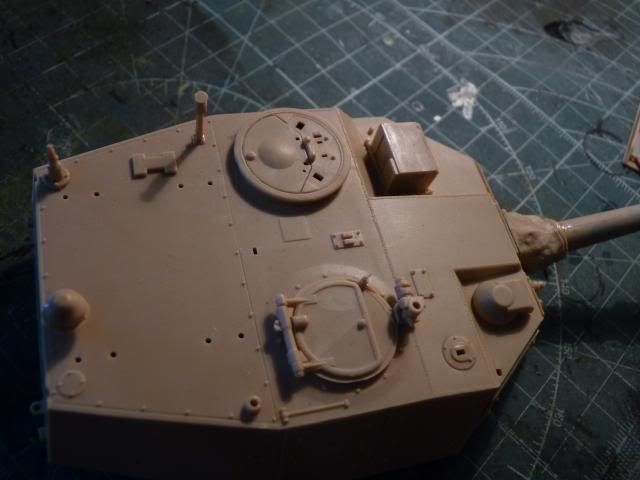
Here is how the turret look in general -
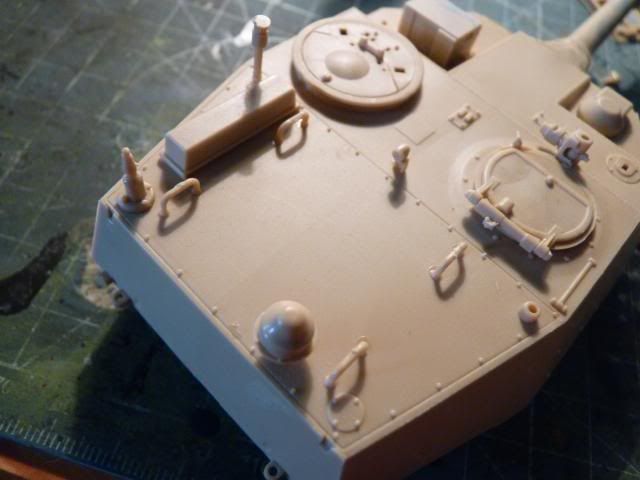
I put on the hatches. The hatches can be shown open with complete lock and handle from the inside but since I could not find a PLA crew member, I had to close it off.
I put on the smoke grenade launcher after ward -
And I try as best as I can to put on as many parts on the back of the turret as possible -
There are a lot of small pieces involved and it really tire my eyes out, dang. But I am enjoying this build. I don't know how that infamous flap will do to my patience but I hope nothing too serious LOL.
Well, that's it for now. I will keep you guys updated .
Read more >>
I carried on with some bits and bobs from on the top of of the hull. I put on the Exhaust pipes and one of the engine grille. The etch are from the kit itself -
Knowing how annoying and complicated this workable flap will be, I decided to start building the bigger parts to make life easier. Here is the rear flap -
And this is outer part of the front flap. I had to put on those table like structure onto the flap. Stupid Hobbyboss had punch hole on that flap so I had to fill them. You can even see them in the photo there.
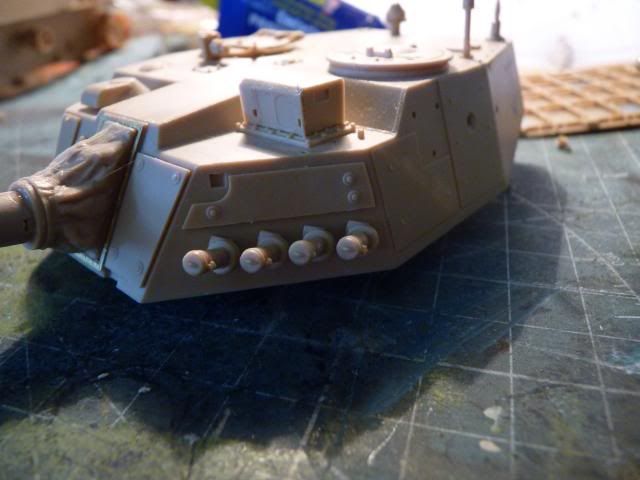
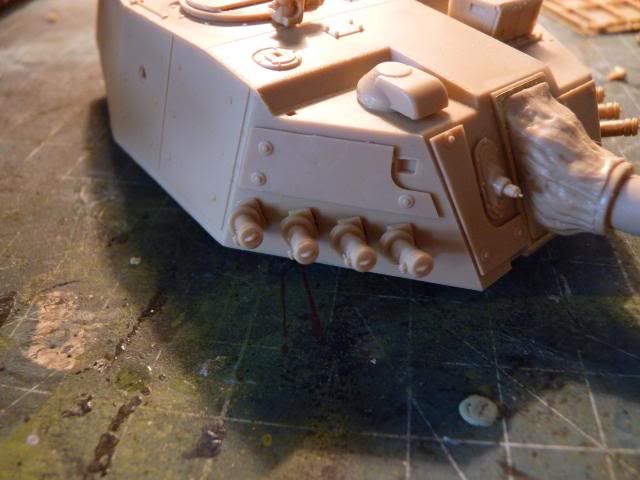
I deviate along from the instruction and started building the turret.
The gun was actually made to be moved up and down -
But after the mantlent and its cover was up, it cannot move anymore. I don't know why they would do it like that
.Here is how the turret look in general -
I put on the hatches. The hatches can be shown open with complete lock and handle from the inside but since I could not find a PLA crew member, I had to close it off.
I put on the smoke grenade launcher after ward -
And I try as best as I can to put on as many parts on the back of the turret as possible -
There are a lot of small pieces involved and it really tire my eyes out, dang. But I am enjoying this build. I don't know how that infamous flap will do to my patience but I hope nothing too serious LOL.
Well, that's it for now. I will keep you guys updated .