Friday 27 September 2013

WIP - 1/35 ZTD-05 AAAV - Part 5

Right guys.. Time for an final update before I launch this - 

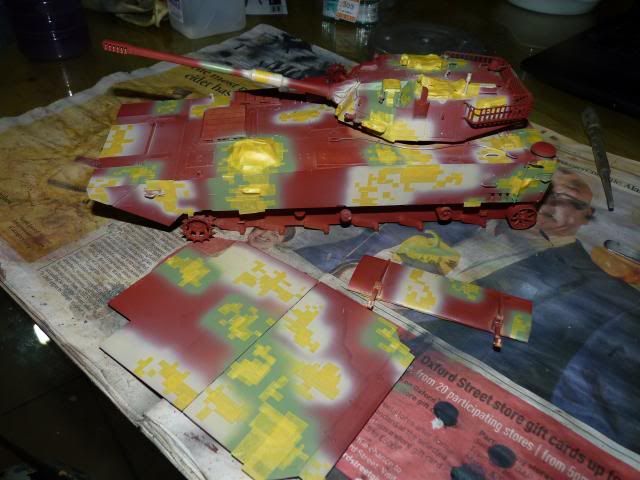
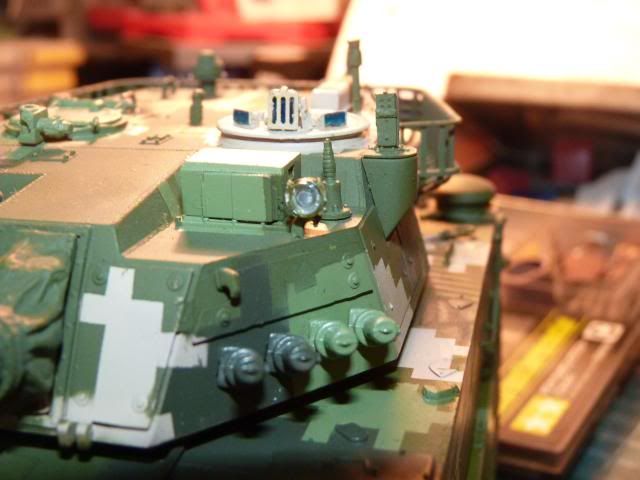
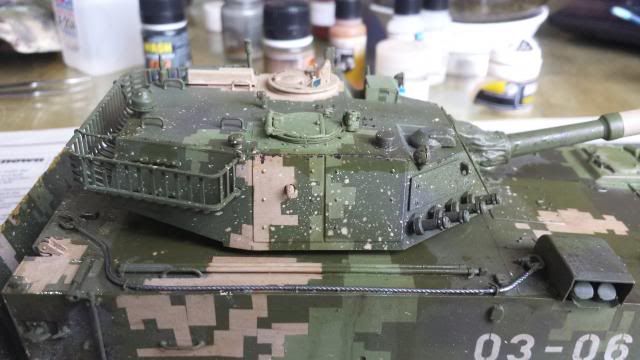
I applied a not-too-thin-not-too-thick filter of tan all over the it and spray another coat of Gloss varnish. 
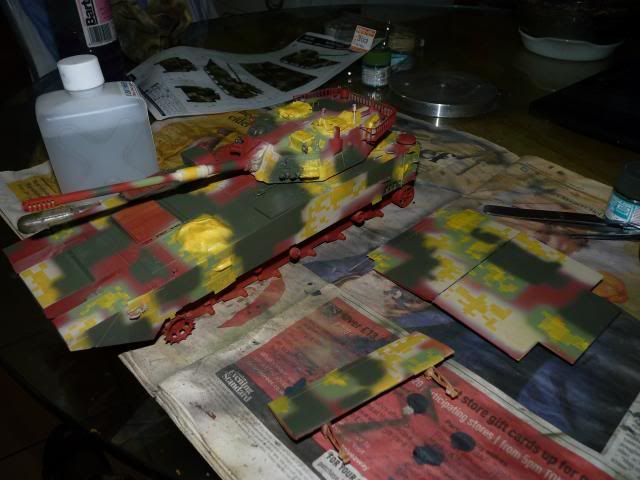
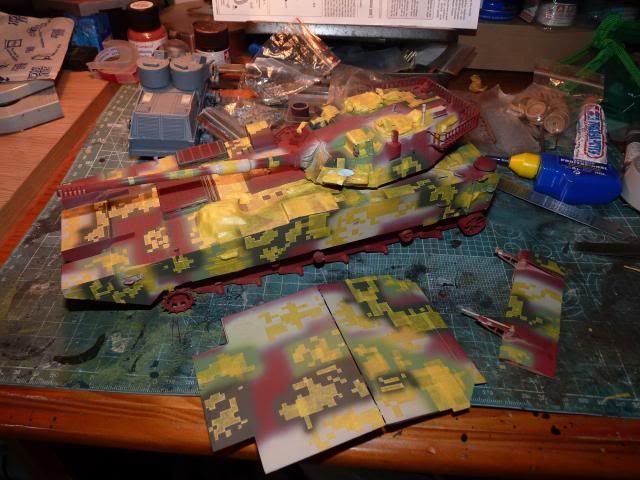
After that, I put on another coat of filters, this time I used brown and put on a matt varnish. ( I'm sorry. I forgot to take pictures of that steps involved with the filters )

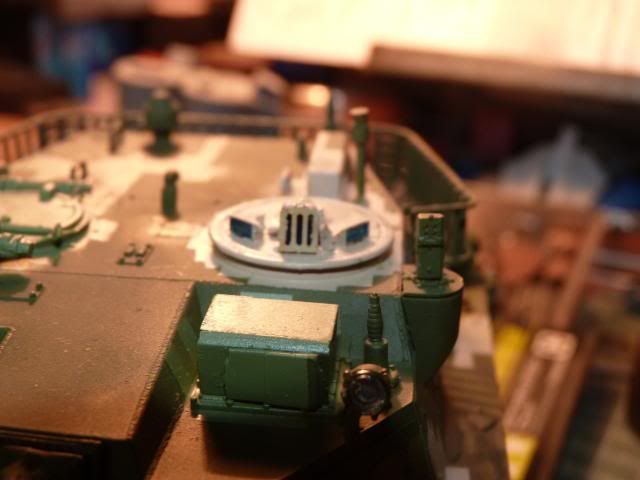
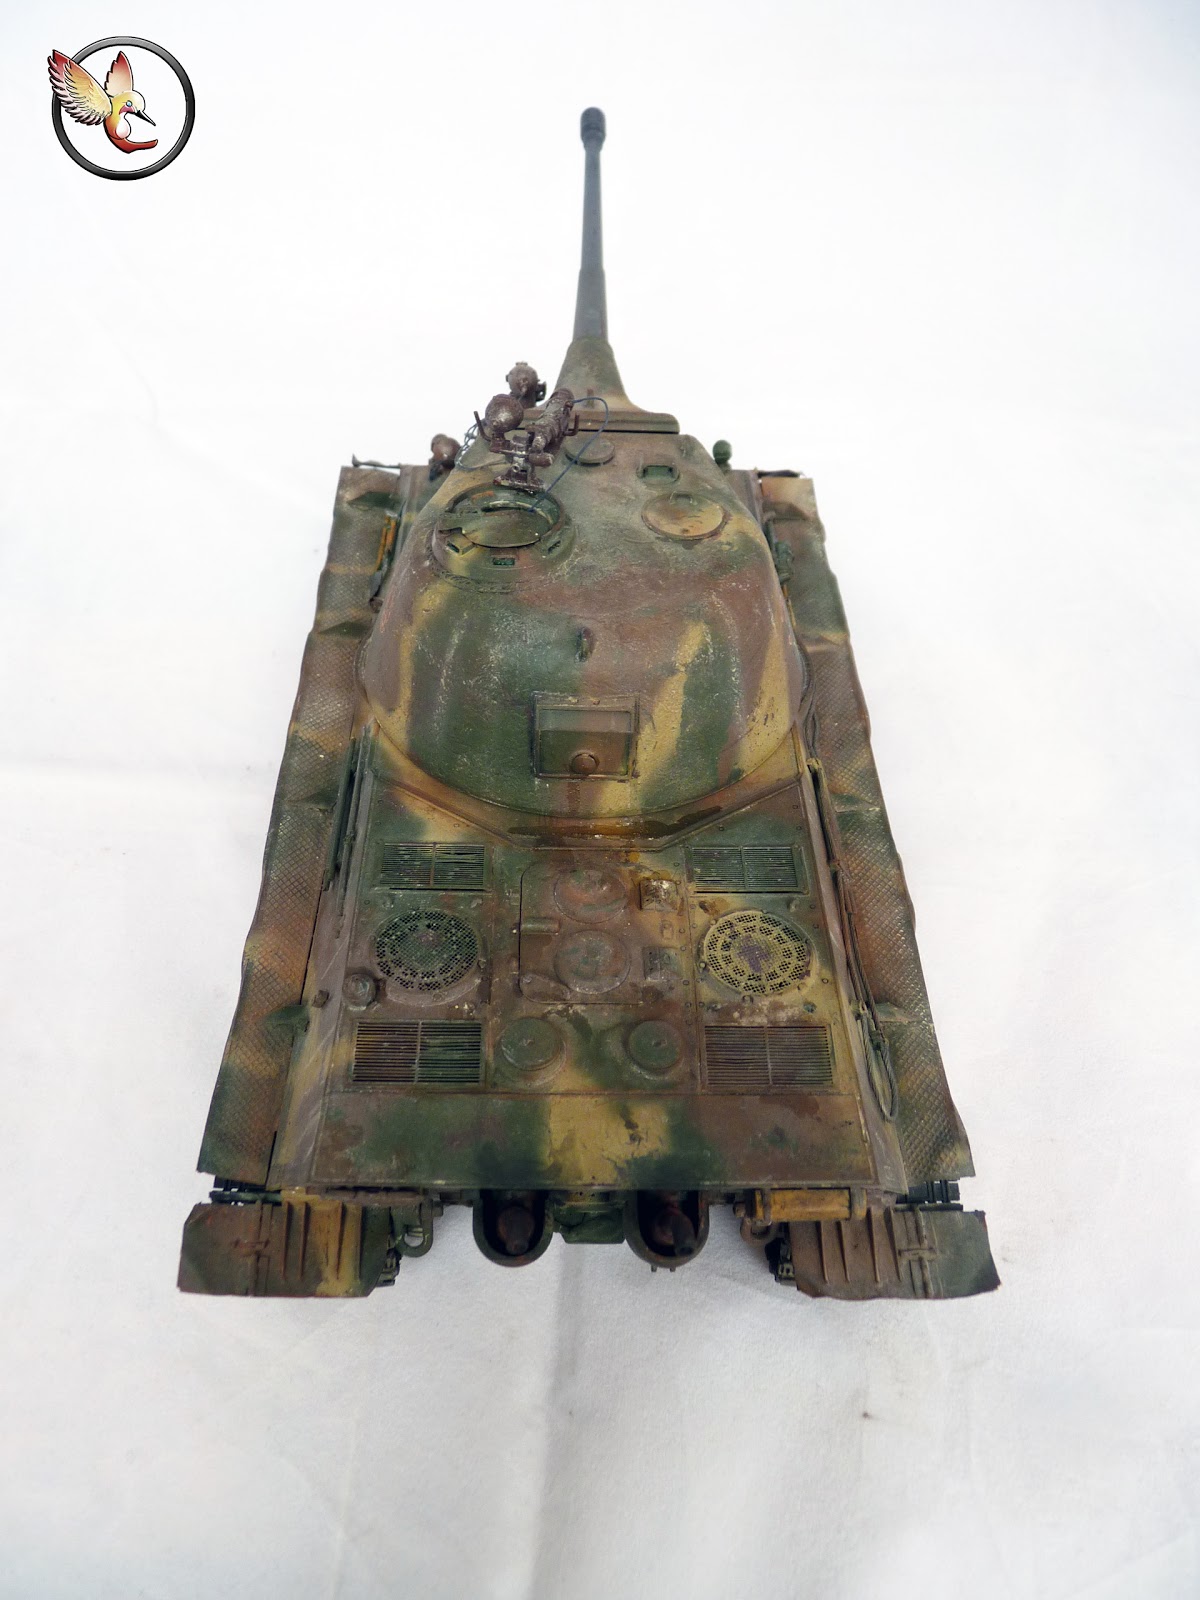
I painted the on board tools - 
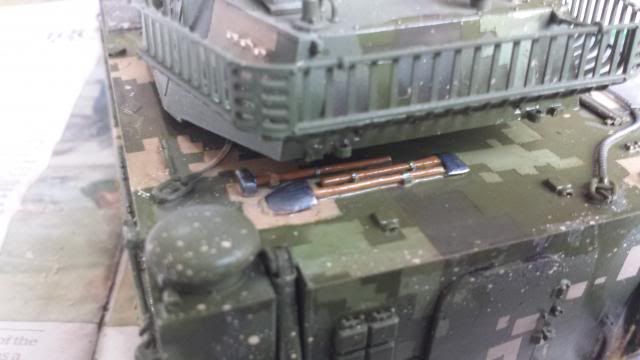
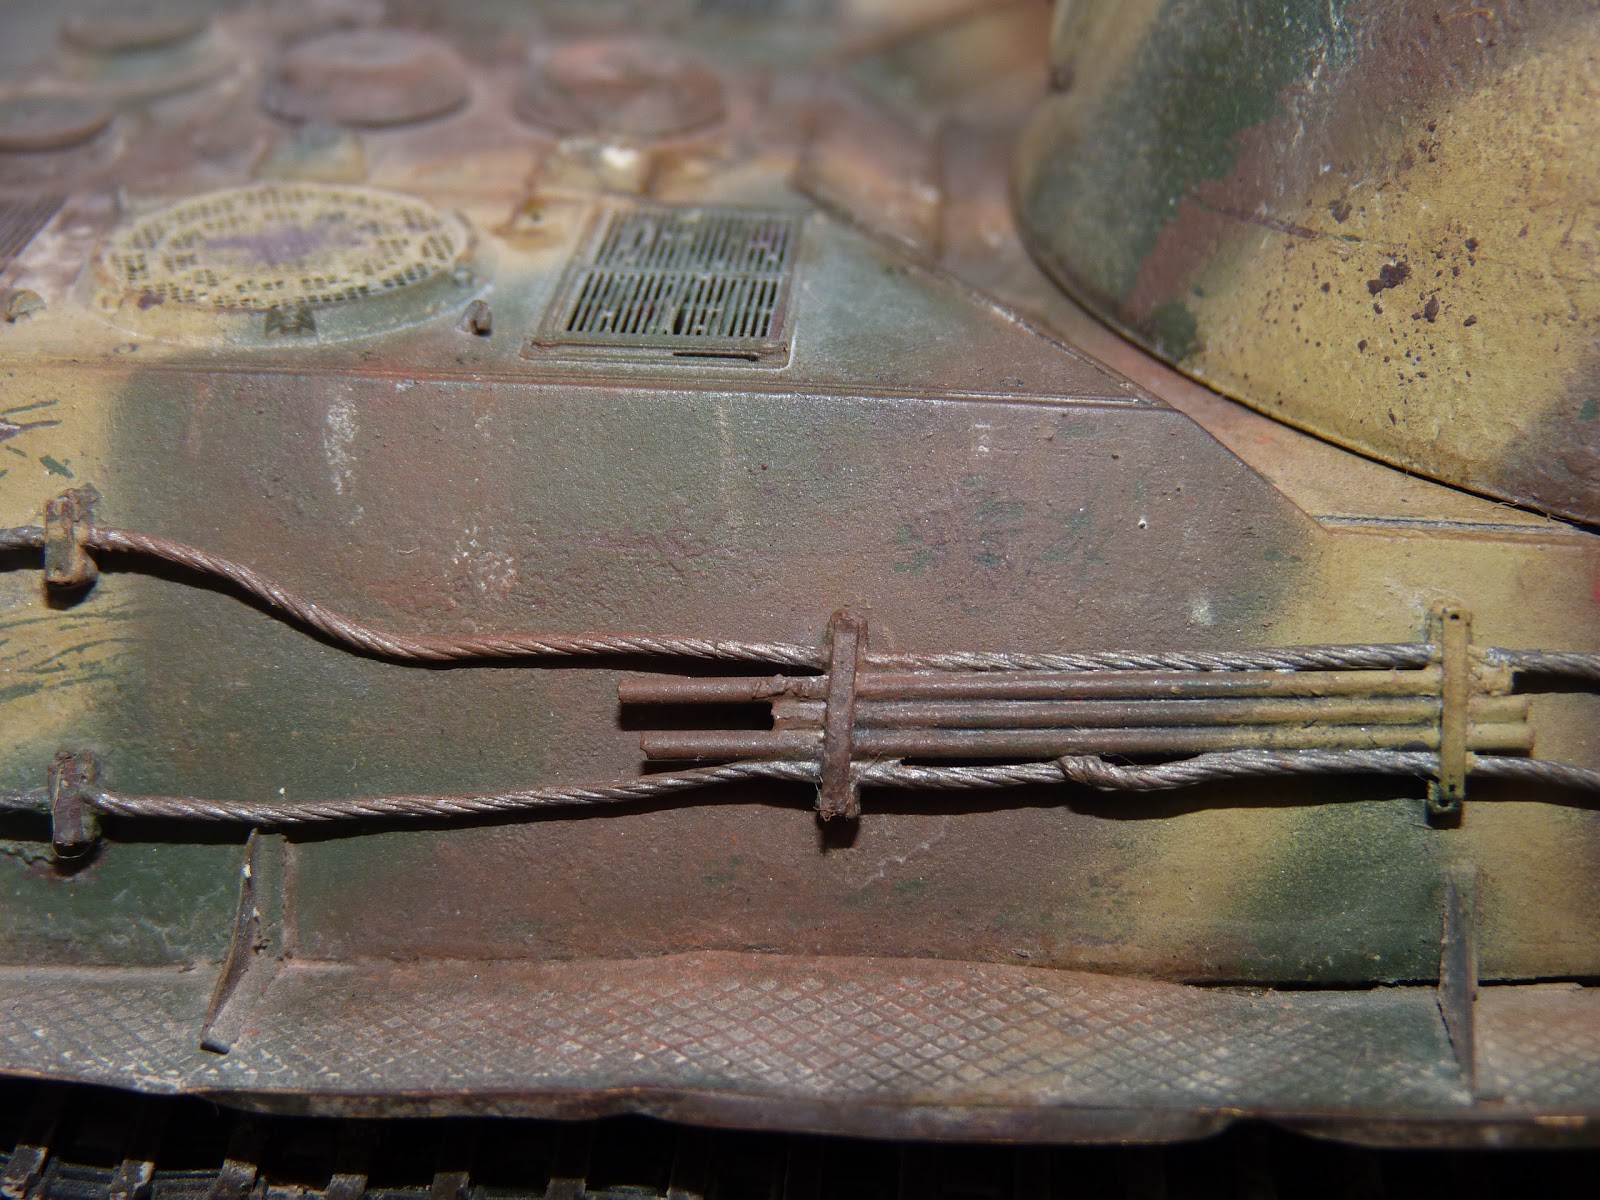

Image


And the tow cable -

Image


Per the suggestion of my teacher, I might have to go back again, paint it black and dry brush the steel
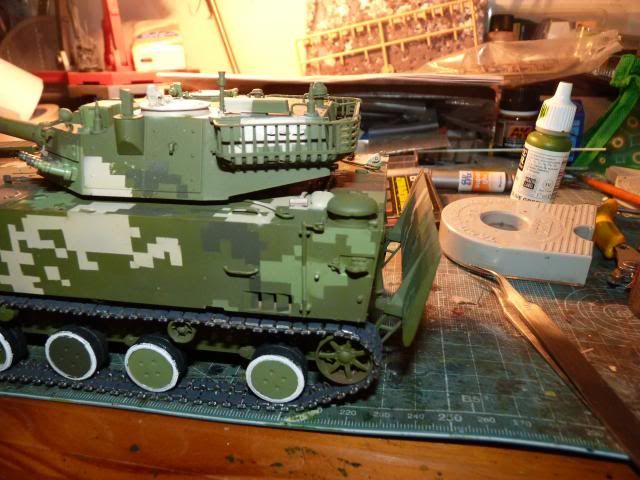
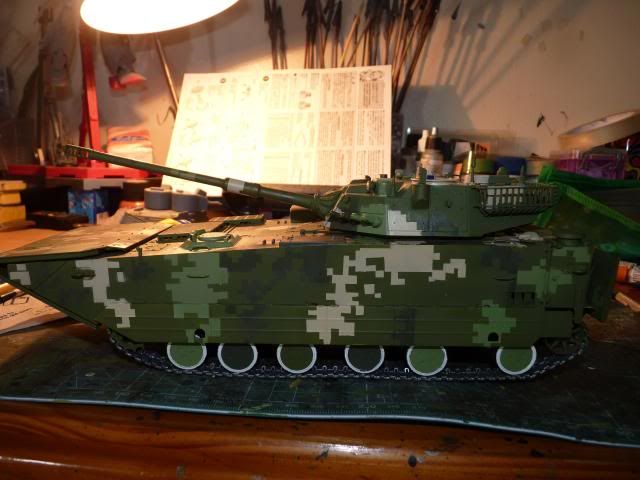
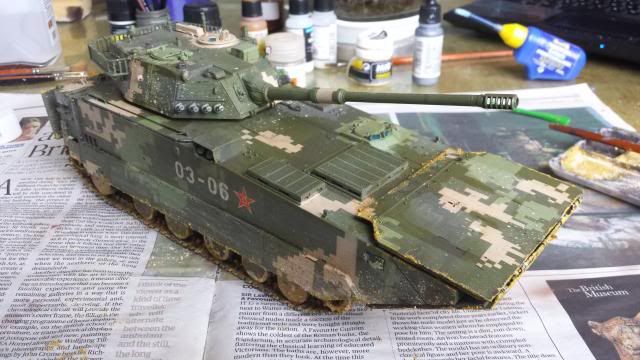
And I put sands on wet effects all around the vehicles -


Image
Image


Image

Image


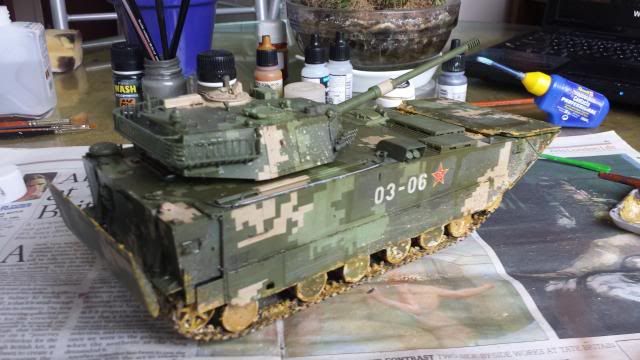
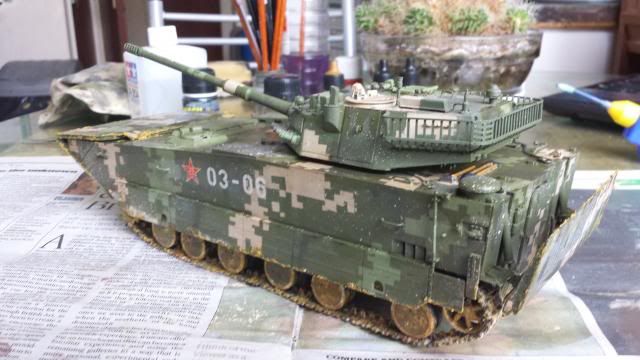
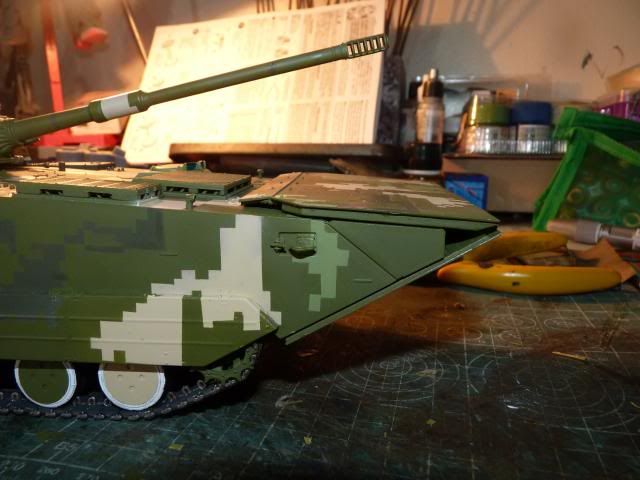
I managed to put on water flowing down the front flap when it was folded back up and I also applied sands on the edges on the assumption that when the vehicle reach the shorelines and just before it fold back the flap, some sands would get stuck on the edges. Maybe I should put more sand on the front flap as well. 

Image


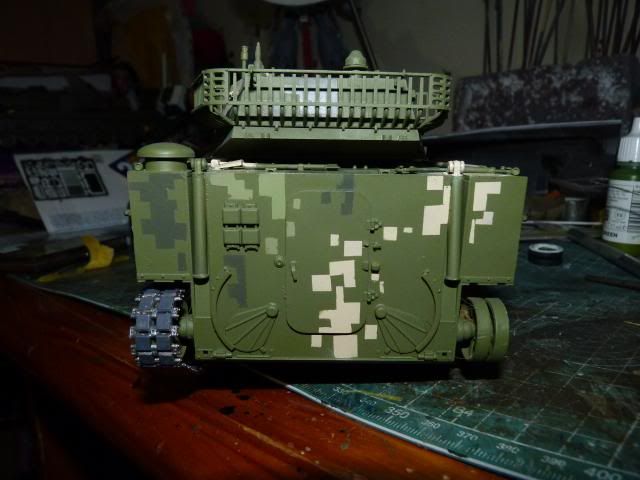
Same procedure with the back flaps -
Image
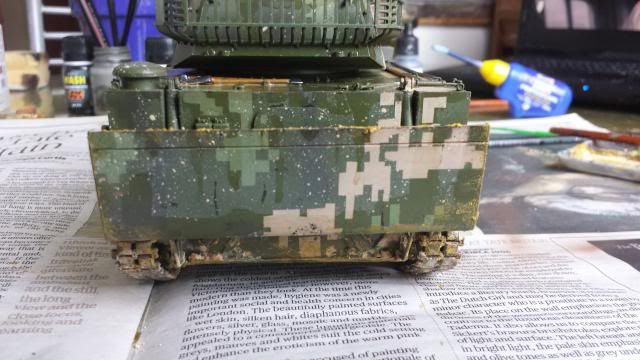
I might put in more sand on there. 


Well, this is the last update. I still have to do some small retouch with the sands and maybe add some more smaller water streaks. After that it's finally done. Thank you for being with me all the way. Much appreciated. Please look forward for the launch. 


Read more >>

Sunday 22 September 2013

W.I.P Tamiya Leopard 2 A6 - Part 2

Right .. I have an update for you guys. I decided to finish everything on the rear deck.


I first I started off by putting on the photo etch grilles for the two cooling unit -


I deviated a bit and decided to put on the photo etch around the two little domes, which are the air intakes grilles for the engine. I also on the little box ( what it is, I have no idea ) that is sitting on a what is supposedly a tripod stand. I also put on some PE on the little thing which is the third leg of the stand I mentioned. I also made the storage area and attachment for the pick axe.


I cut off the saw from the kit and replace it with a P.E part. Also made a storage box for the saw and made sure the saw sit nice and tight in the storage box -


Followed immediately by a crow bar next to that saw and another two ( which I do not know what ) on top of the saw storage box 


The left side of the engine deck is occupied by two Shovels -


And here is the most rear of the deck, where a long round spanner ( I belive it is a spanner ) sits. You can also see other small PE brackets along the raise line.


Here is how the entire engine deck looks with all those PE.


Happy with the entire and having completed assembly on the entire hull, I moved on to the turret. First, I put on a ring of PE on the orginal mantlet -


Made the entire mantlet along with the barrel -


Followd by gluing two little parts for the commander and loader figures to stand on -


And the Upper turret glued on - 


There you have it. That's it for now. Stay Tuned. 
Read more >>

Saturday 21 September 2013

WIP - 1/35 ZTD-05 AAAV - Part 4

Alright now that the Lowe has finished ( in case you haven't noticed - http://modeller-innovation.blogspot.co.uk/2013/09/amusing-hobby-135-panzerkampfwagen-vii.html ) ... Time to update on this thing 


Last time, I left off with the first colour applied. 
I masked that and put on the second colour and then masked it again -


Image

After 2 day of rest and masking, I managed to put on the third colour -

Image

And finally masked the third colour before I can apply the main base -


Image

After taking off all the masking tape , this is what I get -

Image

I painted the wheels like so -

Image

Don't worry about the messy white colour on the hubs. They will be closed off with these little things -

Image

And Voila -

Image

Here is the all around views I took with the wheels attached and one of the track assembled -Front -left three-quarter view 

Image

Front - right three-quarter view 

Image

Back- right three quarter view -

Image

Back - peft three quarter view -

Image

Lower front hull - 

Image

The rear hull -

Image

By now, you must be curious what happened to the complicated flaps I was working on. I still have them rest assure, I just wanted to apply them last without hindrance -Here is the back flap glued on. The back flap went on without any problems and is still workable.

Image

Now this is when all hell broke loose. The time I spent trying to be so carful to make the front flap workable was for naught. For reason unknown,the flap is not folding up on top of the hull properly. There was a substantial gap and when when I tried to exert some force trying to fold it down properly, one of the support braces for the hydraulic rod broke off. Curses flew around in the air and had to spend an entire evening trying to fix it. I was already running on empty that day so I took a good night sleep and proceeded further the next morning. The same thing happen. Another morning spent fixing it. By afternoon, when it broke again for the third time ( and many other mishaps as well ), I just lost it. So much so that I was having difficulty breathing and I was seeing red and wanted to just smash the model. So trying to save myself and the model I spent so long on, I just glued everything on. 
Image


Without gluing, the top flap was way up in the air. At least, like this, I can keep going on without being angry. Having glued that on and satisfied with that and finally calmed down, I decided to cool down with some small detail paintings. I painted the driver scopes -

Image

And the Commander's sight -

Image

And painted the inner cup of the lamp with silver and traced the rim of the glass with green

Image

Another lamp and what appears to be a gunner scope -

Image

After that, I spent a quick evening and night finishing the camo pattern on the side skirts and finally put them on - 
Right side -

Image

Left Side -

Image

Well, that's that. It's almost finished. I'm hanging in there... The worst is over.
Coming up would be filters and weathering...... 

Read more >>

Tuesday 17 September 2013

Amusing Hobby 1/35 Panzerkampfwagen VII Lowe

Good day to you Gents.

Well, here comes yet another finished kit from me. This time, it's a paper-panzer from a relative new company called Amusing Hobby. And the vehicle is called '' Lowe '' ( Lion in German ). 

The Panzerkampfwagen VII Löwe (Lion) was a design for a super-heavy tank created by Krupp for the Nazi German government during World War II. The project, initially code-named VK 7001 (K), never left the drawing board, and was dropped in late 1942 in favour of the Panzer VIII Maus. As I want to focus more on the kit itself ( as a mini review) please jump over here to read more about the Lowe - Link 


Amusing Hobby is from Japan, relatively new company and have released the VK1602 Leopad, VK3002DB, Neubaufahrzeug, Lowe and will soon add the Object 279 in their product. I haven't built the other ones but I have read some pretty favourable reviews about their products and when I bought the Lowe, I wasn't disappointed. 


Regarding about the kit's quality, the plastic quality is close to Trumpeter's quality. A little bit brittle and a bit rough but very well casted. The kit include its own set of photo-etch, clear plastic for the periscopes, workable suspension AND workable tracks. The price was not that high as well so it was very well worth it. The instruction comes in a booklet style, clear and precise and I didn't see any printing or part mistake as well. The turret and the mantlet comes with moulded on cast-iron texture which is pretty beautiful by itself. The part count is relatively low and most of your time will go into making the suspensions, wheels and the tracks.


The down sides of the kit were that there is no tow cable included and the casting of the tools ( moulded separately in a different colour )  are really soft and the details aren't that good on that. The perforated muzzle brake is also moulded with closed openings. No parts for any of the interior is included and no machine guns, both bow and commander's, are included.


I decided to buy a set of voyager etch for this baby regardless of its own etch parts and this will be the last time I will buy Voyager. It's too complicated. Anyway, most of the tank is build out of box apart from the voyager set, the IR devices, the commander cupola replacement and roughing up the cast texture even more. 

  •         The IR devices was bought from Great Wall Hobby and one salvaged from my Trumpeter E-100.       
  •         The Commander cupola was, in my opinion, directly behind the breech so I moved a bit further to the left like the Tigers or Panthers.                  
  •         The cast texture was roughened up even more just for some visual interest. 
I also bought a box of Tamiya German Tank crew so that I can both add more visual interest and practice painting figure.

The build was very very enjoyable. I made a full account of the W.I.P in the previous posts and you are welcome to look over at them if you are curious about how well the kit goes together. Actually, let me make a list here for the Work in Progress posts -

I painted this all in Tamiya colours; dark yellow, red brown and olive green. Clear green was used for the optics. Chippings were made with hair-spray and I chipped with hull-red to show the primer colours. Only a small amount of chipping with Camo Black-Brown was made. The crew were painted with Vallejo for the skins, Tamiya and Vallejo for the uniforms ( I am ,however, not happy with the condition of the figures)

The weathering was made in a urban setting. MIG rubble dust, rust, light European dust, European earth and black smoke pigments were used. Rust was mixed with rubble dust to depict bricks stain and the rest are mixed all in random way to show the dusts and stain of a urban environment. 

Well, that's about as much I can sum up about the build. The exact steps can be found in the 5-part W.I.P. 
I didn't really had any hiccup with this kit however. The kit goes on really well and love every bit of the steps in building it.  I'm vary satisfied with what I did, albeit it could look better but still, I'm happy.
It's time for the photos - 
(If you think some are small, just click on them ) 


Here are the close ups ( sort of ) for the wheels- 

First set is the left -


And the right - 


And on-board equipment and the exhaust - 


Here are the close up shots of the chippings -


These are the close ups of the IR devices -


And here are the periscopes -


This is the Perforated Muzzle that I drilled out -


And here are the crew shots - 


And as usual, my show case photos from various angles -


And a few more I took with the crew on it -


And as usual from me -

To be honest, I am not particularly fond of my own paint job on the figure. I still have a hard time painting the bloody faces....... GRRRRRR, the horror...

I know I still have a long way to go to be classed as one of the masters and I won't stop until I reach that kind of level. I couldn't keep building if not for my supporting friends and comrades. Thank you guys for always supporting me. Thank you dear readers for your patronage as well.

Until Next time.
Read more >>