Sunday 30 June 2013

Amusing Hobby 1/35 Lowe WIP - Part 2


Hey guy. Sorry for the wait. Lets pick up where we left off from the first update. 

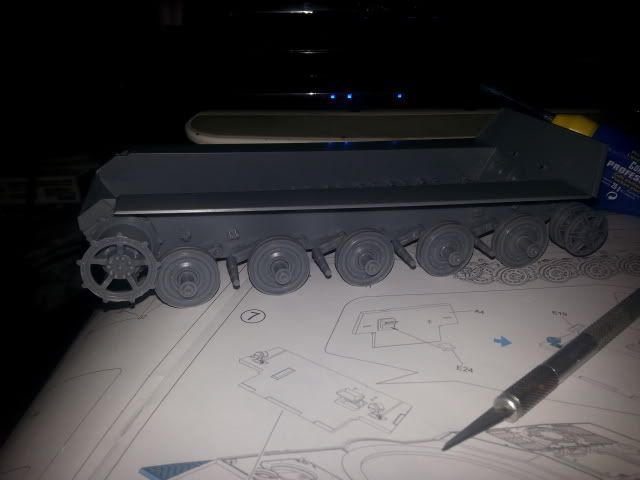
As you recall, I was putting on the suspensions. I followed up the suspension assembly with the wheels on the arms -
The instruction calls for putting in the inner wheels first ( naturally ) so I went ahead with that.
This is what I get after I put on both layer of wheels. A word of advice if you are building this, make sure all the wheels are aligned. The suspension are kinda fiddly and tend to make the wheels go off-aligned. 
And this is what the suspension can do - 
Be careful though as there are quite a lot of torsion stress and too much playing around will brake up the torsion bars. I almost broke one.
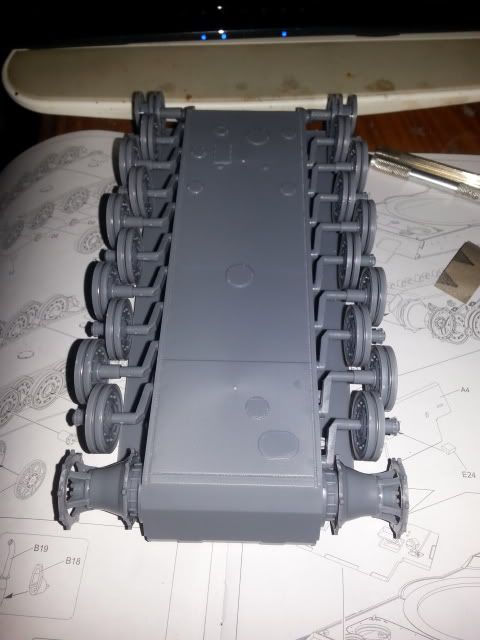
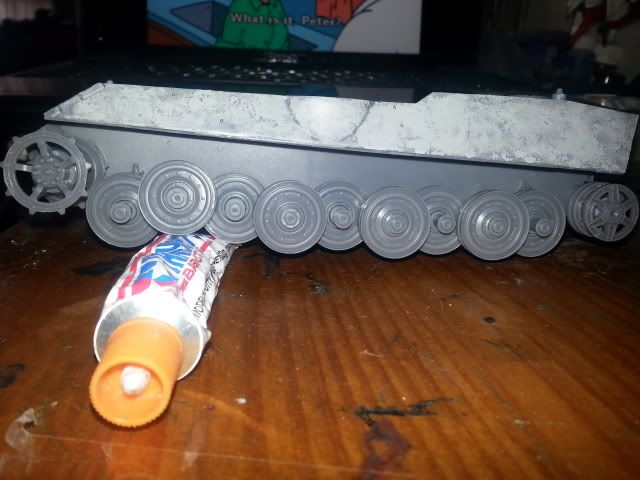
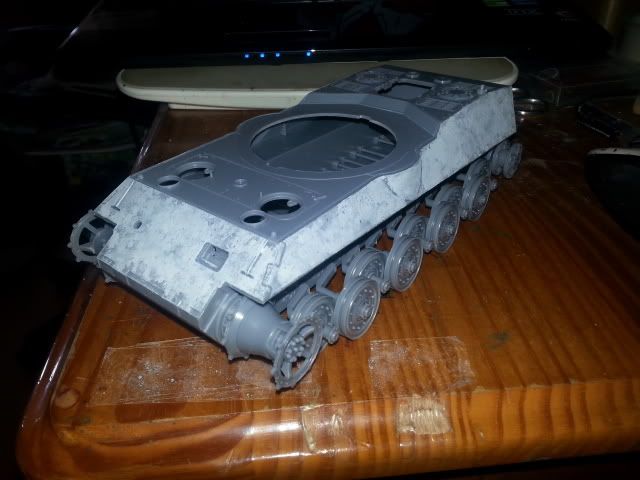
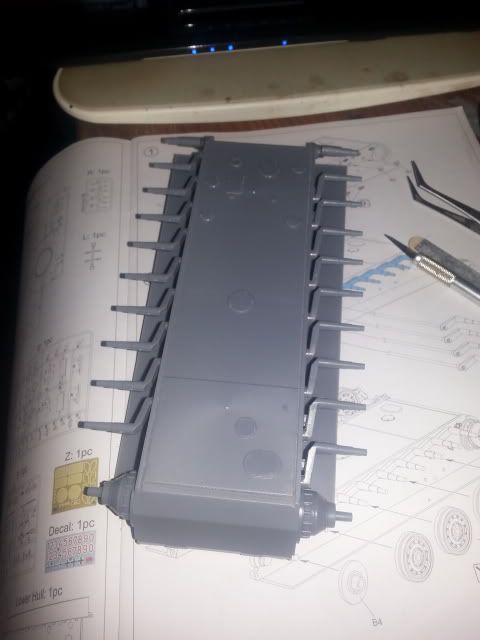
And as you can see from that photo, I put on the whole lower part together and applied some tamiya putty to rough up the surfaces. The Engine deck actually comes as a separate piece but the engineering behind it is quite good that gluing the deck on on the hull was just smooth and took only bare minutes. 
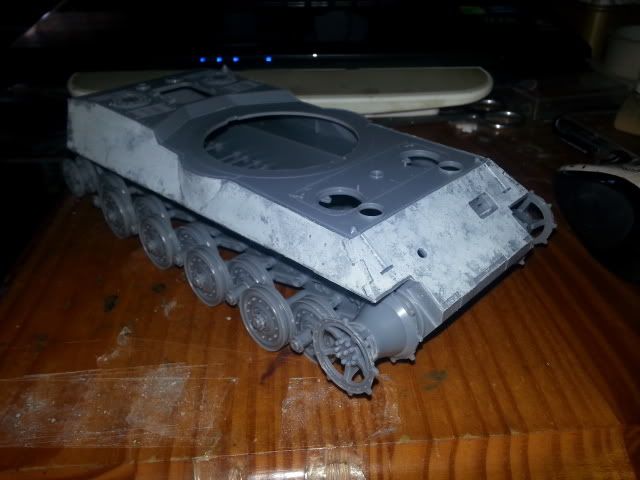
Here is how the whole lower part looks -
For some reason, they made the front armour slab a separate piece off the hull. Unfortunately, mine was a little bit wrapped and gluing it on was a little bit tricky for me. And again, as you can see, I put texture on the front and sides of the hull as some research lead me to conclude that late in the war, the german war industry was re-cycling the metals so the quality of the metal surfaces and won't be as smooth as the texture on the , say, tigers or KT.
Here is a comparison shot with the King Tiger if anybody is wondering how big this thing is -
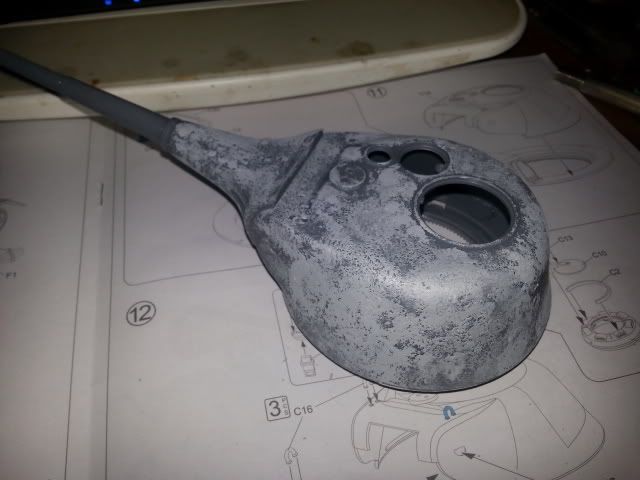
I also rough up the turret considerably. The kit comes with well-made casting texture but these details are a little bit soft so I decided to put in more texture. 
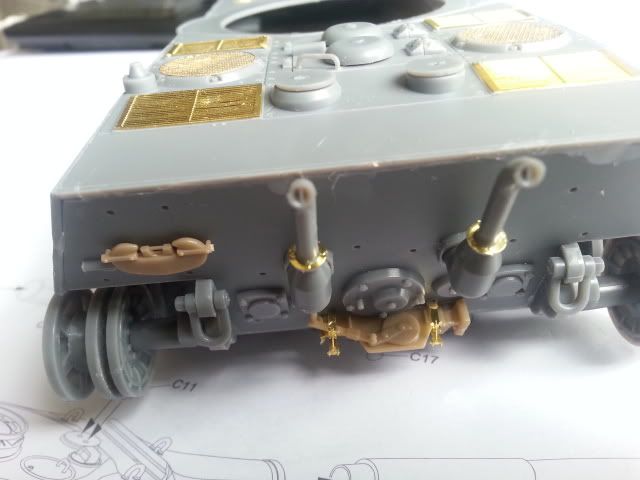
I decided to put on the things I need to put on the engine deck. The engine hatch, hooks, filters cups, PE mesh so on so forth -
I opted to used the far superior Voyager Etch rather than the use the kit supplied etch.
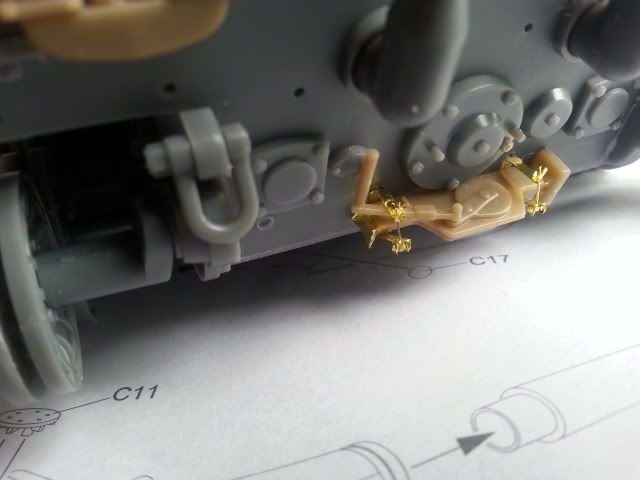
I put on the Exhaust as well and also managed ( with great difficulty ) to put on the jack rack and the jack.
A bit more closer view of the jack ( I hate Voyager. So complicated. What could be done with one piece for Eduard takes like 3-4 pieces with Voyager) 
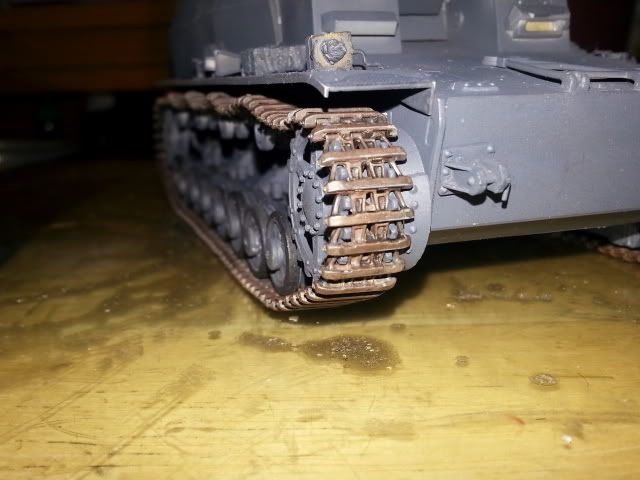
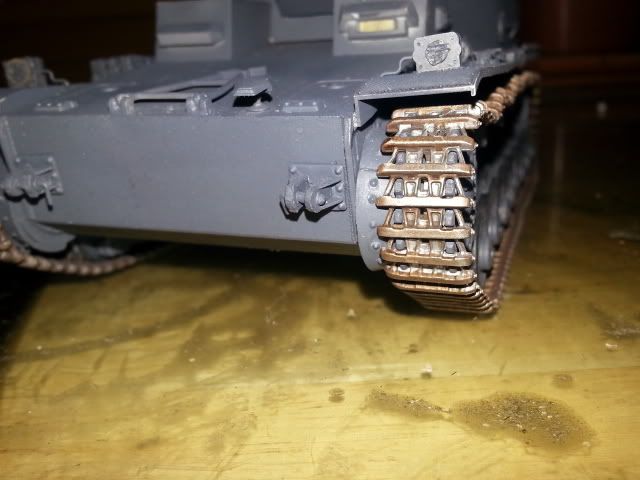
I decided to deviate a bit and start making the tracks. Did I mention that tracks are workable? The tracks seems to be made by modelkasten ( a view some of the modellers who already build this commonly share but nothing solid ) and they are a bit delicated but function perfectly. 
I only manged to put on a few yet. I have to put on 102 per side -
Well, that's it for this update. Hope you guys enjoy this. The usual, comments, feedback, suggestion and advices are welcomed. 
Stay Tuned for more.

Oh, and here's the muse for this update. Throw Back Classics -

Read more >>

Tuesday 25 June 2013

Amusing Hobby 1/35 Lowe WIP - Part 1

Ok, I admit I maybe have a minor ADHD problem.. I'm building a dragon Dicker Max, 90% finished and my attention shift to this one which I got as a birthday treat for myself. I really can't stop myself from opening this and building this. 

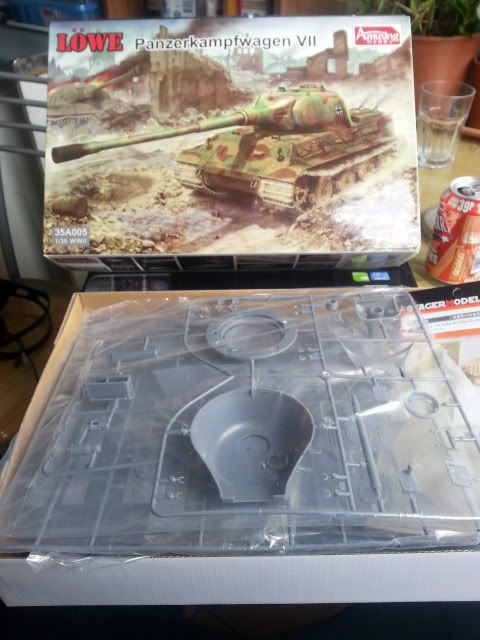
Anyway, lets get down to business. This is the Amusing Hobby 1/35 Lowe. I'm pretty sure most people know about it. Its a relatively new company that has only released 4 kits in total. TBH, I only knew about the existence of the Lowe after playing World Of Tanks and I have been impressed with the tank since then. What's worse, I saw  Łukasz Orczyc-Musiałek's Lowe on the April issue of Military Modelcraft International and I just had to buy this.

This is what I get in the box- 

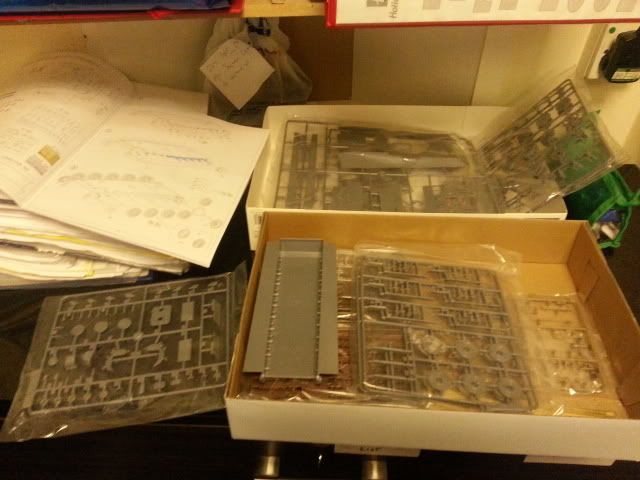
For a new company, the moulding standard is quite high, granted it is not as high as Dragon or Tamiya but definitely on par with the likes of HobbyBoss and Trumpeter.

Some more of the spure shots - Sorry about the quality, I was at work - 
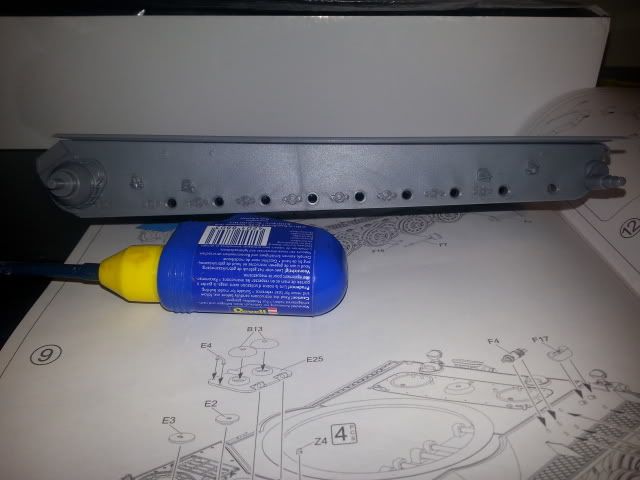
I started-off with filling in the little holes where the end of the torsion bar of the suspension will go into - 
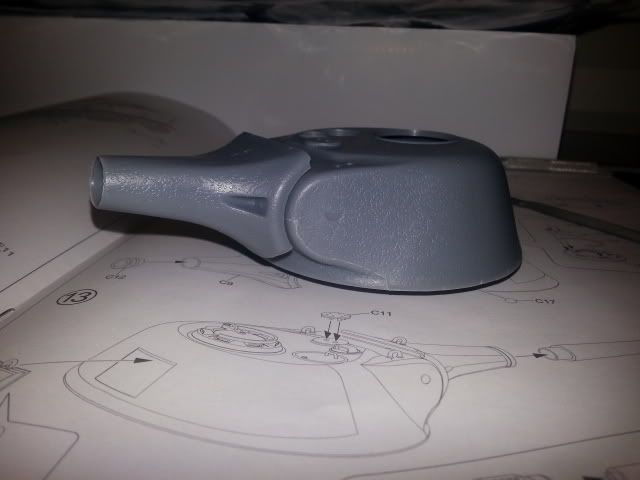
But then, I deviated from the instructions and went ahead and build the turret and the mantlet -

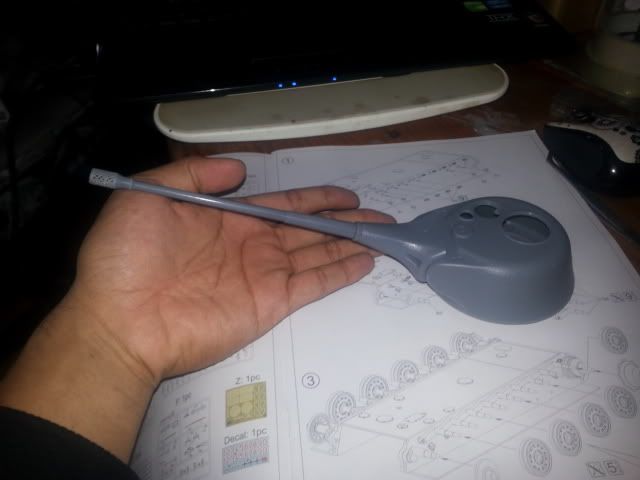
The Turret is quite big even without the gun. Here's a shot with the Gun -

For a WW2 era tank, the turret is quite big. I took a comparison shot with my hand ( FYI, I have pretty big hands for an Asian LOL ) 

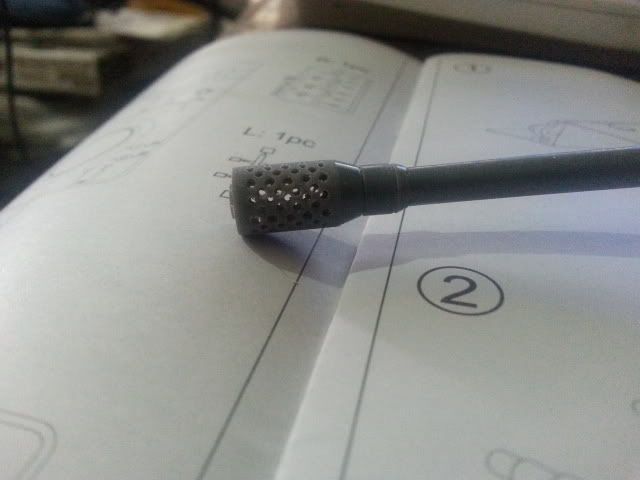
The gun comes with two choice of muzzle brakes - the Perforated ones like the one on the 12.8cm Pak44 and the Germanic ( lets just call it that ) traditional brakes that one could see on the 88 or the 75. Obviously, I choose the much cooler looking one, the perforated one of course. However, The perforations came closed so I had to drill them out one by one. It was tricky but not hard and definitely worth it.

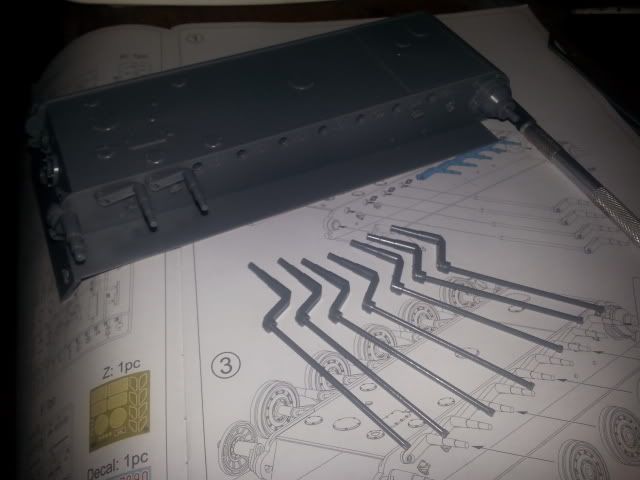
With that done, I was satisfied with the turret for the time being and moved over to other process. I started cutting off the torsion bars so that I can pot in the suspension system.
Here is the bars laid out for one side -

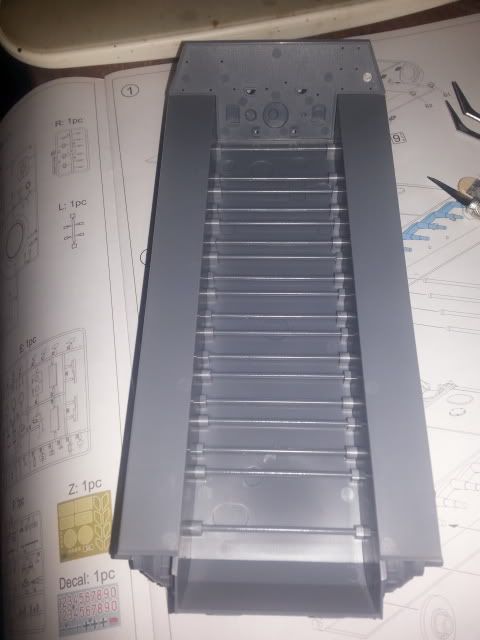
The torsion bars go on like so - 
They made it so that the end of the bars just ''click'' into the receiving end, which was pretty cool, in my opinion. 

From the outside, it looked like this -

Well that's it for this update. I'm really excited to be building this. There's something about this kit and the vehicle that just attracts me. Anyway, Thanks for looking and for the support as always and stay tuned for more.

Read more >>

Monday 17 June 2013

WIP - 1/35 Dicker Max Part 6

Hello Gents ... Got a major update for you all - 

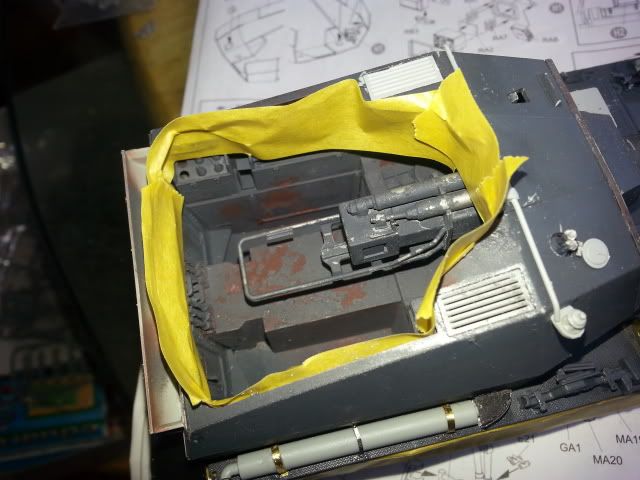
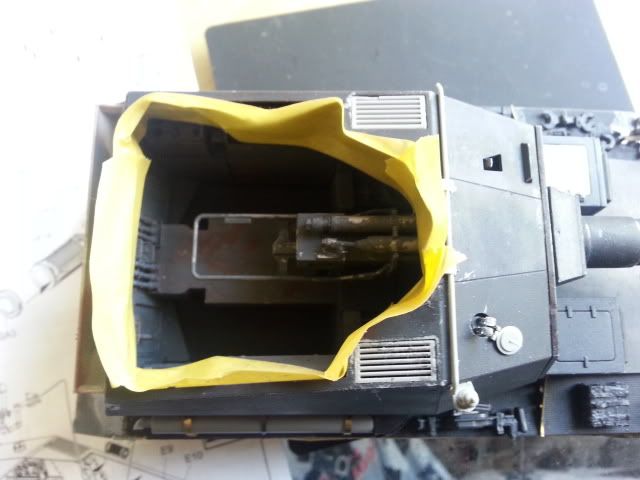
If you recall, I painted the interiors in my previous update. So with this one, I went about and did the chippings -


Apologies if this is hard to see, its hard to take photos of the inside. I followed advices given to me by great comrades and chose to paint the red-oxide and the outer colour on top, albeit a little bit lighter tone of Germany Grey. 
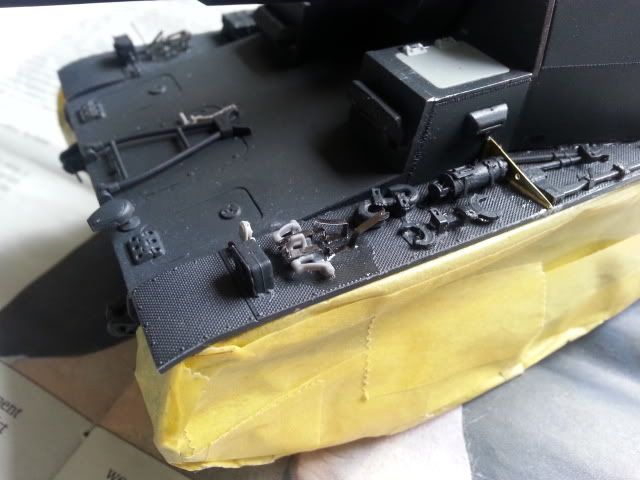
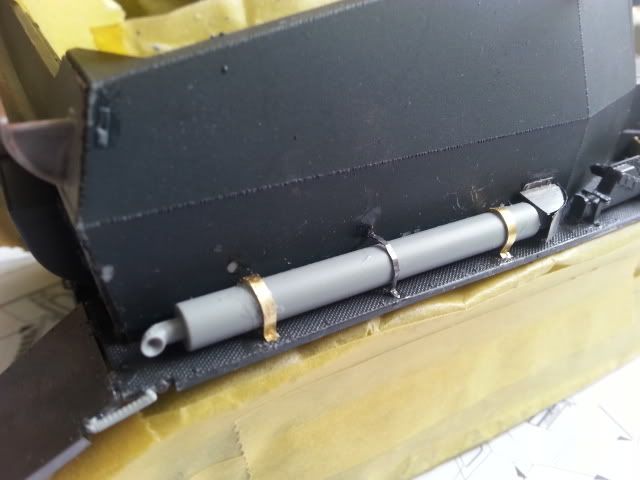
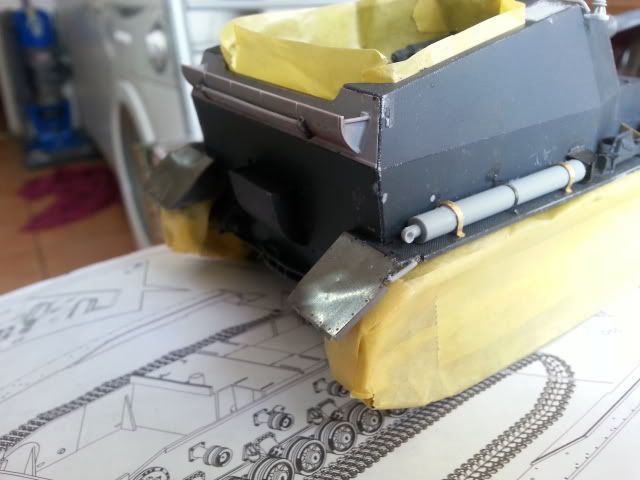
After that, I masked the open fighting compartment and I started to put on the last remaining finishing touches and some PE parts -First, I took care of the spare tracks -


I chose to leave only one spare on the vehicle as I want to show the spares have been used to fix the tracks under battle conditions.Next, I put on the exhaust - 


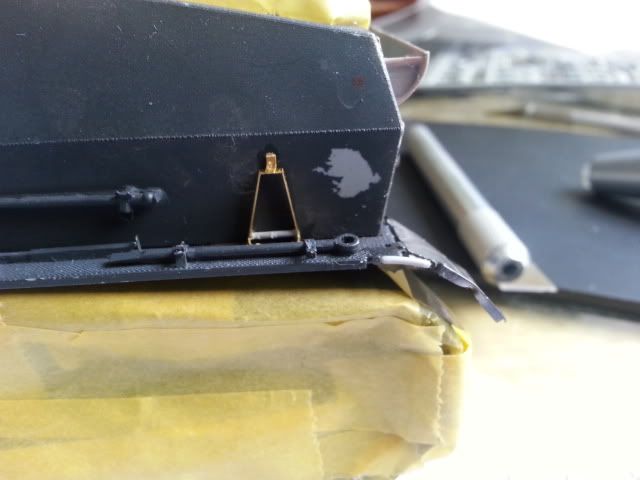
Followed by a little stand or something - 


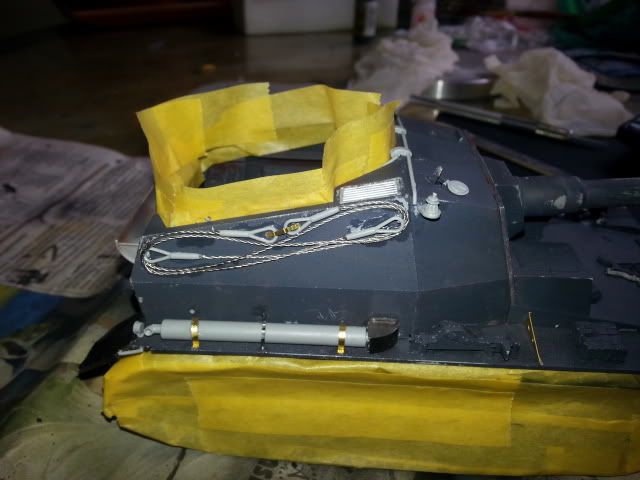
After that, I put on the tow cables, it was a chore to do so, whew - 


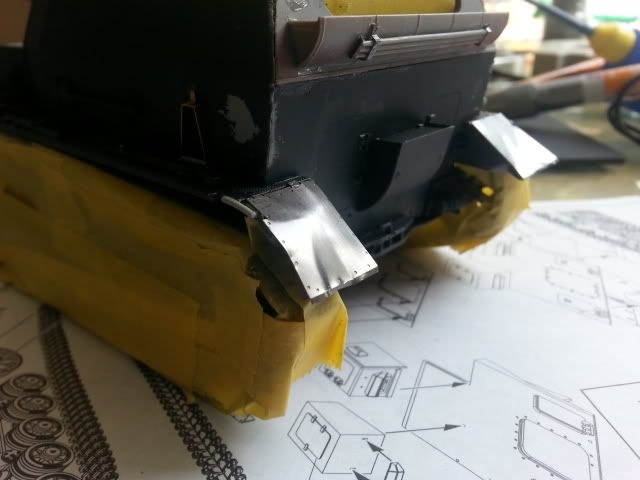
I put up the fenders as well. I choose to use the Eduard fenders so that I can damage them.


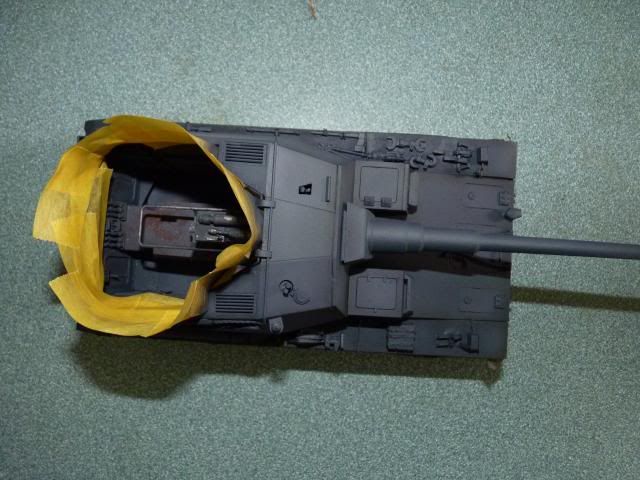
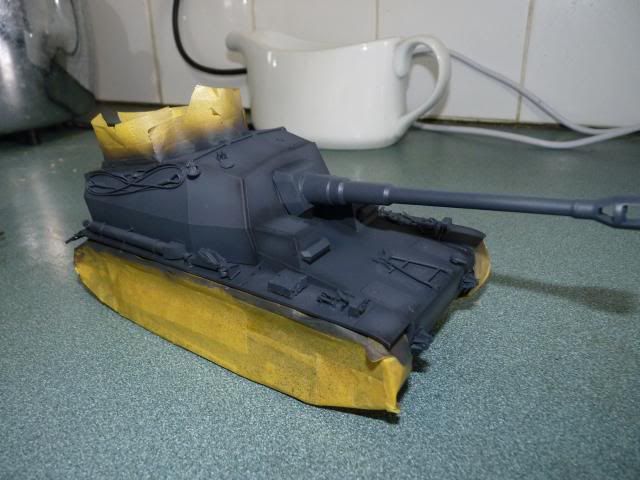
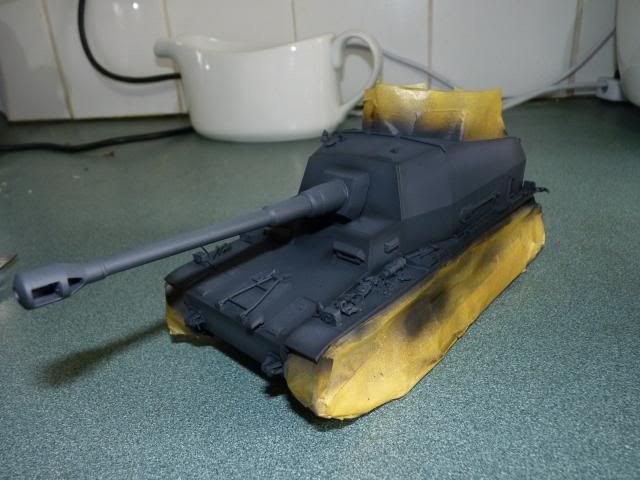
And other bibs and bobs. Satisfied with all those, it was time for me to paint.I chose to paint this one in a contrast and saturation style like the set Life Colours offers but having no plan to waste time or money to buy a set, I just used Vallejo German Grey as a base and made lighter and darker tone from it.


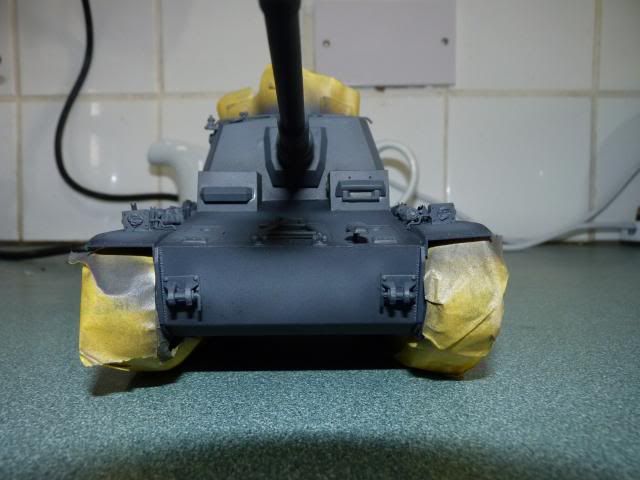
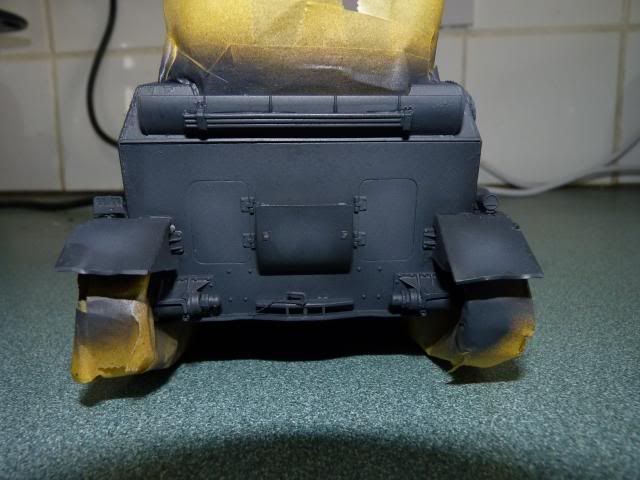
Forgive the presence of the gravy ladle ( is that what it's called ?? ). I was painting in the kitchen, LOL.


Well, that's about it folks. All I need to do now is to filter, weather and the crew. 


Hope you guys like this update. Any tips, advice, comments and suggestions are very welcomed. 
Until the next update. Stay tuned for more. 


Read more >>

Monday 3 June 2013

WIP - 1/35 Dicker Max Part 5

Ok guys ..... Got a small update for you all ...

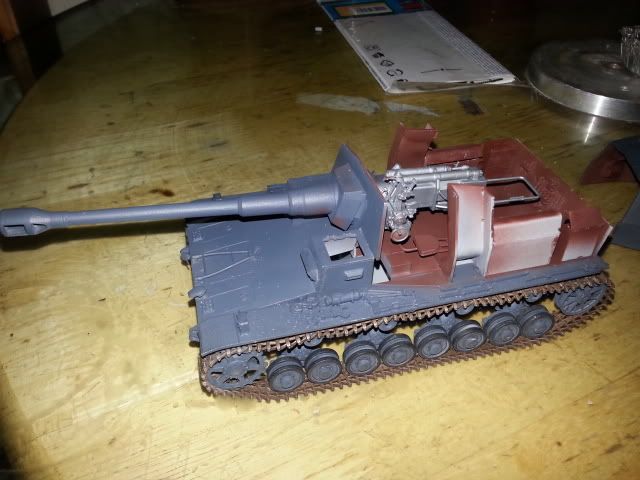
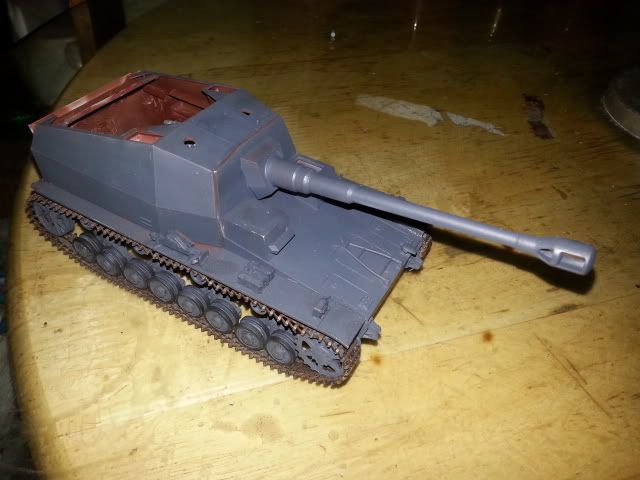
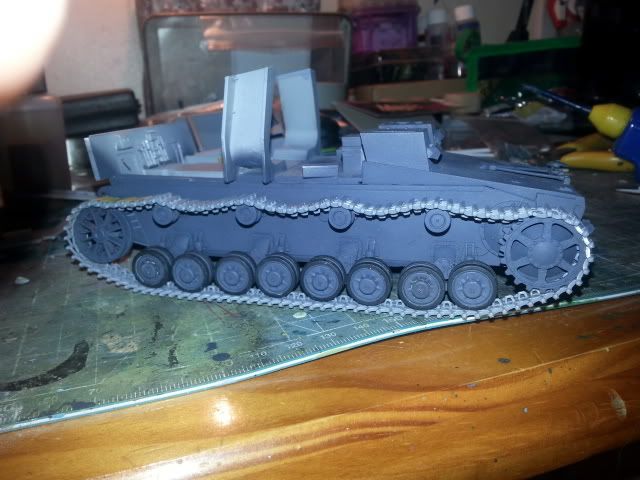
Last time, I was whining about the tracks but to my surprise, putting these individual links was as even easier than putting on the gun. Took me only 2 hours for both sides -

Here's some pic -
Right side -


and left -


I may have made them quite slackly but I love how that slack look. This is my first time I have been happy after putting individual links and really enjoyed it.....

I wanted to get this build moving along so I painted it so that I can carry on with the interior -

I sprayed Vallejo Gunmetal as base, followed by Tamiya NATO brown and Tamiya flat brown and washed with AK track wash and Wash for NATO scheme.

Its a little bit too brown-ish and quite stark in contrast but with the weathering on, it should look more pleasing, Fingers crossed.


Some more view of the tracks -


Then, I carried on with the build ( which at this stage, I only have to put together the sub-assemblies ) and I started painting Hull red for the interior -


The Breech has been painted in a mix of ( all Vallejo ) steel, German gray and gun metal. I was going to put hair spray on and then spray Ivory on but i was too tired so that's for another day.

I also painted the armoured super-structure as well -


I'm quite happy with this guy .... and Vallejo German gray looks so beautiful, I just love it. Tamiya Hull red ( for the interior) somehow sucks to paint...

I still have to paint some more highlights on the German gray to break the monotone finish. Time to refer to my various Modelling mags I bought 

Well, that's it for now. Advices, suggestions and feedbacks are welcomed.
Read more >>