Sunday 30 November 2014

Weathering on GUNPLA!!?? Here's some dos and don'ts.


Let's talk about Weathering, shall we? To be specific, weathering on GUNPLA and the misconception of it and how people are weathering their GUNPLA kits and a bit of a tips and pointers and dos and don'ts of weathering.
Before I write anything, I want to say this disclaimer -

I AM IN NO WAY A MASTER IN WEATHERING. I AM WRITING THIS USING MY OWN OBSERVATION, MY EDUCATIONAL BACKGROUND AND FROM MY OWN EXPERIENCES IN APPLYING WEATHERING. HOWEVER, AS YOU CAN SEE FROM MY COMPLETED WORKS, I AM SURE MY WORDS CAN AND WILL BE JUSTIFIED BY MY WORKS.

Right... let's get on with the topic at hand. Weathering.

What is weathering?

"Weathering" refers to a number of techniques that are intended to make a model appear more realistic by simulating the effects of the elements on the subject. These number of techniques are used to depict a vehicle (or in this case, a mobile suit ) at a certain time or place during the term of its service. It is a form of visualisation of a story or a certain scene in a story. For instance, a vehicle that has passed through a large puddle of muddy water or a mobile suit operating in a tropical climate where wet and dry weather changes instantly and bombarded with dusts and rain.

So what are (some) people doing with their gunpla when it comes to weathering? Well, in a nut-shell, everything i.e. they see something about weathering or read about it and they just applied what they read about and just put applied the whole lot of it. For instance, a gunpla bombarded with dry brushing all over it ( which makes me think of mobile suits bear-hugging each other) or a gunpla with casting textures put all over it ( I graduated with Material Science and for 3 years, I have never heard of easy-to-fabricate parts such as slab or panels being casted )

Fair enough, everybody starts somewhere. I did too but I studied for 3 years (2008 to 2011) before I actually applied any kind of weathering. I will give you an example -

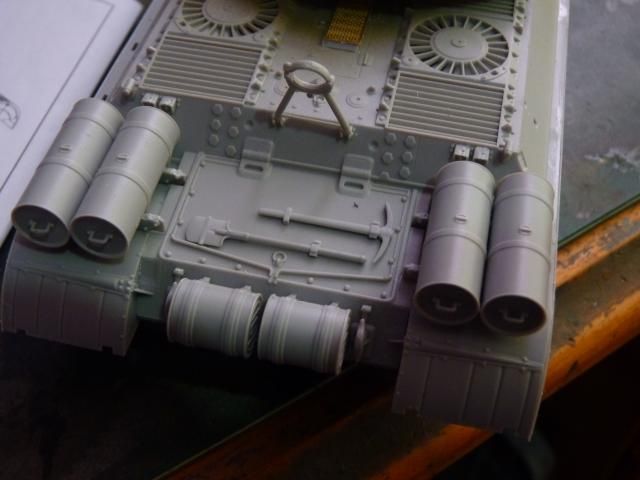
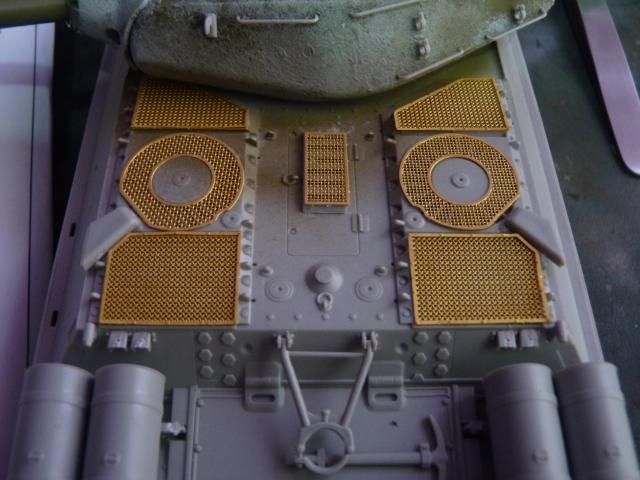
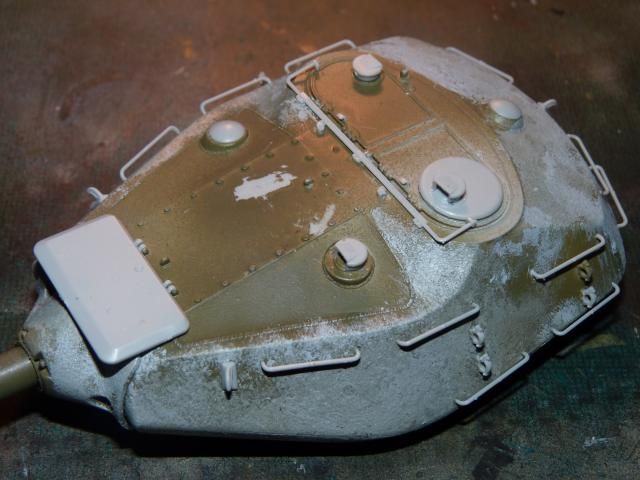
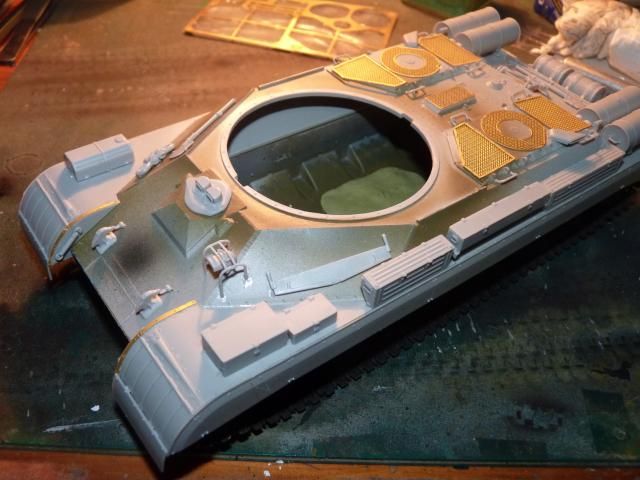
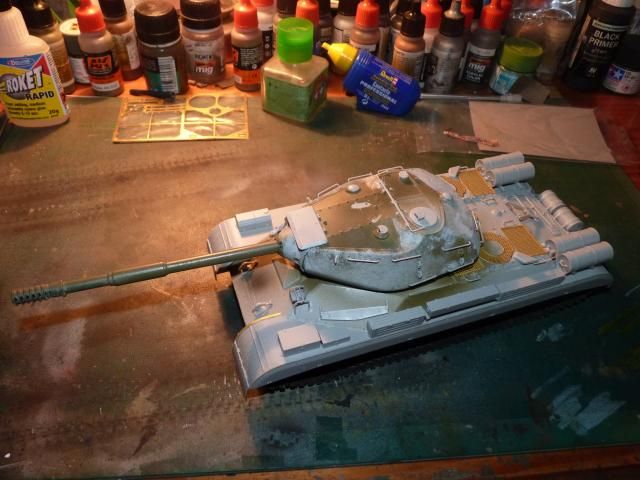
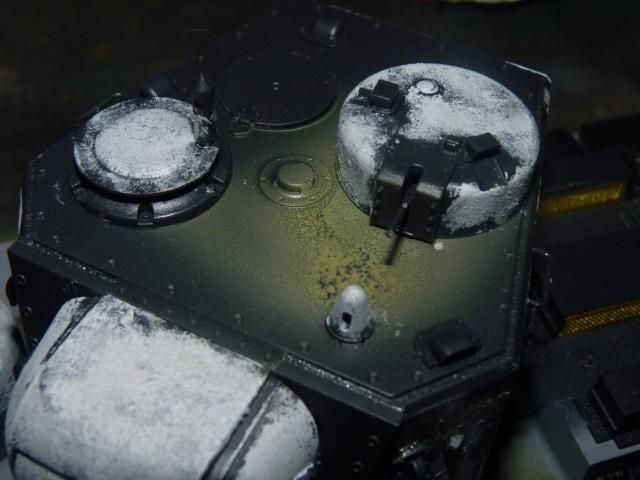
This is my very first kit that I weathered in 2009 ( with that same mind set that I just described)


As you have figured out by now, I just learned about chipping and just applying it everywhere regardless of whether these chips are in logical locations or not.

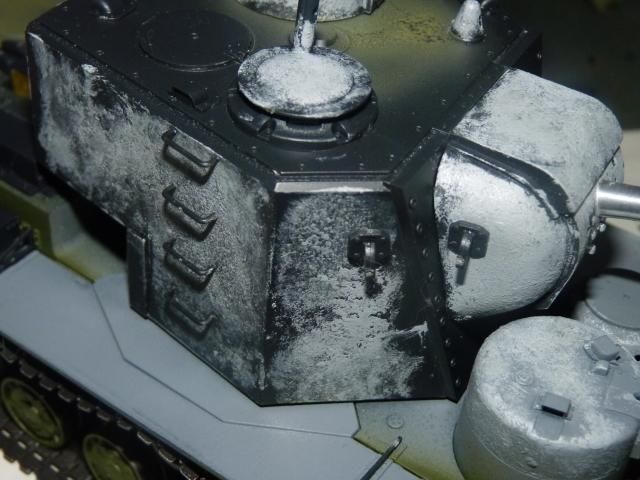
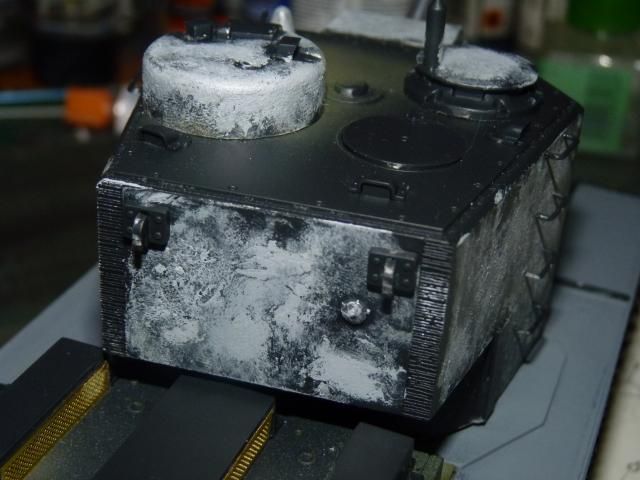
Compare that with my 2014 builds -

(Click on the picture and you will be linked to the original postings )


That is how long it took me to get to this level. And I'm still a novice. 


Weathering is not just putting random rusts or chipping or dry brushing of metallic colour every where. Weathering is supposed to tell a story. A whole story or just a certain point in a story depending on how it is depicted.

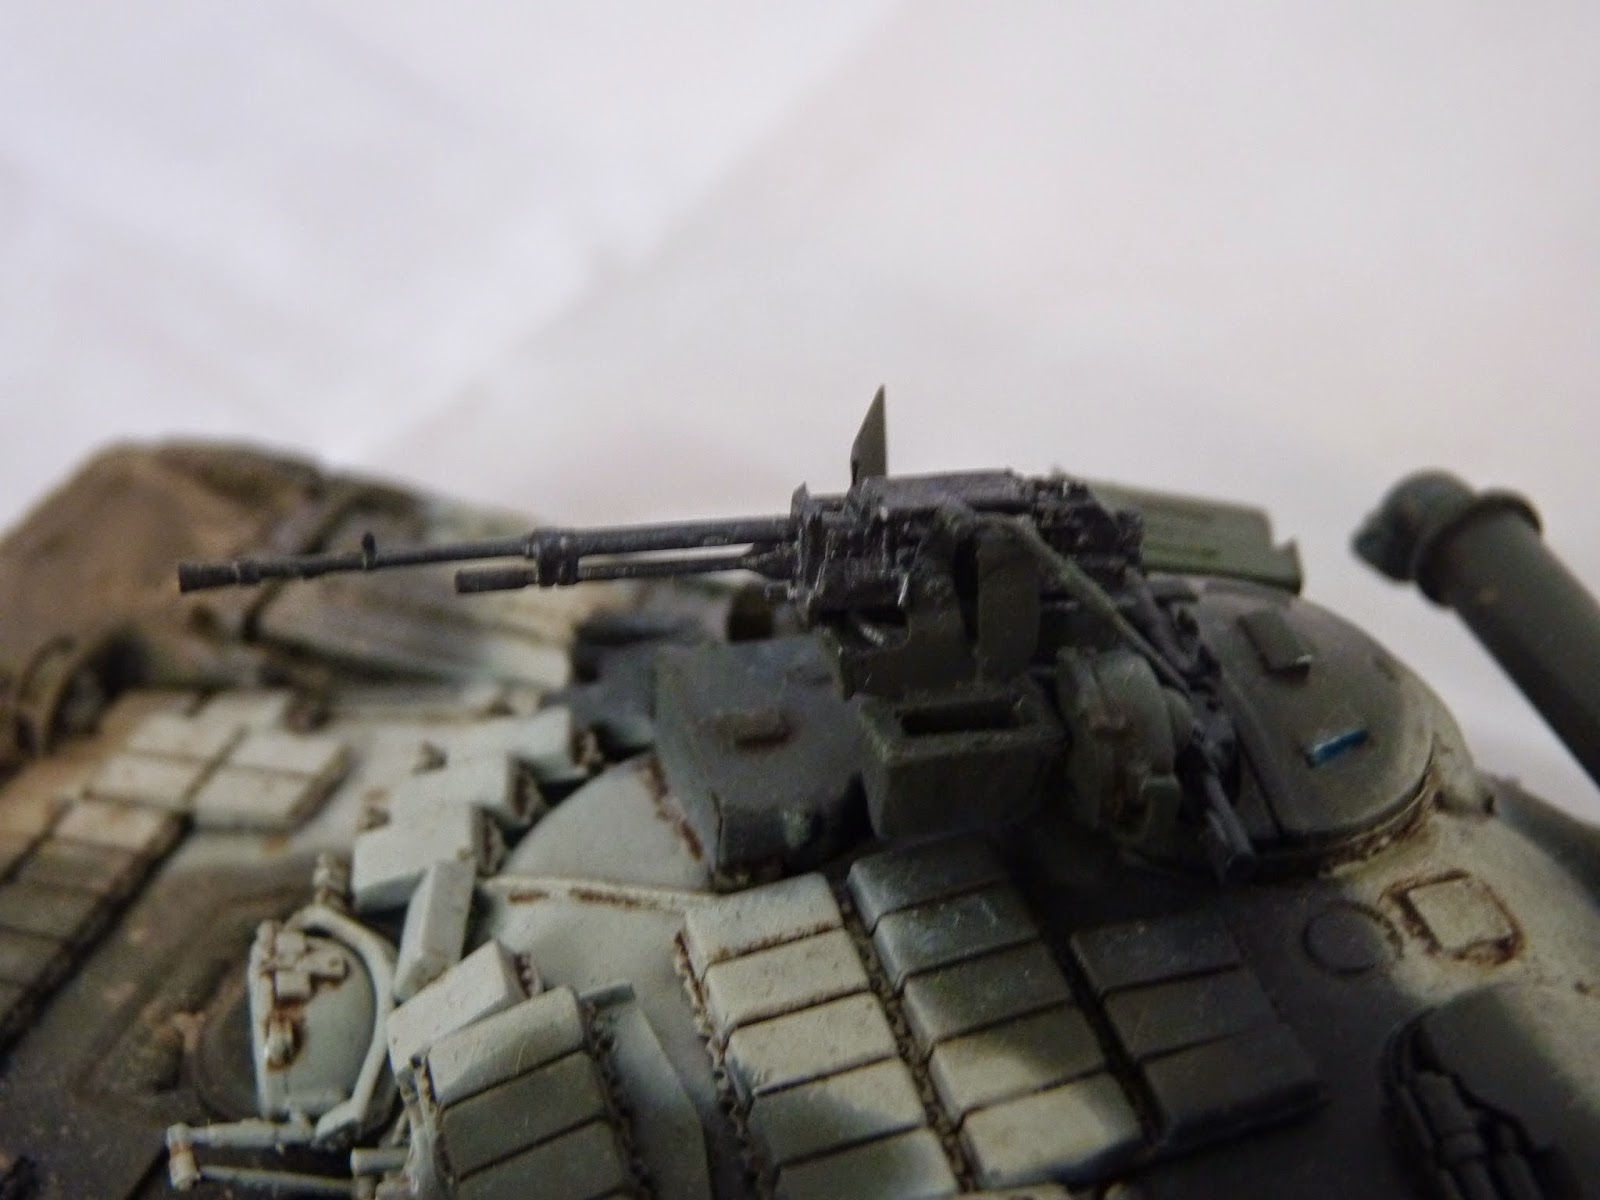
A lot of complex thinking is involved in weathering - what is the scenario, what the vehicle/MS has gone through, what it is doing now, etc etc. The best example of a perfectly weathered Gunpal is THIS ( His fan page here - Oishi Model Art ) ( FB album of this kit here - LINK


Notice the two very large chipping lines across the thighs where the skirts are in contact with the thighs and many other well thought-of weatherings effects. (and the white is inspired from Washable white wash paint used for winter by all 3 armies of WW2 )

Made by Oishi from Thailand, this gunpla is a perfect example weathering done right on a gunpla. ( also, check out Major William, Big Z, Decay and Mr.Gav's works for some really kick-ass weathering finishes on gunpla. Although Mr.Gav's rusted the hell out of his RX-78 which is made from gandanium, it's still a freaking beautifully weathered Grand-daddy. I'm just being too technical and nit-picking here)

I am not going to tell you how or write a tutorial on how to do weathering. I feel I am not skilled enough (yet) to do so. However, If you want to improve or learn about it, I strongly suggest you get your hands on the Weathering Magazines ( Website here - LINK ) ( Their FB page if you wish to enquire - LINK ). Get the books or get the PDFs anyway you can if you want to learn more. I will say this now, internet references can only give you a small amount of informations. Not to mention sources are scattered. You need dedicated books to improve your modelling skills. Trust me on this. 

As I stated, I will not be doing any tutorial or what-so-ever nor I will not be doing any spoon feeding but here is some do's and don'ts -


DO'S -
Do look at scale modelling references to learn about weathering.
Do think about a back story .
Do look at real life reference.
Do think about the materials that is involved ( remember, titanium DO NOT RUST and so is the fictional gandanium alloy or do not put steel colour chipping effects on rubber parts or canvas parts)
Do try to consider the current weather your MS is operating in.
Do try to consider the overall climate of the area your MS is operating in. 
Do try to think realistically even if gunpla is fictional. 
Do try to apply your effects randomly but in logical locations.
Do be resourceful with the necessary tools/product involved ( you can use real dirt and use it to boost the volume of your mud/earth mixture ).

DON'TS -
Don't just rely solely on internet sources. It is not enough.
Don't put on too much. LESS IS MORE. ( My Providence is a prime example of this. I put on too much chipping and it looks stupid )
Don't forget to test out a technique before you apply it.
Don't rush when it comes to weathering.
Don't put the effects all on the same layer.
Don't use the same type of products as your paints ( if you painted with acrylic, weather with oil and enamels and vice versa ).
Don't assume one technique is enough. ( Every weathering process consist of more than three technique - fading, pin wash, chip, collected dust, wet effect, eart, mud etc ).
Don't assume weathering can be done with just one product ( I'm sorry to say this but some people think buying the tamiya weathering master is enough for weathering ).

Well, these are the Dos and Don'ts that I can think of at the top of my head. As much as gunpla is all about MODDING ( and now with GBF, adding on ridiculous amount of stuffs is becoming a trend ), a well weathered gunpla as I have shown can and will be a show stopper. It's only a matter of time before beautifully weathered gunpla start to show on the scene. ( Personally, I'm a little bit tired of seeing straight build painted and modded kits all the time.) Don't hesitate to take the dive and step out of your comfort zone. Remember, the sky's the limit with out beloved hobby. 

Happy modelling to you all. 

Read more >>

Tuesday 25 November 2014

Trumpeter 1/35 T-80BVD: A freak version of a T-80

Good day to you dear readers.. Hope you readers having a good day and all is well with you guys.

Yes, this is the T-80 that I have been building so slowly for about 2 months. Finally took some times off to take photos of this.

For a detail review of the kit, please refer to my review post I made for this - LINK

I have purposely taken off the fuel drums as I think this baby looks better without them. I also took off the cables ... well.. just because. I have no reason for taking off the tow cables LOL.

For the Colours, I used Tamiya Dark Green XF-70, Vallejo Air Black and Mr. Colour Aqueous Aircraft Gray H57. My choice of green was poor as you can see very obviously that it is too dark. It would have been acceptable just by itself but after I put on the Black patterns, it interacted with the dark green and made the green darker. Had I known that would happen, I would have used a lighter green or made the dark green a bit lighter. OH well.......

For weathering, I kept the entire vehicle clean, free of chippings and collected dust. Since this is a prototype ( according to what I have read at Armorama ), I wanted to put this in a scenario where they are testing out performance with the diesel engine on a relatively new vehicle. I was tired of making caked and solid mud and earth ( dry and wet ) so I thought of the kind of weathering I haven't done and I figured out that I haven't put on any kind of muddy water weathering. 

Deciding on what kind of setting I want my weathering to show, I ponder for a bit on what product to use and my eyes felled on a half empty bottle of AK earth effect. So, I put some in the airbrush, lightly spray them onto the bigger parts and made a heavy spray near the edges of the skirts and the front rubber flaps. Once dried, I apply some more heavy amount of it by mean of brush to make more convening random effect of a surface stained by muddy water. Once fully satisfied, I took a glance on to the surface and applied some pledge( AKA future/Klear ) floor polish in the nooks and crannies of the ERA blocks on the very front hull to depict still wet waters trapped in them.


I made a full account of the W.I.P in the previous posts and you are welcome to look over at them if you are curious about how well the kit goes together. Actually, let me make a list here for the Work in Progress posts -
Part 3
Part 4
Part 5

This is one of the few kits that I am absolutely happy with what I did. I did have to nitpick about some boo-boos but the enjoyment and seeing it finished far weight the boo-boos
It's time for the photos - 
(Just click on the smaller ones and they will pop out )


The running gears -


 Some of the mud splashes and splatters- 

Some random close ups -


And as usual, my show case photos from various angles -


And as usual from me -


This is not one of my best works but my experiment with the enamel wash only weathering was a bit of a success. I been wanting to try muddy water stains rather than caked mud ( dry or wet) and this is quite satisfactory.

If I have to nick pick - I aboslutely hate that splatter on the left side of the front hull upper slope. It just doesn't look right. I thought it looked right but in hindsight, it doesn't. OH well.. what's done is done.

Learning from my ZSD-90, I tackled the white frosty finish of the infernal Matt varnish by rubbing them of with a brush that is very lightly wet with mineral spirit. Even still, there is some of these stupid unwanted effects still left on some places of the turret and the hatches.

Thirdly, I forgot to paint the convoy light's clear red over their silver base so it looks like the convoy lights are just normal white lenses instead of red lenses. 

Fourth, I am not happy with the condition of the green as I have stated above. 

Apart from these four points, I am really happy with this baby. The vehicles look just lovely and this is a milestone in my skills in applying .  This is one baby I will be proud to have on my shelf or another one shelf should anybody would buy it as I have plans to sell it.

Speaking of selling, I am selling some of my built models so if any of you are interested, shoot me an offer on ebay -
http://www.ebay.co.uk/usr/romance6688
Internationals are welcomed as well but most likely have to be communicated via email and paypal as I did not turn on international shipping on ebay. So shoot me an offer on ebay or from email if anybody's interested.


Read more >>

Saturday 22 November 2014

Dual speed-build: KV-5 and JS-4 - Part 2

Right.. Update is due on this WIP ....

I will start with the JS-4 for the update -

With the lower hull all done, I glued on the large fender piece with a small strip of P.E. on the front mud flap. The flaps and fenders are all one long piece ( shown with the blue arrow )
Closed up the side skirts after that. Yes, yes, I know.... if I do that, what's that point of going the trouble to have the tracks sagged? I just love side skirts alot.

Learning from past experiences with Trumpeter kits, I drilled holes over the very very hard to find locating dimples for the grab handles that will go onto the turret.
After that, I gave it a coat of just random green that's lying around so that I can tell apart the areas that will not be textured later on. After that, Tamiya putty and revell Contacta cement to the rescue.
As much as I want to use the beautiful metal barrel, I wanted to have my JS-4 in a very menacing look and since my Object 279 was a failure, I just hack-and-slash and voila -
JS-4 now sporting the 130mm. The gun was initially very long and the over hang was too impractical so I shortened it to the same length of its original 122mm gun.
The only draw back of the turret assembly is that there is not Poly cup ( or PC cup or whatever they are called) and even though I'm using a barrel of pure plastic, the gun keep hanging down due to the weight and the very lose gun elevation mechanism. I had to use what I always use for counter weight - two part epoxy -


I put on a touch too much and now, the gun can't depress any more than 2 degree as the huge putty block is touching the turret roof. LOL. Not complaining, I'm happy as long as the gun is not loose and hanging down any more.

After that, comes the fuel tanks on top of the rear hull -

and finished off the read deck with exhaust mufflers and the P.E

Decided to finish the turret and put on all the necessary things ( you can clearly see the different colours of the entire turret)-


After that comes the storage boxes and any other necessary parts on the front hull -
And this is how my JS-4 looks now -
happy with that, moved on the KV-5.
First step is to paint the underside of the rather long fenders -
Glued them on along with the storage boxes and the raised engine intake structures -
If you guys are building this, be prepare to exert alot of force putting on the fenders to the slots, or better yet, make sure you do something to the male pegs or the slots to accommodate a flawless attachment.
After that, I totally go to town on the cast structure on the mantlet -
more cast texture on the mini turret -

decided to roughen up the side walls of the turret as well-


I know they wouldn't be casted but I decided to rough them up to show the low quality of the steel. I believe it is the reason because I usually see soviet armour build with roughed up steel plate.

And to close this update-I painted the entire thing with a base mix for the Russian green. By this point, I have only finished putting on the darker shade of green and lighter shade on the turret. The hull is yet to come.
That's for now. Catch ya all later.
Read more >>