Monday 30 December 2013

My 2013 in a Nutshell

Well, another year has gone by ... boy, times flow fast isn't it?...

It seems like just yesterday when on the December of the year 2012, I went back to my heritage modelling : scale models, particularly tanks. I never regretted that decision as I'm more happier in that world then building gunpla. I still haven't given up on gunpla though.


So, lets do a little review of my year 2013 -

First of all - I got to meet a lot of new friends and some of them become very close, which is a great bonus.

As much as I gained new friends, I lost friends as well. Nothing serious, we just grew apart ( sadly, one of that is a best friend since high school)

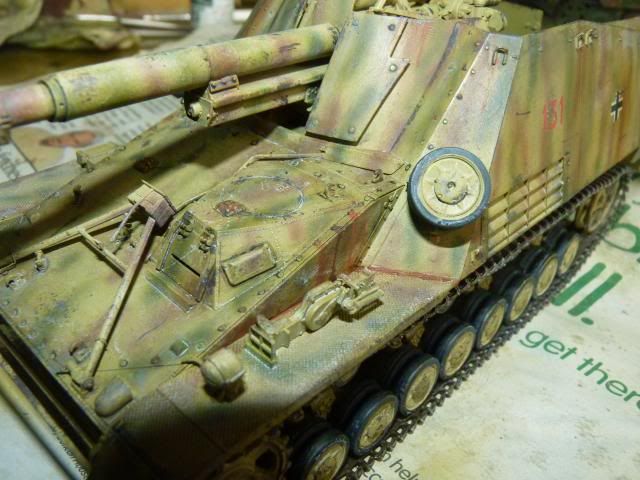
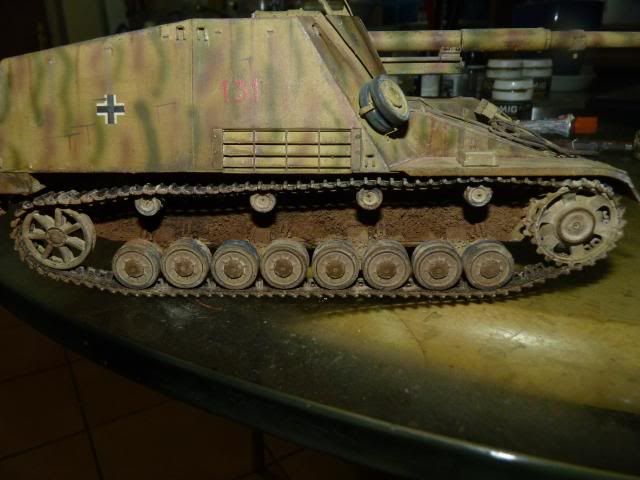
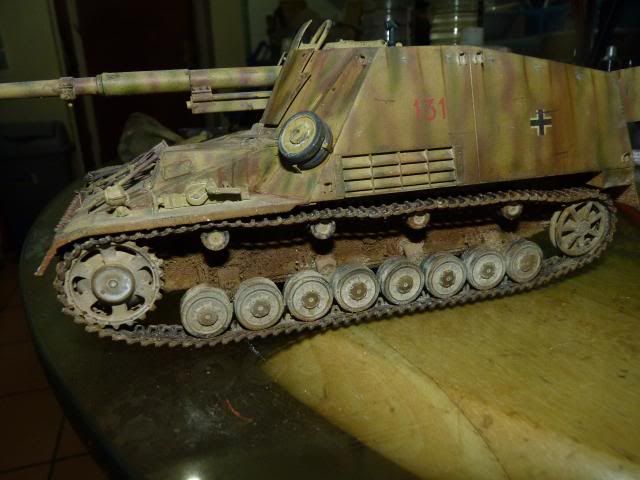
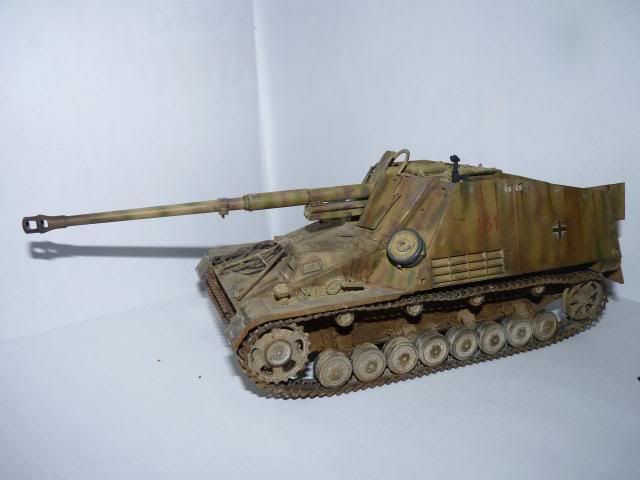
I have finished a total of - 12 kits within the year 2013 albeit only 1 of them was a Gunpla kit so not exactly a bad rate.

I found a very very friendly and fun scale modelling forum and I am having the best time there.

Two modelers I look up to have recognized me and admitted that my skills have been improving at a fast pace and it was very nice to hear that. Probably the best thing I have heard (modelling wise( all year.

Life wise- I am still lonely.. haven't found a new gf yet.. :(

I got accepted into a master degree and really happy about it.

I got to visit the Bovington Tank Museum for my Birthday and it was a blast.

I got a chance to attend the 40th Anniversary IMPS UK show at Telford and boy, it was amazing.

So all in all, 2013 wasn't exactly a bad year. It could be better but I'm not gonna complain.

So with all of that, I'm gonna say good bye to 2013 and say hello to 2014.

I wish my dear readers a VERY HAPPY NEW YEAR and may you all have good luck and prosper in the coming year.


Read more >>

Sunday 22 December 2013

MECHA MODELLING GUIDE IS FINALLY OUT!!!


Well, folks.... Here it is... finally. The wait is over. 

I don't think any other further information is needed to use as introduction to announce that the Mecha Model Guide book is now finally available to purchase.


Here is the link for you to get the ebook version -
http://www.amazon.com/Mecha-Model-Guide-Beginners-Derick-ebook/dp/B00H1FBJ2U/ref=sr_1_1?ie=UTF8&qid=1387668919&sr=8-1&keywords=mecha+model+guidebook


And here is the link for those who ,like me, need to have a physical copy -
http://www.amazon.com/Mecha-Model-Guide-Beginners-Volume/dp/1494336812/ref=sr_1_1?ie=UTF8&qid=1387671907&sr=8-1&keywords=mecha+model+guide+book
Unfortunately, Amazon.com only ships to the US ( and the relevant EU sites ships to the EU only ) so for those who wish to get the phsycal copy, use this link which ships world wide!-
https://www.createspace.com/4549402

I haven't got myself a paperback copy yet ( well, I'm broke now LOL ) but I have already bought a ebook version and I love it.
Go give a like to their facebook page to keep in touch with news and updates on future release ( intermediate and advanced) -
https://www.facebook.com/MonoeyePress
I will write a detailed review of this after I have thoroughly read it through.
But seriously, get it ASAP .. it's a very good investment......


Read more >>

Saturday 21 December 2013

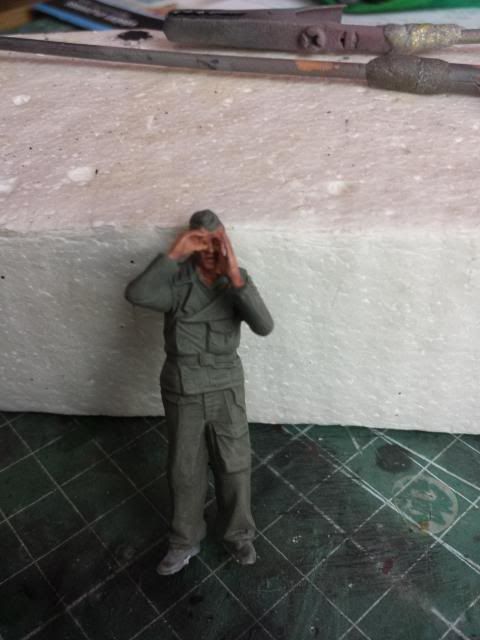
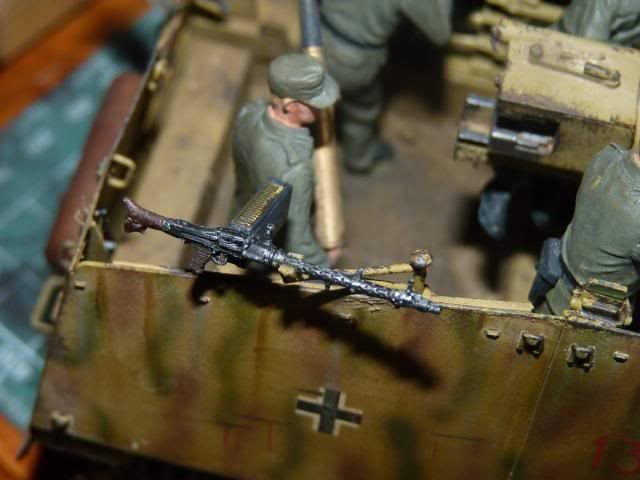
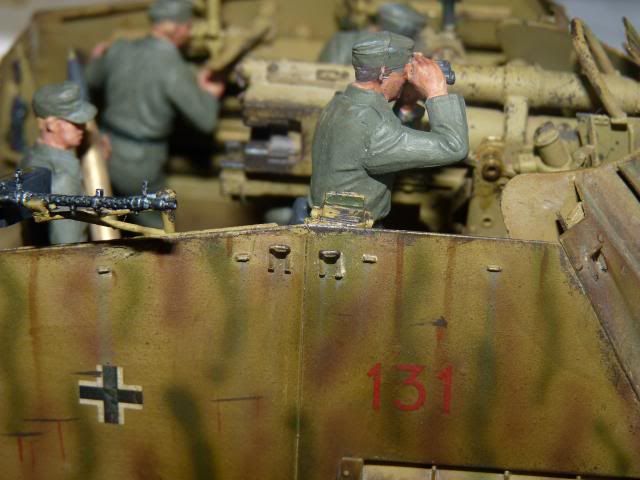
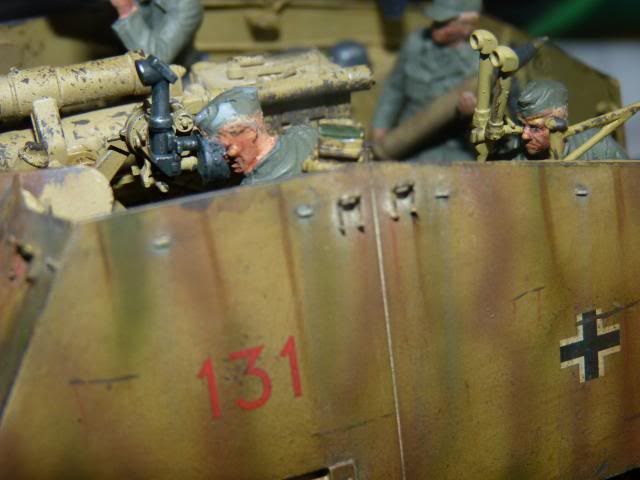
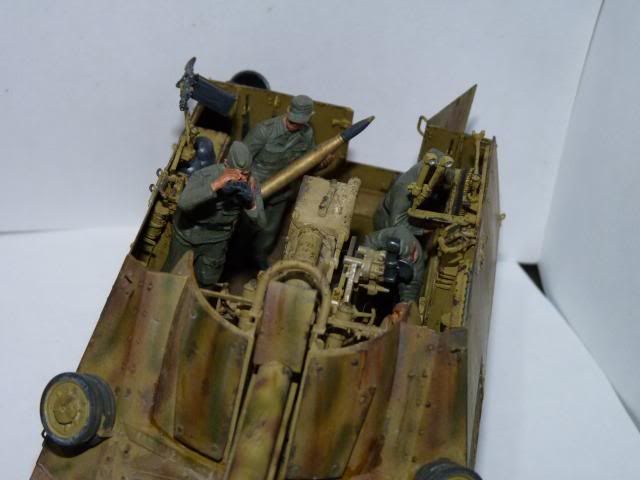
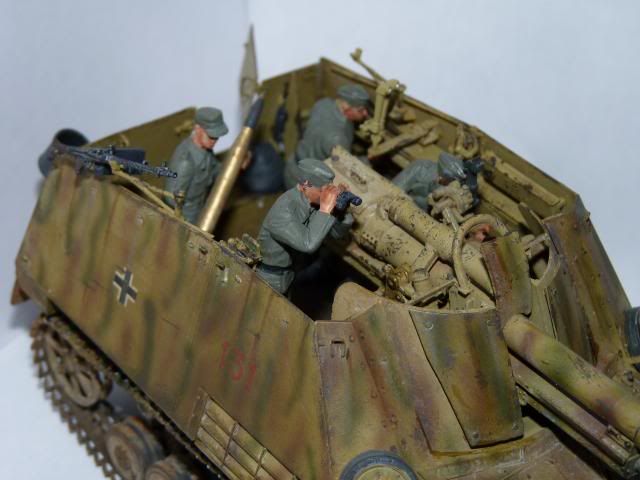
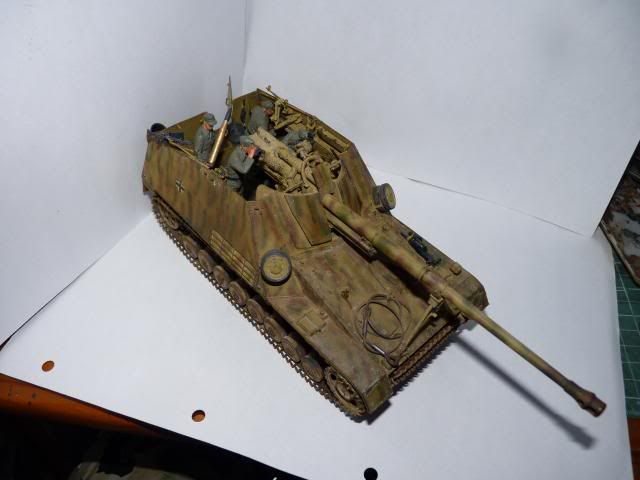
W.I.P Dragon 1/35 Nashorn - Part 5

Hey guys ... After working on it for a while, I got myself an update for you all.

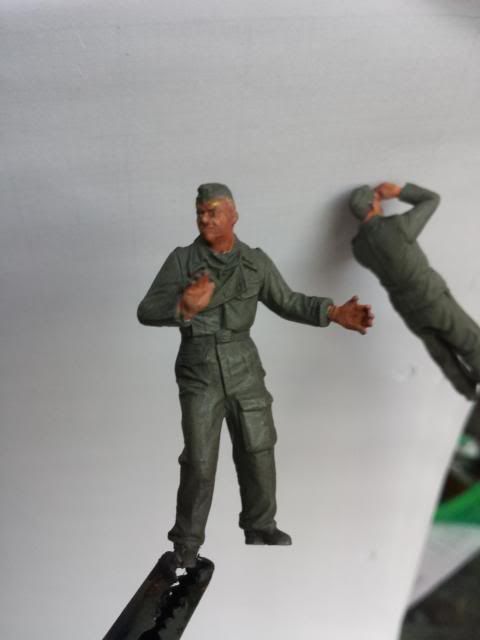
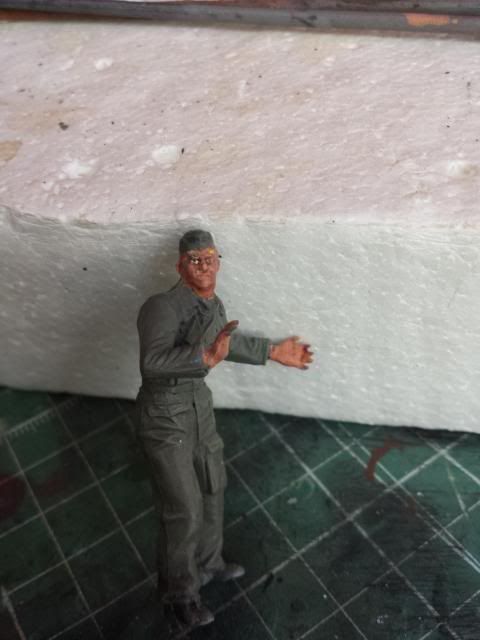
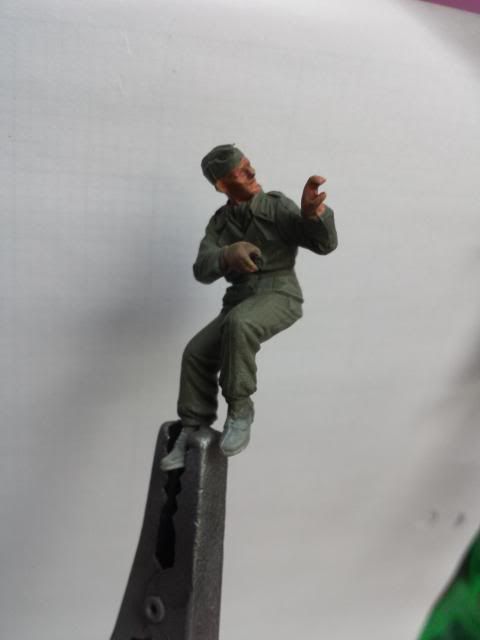
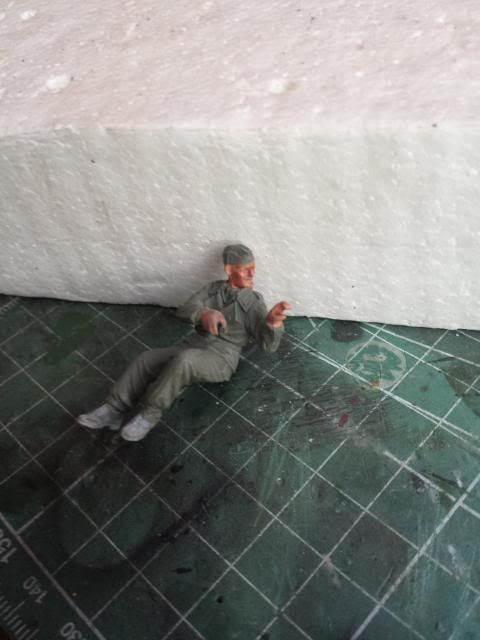
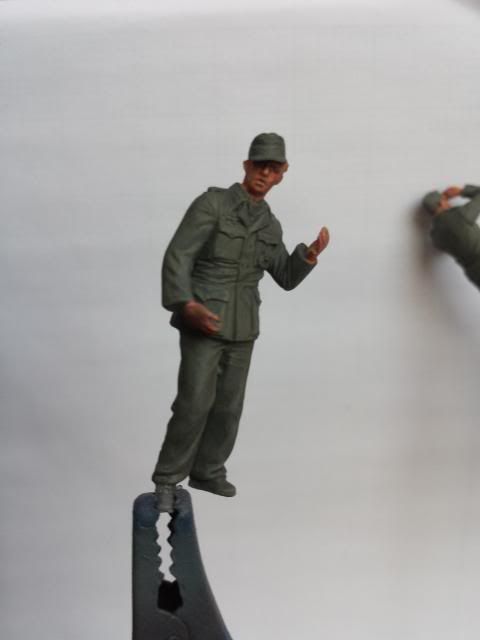
Now, bear with me as my figure painting skills sucks and I'm still giving my best and improving on it.

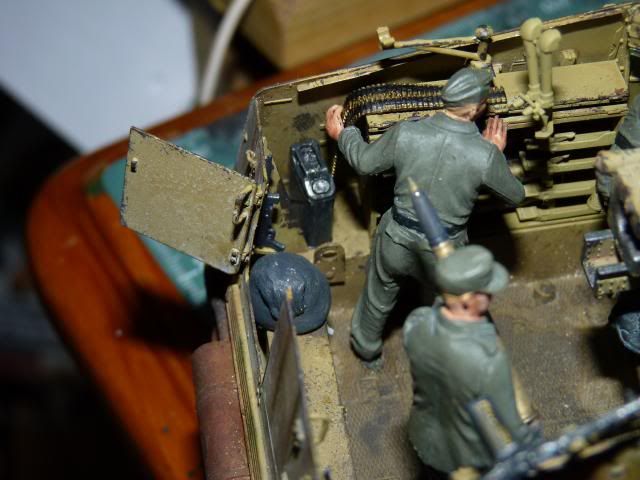
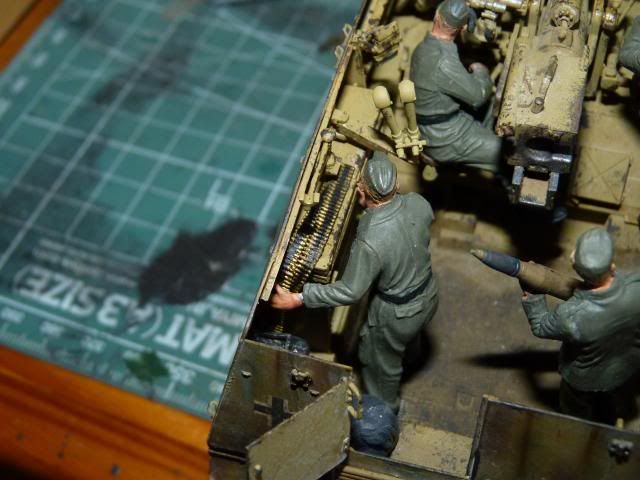
Here is one of the loaders- 
Image


Image

And another loader -
Image

Image
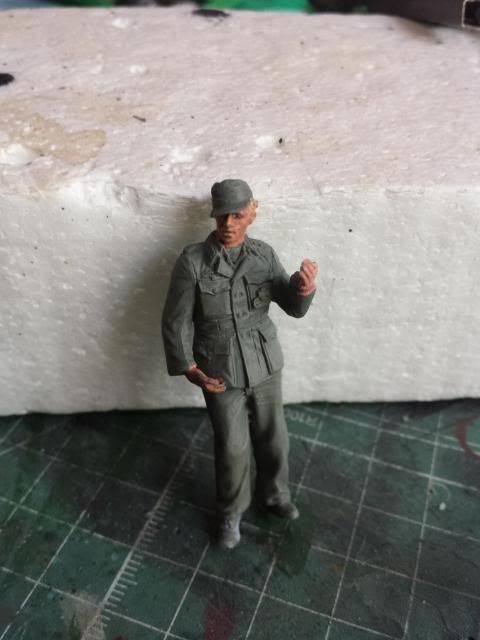
This is the gunner ( this is the Tristar set made specifically for the Nashorn. I opted to use this gunner as I want to save the other gunner for the Stuer Emil )
Image

Image

I belive this is the commander -
Image

Image
And I carried on with the small little things that need to be put on -
Here is the MG34 on the right side of the super structure -
Image
These are the little periscopes attached on the support ''girder '' of the super struture -
Image

Image
They were clear parts to I just put on a coat of Vallejo Colour Reflective green on it.

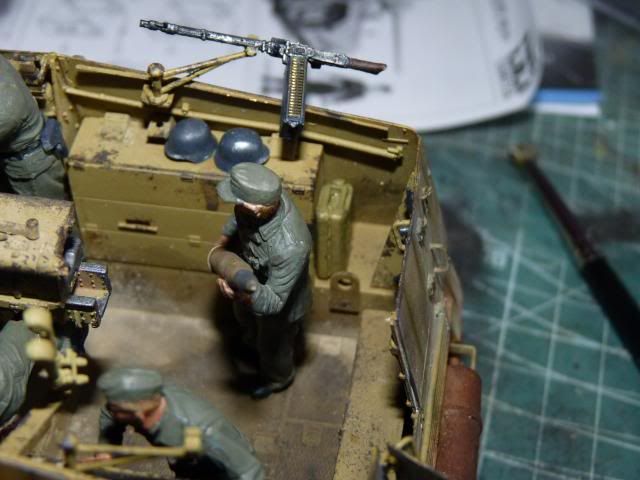
I wanted to give the vehicle more life so I decided to put in the helmets -

Image
Vallejo German grey based with drybrushed GunGrey ( I believe it was GunGrey )
I put in a little black bag there just to liven up things.. what's in there is beyond me.. LOL... and a fuel can on this side-

Image
and you will notice that I also put on some ammo belt for the MG34-
Image
It's a little bit sloppy as it is so small and I cannot focus my eyes.

Water can on this side -
Image
So that's that with the vehicle. 
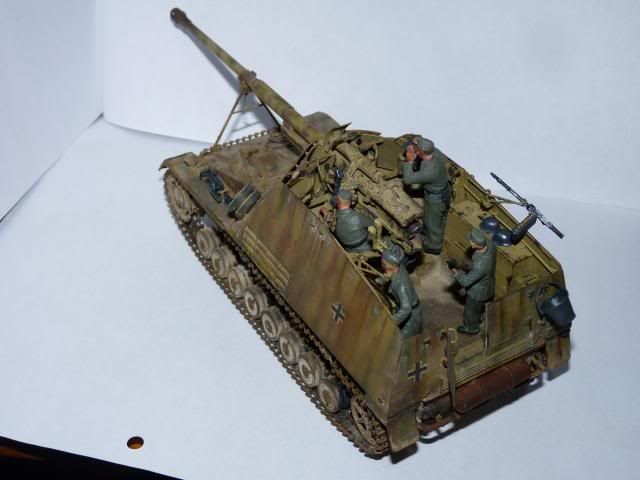
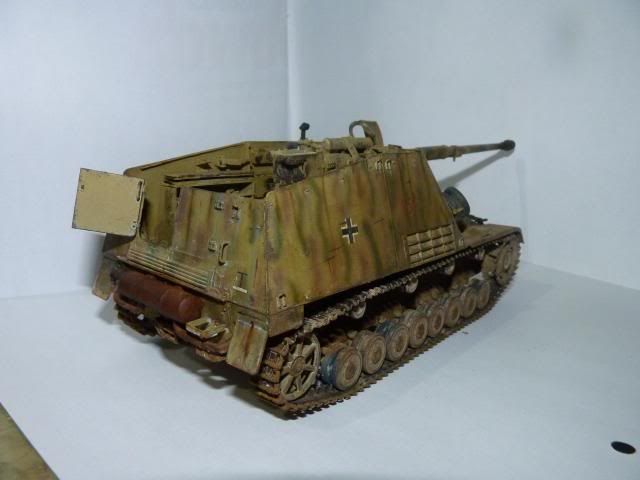
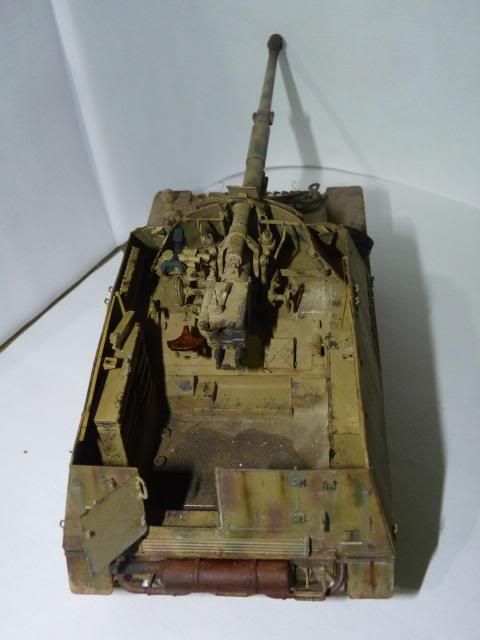
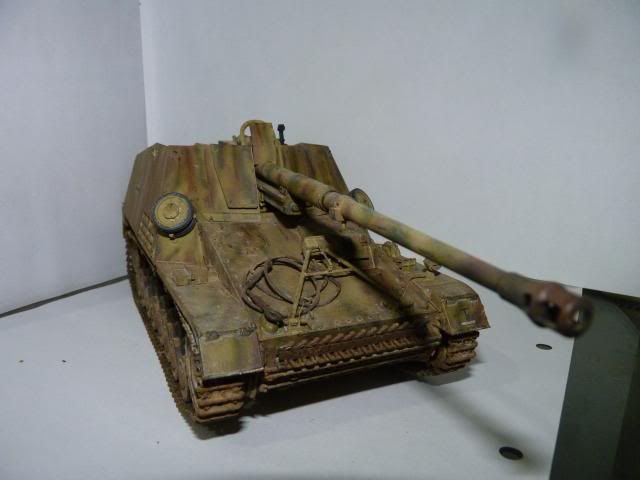
This is how it looks now with all her crew glued onto place. I still have to paint the shoulder badges ( which I am not looking forward to but I really want to so it's a little dilemma there for me ) 
Image

Image

Image

Image
Coming up next is the diorama for this, which I am dreading. Hope I can pull that off well. Fingers crossed.

Until next time.


Read more >>

Thursday 12 December 2013

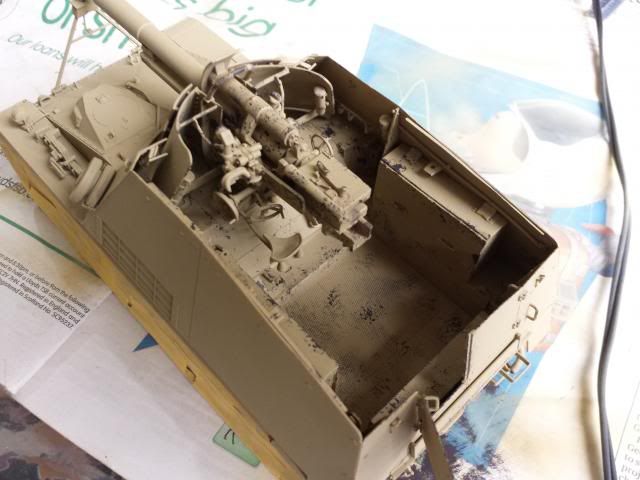
W.I.P Dragon 1/35 Nashorn - Part 4

Right guys - time to update this;

Last time, I stopped after I put on the first base coat so let's carry on after that.
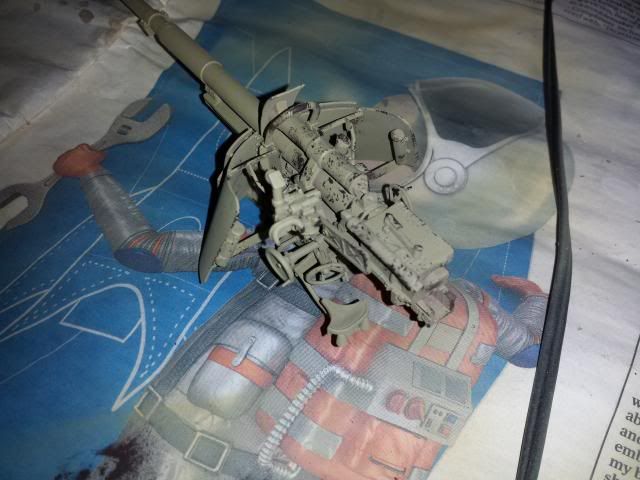
After putting on the base coat, I was bored that day so I decided to do something fun, which is chipping and the only place I can chip before putting on the camo scheme is the interior so I went ahead and chipped the entire interior-

Image

and the gun -

Image

Not exactly a first class work but I ain't complaining ......

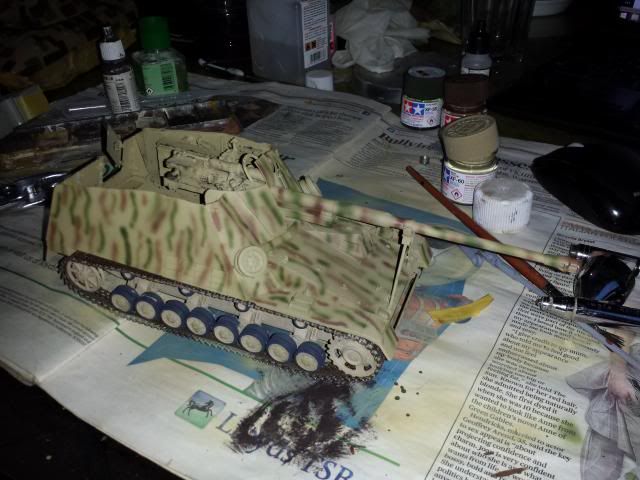
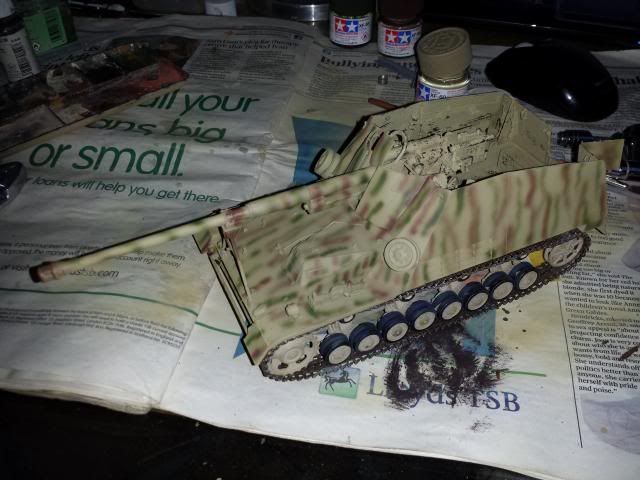
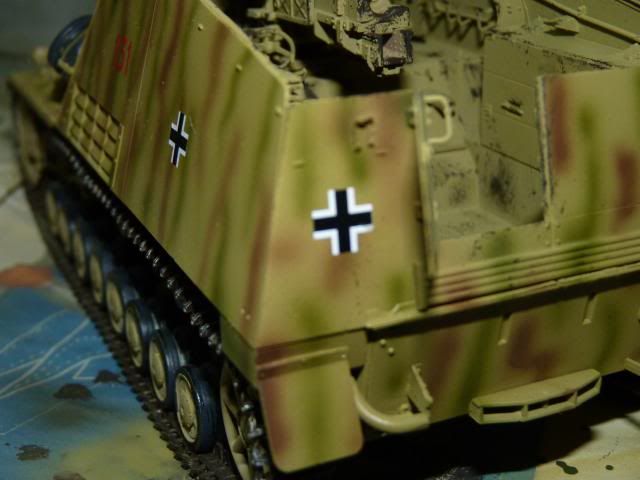
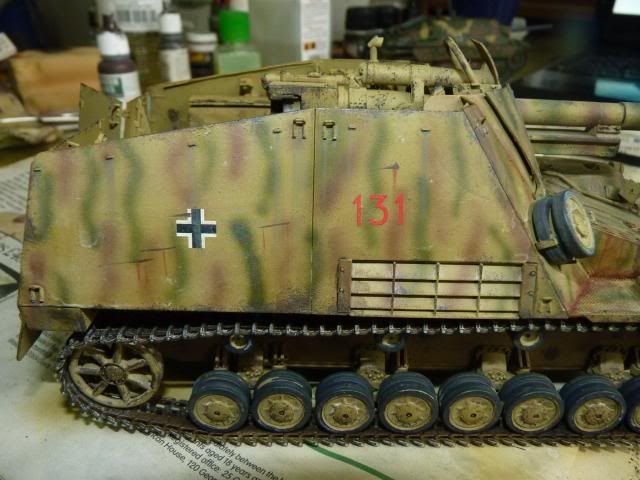
After that, I put on the camo scheme. I had to spend a good amount of time to look for it but it was finally my friend who suggested to do this scheme and I am very thankful for that as it looks great and kinda stand out from what I normally do-

Image


Image


( squiggly line ... squiggly line ... remind me of Stewie ) 

LOOOL

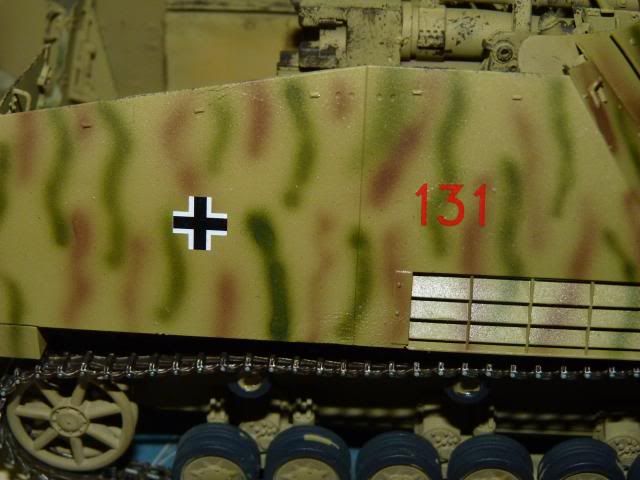
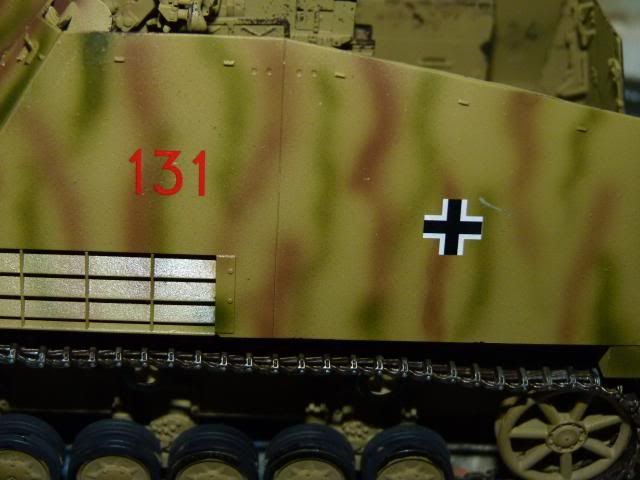
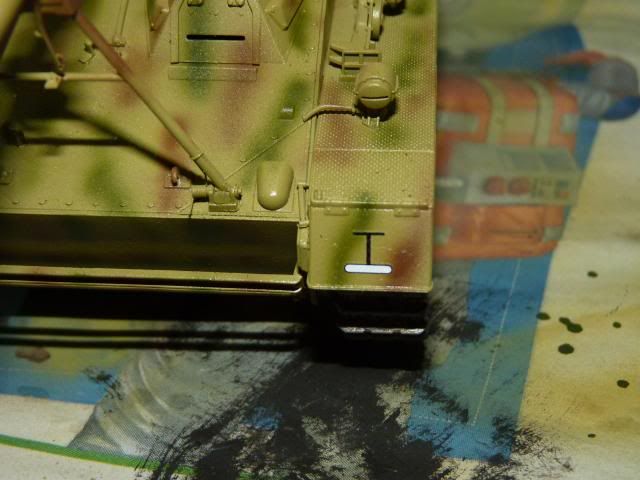
Anyway... after that comes the decals - ( forgive the highly glossed surface )

Image


Image


Image


Image


Image


I followed that with some streakings -

Image


Image


You can also see some small scratches on the side of the super structure.
I looked around the model and I saw that little area there just perfect for putting in some rust from pooled water so I went ahead and did that along with some streakings and various chippings as well -

Image


Image


I noticed my Matt Varnish become a little frosted which will be wiped away with some thinner later on.
Here is the rear. I also found a rust-trap so I put some rusts in there as well -

Image


Next is the muffler. 
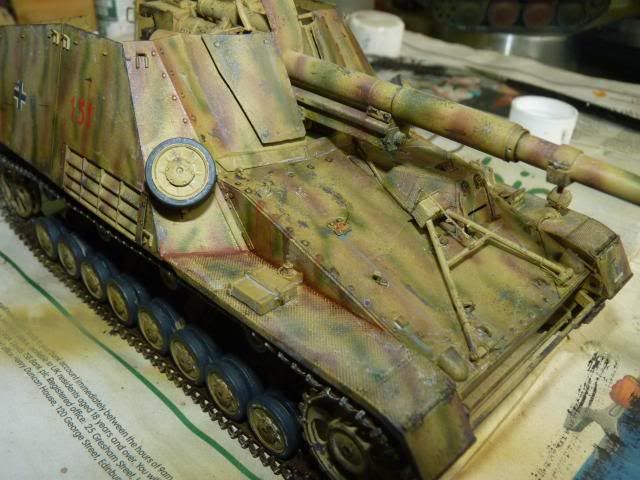
Note - If you guys are building this, be very very careful with the muffler as the instruction was VERY misleading and I put in the wrong way and it didn't fit so I have to take the darn things apart ( AFTER it as been painted and rusted ), put the little attachment point the other way around from the instruction and spend another 1 hour painting and rusting it. Be sure to dry fit that darn thing before you guys glue it.

Image


I noticed it's a little bit red ( probably because of the burnt serpia ) so I darkened it a bit more -

Image


Now it's the time to get dirty ( literally ) with pigments -

Image


Image


I noticed the colors on the 2 wheels are different. I pondered for a bit should I fixed it but I like it that way so I'm gonna be keeping it like this.

And here's how the might rhino look after all the weathering was done -

Image


Image


Image


Image


Image


( I took the pic while waiting for the wash to dry so yeah ) 

Image


Well, that's it for now. Whew, this was a rather long update. Next will be the crew ( which I am not looking forward to >_< ) ...

Until next time

Read more >>

Friday 6 December 2013

Tamiya 1/35 Leopard 2 A6

Hello there beautiful people.

Well, here comes yet another finished kit from me. This time, I will be adding a rather classic and popular vehicles; the Leopard2. The kit, as you can see from the title, is Tamiya. I guess everybody already knows about the vehicle and kit so I am not going to write about them. 

The kit was a gift from a dear friend, the name is Bret and goes by Mech Tech on our Mecha Lounge Forum. Thank you dear Bret for giving me this kit. It would have cost me nearly £40 if I have to buy one myself. As a sign of gratitude, I sent him a Zvezda T-90. He really loves it.

This gal is painted in Nato Green, Nato Brown and Nato Black. Scheme is per the instruction and references per the Bundeswehr as I saw that all German Leo2s are painted in the same pattern.

As this is a gift, I wanted it to look unique but I know I can't do that so I tried to make it stand out. I was looking around for camo references and I saw all these Leos with heavy foliage on them which inspired me to put them on my Leo2 as well. The branches are made from wire (I don't know if that was bronze or copper or brass) and the leaves are bought from GreenLine Product and even though the colours are very toy-like, it looks pretty nice. I got an A6 size fret with 200 leaves on it. The camo net was made from bandage and a secret weapon - Parsley ( It stunk like hell after spending a whole bottle on the net). The long grasses which looks like whiskers ( as this a ''leopard'' ) are from Woodland Scenic.

I debated on how to weather it and I just decided to go crazy with dried mud. The mud was made by mixing my pigments into a big tub of plaster and then finally mixed with Vallejo Acrylic Resin to make clumps of dried mud. I always had problems with making clumps but I successfully made some on this one. 

The crew's face were painted with Vallejo colours and the uniform was with Tamiya colours. After talking with one of my good friend, Geeyan ( who is a good friend, albeit somewhat new, and a great modeller), we agreed we should sponge on the colours to put on the complicated flecktarn camo. Thanks to him, I finished the uniform very quickly and without too much mistakes. I have to admit it doesn't look perfect but it does look acceptable. 

The build was very enjoyable. I made a full account of the W.I.P in the previous posts and you are welcome to look over at them if you are curious about how well the kit goes together. Actually, let me make a list here for the Work in Progress posts -

Well, that's about as much I can sum up about the build. The exact steps can be found in the 6-part W.I.P. 
I'm vary satisfied with what I did ( on the tank), albeit it could look better but still, I'm happy. I am however, very unhappy of the figures and the sorry state it is in. I do love the uniform though.
It's time for the photos - 
(If you think some are small, just click on them ) 


Close ups of the muds and wheels -


Close ups on the turret and the foliage -


The camo tapes on the barrel and the whiskers ( that's what I like to called the long grass on the nose )


The on-board tools - 


The Periscopes and sights -


The crew - 


And as usual, my show case photos from various angles -


And as usual from me -

To be honest, I am not particularly fond of some small hiccups on this. This is a bit of self-criticism from me: I was very impatient and some of the mud are very underdone. My figure painting skills still sucks (BIG TIME) but I'm painting more and more and getting the hang of it. I also noticed that I forgot to put on some fuel/oil stains.


I just hope the Bret loves what I did to this gal. Thank you so much Bret for your great gift. I couldn't keep building if not for my supporting friends and comrades. Thank you guys for always supporting me. Thank you dear readers for your patronage as well.

Until Next time
Read more >>