

Right .. Time to update this baby after releasing 3 completed builds ..
Last time, I stopped at the dry fitting of the turret. Let's carry on from there
The next step for the turret calls for the glueing of the little P.E hooks. That hooks are really small but HobbyBoss in all its wisdom put in a pre-made etch folding/bending thingy just for these little hook. It's located on Sprue P.
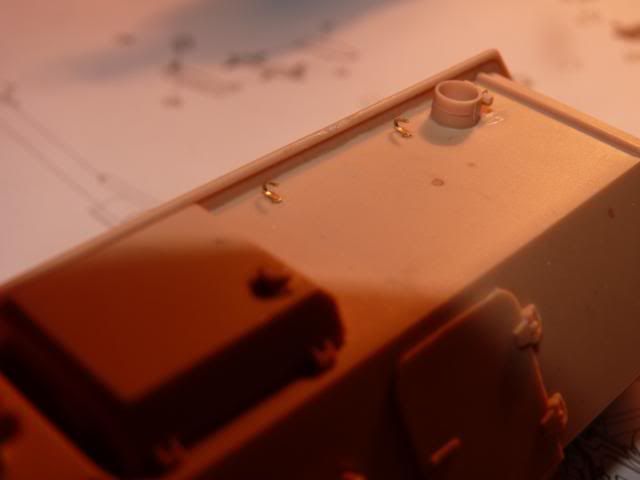

I was scared when I first saw it but after carefully looking at the instruction, I was very relieved .
After the little hooks on the top, next up is a bit bigger row of hooks for the tow cable.
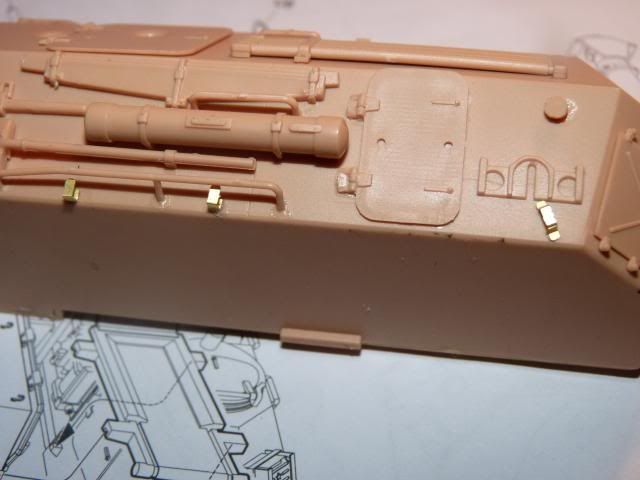
The little hooks also goes on the back as well. Thanks for the folding/bending thingy supplied, these came out all uniform ( I think )

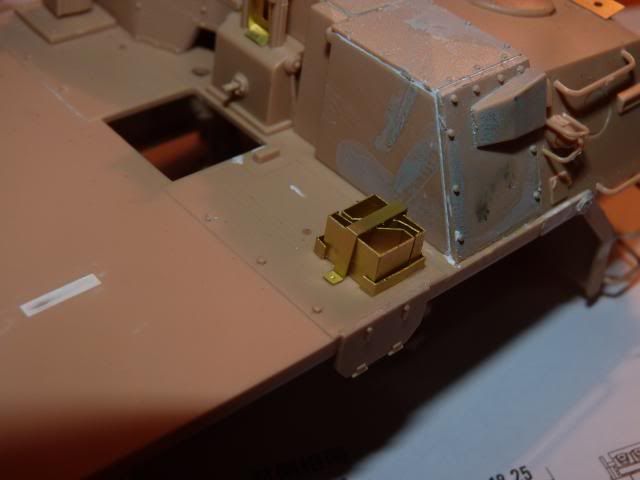
I followed that up with a ammunition rack for the Anti Aircraft machine gun.
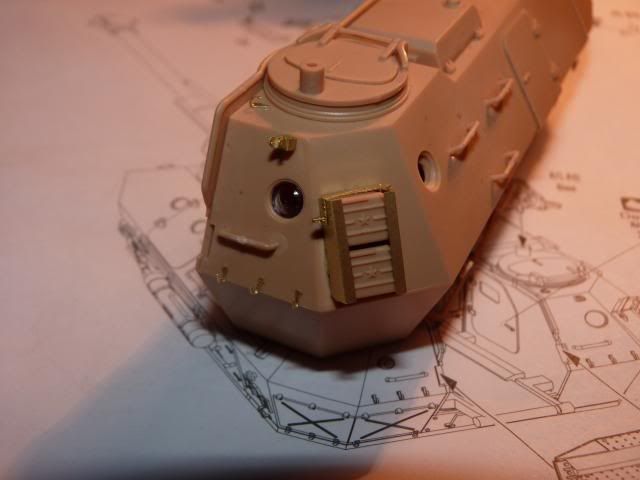
That is one of the best looking storage I have seen and easy to assemble as well. You can also see the other small P.E stuffs as well.
After that, I had to do some kind of ammo feeding mechanism that is right behind the breech and between the two halves.
These twos combines to form this mechanism ( I have no idea what this is though )
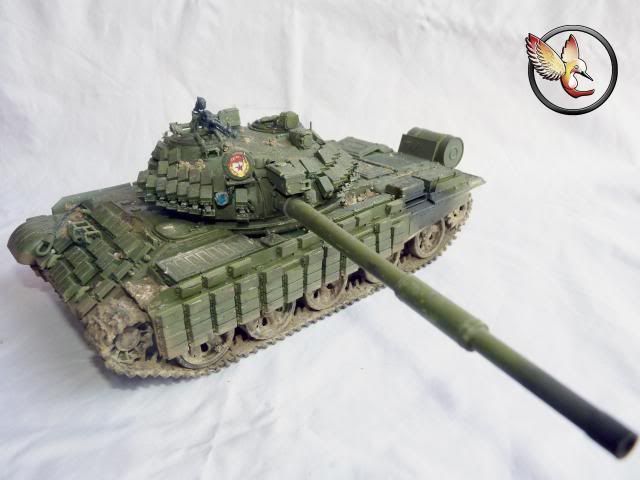
With that, the entire turret is complete finished minus the clear parts -
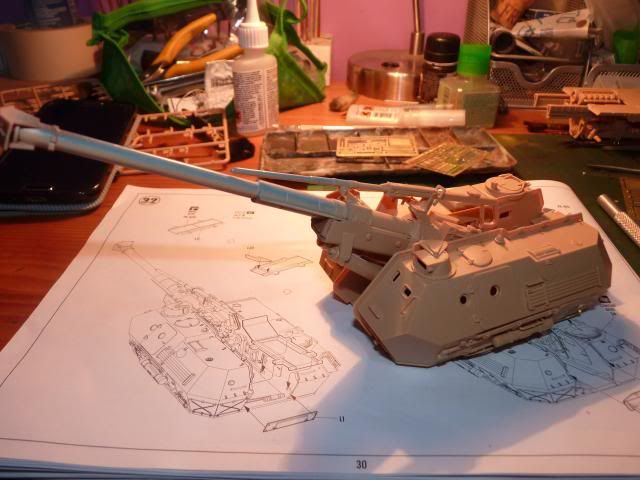
I still have to build the engine cover and rear parts but I didnt want to do it yet so I looked around the manual and decided to finished up the deck area behind the cab.
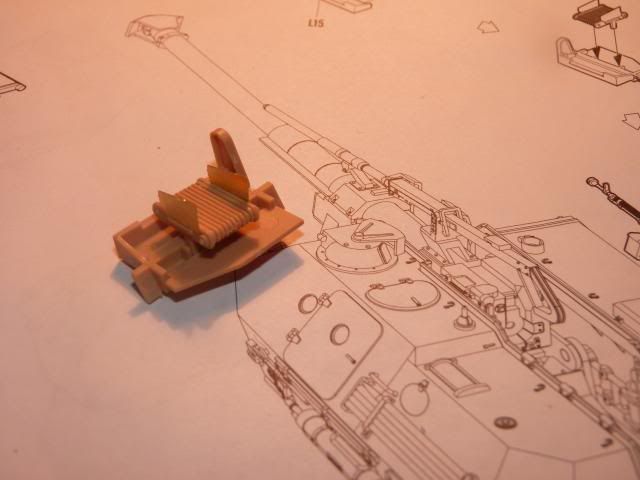
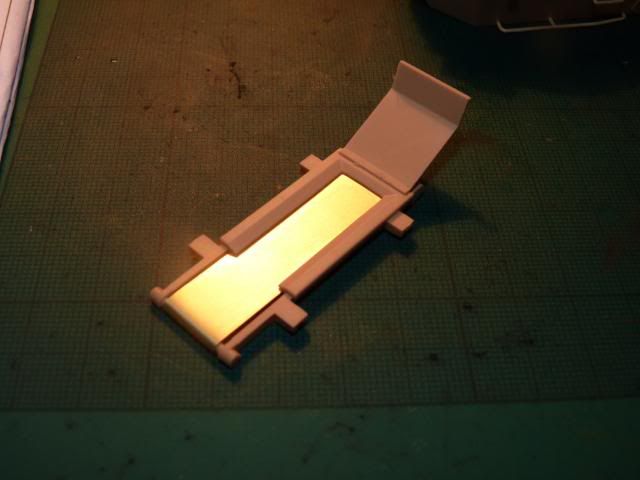
First I have to build this gun travel lock -
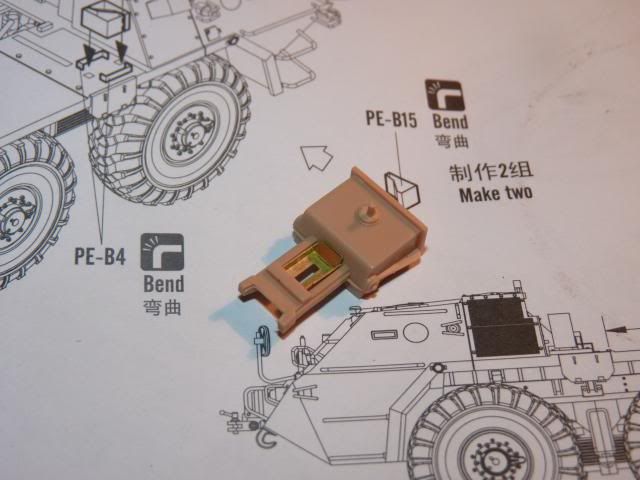
Along with these P.E parts ( again, I have no idea what they are )
 You can see here I had to do quite a lot of filling
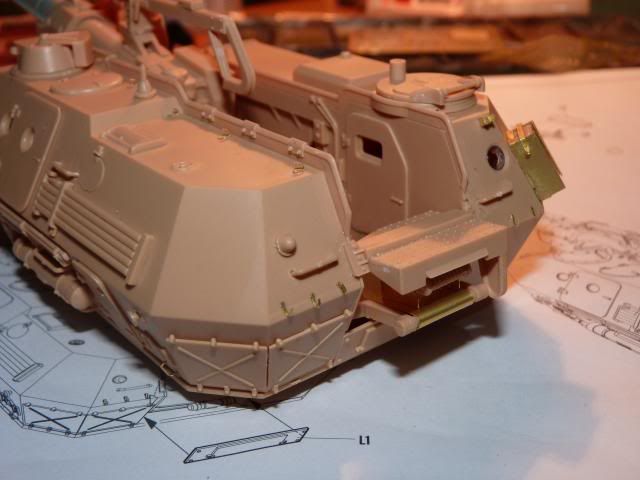
And then it is finished off with all these other parts added on -

Again, you can see a great amount of filling. If you are building this, be on the look out for those joints.
I still have the engine and the firing braces to put on and I'm planning to take my time with them as they look pretty complicated so let me just stop this update here and in the next one, we will pick off from the engine. Thank you for reading.
Until the next update.
Read more >>
Last time, I stopped at the dry fitting of the turret. Let's carry on from there
The next step for the turret calls for the glueing of the little P.E hooks. That hooks are really small but HobbyBoss in all its wisdom put in a pre-made etch folding/bending thingy just for these little hook. It's located on Sprue P.
I was scared when I first saw it but after carefully looking at the instruction, I was very relieved .
After the little hooks on the top, next up is a bit bigger row of hooks for the tow cable.
The little hooks also goes on the back as well. Thanks for the folding/bending thingy supplied, these came out all uniform ( I think )
I followed that up with a ammunition rack for the Anti Aircraft machine gun.
That is one of the best looking storage I have seen and easy to assemble as well. You can also see the other small P.E stuffs as well.
After that, I had to do some kind of ammo feeding mechanism that is right behind the breech and between the two halves.
These twos combines to form this mechanism ( I have no idea what this is though )
With that, the entire turret is complete finished minus the clear parts -
I still have to build the engine cover and rear parts but I didnt want to do it yet so I looked around the manual and decided to finished up the deck area behind the cab.
First I have to build this gun travel lock -
Along with these P.E parts ( again, I have no idea what they are )
And then it is finished off with all these other parts added on -
Again, you can see a great amount of filling. If you are building this, be on the look out for those joints.
I still have the engine and the firing braces to put on and I'm planning to take my time with them as they look pretty complicated so let me just stop this update here and in the next one, we will pick off from the engine. Thank you for reading.
Until the next update.


