Hello awesome people.
Right... so I have here another finished kit for you following after the little gem DANA. This here is one of Trumpeter's best.
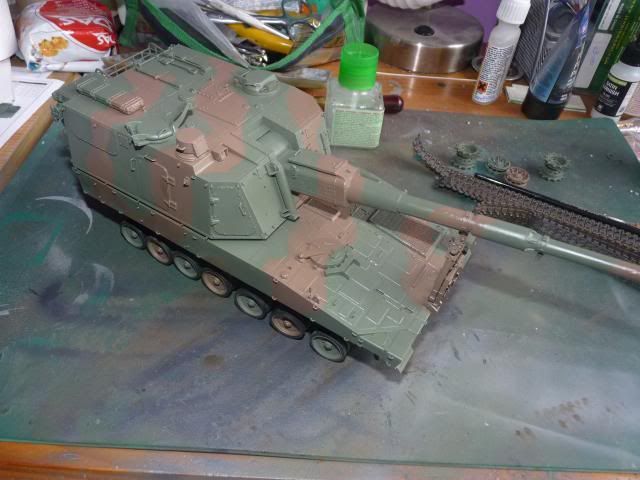
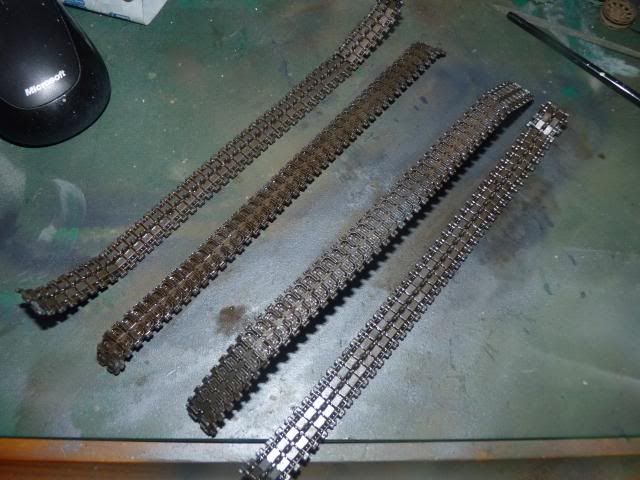
Retailing at £29.99, this beautiful gal comes in a large box with no fewer then 200 parts and a fret of PE and ( surprise, surprise !! ) with separate rubber tires for the wheels. The moulding is very crisp and full of details as per Trumpeter standard. The tracks also comes as individual links with the option of the rubber pad on and off. The only downsides were the two halves barrel, lack of any details at all inside the turret and the freaking infernal tracks there were just horrible to clean up.
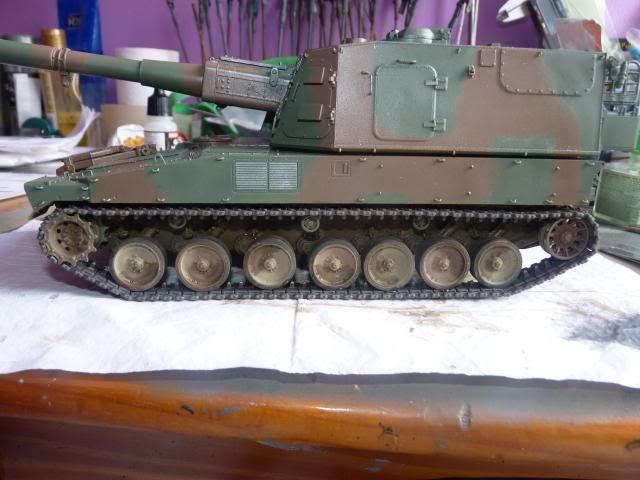
I painted this beautiful gal in Tamiya. A friend who is also building this and me spent alot of time trying to narrow down the best brand for the colour but I ended up settling for the Tamiya JGSDF Brown and Dark Green. As I have painted the Type90 and Type10 with the Tamiya colours, I am more comfortable with those colours.
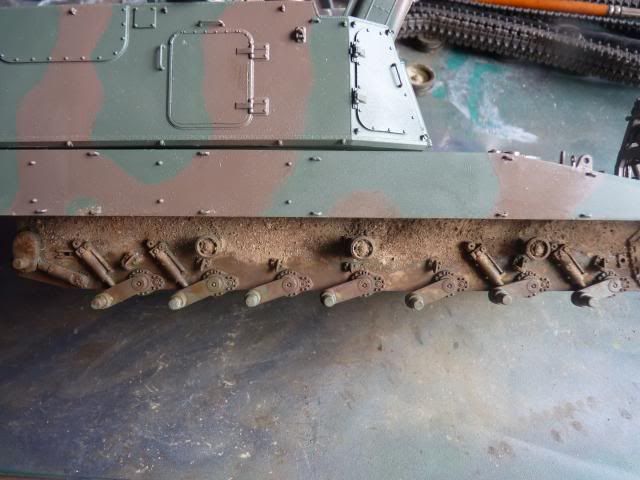
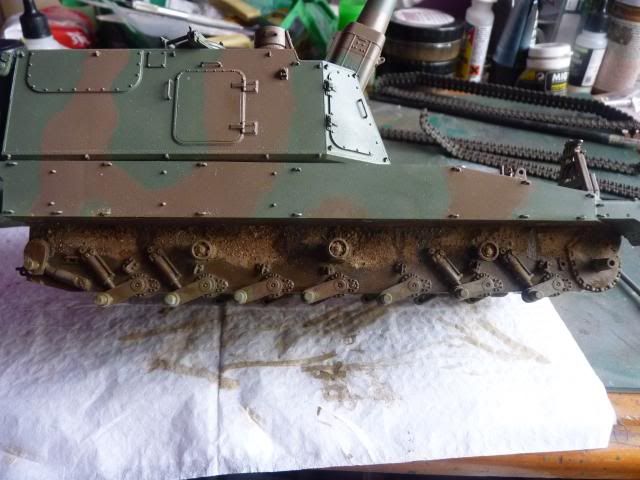
For weathering, I kept it rather clean apart from the various shades of mud and many streakings. I am very very weak in making streakings and since this baby offer a lot of nicely angled surfaces, I though I'd give streakings another try. I used a grey colour streaking wash which I applied following a friend's suggestion; that is to streak them from bottom to up. I let it dry and apply another gloss and put on streakings that go top to bottom using oil; a total of 5 different oil colours were used. I am really happy with how all the streakings came out. Doing the streakings on the DANA really helped me improved and did a proper job on this.
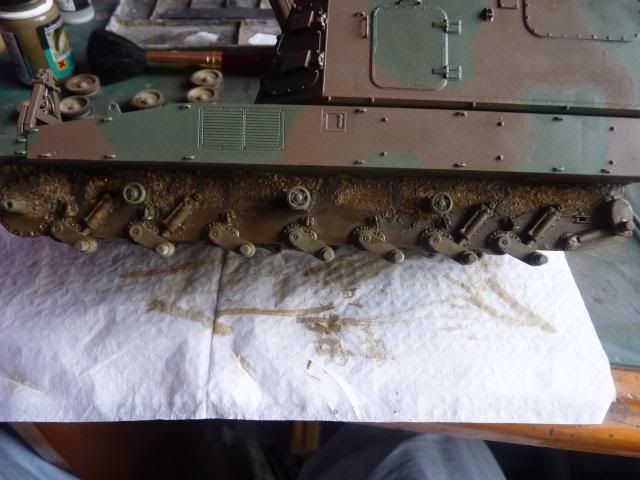
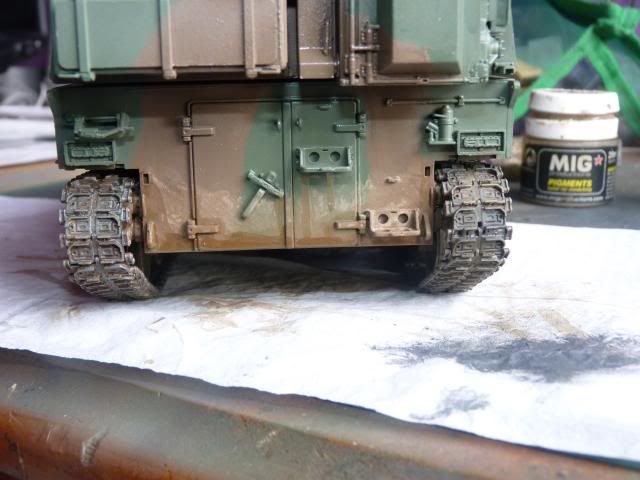
I debated for a long time on the mud and I decided to go for the dried mud and slightly more wet muds to depict the vehicle going on a field that is slightly damp. I saw a lot of pictures showing this moving around damp fields so I decided to go for that.
The kit, unfortunately, didn't have any crew in it. The crew came from a spare Type90 kit that I bought at a show. I sent the Type90 to a friend so that he can build a MBT to go along with his Type99. As you can see, I am still horrible at painting figures. I just don't know when and how I can ever improve. Curses..... Oh well......
The build was enjoyable, one of the best builds I have had. I made a full account of the W.I.P in the previous posts and you are welcome to look over at them if you are curious about how well the kit goes together. Actually, let me make a list here for the Work in Progress posts -
Read more >>
Right... so I have here another finished kit for you following after the little gem DANA. This here is one of Trumpeter's best.
Retailing at £29.99, this beautiful gal comes in a large box with no fewer then 200 parts and a fret of PE and ( surprise, surprise !! ) with separate rubber tires for the wheels. The moulding is very crisp and full of details as per Trumpeter standard. The tracks also comes as individual links with the option of the rubber pad on and off. The only downsides were the two halves barrel, lack of any details at all inside the turret and the freaking infernal tracks there were just horrible to clean up.
I painted this beautiful gal in Tamiya. A friend who is also building this and me spent alot of time trying to narrow down the best brand for the colour but I ended up settling for the Tamiya JGSDF Brown and Dark Green. As I have painted the Type90 and Type10 with the Tamiya colours, I am more comfortable with those colours.
For weathering, I kept it rather clean apart from the various shades of mud and many streakings. I am very very weak in making streakings and since this baby offer a lot of nicely angled surfaces, I though I'd give streakings another try. I used a grey colour streaking wash which I applied following a friend's suggestion; that is to streak them from bottom to up. I let it dry and apply another gloss and put on streakings that go top to bottom using oil; a total of 5 different oil colours were used. I am really happy with how all the streakings came out. Doing the streakings on the DANA really helped me improved and did a proper job on this.
I debated for a long time on the mud and I decided to go for the dried mud and slightly more wet muds to depict the vehicle going on a field that is slightly damp. I saw a lot of pictures showing this moving around damp fields so I decided to go for that.
The kit, unfortunately, didn't have any crew in it. The crew came from a spare Type90 kit that I bought at a show. I sent the Type90 to a friend so that he can build a MBT to go along with his Type99. As you can see, I am still horrible at painting figures. I just don't know when and how I can ever improve. Curses..... Oh well......
The build was enjoyable, one of the best builds I have had. I made a full account of the W.I.P in the previous posts and you are welcome to look over at them if you are curious about how well the kit goes together. Actually, let me make a list here for the Work in Progress posts -
Part 3
Part 4


The running gears -


The scopes -


The two crew -


The Machine gun -

The tools and spare track -


The gun's and exhaust staining -


And as usual, my show case photos from various angles -


And as usual from me, the Gary Wintin Shot as coined by a friend -

Part 4
Well, that's about as much I can sum up about the build. The exact steps can be found in the 4-part W.I.P.
I'm vary satisfied with what I did, albeit it could look better but still, I'm happy.
It's time for the photos -
(If you think some are small, just click on them ) The running gears -
The scopes -
The two crew -
The Machine gun -
The tools and spare track -
The gun's and exhaust staining -
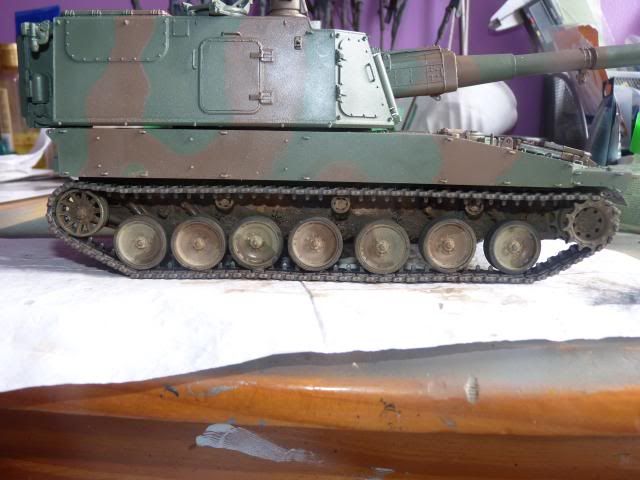
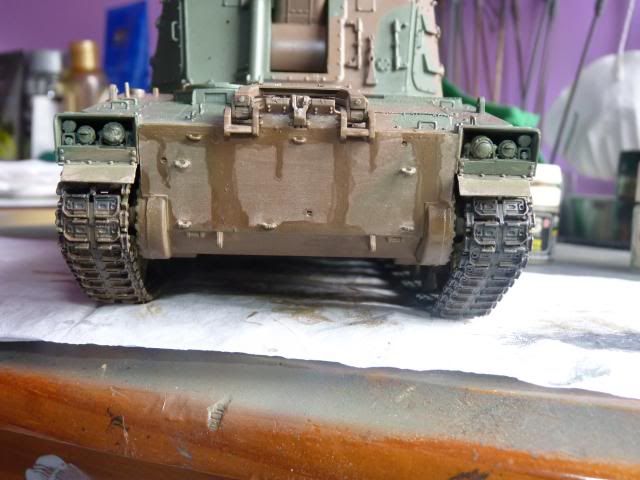
And as usual, my show case photos from various angles -
And as usual from me, the Gary Wintin Shot as coined by a friend -
Well, that's all I can say about this. As you all know, my patience is my bane so the usual hiccups are met but nothing I can complain, ok I can complain; I could have done a better jobs on the muds and other weathering effects and I really should have given the crew a better paint job. All in all, this was a GREAT and very enjoyable build apart from those hiccups but still, I am more than proud to have this on my shelf. And I also really love this vehicle.
I couldn't keep building if not for my supporting friends and comrades. Thank you guys for always supporting me. Thank you dear readers for your patronage as well.
I couldn't keep building if not for my supporting friends and comrades. Thank you guys for always supporting me. Thank you dear readers for your patronage as well.
Until Next time.