Showing posts with label Announcements. Show all posts

Thursday, 2 April 2015

What is going on with my life now......


http://prajwaldesai.com/wp-content/uploads/2014/09/Update.jpg

 Good day to you all dear readers.

I may not be a great modeller or a world famous one but I know for a fact that I do have my fans and the dear readers who read this blog and support all my modelling works. For my dear readers and fans, I make this post to tell you guys what has happened to me.

For the time being until god knows how long, I am stuck in Burma. For those who do not know where Burma is -
I had to leave the UK unfortunately. I was successfully in getting into a PhD programme and without it, there was no other way for me to extend my stay in the UK ( curse the tories and their taking away work permit visas and Tier-1 Post Study work) so I had to go back to my country, Burma.

All my models are left with my sister ( who is fortunately a British citizen )  who have kept them safely in big boxes, ready to be shipped to any country we both migrate to.

I have given up on the hobby, oh dear god no. My models are my babies, my models are my strength, part of my life. I could never give up.

But I am in a country that is forsaken by all kind of deities and modelling of any kind is nearly impossible so I won't be able to do anything modelling wise while I am in this country.
So my dear readers, please do not be alarmed if I am not putting out built model kits during the time I am in Burma. Although there is a few kits I need to publish that I finished before I had to leave so there will be some posts about them but I guess that's that. After that, it will be quite on my blog sadly.

So please bear with me while I am stuck in this country and once I migrate to another country ( I'm eyeing at Australia or Canada among the targets ), I will be building with the same energy I used to build.

Thanks for being so supportive of me during my time in London and please look forward for more.
Read more >>

Tuesday, 9 December 2014

REVIEW: ''Painting guide for AFV'' by JOSÉ LUIZ LÓPEZ RUIZ


As you all know, since the mid 2012 ( give or take a few months ), we have ushered in to a golden age of modelling. The golden age brings us an overwhelming amount of kits, paints, weathering products and educational books and DVDs. The process of getting the information necessary for a good model with an attractive finish is easier than years ago, and generally the quality of models made all around the world is improving dramatically attesting to the now easily aavailable and well done guide books.  Among the myriad of guide books however, some modellers and certain publications become milestones in modelling world like no other. This currently reviewed book is one of that kind.


As soon I saw that this book been announce, I had to have it!
I always been a fan of José Luiz's works. As you all know, he's was a modeller from the ''Spanish School '' of modelling. I'm sure I don't need to explain what the Spanish School is. José Luiz took the basic principle of the Spanish School's display of vibrant colours and develop it further into which he termed '' the Black and White technique ''

The book has 80 glossy pages with cover. The quality of the print is excellent and three is no instances of defects or blurry pages. The images are sharp ( although some can be quite small for the eye) , the font for the text is very suitable for reading and there is a sufficient amount to both read and observe on each page.

This book is structured to allow readers a gradual introduction into the idea behind the book, author’s concept and the B&W technique, detailed explanation of the materials and finally step-by-step examples of how to make a very attractive model.
I am not going to write all details about this in too much details as better sites such as Armorama has already covered it in details.  In fact, I will just point out a few high point of this book that prove that this is a must-have.

This chapter is about colour and it's very obvious that this is targeted for new starter but veterans can also benefits from this.


A chapter dedicated to washes and what colour wash should be used is very welcomed. 


Now this is the cream of the crop. I have a lot of guide books ( even the widely acclaimed Tank Arts book ) but never have I seen a guide that is dedicated this much in oil usage. José has gone taken the trouble of listing what oil is perfect for what application. For me, this is gold. I have read all the famous book but never have I seen such breakdown for oil usage and this section has benefited me alot. Fair enough, there's not too much listed here but this is a necessary need-to-know pointer and one can develop further one's own style base on this information. 


This is another good thing of the book. This table basically tell you the steps from start to finish of a process of making a model kit; when to put on filter, when to put on wash so on so forth. This table will greatly benefits the beginners. 


Here José  explains the benefits of his Black and White technique and shows how it can substitute the classic approach of highlights and shadow that we are mostly using nowadays. In a nut shell, when using Black and White approach you paint the model using a gradient of greys along with black for the darkest shadow and white for the top highlight. Here all necessary effects are created prior to application of colour scheme to the model – chipping, mud, everything! The main advantage (on top of the model looking beautiful in black and white) is that you can play around with monochrome model as long as you want without risk of ruining it and then when you finally apply very diluted base colour to model you only enhance already created effects. 
José has put in the necessary steps of his B&W in a very comprehensible table and you can see it is well laid out and you can easily apply the B&W technique yourself after a thorough reading.


The examples part features 5 exclusive models that have never been published elsewhere and were made especially for that edition ( I follow his works quite closely and I haven't seen them in any other publication. I could be wrong though). Different scales, eras, and subjects - José shows full range of possible techniques and makes really attractive models. Basically, these are ready to use recipes and the readers would be able to pick up ideas straight from the text as the explanations are clear and simple. Some of these builds like the Tiger and Tiran use Black and White technique more extensively, while M-1078 is closer to earlier “zenithal light” models. Altogether, this is very intense section, packed with hundreds of images that clearly show step-by-step progress. Very inspirational!


In sum, this book is quite outstanding. The text is very comprehensive and will gives you a real push go to the bench and try the B&W techniques.
The print quality is very good and it is printed on glossy papers.
All the steps are well explained using the illuminating photos.
The different tables with different functions of each material or technique are, beyond doubt, a great help and something to always have on hand in the workbench.

The lowest point is some spelling typos easily detectable in a quick read (like sastifying or form when it should be from) but this is minor.
In short, the book is suitable for the novice modellers to the advance ones, and is useful on any shelves with dozens of useful tips, easy to follow and great advices and great table charts.

One other thing, the book is “perfectly bound” ; it is quite rigid and can prevent or resist full opening, you will have to use a book holder (or put something on top of the opened pages) if you would like to keep it open on the bench for reference while working on the model. 

VERDICT -
MUST HAVE. GET THIS BOOK ASAP. 

Happy modelling guys and have a nice day.
Read more >>

Sunday, 30 November 2014

Weathering on GUNPLA!!?? Here's some dos and don'ts.


Let's talk about Weathering, shall we? To be specific, weathering on GUNPLA and the misconception of it and how people are weathering their GUNPLA kits and a bit of a tips and pointers and dos and don'ts of weathering.
Before I write anything, I want to say this disclaimer -

I AM IN NO WAY A MASTER IN WEATHERING. I AM WRITING THIS USING MY OWN OBSERVATION, MY EDUCATIONAL BACKGROUND AND FROM MY OWN EXPERIENCES IN APPLYING WEATHERING. HOWEVER, AS YOU CAN SEE FROM MY COMPLETED WORKS, I AM SURE MY WORDS CAN AND WILL BE JUSTIFIED BY MY WORKS.

Right... let's get on with the topic at hand. Weathering.

What is weathering?

"Weathering" refers to a number of techniques that are intended to make a model appear more realistic by simulating the effects of the elements on the subject. These number of techniques are used to depict a vehicle (or in this case, a mobile suit ) at a certain time or place during the term of its service. It is a form of visualisation of a story or a certain scene in a story. For instance, a vehicle that has passed through a large puddle of muddy water or a mobile suit operating in a tropical climate where wet and dry weather changes instantly and bombarded with dusts and rain.

So what are (some) people doing with their gunpla when it comes to weathering? Well, in a nut-shell, everything i.e. they see something about weathering or read about it and they just applied what they read about and just put applied the whole lot of it. For instance, a gunpla bombarded with dry brushing all over it ( which makes me think of mobile suits bear-hugging each other) or a gunpla with casting textures put all over it ( I graduated with Material Science and for 3 years, I have never heard of easy-to-fabricate parts such as slab or panels being casted )

Fair enough, everybody starts somewhere. I did too but I studied for 3 years (2008 to 2011) before I actually applied any kind of weathering. I will give you an example -

This is my very first kit that I weathered in 2009 ( with that same mind set that I just described)


As you have figured out by now, I just learned about chipping and just applying it everywhere regardless of whether these chips are in logical locations or not.

Compare that with my 2014 builds -

(Click on the picture and you will be linked to the original postings )


That is how long it took me to get to this level. And I'm still a novice. 


Weathering is not just putting random rusts or chipping or dry brushing of metallic colour every where. Weathering is supposed to tell a story. A whole story or just a certain point in a story depending on how it is depicted.

A lot of complex thinking is involved in weathering - what is the scenario, what the vehicle/MS has gone through, what it is doing now, etc etc. The best example of a perfectly weathered Gunpal is THIS ( His fan page here - Oishi Model Art ) ( FB album of this kit here - LINK


Notice the two very large chipping lines across the thighs where the skirts are in contact with the thighs and many other well thought-of weatherings effects. (and the white is inspired from Washable white wash paint used for winter by all 3 armies of WW2 )

Made by Oishi from Thailand, this gunpla is a perfect example weathering done right on a gunpla. ( also, check out Major William, Big Z, Decay and Mr.Gav's works for some really kick-ass weathering finishes on gunpla. Although Mr.Gav's rusted the hell out of his RX-78 which is made from gandanium, it's still a freaking beautifully weathered Grand-daddy. I'm just being too technical and nit-picking here)

I am not going to tell you how or write a tutorial on how to do weathering. I feel I am not skilled enough (yet) to do so. However, If you want to improve or learn about it, I strongly suggest you get your hands on the Weathering Magazines ( Website here - LINK ) ( Their FB page if you wish to enquire - LINK ). Get the books or get the PDFs anyway you can if you want to learn more. I will say this now, internet references can only give you a small amount of informations. Not to mention sources are scattered. You need dedicated books to improve your modelling skills. Trust me on this. 
As I stated, I will not be doing any tutorial or what-so-ever nor I will not be doing any spoon feeding but here is some do's and don'ts -


DO'S -
Do look at scale modelling references to learn about weathering.
Do think about a back story .
Do look at real life reference.
Do think about the materials that is involved ( remember, titanium DO NOT RUST and so is the fictional gandanium alloy or do not put steel colour chipping effects on rubber parts or canvas parts)
Do try to consider the current weather your MS is operating in.
Do try to consider the overall climate of the area your MS is operating in. 
Do try to think realistically even if gunpla is fictional. 
Do try to apply your effects randomly but in logical locations.
Do be resourceful with the necessary tools/product involved ( you can use real dirt and use it to boost the volume of your mud/earth mixture ).

DON'TS -
Don't just rely solely on internet sources. It is not enough.
Don't put on too much. LESS IS MORE. ( My Providence is a prime example of this. I put on too much chipping and it looks stupid )
Don't forget to test out a technique before you apply it.
Don't rush when it comes to weathering.
Don't put the effects all on the same layer.
Don't use the same type of products as your paints ( if you painted with acrylic, weather with oil and enamels and vice versa ).
Don't assume one technique is enough. ( Every weathering process consist of more than three technique - fading, pin wash, chip, collected dust, wet effect, eart, mud etc ).
Don't assume weathering can be done with just one product ( I'm sorry to say this but some people think buying the tamiya weathering master is enough for weathering ).

Well, these are the Dos and Don'ts that I can think of at the top of my head. As much as gunpla is all about MODDING ( and now with GBF, adding on ridiculous amount of stuffs is becoming a trend ), a well weathered gunpla as I have shown can and will be a show stopper. It's only a matter of time before beautifully weathered gunpla start to show on the scene. ( Personally, I'm a little bit tired of seeing straight build painted and modded kits all the time.) Don't hesitate to take the dive and step out of your comfort zone. Remember, the sky's the limit with out beloved hobby. 

Happy modelling to you all. 

Read more >>

Saturday, 15 November 2014

''Which gunpla should I buy?'' - a question that is getting annoying

I have been brooding weather or not I should be posting this but after talking with GundamUK and both having agreed that this is not a contentious issue I decided to go with it.

I have already wrote something similar 3 years ago ( LINK ) but I guess it got buried under my avalanche of wips and finished product posts.

So....... the issue at hand ... the question of '' What gunpla should I buy? ''.

Like seriously? Really seriously?
The answer to that stupid question is a really simple answer ( and again, I will refer back to the post I made 3 years ago) - BUY WHAT EVER YOU LIKE.

Even if the question is '' I have an option of two; which one I should buy? '', the answer is the same bloody one. Cases like this, budget is out of question. Who ever asking it obviously has enough budget to spend ample money on a kit. Fair enough, if a question was worded differently like '' I have a budget of this amount. What can I get?? '', hell, I would even go out of my way and drop links (ebay, HLJ whatever) on his/her question.

The question of what I should buy is really really moot in gunpla. Let me give you an example taken from the scale modelling world -

That is just one type of vehicle ( an early version Tiger I) made by 7 companies. Just one type of one vehicle made by 7 companies. ( and there ARE thousands of different kits). And this is only all in 1/35. There are other scales. Cases like this, sure ask away because some people have build all, others some of it. Get some insightful comparison from people who build them. 

The only case like this that I can think of in the Gunpla modelling world is the case of the Grand-daddy, RX-78. There are so many version of it ( 6 versions of it if memory serves me) and if something like '' Guys, which version of RX-78 should I buy?'' is asked, people would be happy to help. I see that as a question with a little bit of research behind unlike the other spoon-feeding question

Apart from that, there's hardly any case of the same suits being made in different version. Fair enough some of the suits was given the 2.0 but who's gonna buy the 1.0 version at this time and age anyway? So question of '' What (or which) gunpla should I buy?'' is a really really moot question and it's just annoying. I see that question at least once a day on no less then 5 different FB groups. 

The answer is simple - BUY WHATEVER THAT ONE YOU LIKE. 

I am well aware I am coming down as very blunt and could well be sounding downright arrogant but I been in this hobby for 7 years ( in both the scale modelling world and gunpla world ) and seeing that question all the time is just piss-taking ( my intent, however, is not to offend anybody but rather a heads-up of the stupid annoying thing that is happening). I'm not the only one at this as you can see from this screen shot -

I would like to post this picture that basically sums up what I and other liked minded people ( and my friends included of course) think about that stupid question ( one of the many, in fact) -


 Happy modelling. 
Read more >>

Sunday, 9 November 2014

''Its your model so your choice'' - is it getting overplayed?


So, as you all are aware, I am building my T-80 and after my latest update as I was stumped on how to weather it so I asked at the end of my update '' any idea how I should weather it guys? ''. 

As or now, I have shared the T-80 WIP across 4 forums and surprisingly, there was only one suggestion/discussion/advice regarding my question. 

Much as I am more than grateful to that forum user ( for privacy purpose, I will not be disclosing his username), he ended the back and forth discussion of how to put on the weathering with ''Its your model so your choice'' and reading that makes me think this -
'' That sentence is so played-out, overplayed to the same extent as there have been many movies and TV series about Romeo and Juliet ''. (ok that example may not be the perfect one but it was at the top of my head :P )

I have been seeing this sentence used by the people giving advice and getting advice over the forums and many facebook pages and it has been bugging me for quite some time.

Feedback is a very crucial thing to improve as you may all know. All these pages and forums exist so that we can share our work and give/receive feedback on top of making friends and chilling out. So, why in heaven's sake is this sentence so overused? Why do most people respond that if they any kind of comment? Why do people say that at the end of their input/suggestion should they are given? 

Fair enough there are dicks out there; I myself have faced quite a bit of dicks and their sarcastic words that normally come from Aholes. Cases like this, one can say '' it's my model so F**k off ''. It is justified. ( After talking with my good friends I choose not to show what was said to me.)

But what about this kind of situation?


I really enjoy getting feedback like this. I replied with my most sincerest gratitude and thanks.

But you know what? I have seen people respond with the same ''' its my model, my choice '' or a much more widely used ''I build models for my enjoyment'' to a properly written and positive constructive critique/feedback. I have faced such response myself, being told off like that after giving a constructive comment ( sadly, I forgot where though but I distinctly remember more than twice response). What I don't understand is why do people respond in such way.

Why do people who give suggestion or advice use that ?
Why do people answering question use that?
Why do people respond to critiques with that phrase?

''It's my model so my choice '' - is it getting really used too much to the point it's starting to annoy you? What do you guys think ? 

Just some food for thoughts...

P.S - my apologies if I offended anybody. Just sharing my thoughs.

Read more >>

Sunday, 2 November 2014

A peek inside the box - Takom 1/35 KV-5

I am an avid fan of World of Tanks and when the premium tier 8 KV-5 was available in the shop, I jumped on the chance and bought it immediately. I have never regretted buying this premium and I really love it. It's just a nice to play bruiser.

I have always wanted to see the KV-5 in a kit form and Takom came to the rescue.When this kit was announced, I couldn't hold back my excited and almost jumped on the pre-order train to get it but I held back because of the price and only managed to get it last week quite cheaply.


I tried looking for review for this particular kit but only managed to find 2 Russian reviews and non in english. I know people would be curious so I decided to do a inbox peek for this particular one.

As you all know, I'm one of the guys who don't give a damn about how a side skirt of a tank is 2mm too short or too long or blah blah. So, I will just keep this as a look of what is inside the box and some very obvious pros and cons of the kit.
This is my first time buying a Takom kit and I have to admit, I am pretty much impressed.


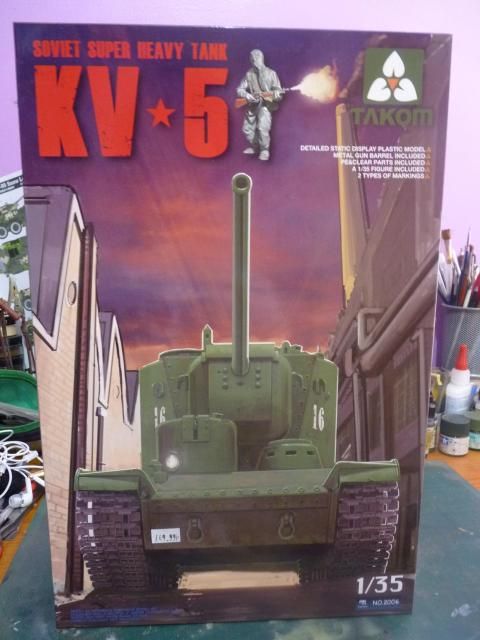
Firstly , we have a very high quality box with a menacing sight of the KV-5 on it -

Image

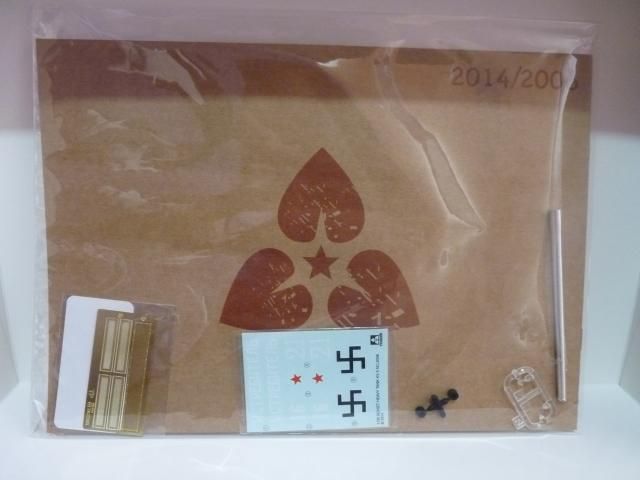
The first time on top you will see is the nicely sealed back of Manual, Decals, P.E, Clear parts and Poly cups.
Image

A lot of people are unfamiliar with Takom so I took some photo of the Manual -
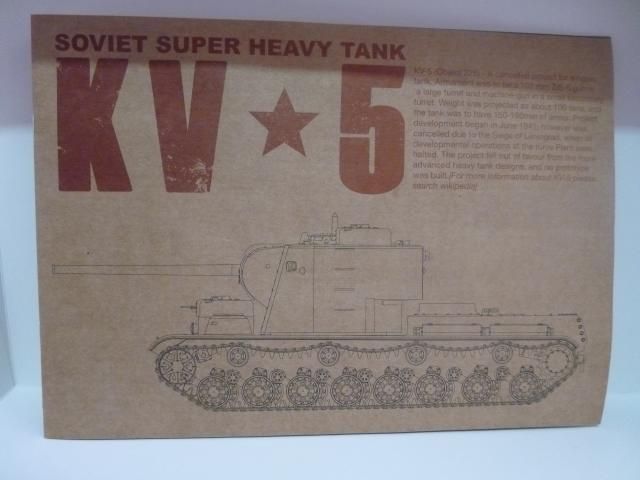
Obviously, we start with the cover -
Image

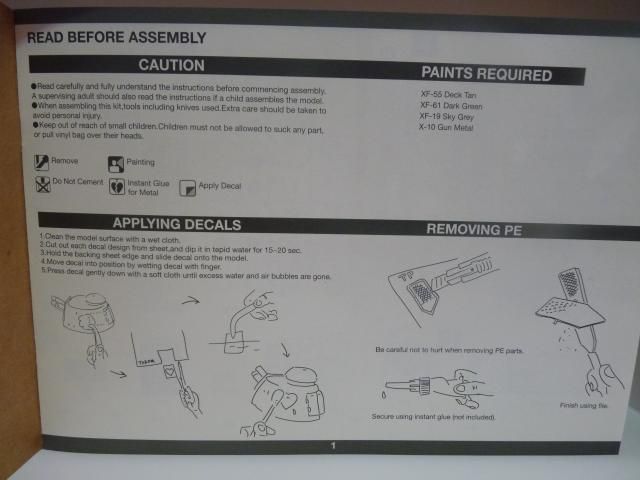
And on the very first page, we have some beginner ( and even kids) friendly level of caution and warnings and FYIs for modelling -
Image

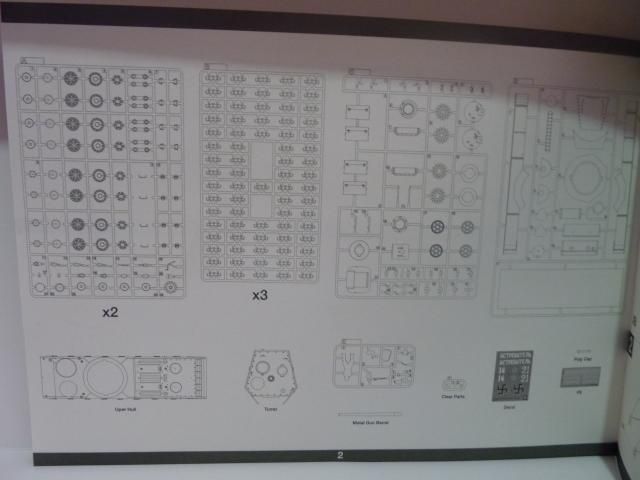
After that, we have a page of part break down -
Image

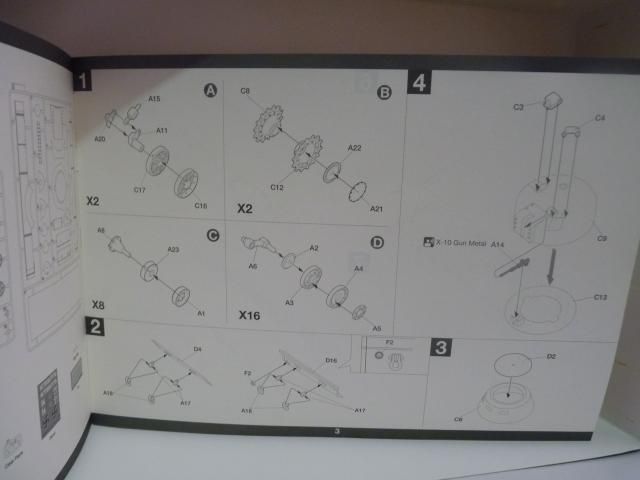
And this is how the inside pages look -
Image

The instruction is very well made and clear and easy to follow. Definitely not a Dragon level confusion.

Here are the sprues of the entire kit -
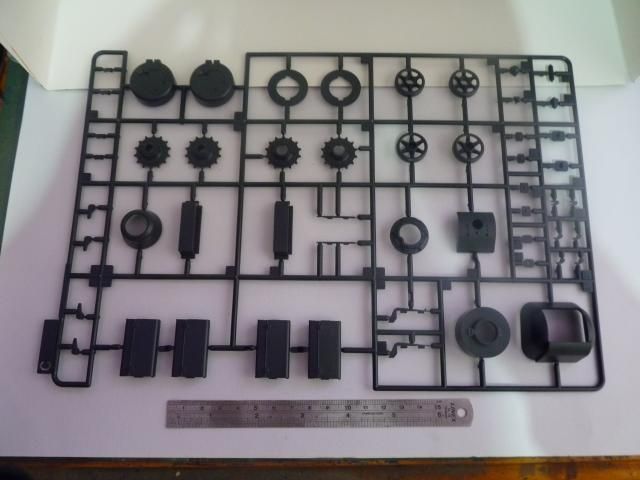
Sprue A -
Image
Sprue A contains mostly the road wheels and the return rollers and there are 2 sprues of them.

Sprue B -
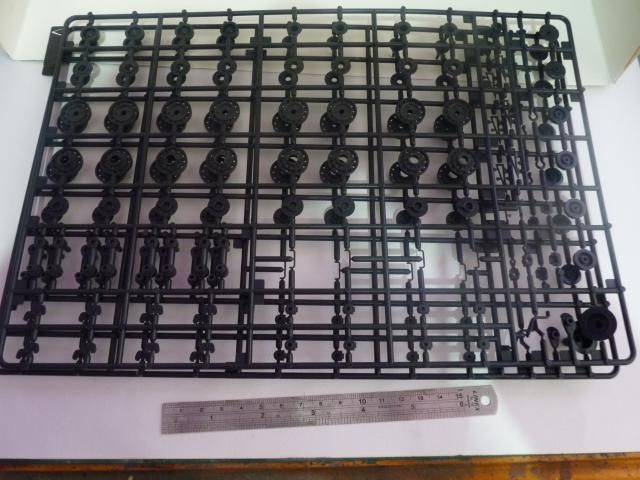
Image
Sprue B is entirely for the tracks and there are a total of 3 sprues of them.

Sprue C-
Image
Sprue C has the parts for sprockets, idler, the mantlet and the driver and radio operator cupola famously known by WoT players as R2-D2.

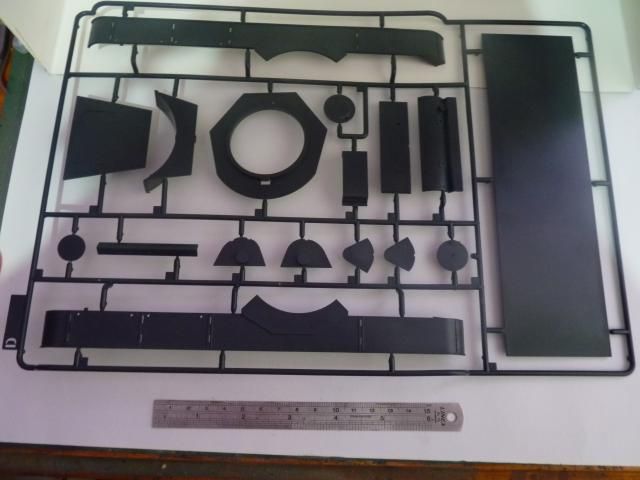
Sprue D- 
Image
The two fenders, the bottom plate of the hull along with some other large parts are included in this sprue.

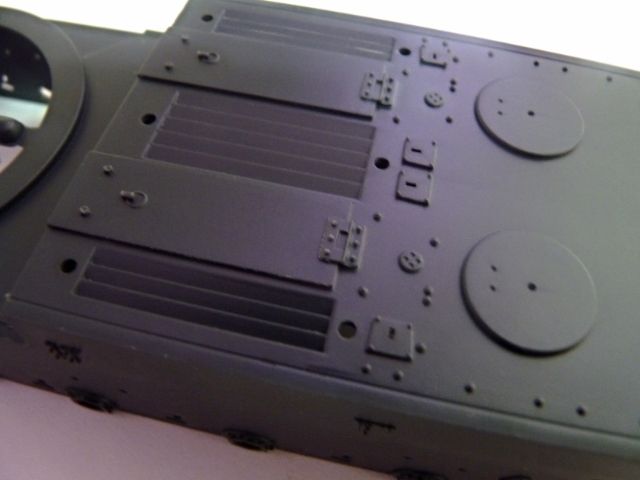
This is where the sprue ends. Next is the hull -
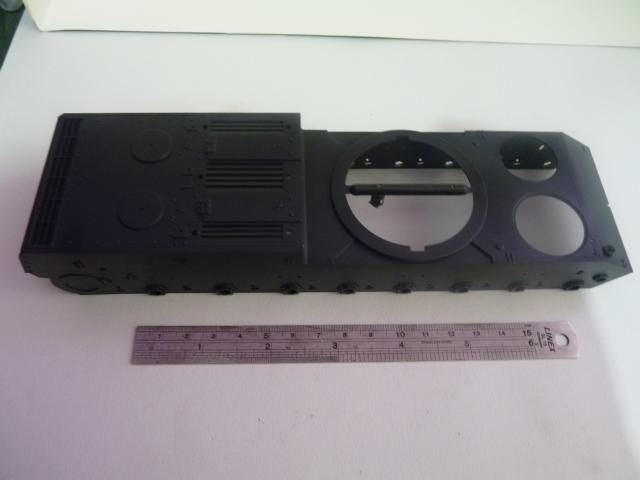
Image
You can appreciate the great size of the hull shown alongside a 6 inch ruler for scale.

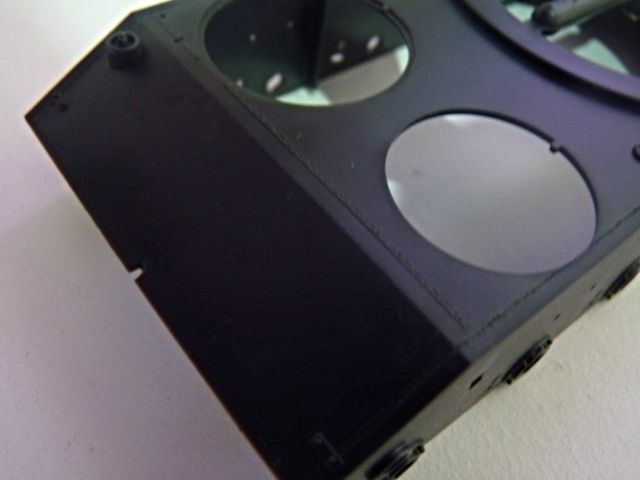
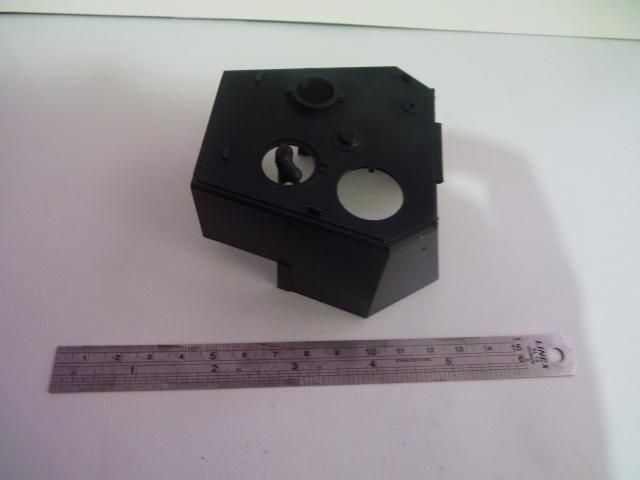
The turret -
Image
I didn't capture the great height of the turret in this photo but it is a TALL turret.

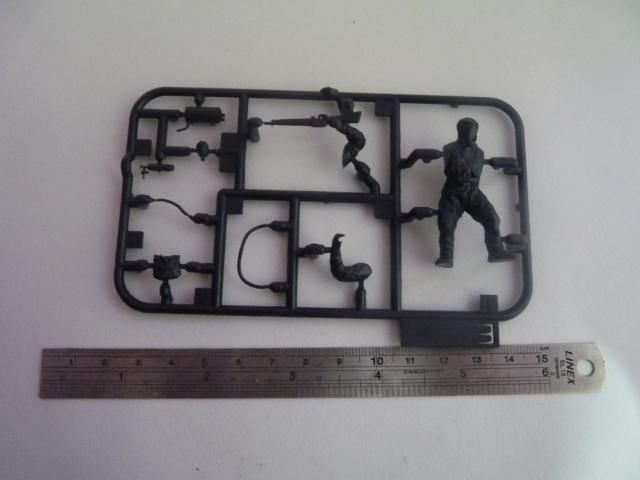
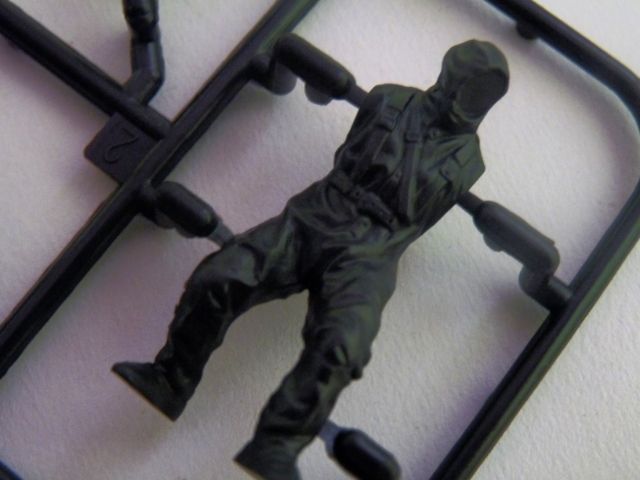
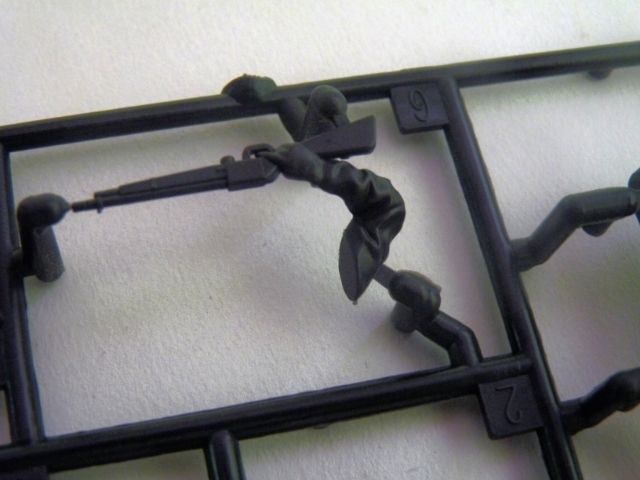
And finally, we have the little sprue for the nuclear war figure that comes with the kit -
Image

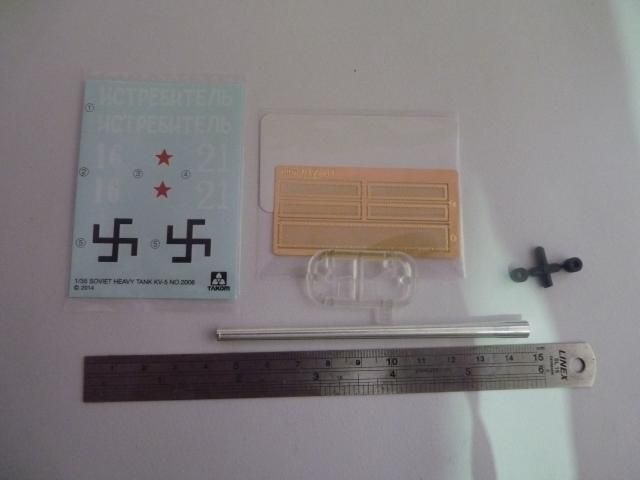
I also took a picture of a bit more close up of the metal barrel, PE and stuffs -
Image

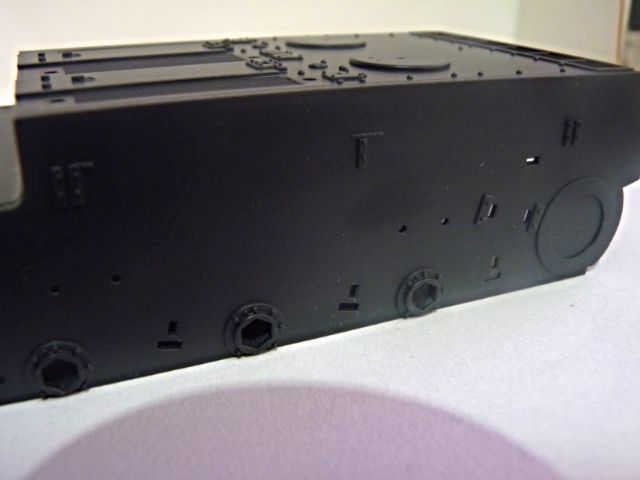
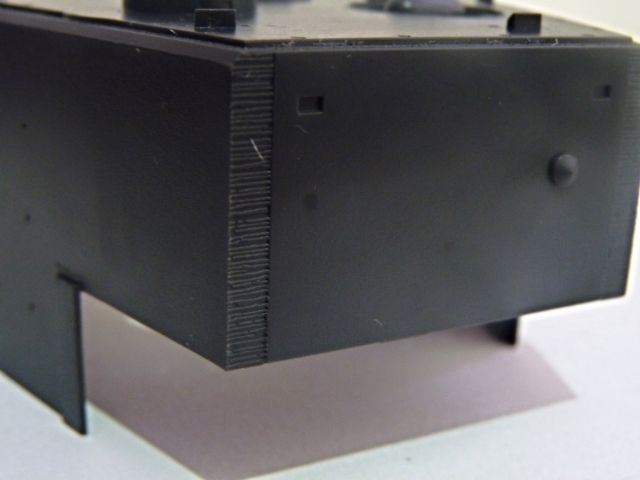
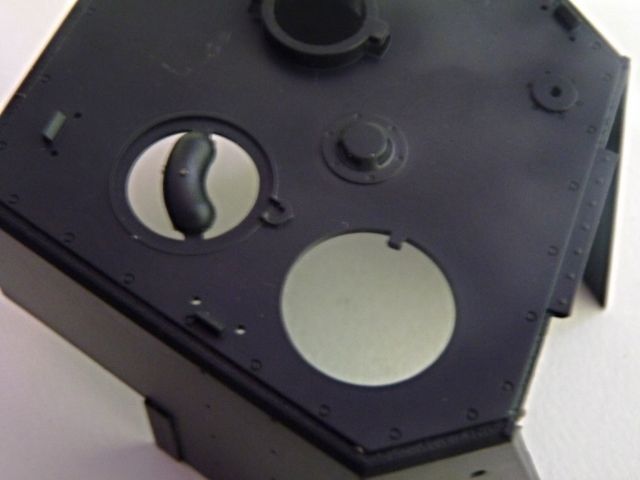
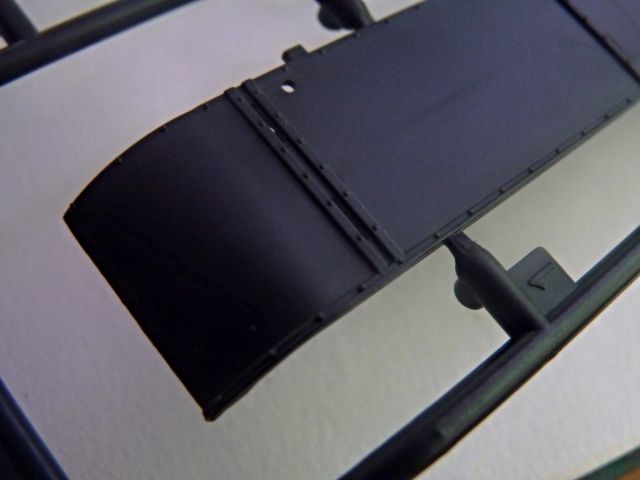
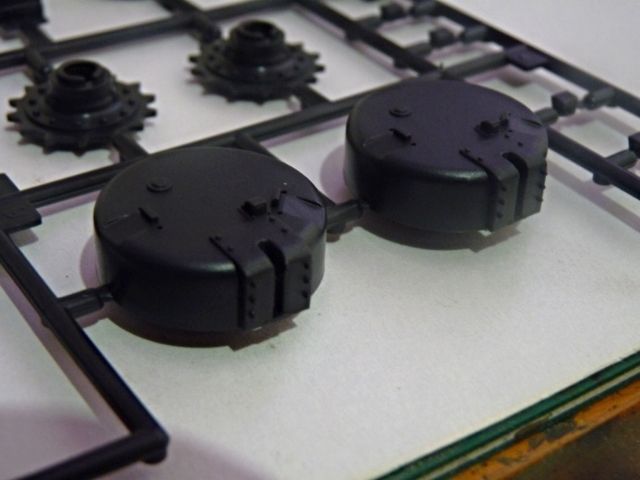
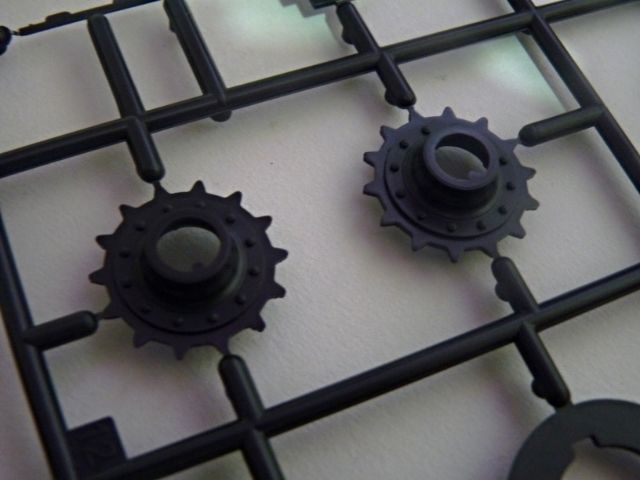
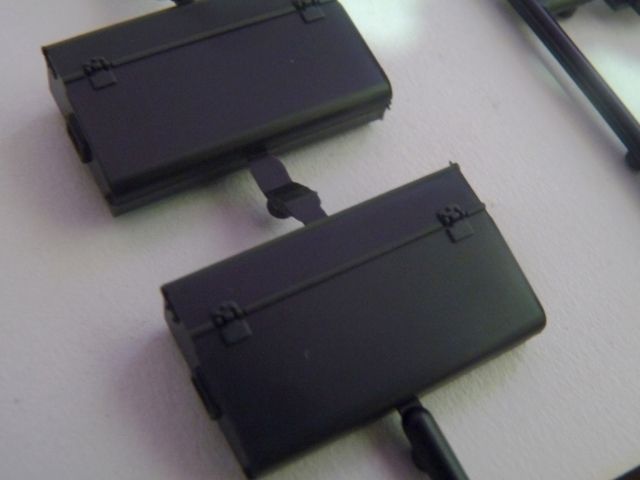
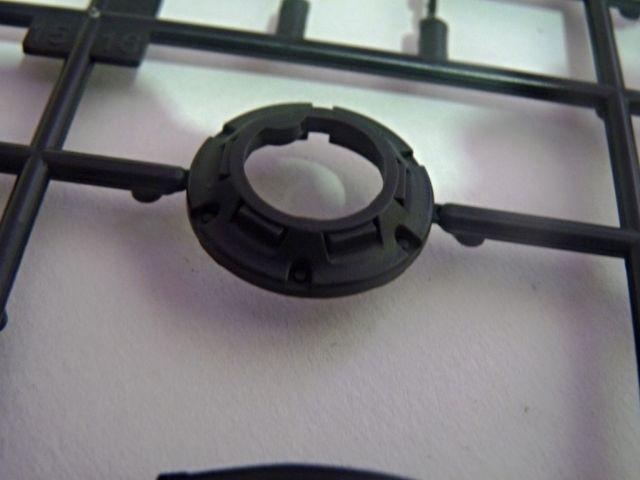
Since I will surely be building this kit, I opened up the bags and took some close up pics of the parts quality -


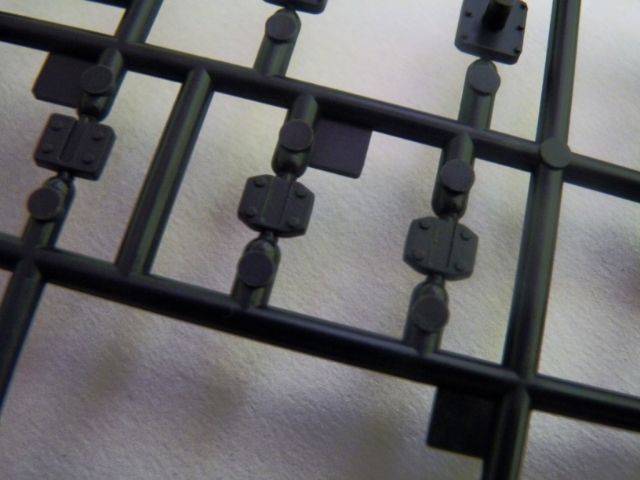
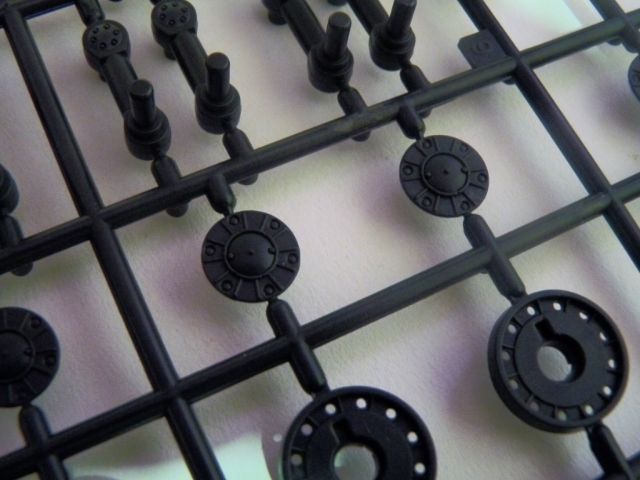
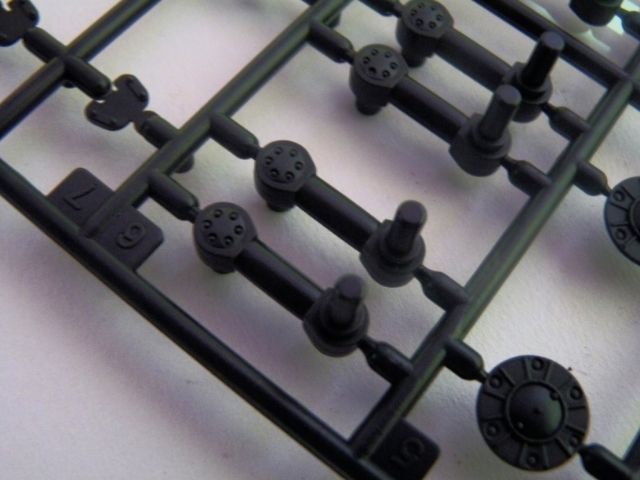
Image Image Image

Image Image Image

Image Image Image

Image Image Image

Image Image Image

Image Image Image

Image

The Pros of the kit: first styrene kit of this tank in this scale, crisply moulded details, clear parts for lights, a rather unique vehicle, a METAL barrel and relatively low parts count, VERY simple build

The Cons of the kit: a high price of £50.99 ( or more) for a VERY simple build, Lack of clear parts for the sights, Photo Etch included only for the engine grille, Hatches are moulded shut, complete lack of casting texture on the mantlet and possibly casted parts, no tow cables.


If you are into unusual vehicles and a modeller who like to build non main-stream topics and subjects ( like me ) then this is one of the kit that you surely must have. Any fan of Russian machine will love this kit. Any fan of the tier 8 Premium tank of World of Tanks will love this.

This will definitely be a great addition to any shelves and I think I will be doing a full detailed wips very shortely.
Read more >>