Hey peeps.. I am terribly sorry for my lack of update ..... Why no update u ask?? well, this should explains it - A Modeller's Innovation: Why The Bird Has been InActive lately
Well, For what its worth, I have an update for all my comrades, seniors and juniors.... had to squeeze what amout of free time I have to steadily push forward to the completion of this kit ...
When I left off, I left off right where I was building the back pack yes? So lets just start from there - I made up a mock up for you guys last time, which is this -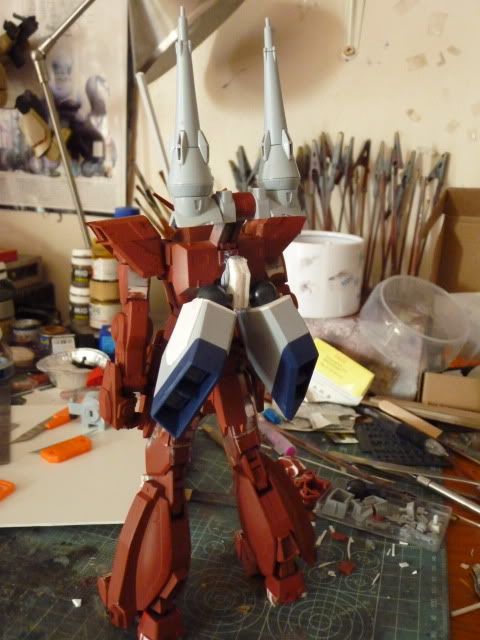
so, I now have to start making up the dragoons attachment binders. This was done by first, stacking plates like so -

And after brain-storming and digging into two of my spare parts boxes - I achieved this
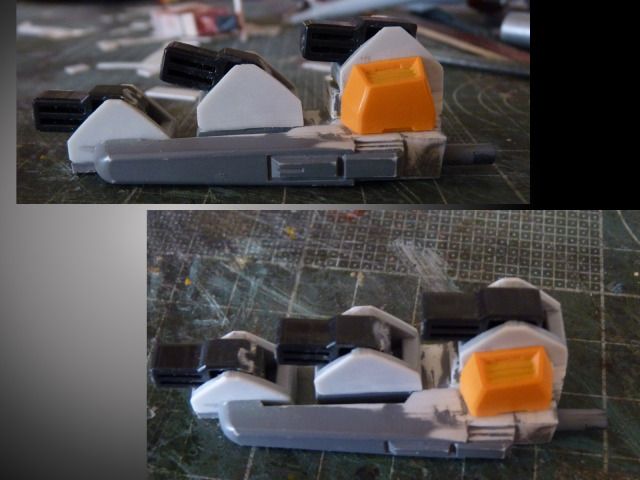
The little black thingys are from the original backpack, cut off from the round thingy and closed on the sides with some plates. The yellow part is from my FG Kyrios ... and the little angled parts is the knee armor of my HG S gundam .
If you look to the right, you will see a rod (sprue) sticking out... That is put in there so that I can attach the binders into my main backpack -Which are these two-
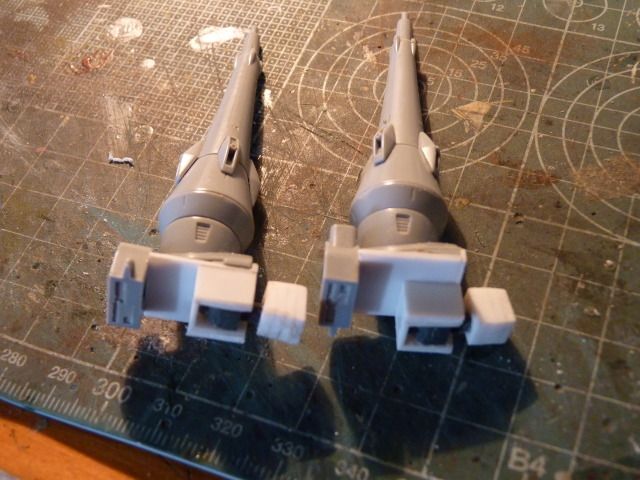
As you see, I already demonstrated there where those runners will go.. And then, I made some vents for those two parts and glue it on -
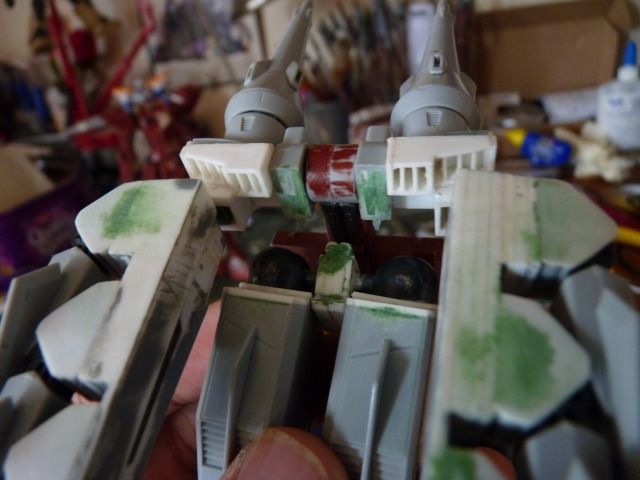
The binders are put on to see if there is any restriction of movement ....and once put together, they can do this -
And if it is not being used, they can be folded back and stored like this -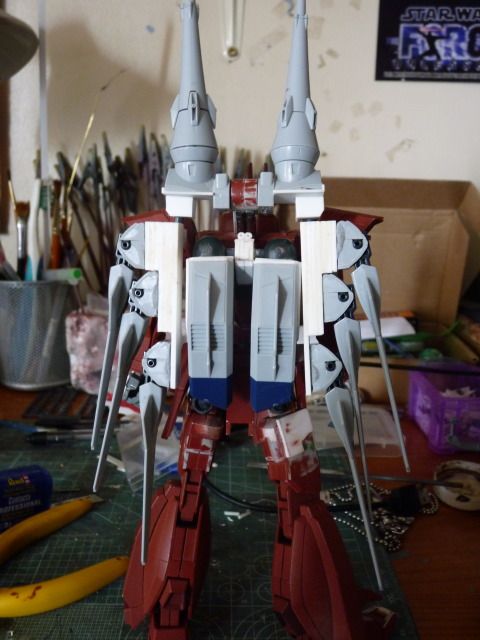
Now I really love this one as I really hated the overly large round original back pack.. but this, me likey.. (LOL)..
And I never liked the original gun.. its too long and just too cumbersome... so I made a better version ... Still in progress though-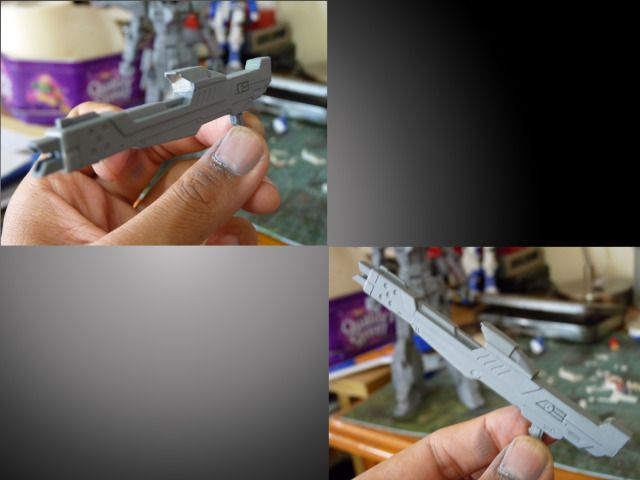
And as you all know, when it comes to detailing, I suck, so I tried my best to do what I can for the details -
I asked my friends around and they said I there is already enough plates and that I should start putting in panel lines .. SO here it is -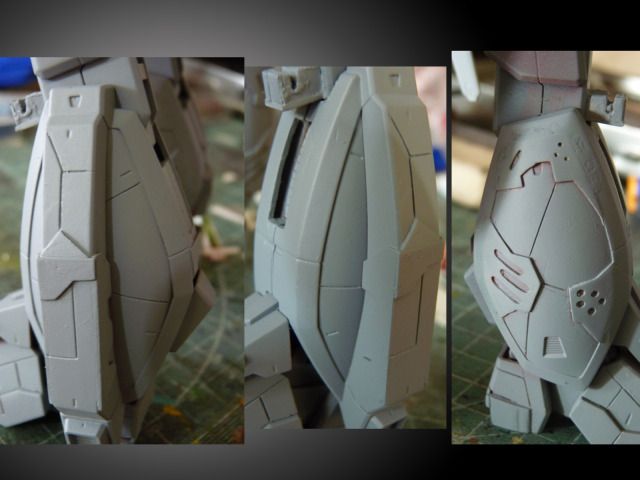
I also put some on the feet as well -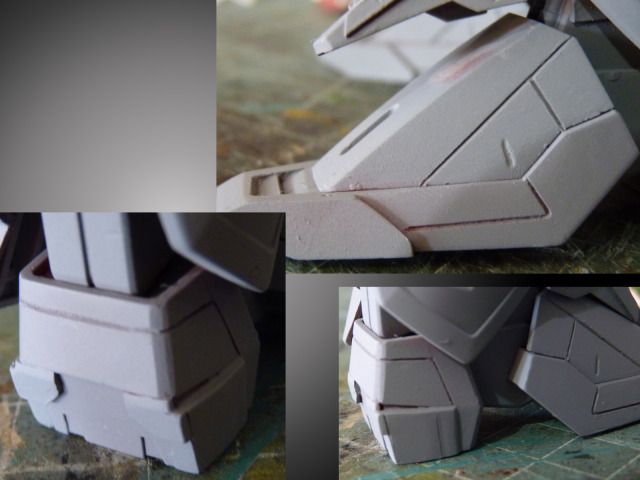
and some on the thighs ( I REALLY NEED TO DO MORE CLEAN UP ON THE THIGHS ''sigh '' )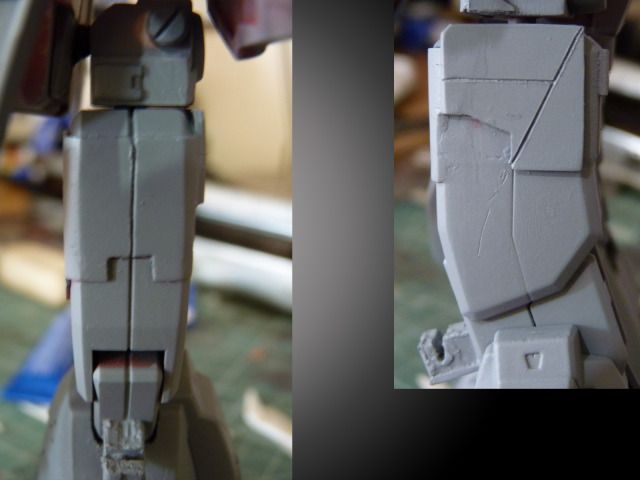
Following up on the head with my usual way of covering up seams-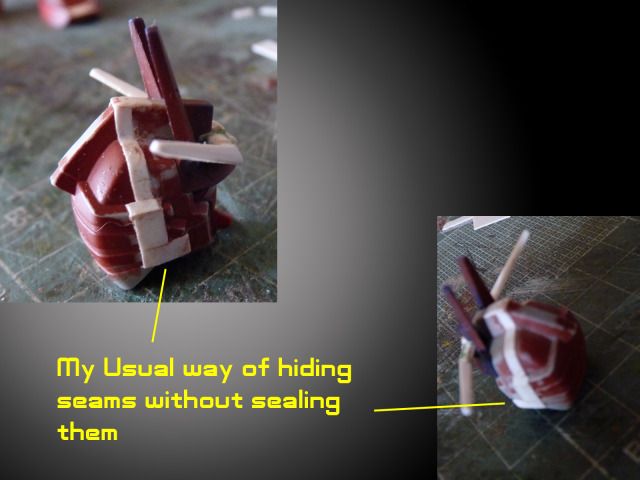
I was looking around and I found the shoulder flap ''bare'' so I decided to put some bits and bots there -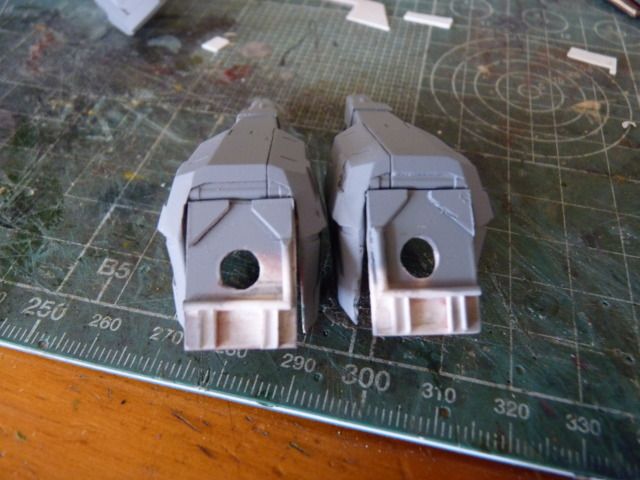
AND this is how it looks now in its primed stage-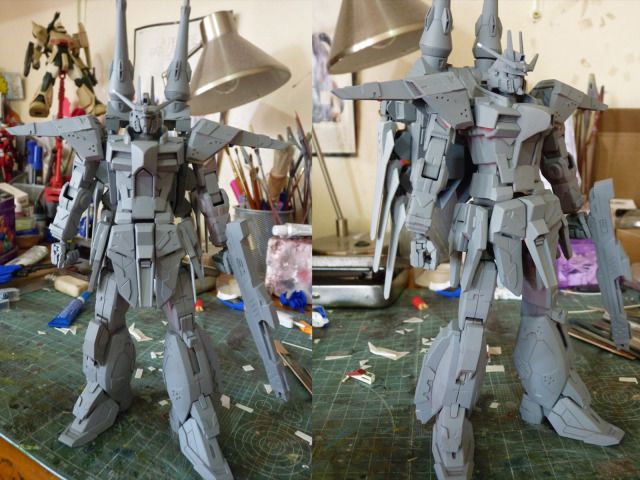
I only have to do MORE( a lot MORE) clean up and add details and bits and bots and we are done... ( I think)..
AND I CANNOT STRESS ENOUGH THAT I AM AWARE OF THE CLEAN UPS
I'm sorry I can't do any more ''big'' update ... Im not rushing but Im kinda running on fumes on this one so these would be all the major works on this...
As usual, thank to you all for the support and reading.....
Stay Tuned
Read more >>
Well, For what its worth, I have an update for all my comrades, seniors and juniors.... had to squeeze what amout of free time I have to steadily push forward to the completion of this kit ...
When I left off, I left off right where I was building the back pack yes? So lets just start from there - I made up a mock up for you guys last time, which is this -

so, I now have to start making up the dragoons attachment binders. This was done by first, stacking plates like so -

And after brain-storming and digging into two of my spare parts boxes - I achieved this

The little black thingys are from the original backpack, cut off from the round thingy and closed on the sides with some plates. The yellow part is from my FG Kyrios ... and the little angled parts is the knee armor of my HG S gundam .
If you look to the right, you will see a rod (sprue) sticking out... That is put in there so that I can attach the binders into my main backpack -Which are these two-

As you see, I already demonstrated there where those runners will go.. And then, I made some vents for those two parts and glue it on -

The binders are put on to see if there is any restriction of movement ....and once put together, they can do this -

And if it is not being used, they can be folded back and stored like this -

Now I really love this one as I really hated the overly large round original back pack.. but this, me likey.. (LOL)..
And I never liked the original gun.. its too long and just too cumbersome... so I made a better version ... Still in progress though-

And as you all know, when it comes to detailing, I suck, so I tried my best to do what I can for the details -

I asked my friends around and they said I there is already enough plates and that I should start putting in panel lines .. SO here it is -

I also put some on the feet as well -

and some on the thighs ( I REALLY NEED TO DO MORE CLEAN UP ON THE THIGHS ''sigh '' )

Following up on the head with my usual way of covering up seams-

I was looking around and I found the shoulder flap ''bare'' so I decided to put some bits and bots there -

AND this is how it looks now in its primed stage-

I only have to do MORE( a lot MORE) clean up and add details and bits and bots and we are done... ( I think)..
AND I CANNOT STRESS ENOUGH THAT I AM AWARE OF THE CLEAN UPS
I'm sorry I can't do any more ''big'' update ... Im not rushing but Im kinda running on fumes on this one so these would be all the major works on this...
As usual, thank to you all for the support and reading.....
Stay Tuned

