

I will be using a 2012 release of a JGSDF Type-87 anti-aircraft. It's quite a beautiful vehicle and has quite a bit of a sci-fi look to it.
I will not be posting sprue-shots on this thread as I have already reviewed this kit on a earlier time - http://modeller-innovation.blogspot.com/2014/08/a-peek-inside-box-trumpeter-135-jgsdf.html
But just for the sake for it, here's the box .. :P -

Just like everything, it starts from the running gears -
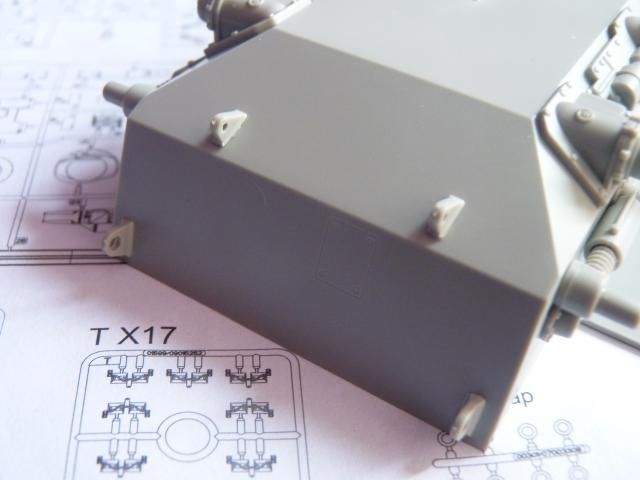
I put on the little towing hooks on the front lower hull -
And this is the back -

This is very strange of me but I went ahead and build the wheels -
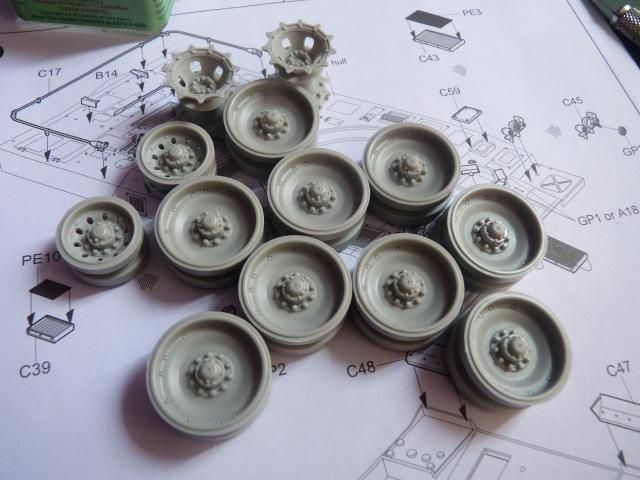
It's so sad that Trumpeter didn't put on on separate rubber tires like the T-62 or the Type-99. Oh well.
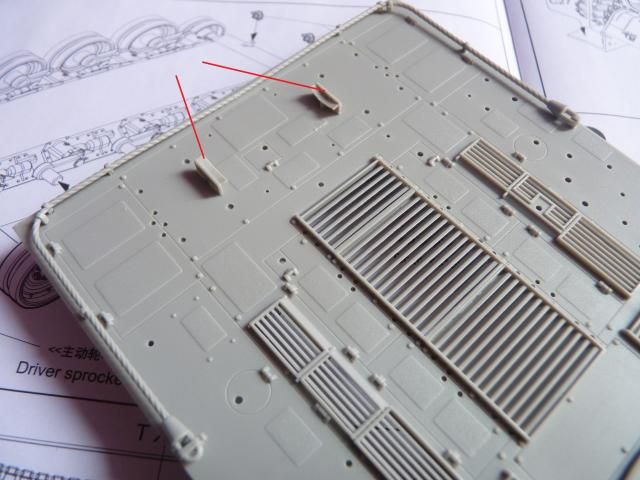
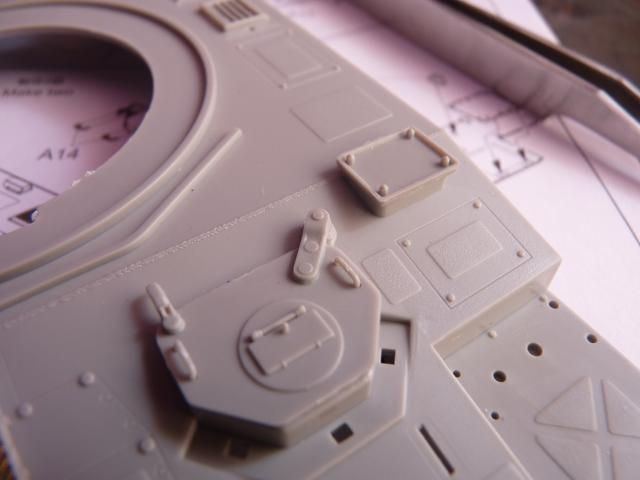
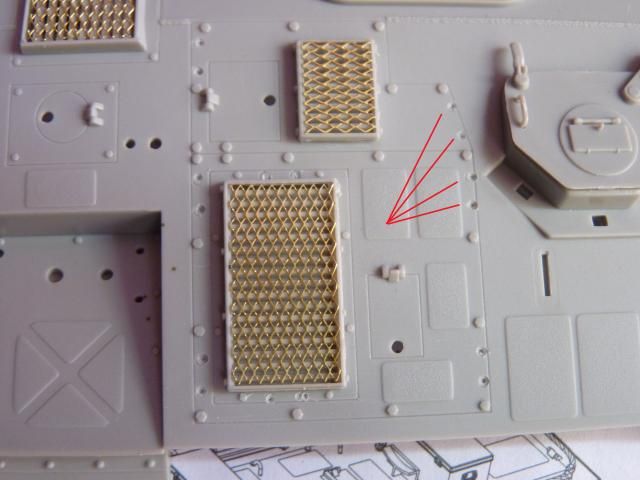
Next, I deviated from the manual and started putting on stuffs randomly. Started by putting on the tow cables and these two little things I pointed with the red lines -
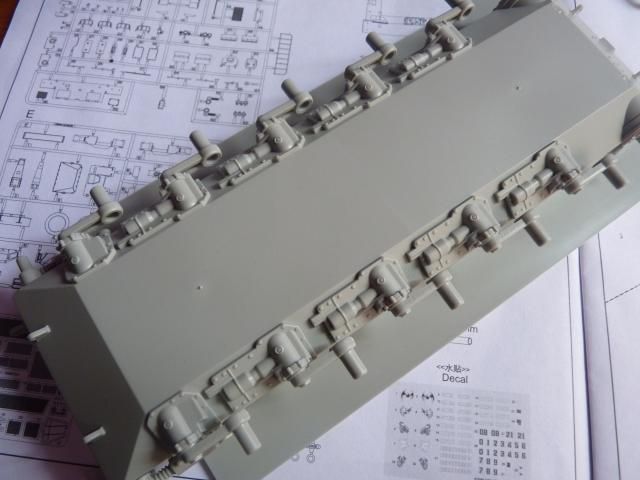
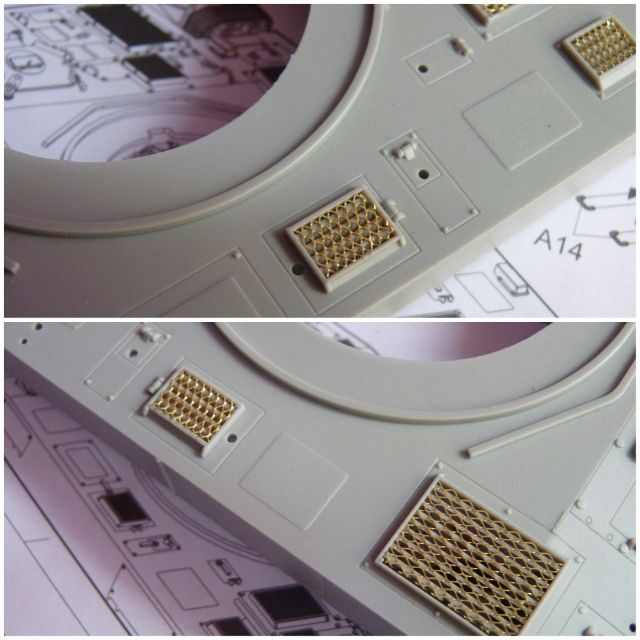
I started putting on some of the many meshes that comes with the kit. These two are located in the front -

Decided to close the driver hatch after that -
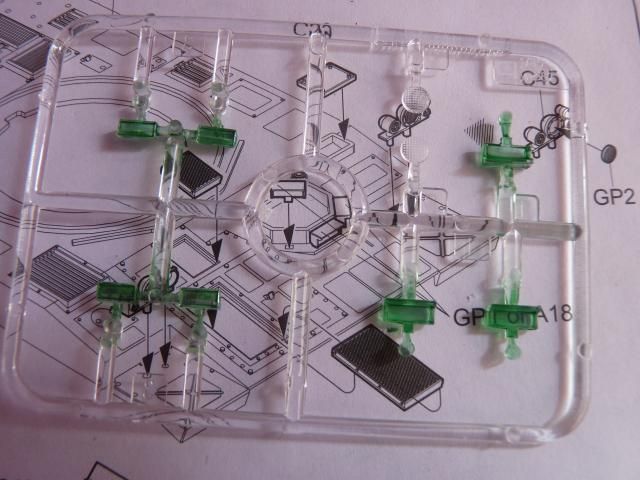
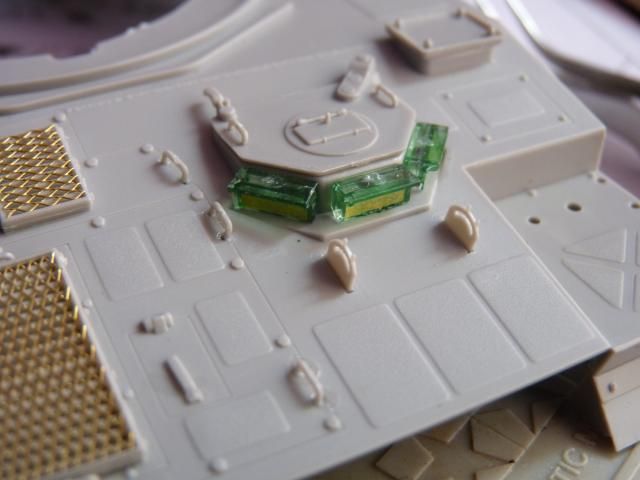
While closing the driver hatch, it strikes me to paint the driver vision blocks before hand. I looked at some references but I couldn't make head or tail of the colour so I just went ahead and sprayed on some clear green on all of them -
Put on some of the meshes on the back -
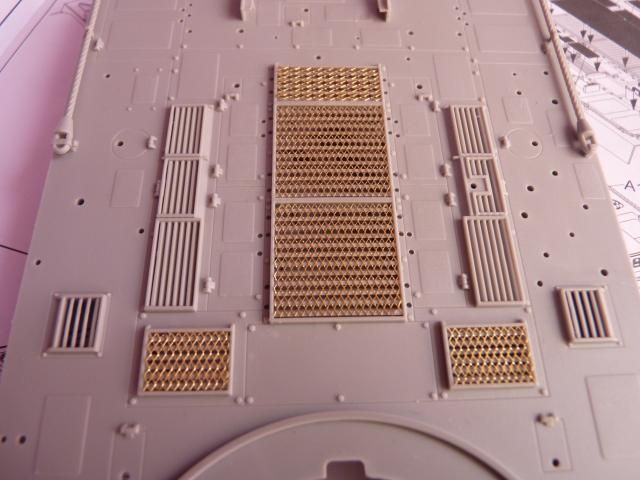
If any of you guys are building this ( this include you Dr. Gaving Turner :P ), becareful when you put on the two square meshes as you can end up gluing them facing them the wrong way. I suggest gluing on the rectangular one in the far back ( P.E 7) first so that you can coordinate the mesh's directions.
More Etches to follow up -
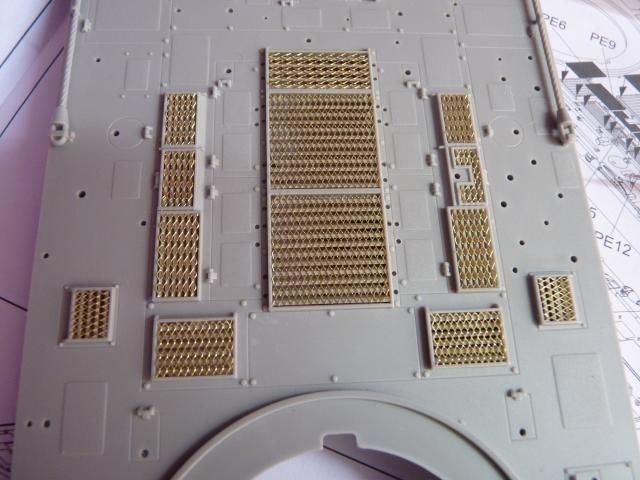
Last of the etches to go on the engine grilles-
If you guys are building this, very very gentle with these meshes parts. They are very thin and will bend out of shape very easily.
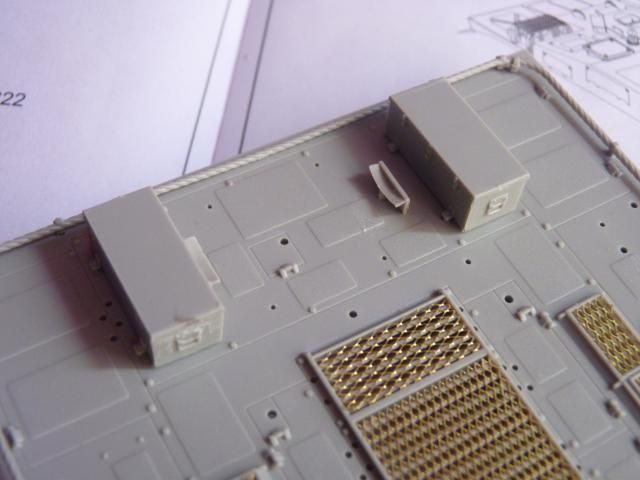
Next , I built these little boxes -

which goes on the back hull -
Coming up next is a rather tedious job. After inspection, the next step requires gluing on little grab handles directly onto the hull without any locating holes. I have applied the similar type of handles on my Type 99 and no amount of glue can make them stay on; they will keep flying off with just a small bit of force. Therefore, learning from my old experiences, I drilled out little dents so that the grab handles will have something to sink into and the glue something to bite -
with these drilled out, the little grab handles stay on quite secured -
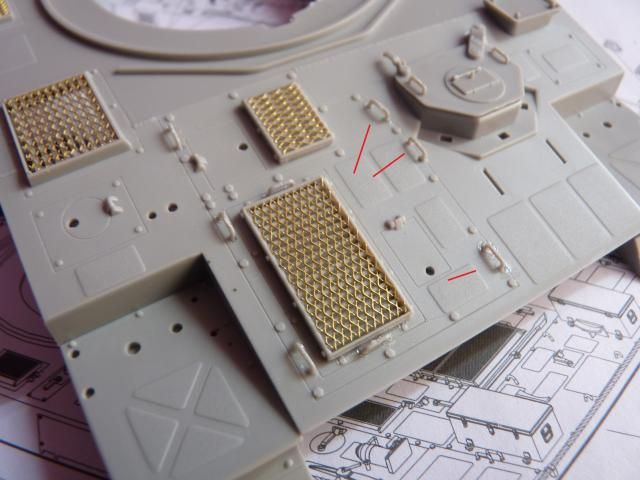
and I followed up that by putting on the the handles on the hatches on the front of the hull-

Finally, I put on the vision blocks I painted earlier with masking tapes glued on along with the two little protruding parts in front of it -
And this is how it now looks at the end of this update -

Stay tuned for more.....
0 comments:
Post a Comment