

ok , on to the update...
I was just busy with cutting plates and sort of small stuffs and figuring out how to put in the the arms.. i initially thought of just keeping the arms fixed but the modding hormones in me screamed mod,, mod, more mod in my head.. so i decided to put in functioning arms... and here's how i made the arrangements -
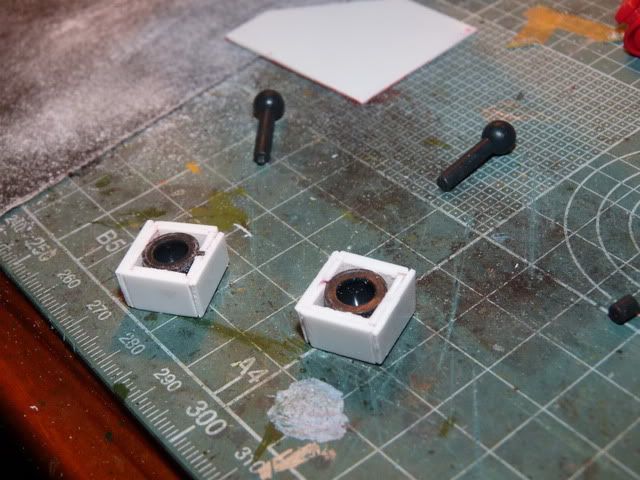
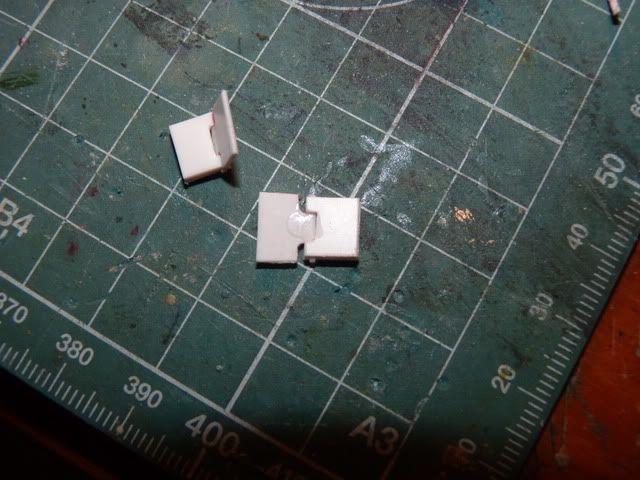
1. I encase the ball joint cup with thick plates because the arms will be connected to heavy weapons so i need large surface area around the cup to do glue it into what i have in plan ....and here's the picture of those boxes
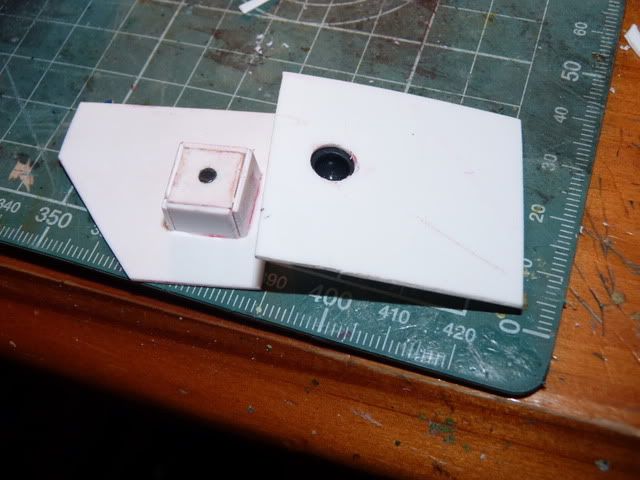
2. This is the lay out of how the ball cup will be placed... placed behind the plates at the bottom and those plates will then be glued to the ''boxes'''

and i glued them like so -
3. as you all know, i made the box named ''left shoulder'' which is the missile launcher, right??? well, i need to make a right shoulder so i made it like so -
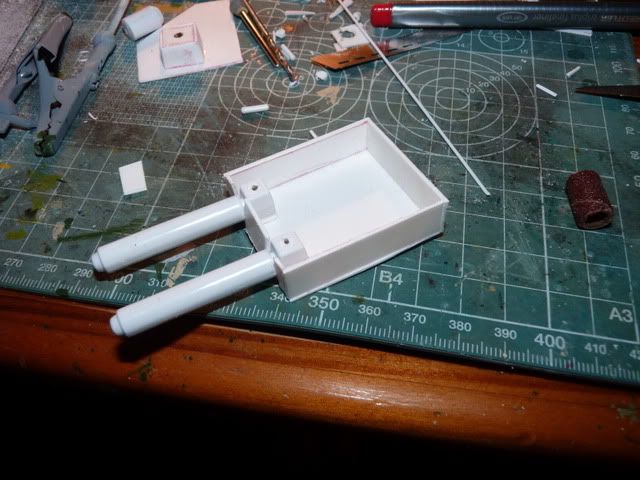
the guns i used are from the HG sentinel that i just scavaged... ( it was bought to be used as spare anyway..
 )
)4. Now that's the shoulders ( boxes taken care of) so i need to attach the plates that i glued the cups onto those boxes to make complete shoulders.. and voila.. just look at the picture
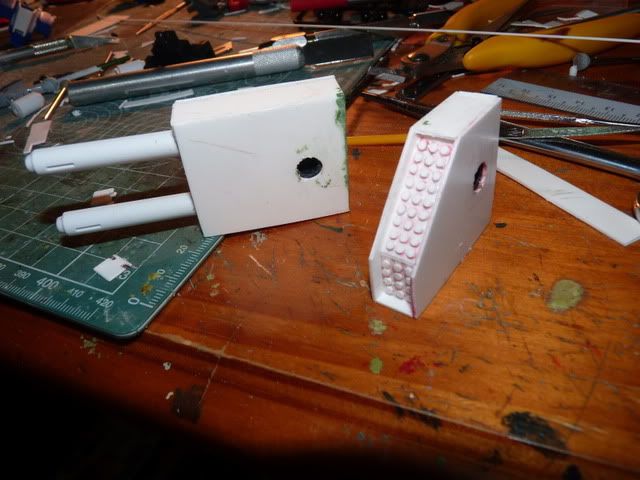
of course, the one on the left has to be flipped over for the ball cup to be facing the other way.. (just displaying how i put in the ball cup)
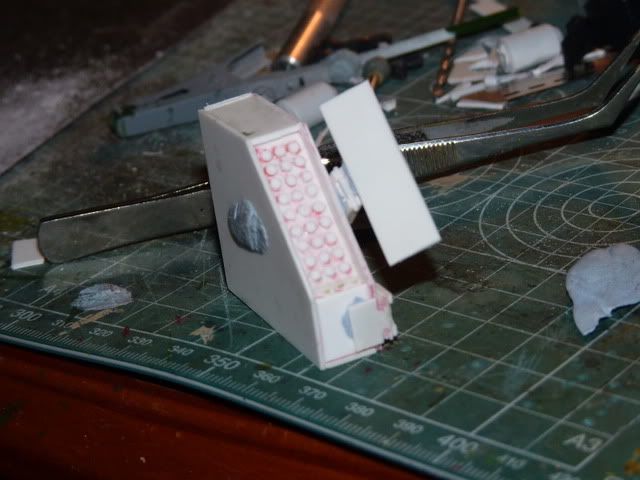
5. And, what next?? well, this next steps has a lot to do with MatX..if not for his tutorial, I wouldn't have known how to do it and my left shoulder would be nothing but an open Missie launcher... Thank you, my tutor..
(here's the link to how that hinge is made http://s3.zetaboards.com/MACforums/topic/7392582/1/#new )ok, going back to my update, i made two hinges according to his tutorial... and voila
i got very very nifty hinges... they are still in the testing phase though, i need to check them out carefully , i don't want to be undergo fatigue failure or cracks..
and this is a test fix of what i have in mind -
I have to say, i am pretty darn pleased with myself with the missile launcher.. i have always wanted to build a missile launcher with hinges and hatches that close and open (ok, that open and closes.. what's wrong with saying it backward?? LOL )
oh and yes, how are the missiles made? i just use a 1.5 mm diameter rod and ... just stick it, cut, stick it, cut, and then sanded down the whole she-bang until they reached a uniform height...
that would be all for this update.. pls stay tune..
0 comments:
Post a Comment