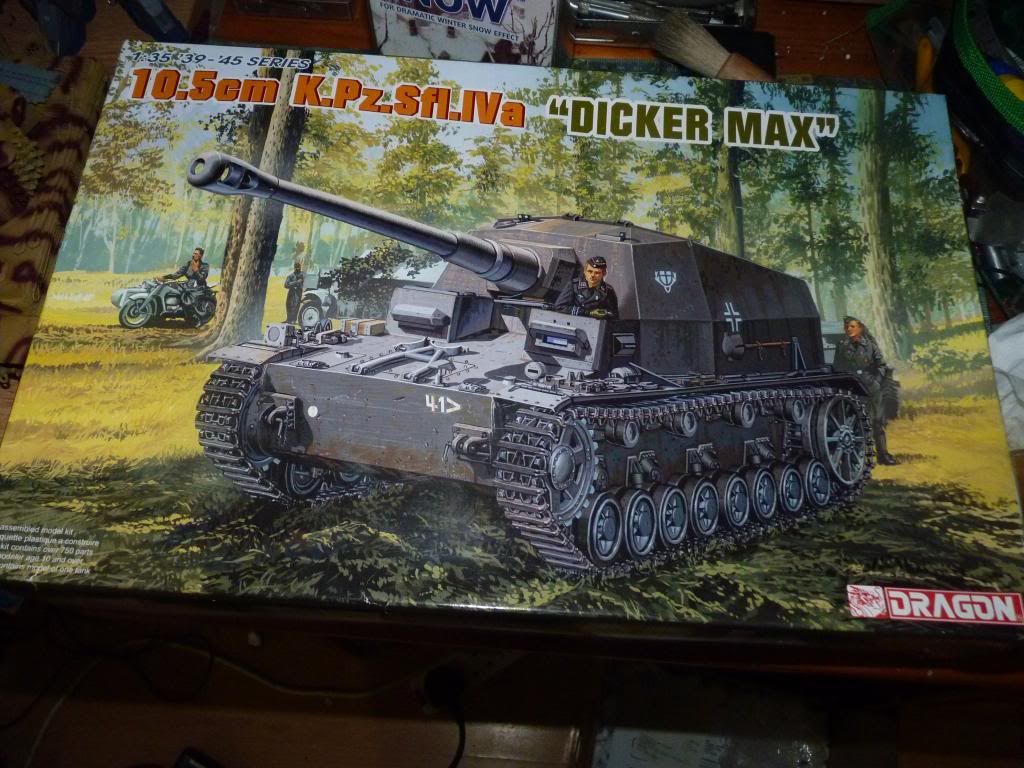
I also bought a mini-art crew figures for it -
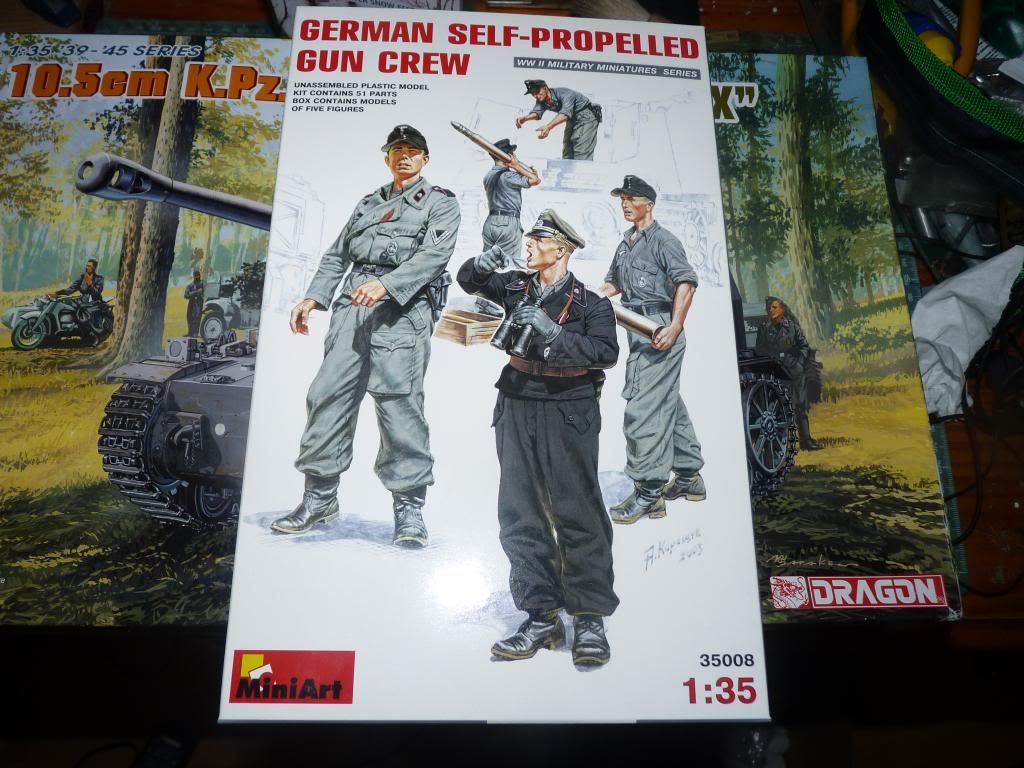
and to further enhance the details, I bought a Eduard set .. Voyager would cost me the same price as the kit so I choose Eduard -

And here is a shot of the sprues -
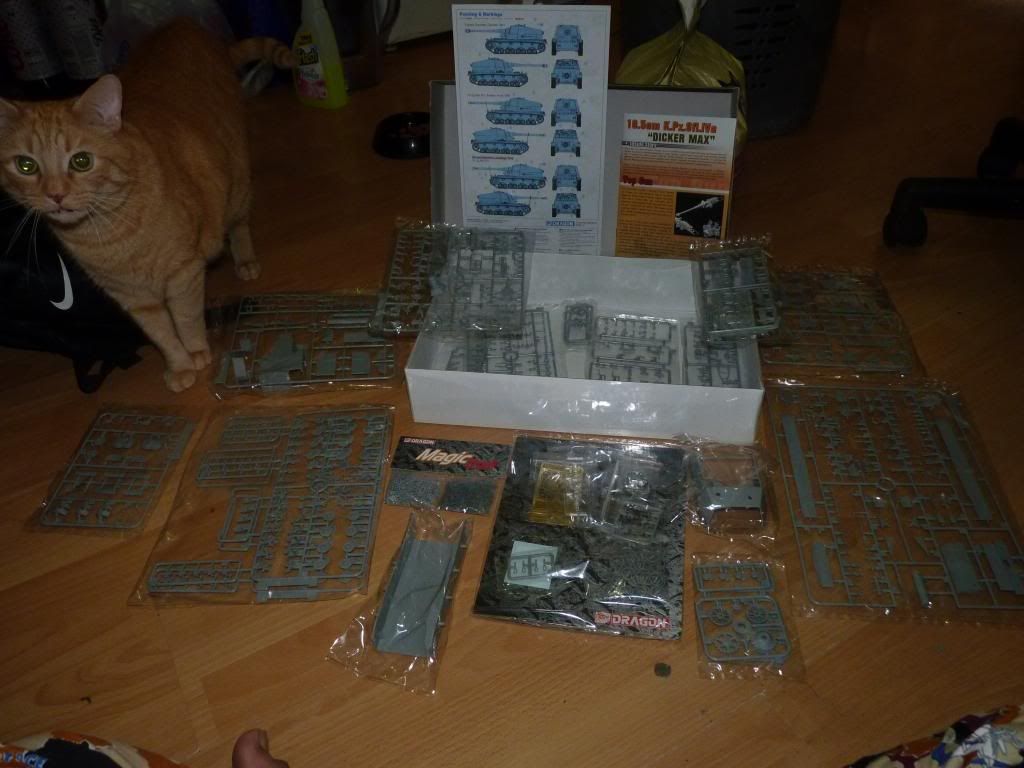
My cat wants to say hello to you as well.. LOL ...
The instruction states that I start from the Wheels but the kit include rubber rims and I didn't want to kil myself with more complicated stuffs later on so instead, I choose to start with the return rollers and put on the shock absorbers -
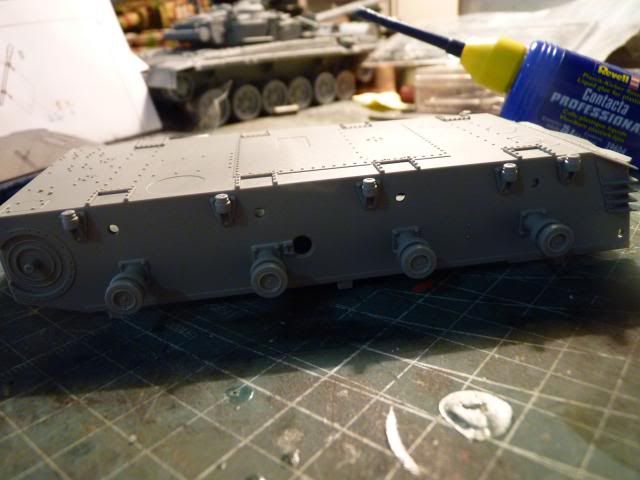
The instruction states that I start from the Wheels but the kit include rubber rims and I didn't want to kil myself with more complicated stuffs later on so instead, I choose to start with the return rollers and put on the shock absorbers -

Followed by that attachment point of some sort on the front of the chassis
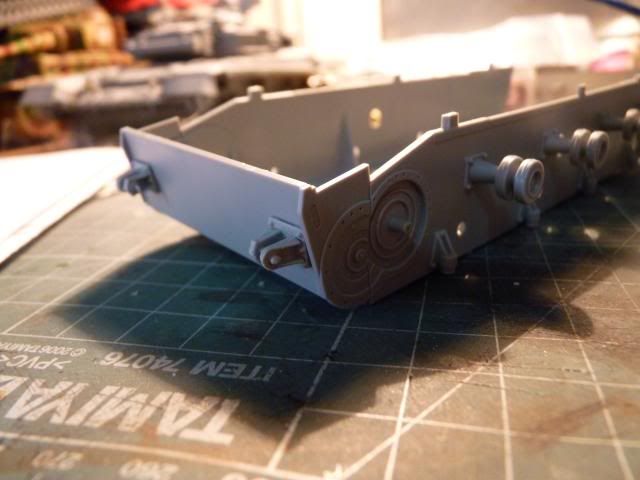

I skipped a few steps and went ahead with the rear of the chassis and I used Eduard PE for those little flaps u see there and also put on the doors for the hatches
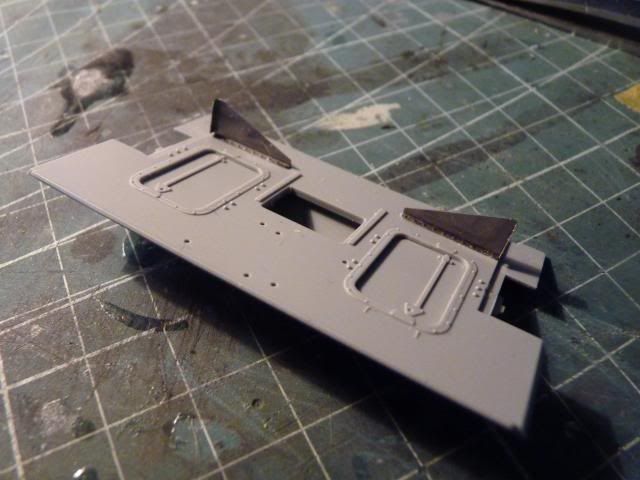

I then put on the floor plates ( what do u call those thing.. the little bumps on the floor ) from the PE set onto the fighting compartment
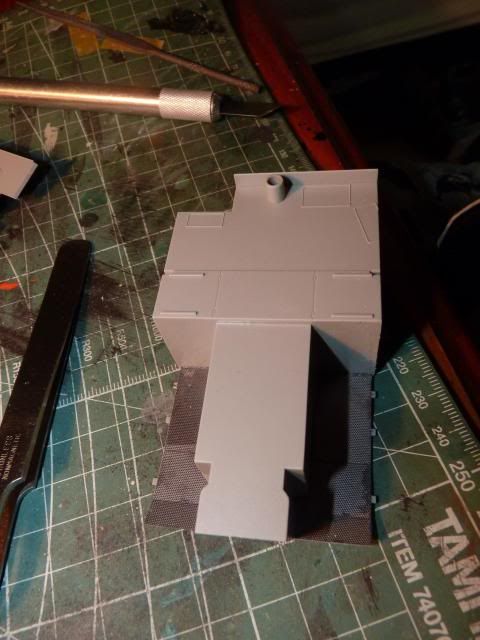

Followed up gluing up some PE parts from the kit ( although I have no idea what Im looking at )
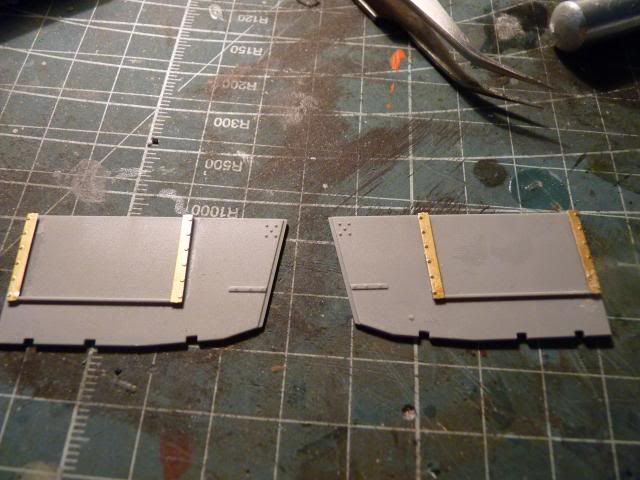

and followed by 4 pain staking hours of cursing and painful eyes, I managed to take away the plastic from the Hand Grenade and put them on the PE rack
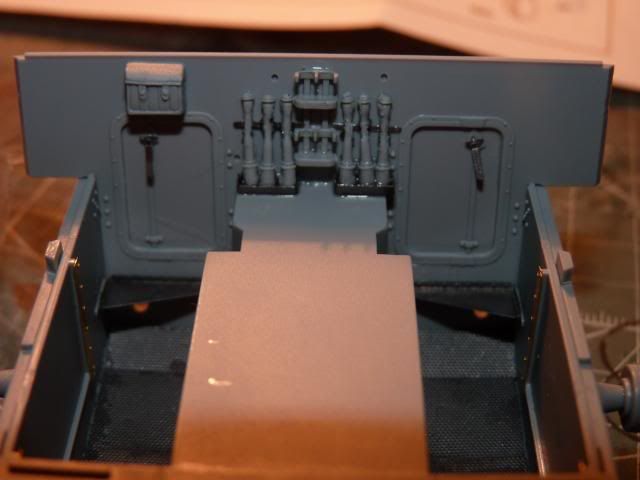

The hand Grenade looks like utter rubbish but that was the limit of my ability 
anyway, That's all I have done for now and I will slowly update you guys with my progress .. Hope I don't disappoint you guys ... Thanks for looking
anyway, That's all I have done for now and I will slowly update you guys with my progress .. Hope I don't disappoint you guys ... Thanks for looking


0 comments:
Post a Comment