

Right... and update is long over due on this gal .... let's do this ...
With everything glued on, it's time to start painting this gal..
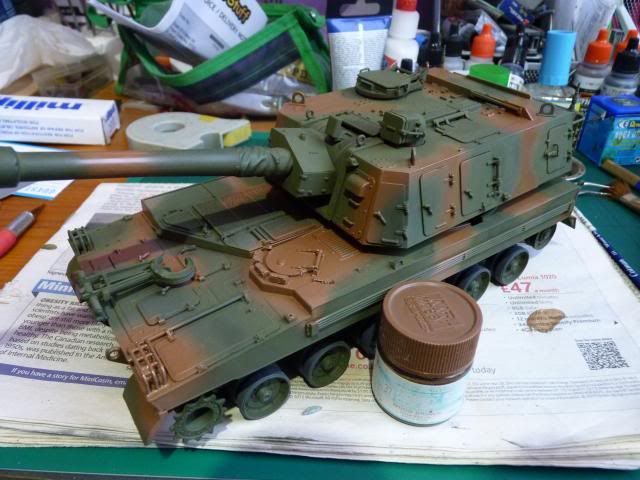
I had to put on the base colour, which is dark green but having no other brand apart from revell Aqua, I thinned that with Ultimate Modelling Product fantastic thinner and spray it like so -

Revell Aqua is just like Vallejo, dry too fast inside the nozzle ( for me that is ) and somewhat a pain to put on but UMP thinner just made it go on as smooth as a baby's bottom... Really surprised and happy with the results.
After that, I followed up with MR. Hobby Aqueous Wood Brown -
After that, I followed up with MR. Hobby Aqueous Wood Brown -
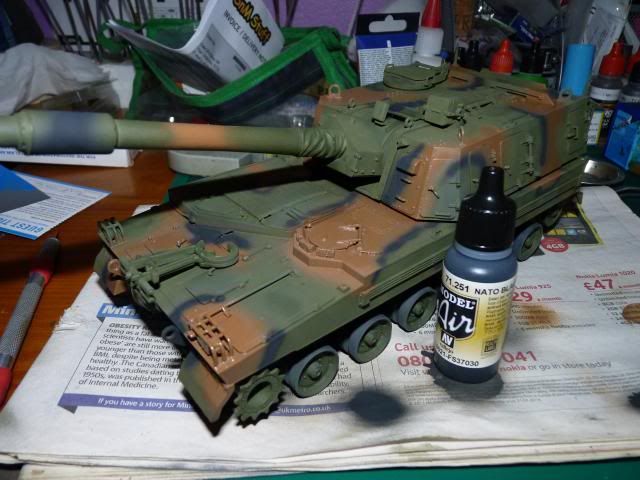
I decided to use Nato Black instead of Black. I love Nato Black. It has a very nice muted,flat greyish black tone and just lovely.
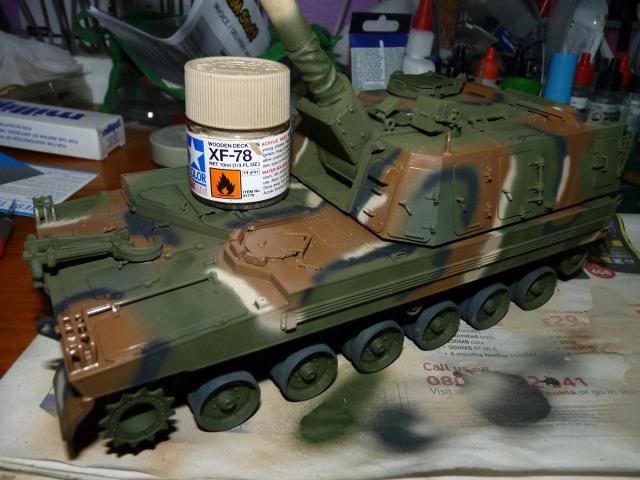
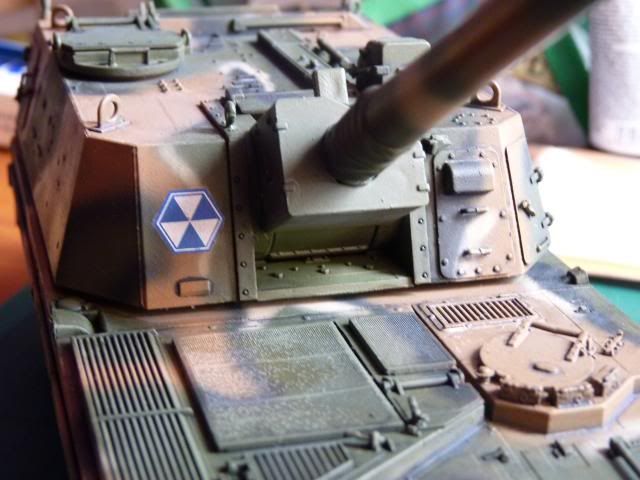
Followed that up with Tamiya Wodden Deck Tan . I wanted to put on just flat Tan and bought Flat Tan ( labelled as Tan Earth on the bottle ) but that colour looks very much like a friend Salmon pink so I just opted for the Wooden Deck Tan. I wanted to use Deck Tan but my Deck Tan ran out.
Followed that up with decals and pin wash -
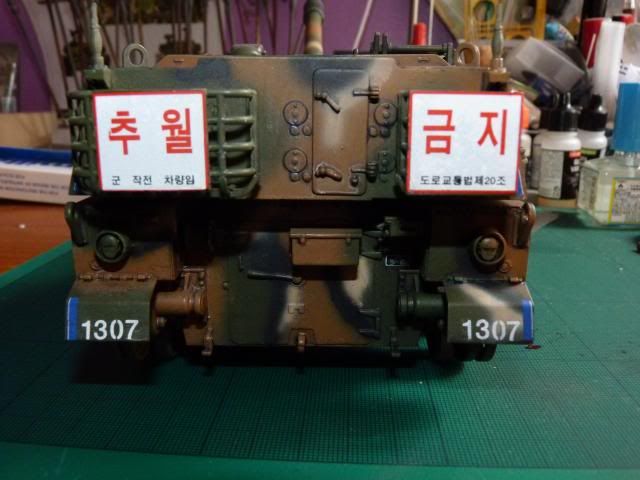
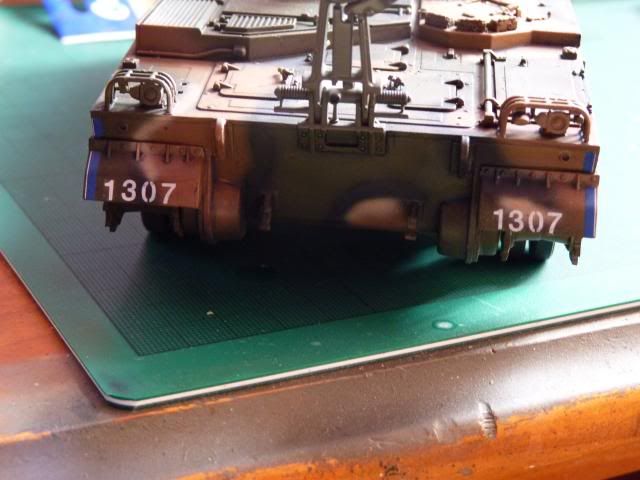
With all the pin wash, it toned down the bright colour combinations and looking like this for now -

Now, come to weathering this gal up. I decided to go for a very wet situation. I saw some videos of these gals doing exercise in a very rainy weather so I thought '' hey, rain .. wet vehicle.. wet mud..'' so I went ahead and start preparing for adding wet mud.
First, I decided to mix a lighter, dried shade of mud with pigment, thinner and plaster.
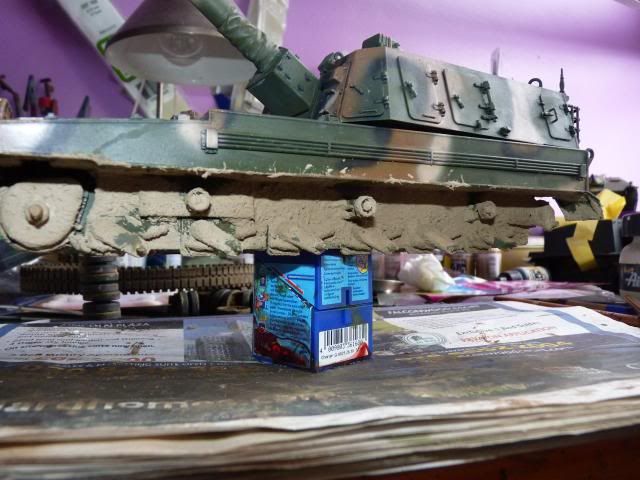

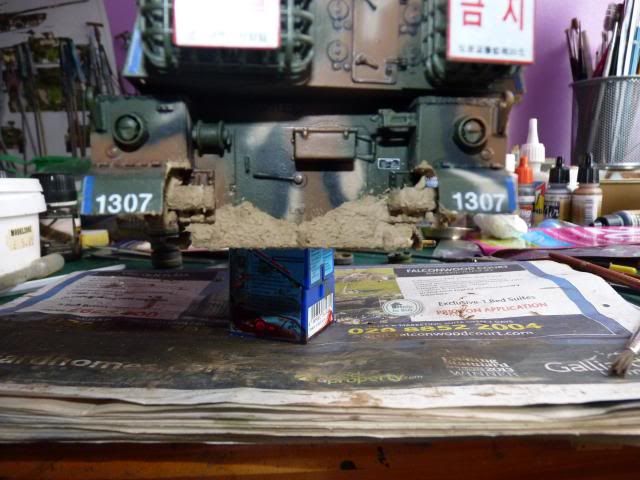

I left them dry for half a day and started working on the wed mud layers.
This time, I put in only a small bit of plaster, more pigments and thinned Vallejo Gloss Acrylic Resin heavy gel and mix them all into a slightly thinned paste and put it on top of the previous layer of mud.
This time, I put in only a small bit of plaster, more pigments and thinned Vallejo Gloss Acrylic Resin heavy gel and mix them all into a slightly thinned paste and put it on top of the previous layer of mud.
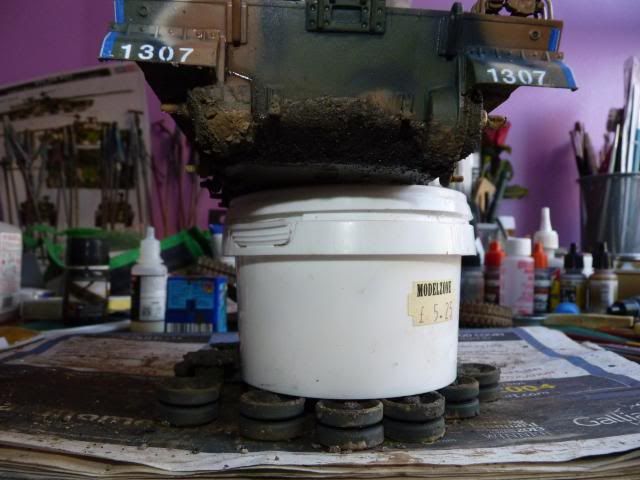

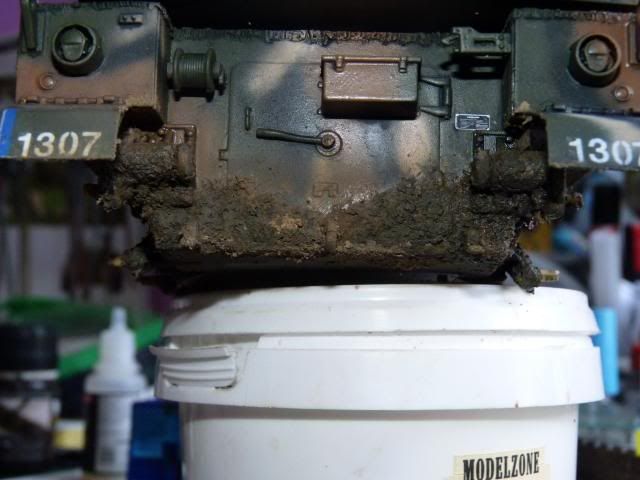

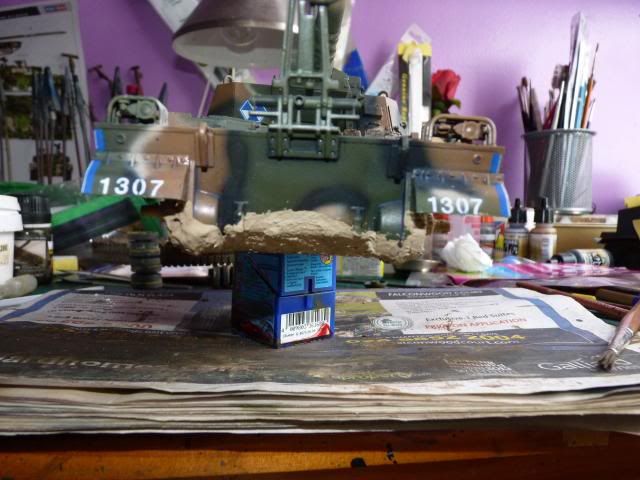
It's not all dried yet so I can't tell how wet/glossy it is so I'm gonna let it dry and see if I need to put more.
I did sprinkle some dry pigment and fix them with pigment fixer for added texture.
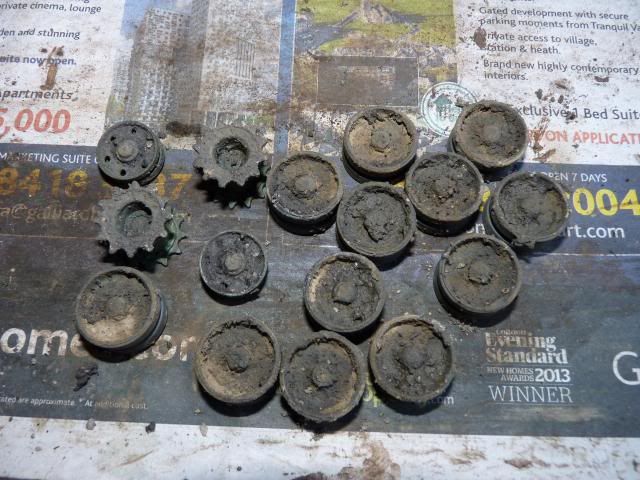
After that, I turned my attention on the track. This is the first time I have ever got so lazy painting track so all I did was bombard them with pigment, washes and acrylic resin to show the similar effect as the running gears.

Well that's it for now... IT's slowly coming along and I'm enjoying every bit of it.
Coming up next will be the crew and the wet effects on the top ( which I am dreading ) .. Should I buy some Wet effect fluid from AK or Ammo ? or should I just use Acrylic resin/ Gloss varnish ?? I don't know.... any input?
Until the next update.
0 comments:
Post a Comment