


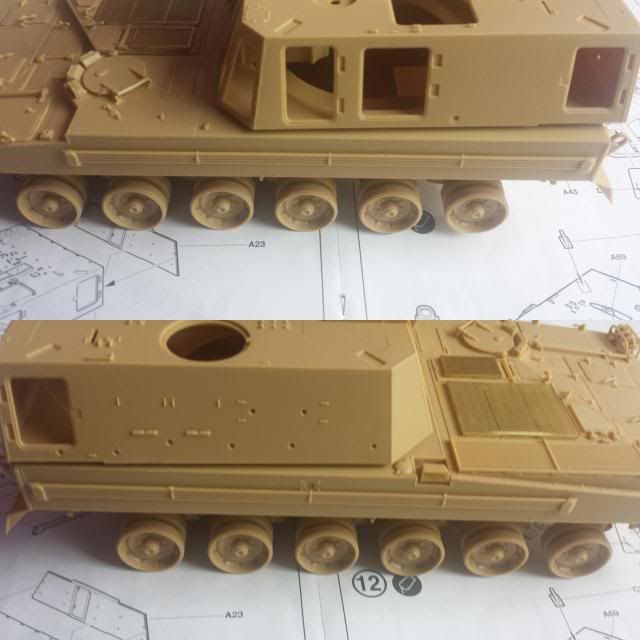
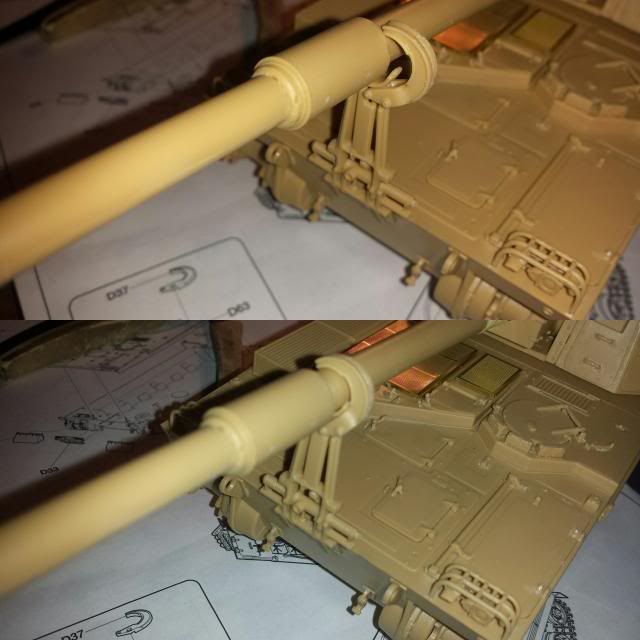
Just before that, I put on the very long rods along the length of the hull sides. I don't know what these rods are for but I believe they are gun cleaning rods
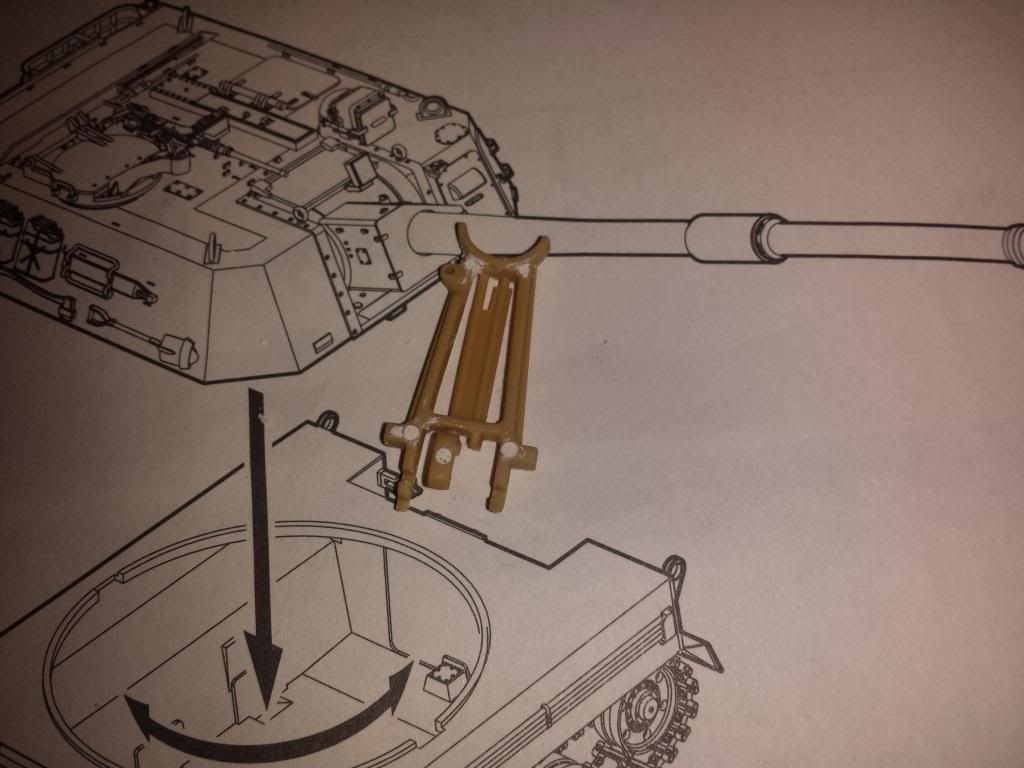
after that, I turned my attention to the gun travel lock.
First, I inspected the lock it self and I found ejector pin marks so I filled them up with Perfect Plastic Putty-
after that, I turned my attention to the gun travel lock.
First, I inspected the lock it self and I found ejector pin marks so I filled them up with Perfect Plastic Putty-
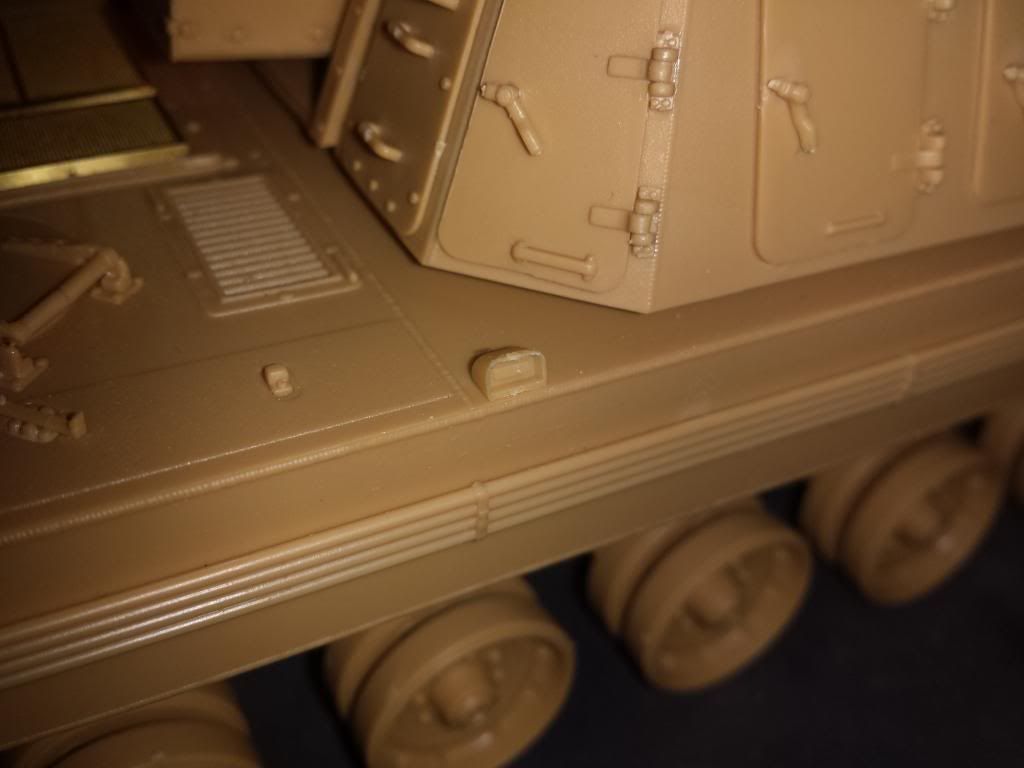
Follow that up with the hinge base which goes on the front of the hull. I also put on the front mud flaps-
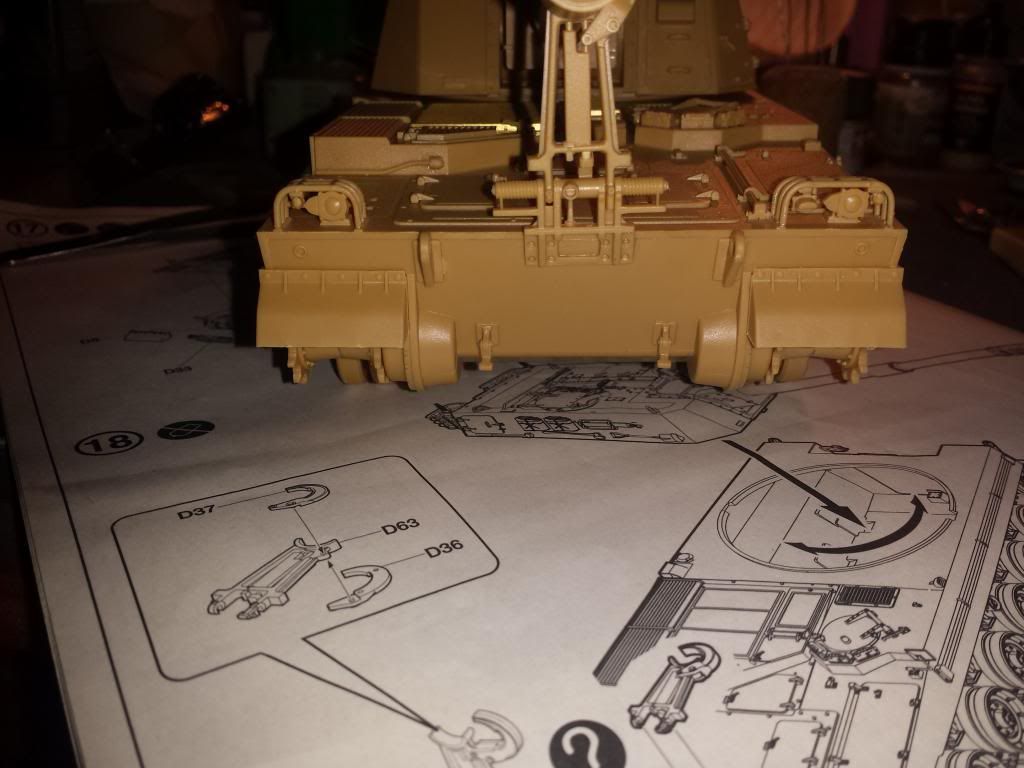
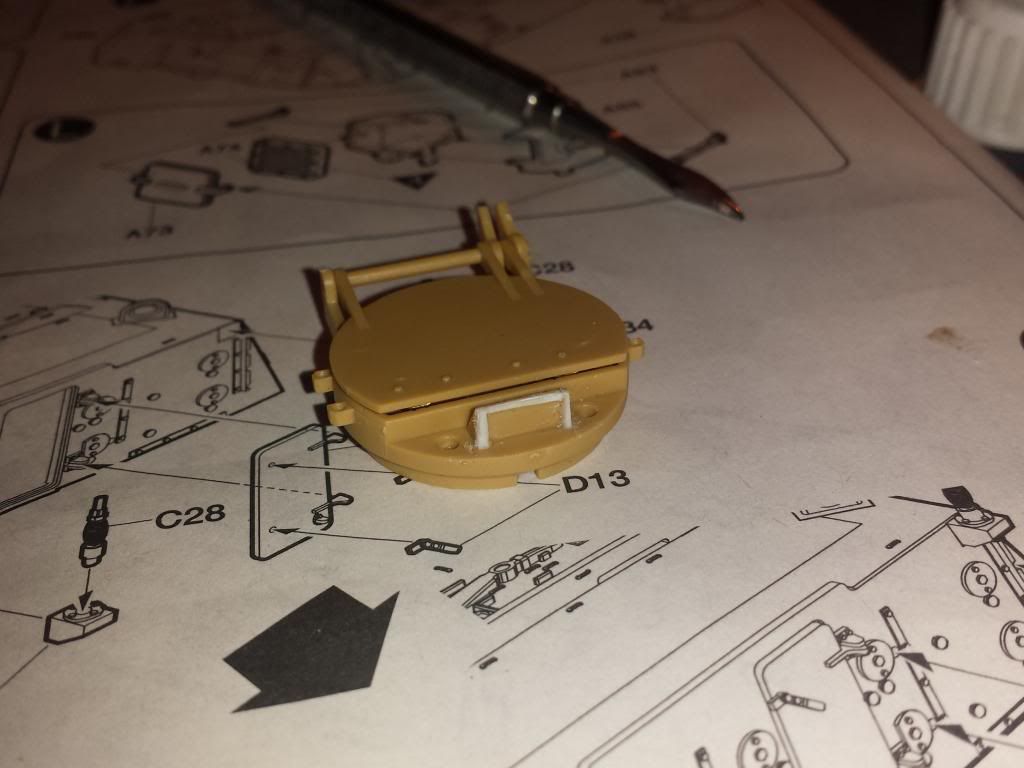
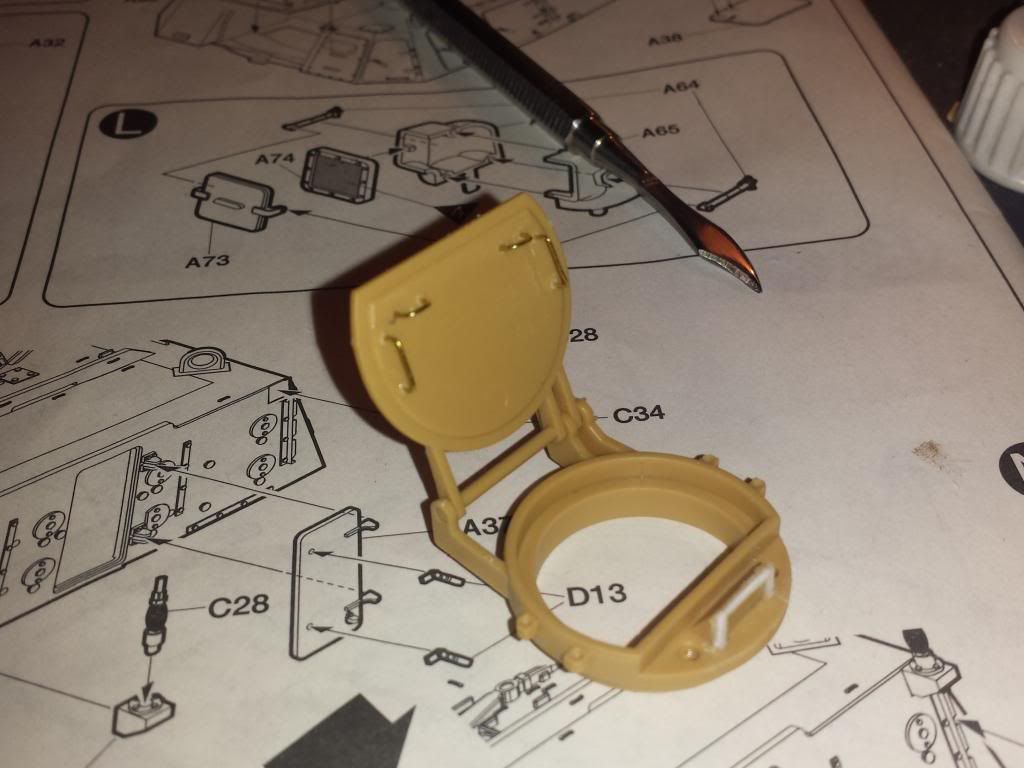
The lock can be swivel up and down -
and it can be open and closed -
I am grateful toward academy for designing the kit like this. I hate to have to make decision on whether to keep it glued up or down.
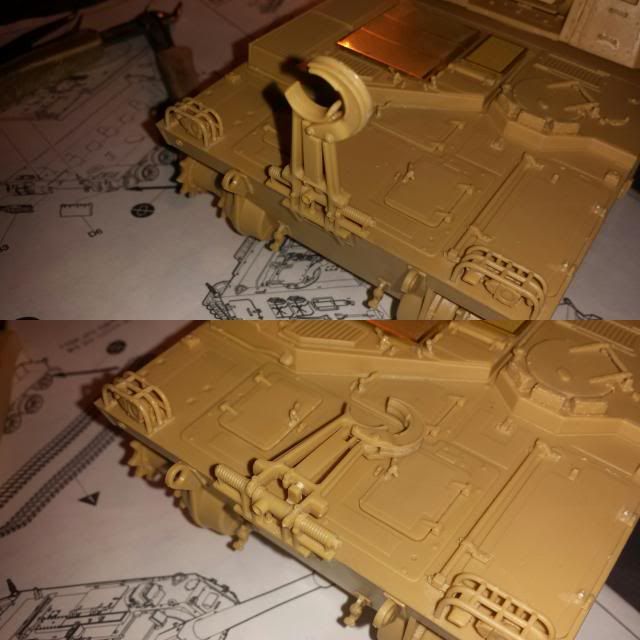
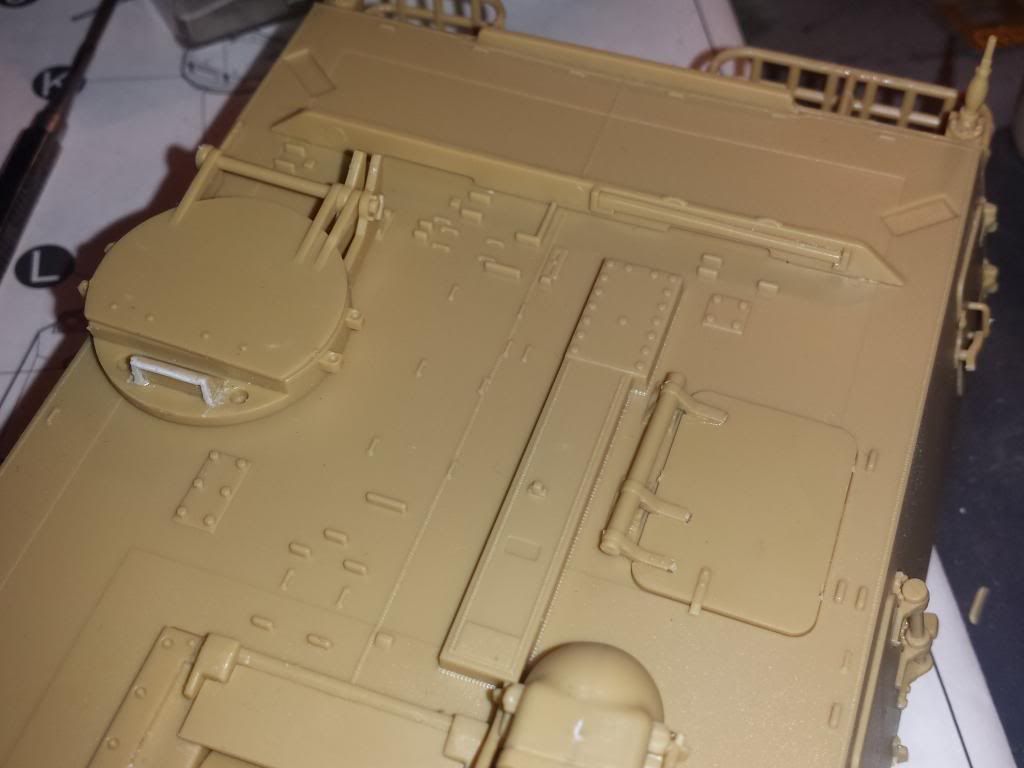
I had to put on this little piece which looks like a signal light or something on the top of the hull -
After that, I moved on to the commander's cupola and hatch. Upon inspection, the sight on the cupola is all flat and I didn't like the idea of it so decided to improve on it. I glued some plastic on the edges of the sight to show that '' border '' features around glass.
and checking the references, I modified the inner details of the hatch as according to the real thing -
The 4 grab handles are just simple brass wire glued on. It's not perfect but it is presentable.. ( I think )
The commander cupola and another crew member hatch goes on -
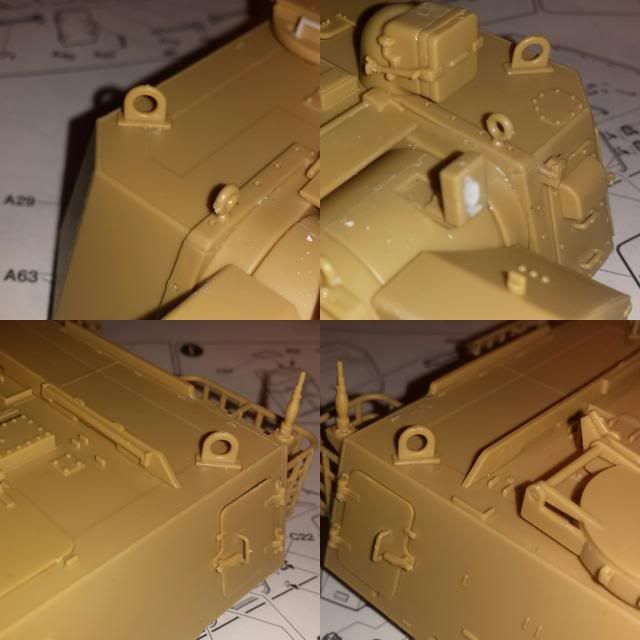
You can also see some kind of small guard wall that's sticking out near the back of the turret.
The gunner sight goes on after this. The kit doesn't include any clear part but the ballistic covering was well made. Having no desire to paint the glass effect, I decided to put on the cover.
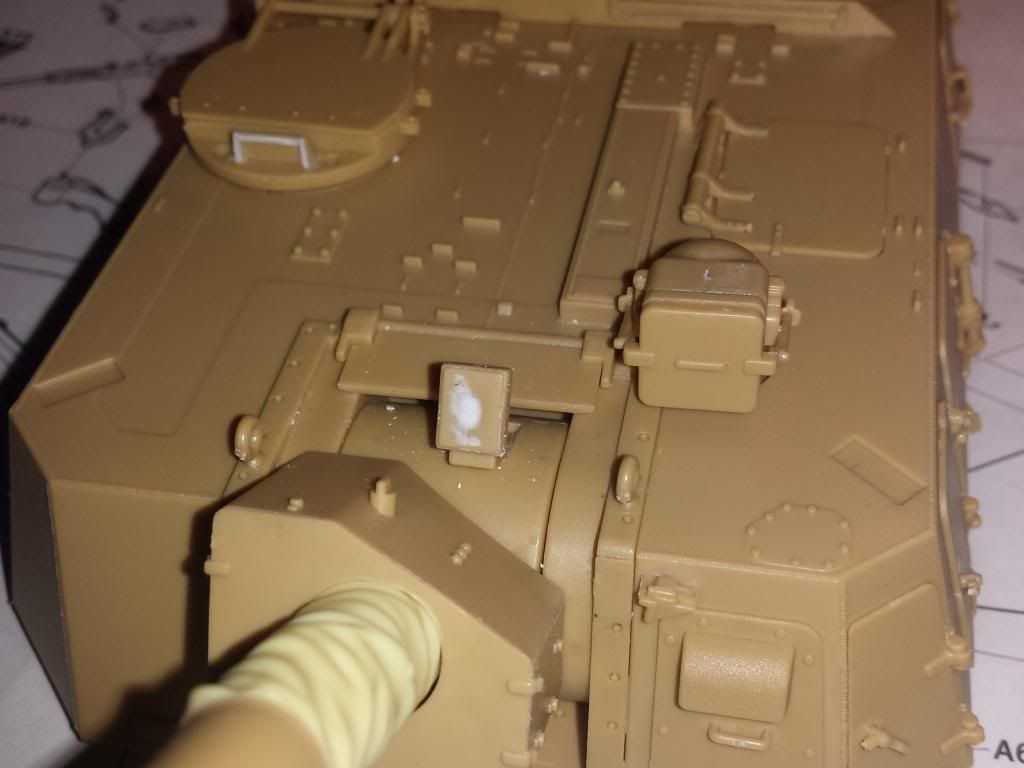
You can also see that little sight or detector thingy that has been treated with perfect plastic putty. That part has one big sink hole so I had to fill it up.
After that, I put on 4 of the big hook on the four corners of the turret ...
and that's it for this update ....
Until the next one ....
0 comments:
Post a Comment