Alright... update has been long due for this one.. I do apologize as I have been busy lately ...
This was the sate of the vehicle I left off - 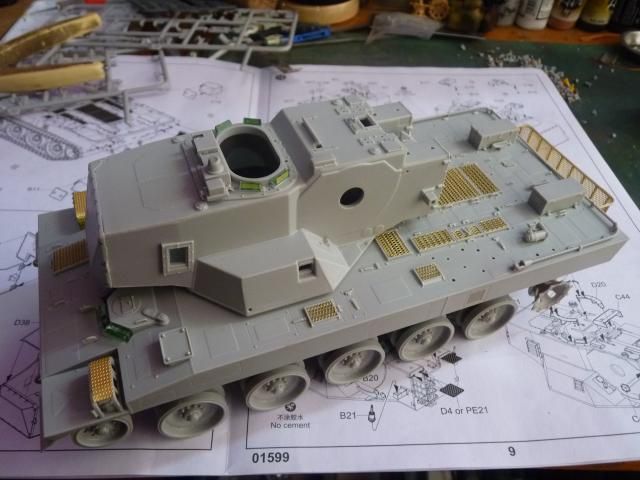 So carrying forward from that, I put on whatever I need to put on on the turret. I started with the sides, this is the left - 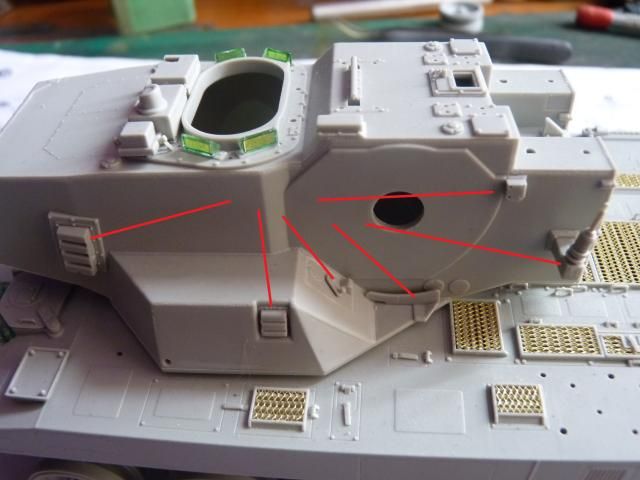 and this is the right - 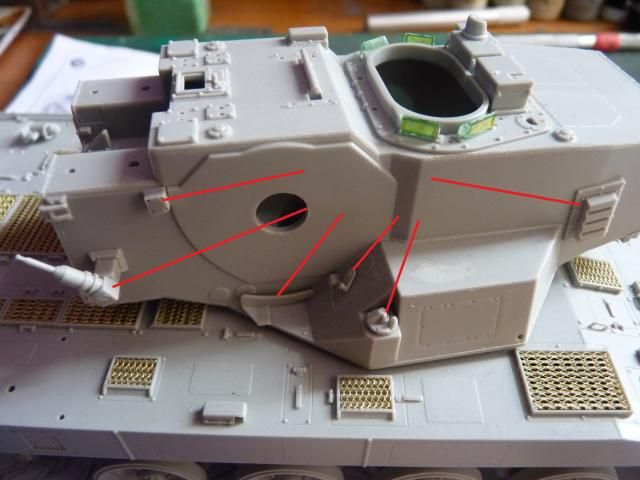 All the little parts I had to put on are shown with the red lines. With the sides done, I moved to the back. The kit comes with option for plastic or etch for these steps so I decided to use the etch for the great details they provide - 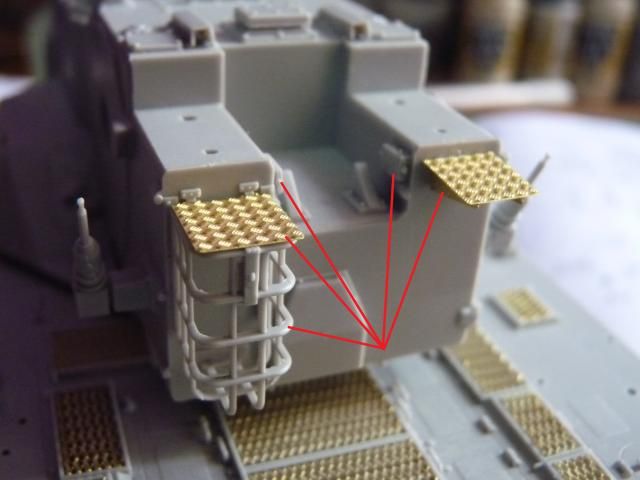 I then put on these three little parts in preparation for the complicated build up of the radar equipments - 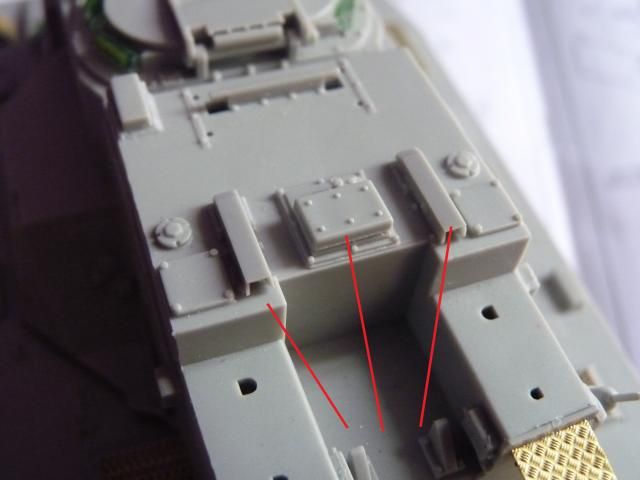 I followed that up with the main hatch - 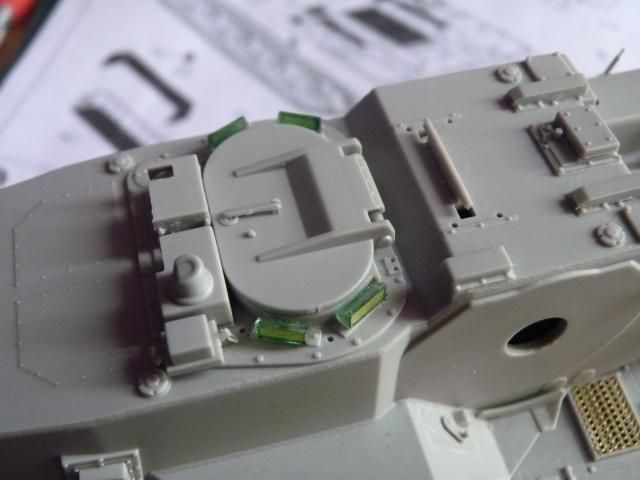 The min hatch comes quite detailed with some interior details and a hatch handle inside and outside. The downside, however, is that the hatch can only be open to a maxim of this - I thought of putting in some figures but since the hatch can't swing all the way to the back, I'm not gonna bother. With that done, I decided to work on the 2nd most tedious build of this kit ( after the radar ). I started with this round slab base thingy that the gun and the gun base sits on- 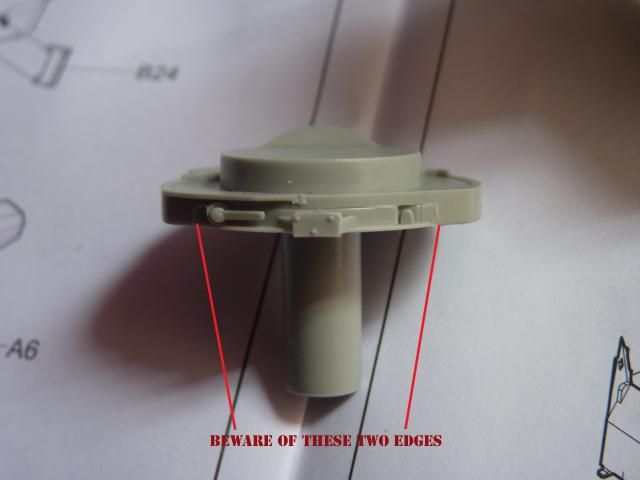 If you are building this kit, be very mindful when you glue this two parts together. The little edges which I have shown with the lines should sit nice and tight like in the photo. There is a tendency for either end to pop out and result in a boo-boo set up. I had to try for 4 times until I finally get it right. Next, I built the housing ( let's just call it that for convenience's sake ) for the gun breech and ammo feed. It went up quite quickly and simply but I realize it need a bit of filling and cleaning - 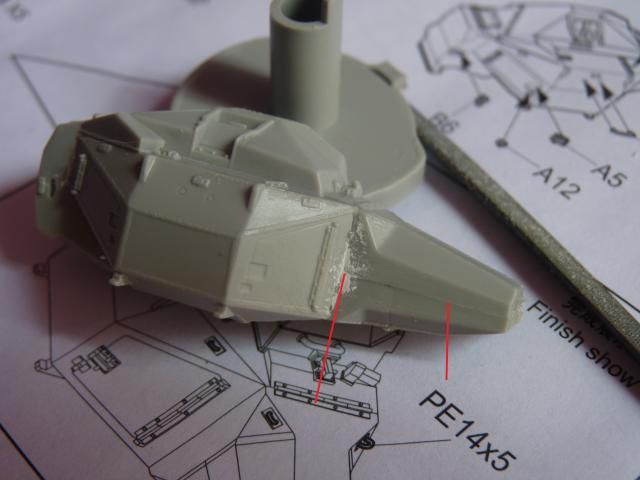  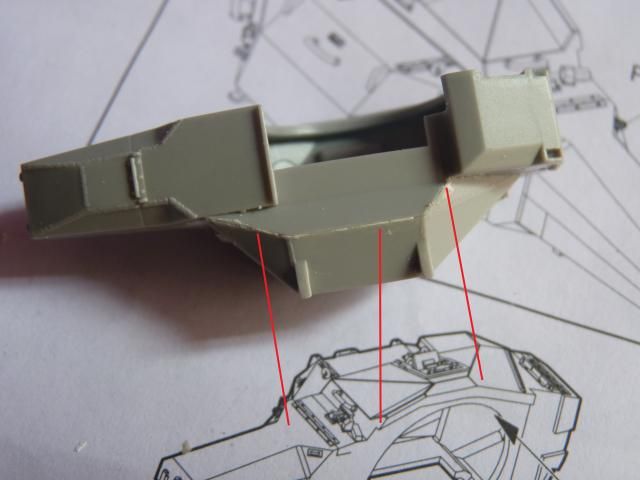 IF you are building this, be very mindful of the attachment points, gaps and seam lines I have shown. After that, I put on the little bibs-and-bobs details on the housing. These are very small pieces so be very carefully as they will ( and had, in my case ) fly off the tweezers. 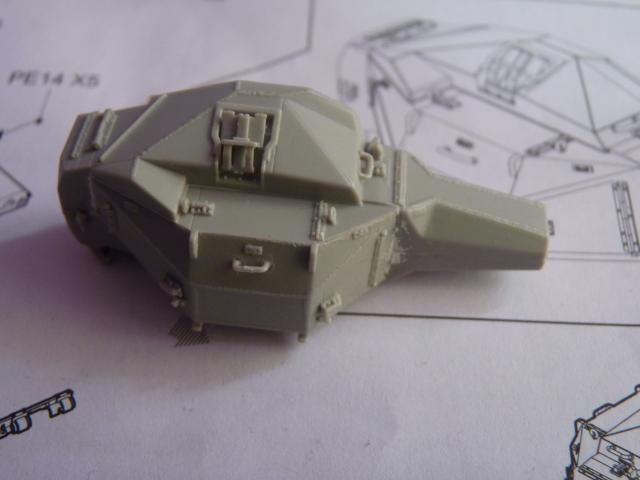 Followed up by gluing the two halves of the gun barrel. The gun barrels are too flimsy so be very careful when taking off the sprues - The two halves joined - 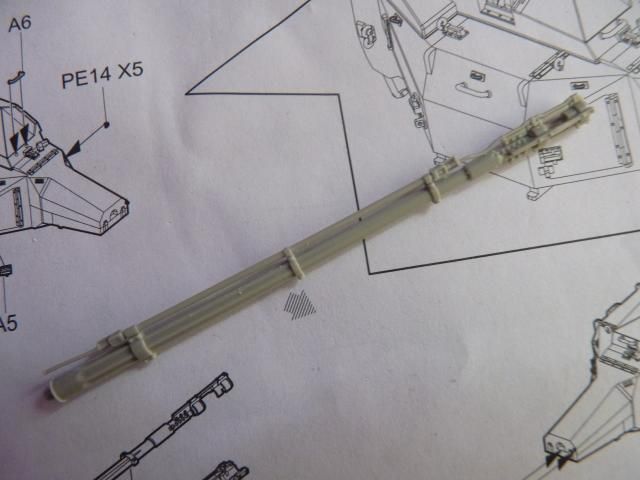 and apparently, when glued to the housing, it seems to be bent - 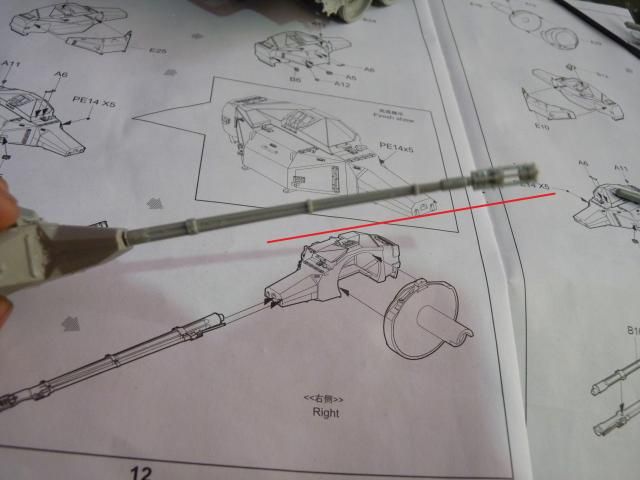 I did my best to softly bend it the other way by heating it up getting it near a warm light bulb and used a very little amount of force. After that, I put on ten little hooks which put so much of a strain on my eyes - 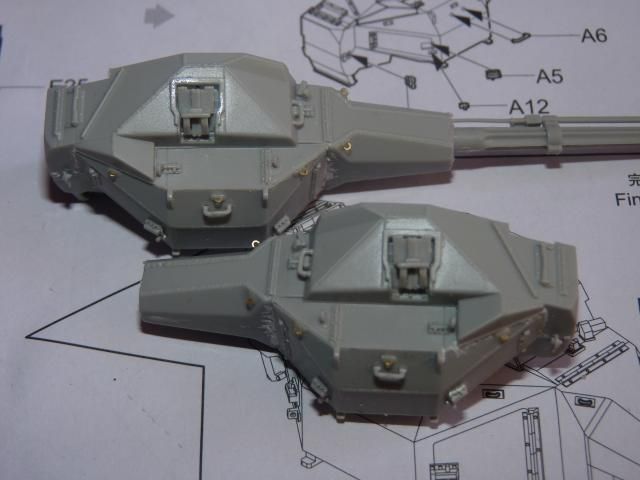 And this is how the whole gun assembly looks. All that left is to put the housing into the turret and glue it on.  Right. here comes the tricky part; installing the guns into the turret. If you look at the photo - 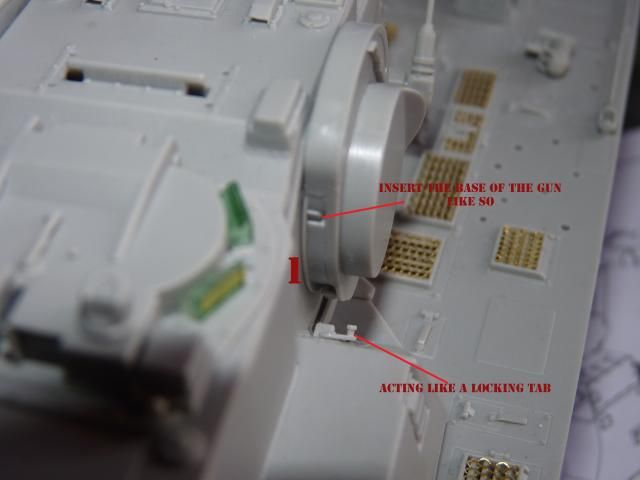 the little extruding part that you see on the slope is on the way of a direct insertion of the large round base of the gun housing so it has to be installed in a certain way. The bottom part of the round base has to be facing the front just like I have shown in the photo. If you just randomly put in the round base, you risk the chance of breaking the little extruding parts. You then bring the bottom surface of the gun base back down like so - 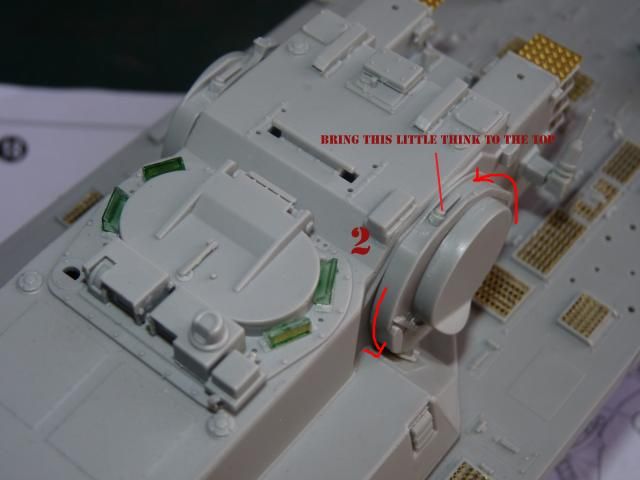 Thus, I have avoided a situation where I will end up with a broken detail. Had I knew this beforehand, I would have put on the little details only after I put on the gun bases. ( Talk about people only caring for WW2 stuffs and other mainstream modern AFVs and doing only build reviews on such kits and completely ignoring this kind of vehicles :/ ) And I'm sure you guys have noticed that I haven't put on the gun housing on the base.I find it the most easiest to do so by not having the guns housing over these bases. After putting on the other side of the base and gluing the attachment point in the middle, I put on the gun housing on the bases. The gun housings needed a lot of care when gluing or you risk gluing on mis-matched angles of the guns - 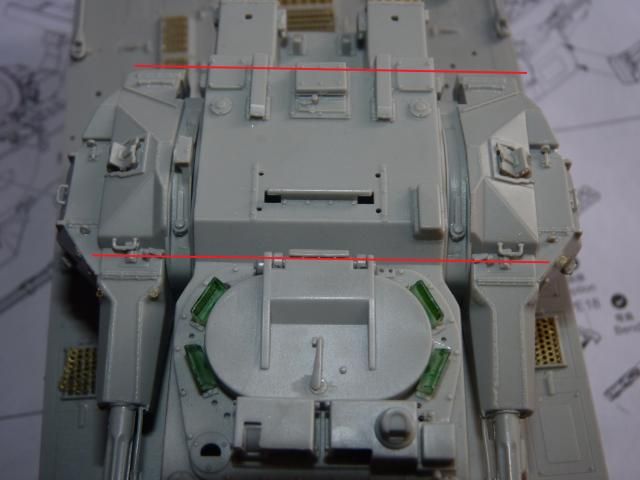 Make sure the two guns are level and at the same angle. They elevate and depress at the same angle so they have to be levelled. With that done, this is how it looks now. 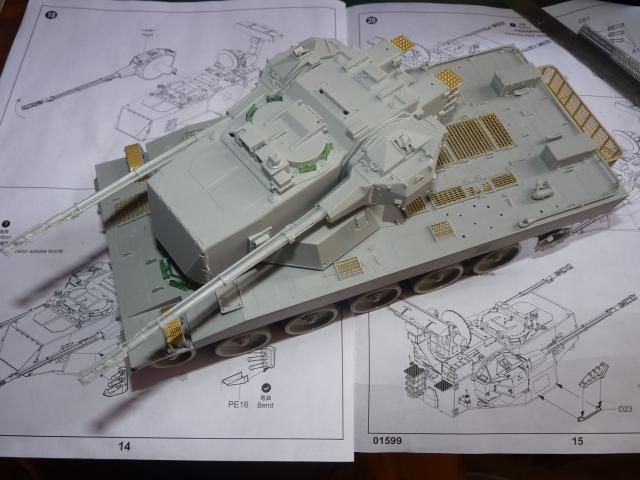 Totally in love with this baby. It looks like a love-child between a mecha and a tank. LOVE IT. |


Monday, 18 August 2014
W.I.P - JGSDF Type 87 AW - Part 3
Subscribe to:
Post Comments (Atom)
Dude, it's a huge work! Wow, very details... These metal parts are very cool, and really more detailed! These two torrets are incredible! Good luck with this child!
ReplyDelete