Good day to you Gentlemen.
I have here another kit that I have been working on for quite some time. With every new addition added to the log, this one get push further and further behind along with 2 other kits on the bench.. It was a struggling effort to finish this as I cannot resist the call of the new additions but I pulled through and finished it finally.
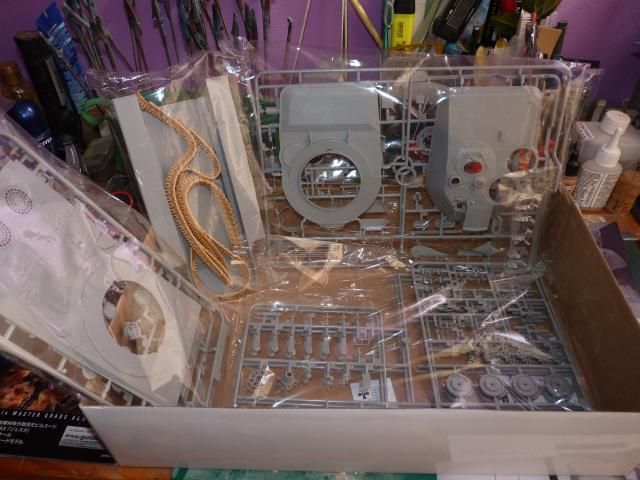
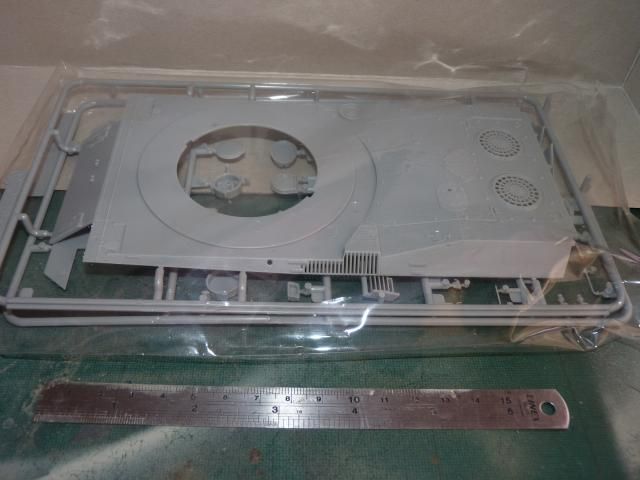
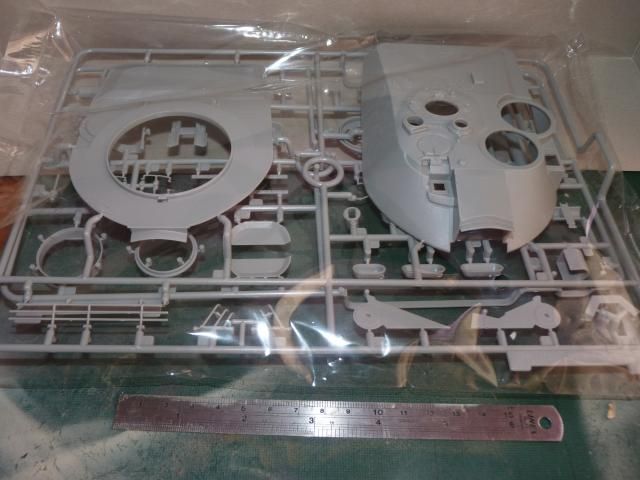
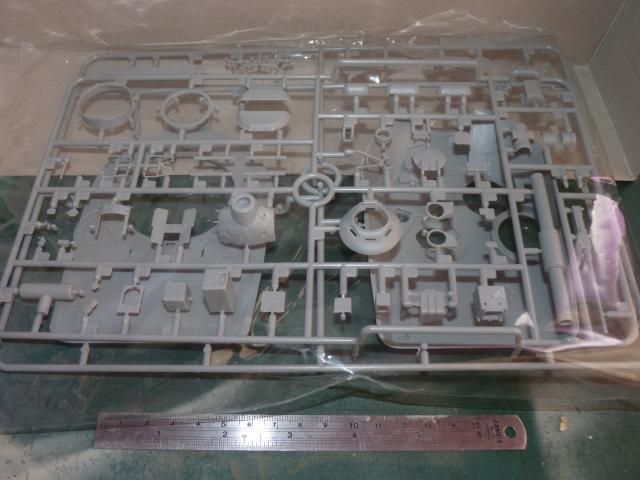
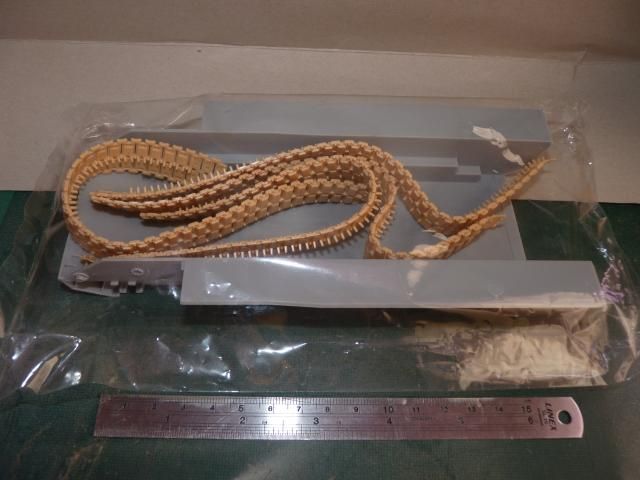
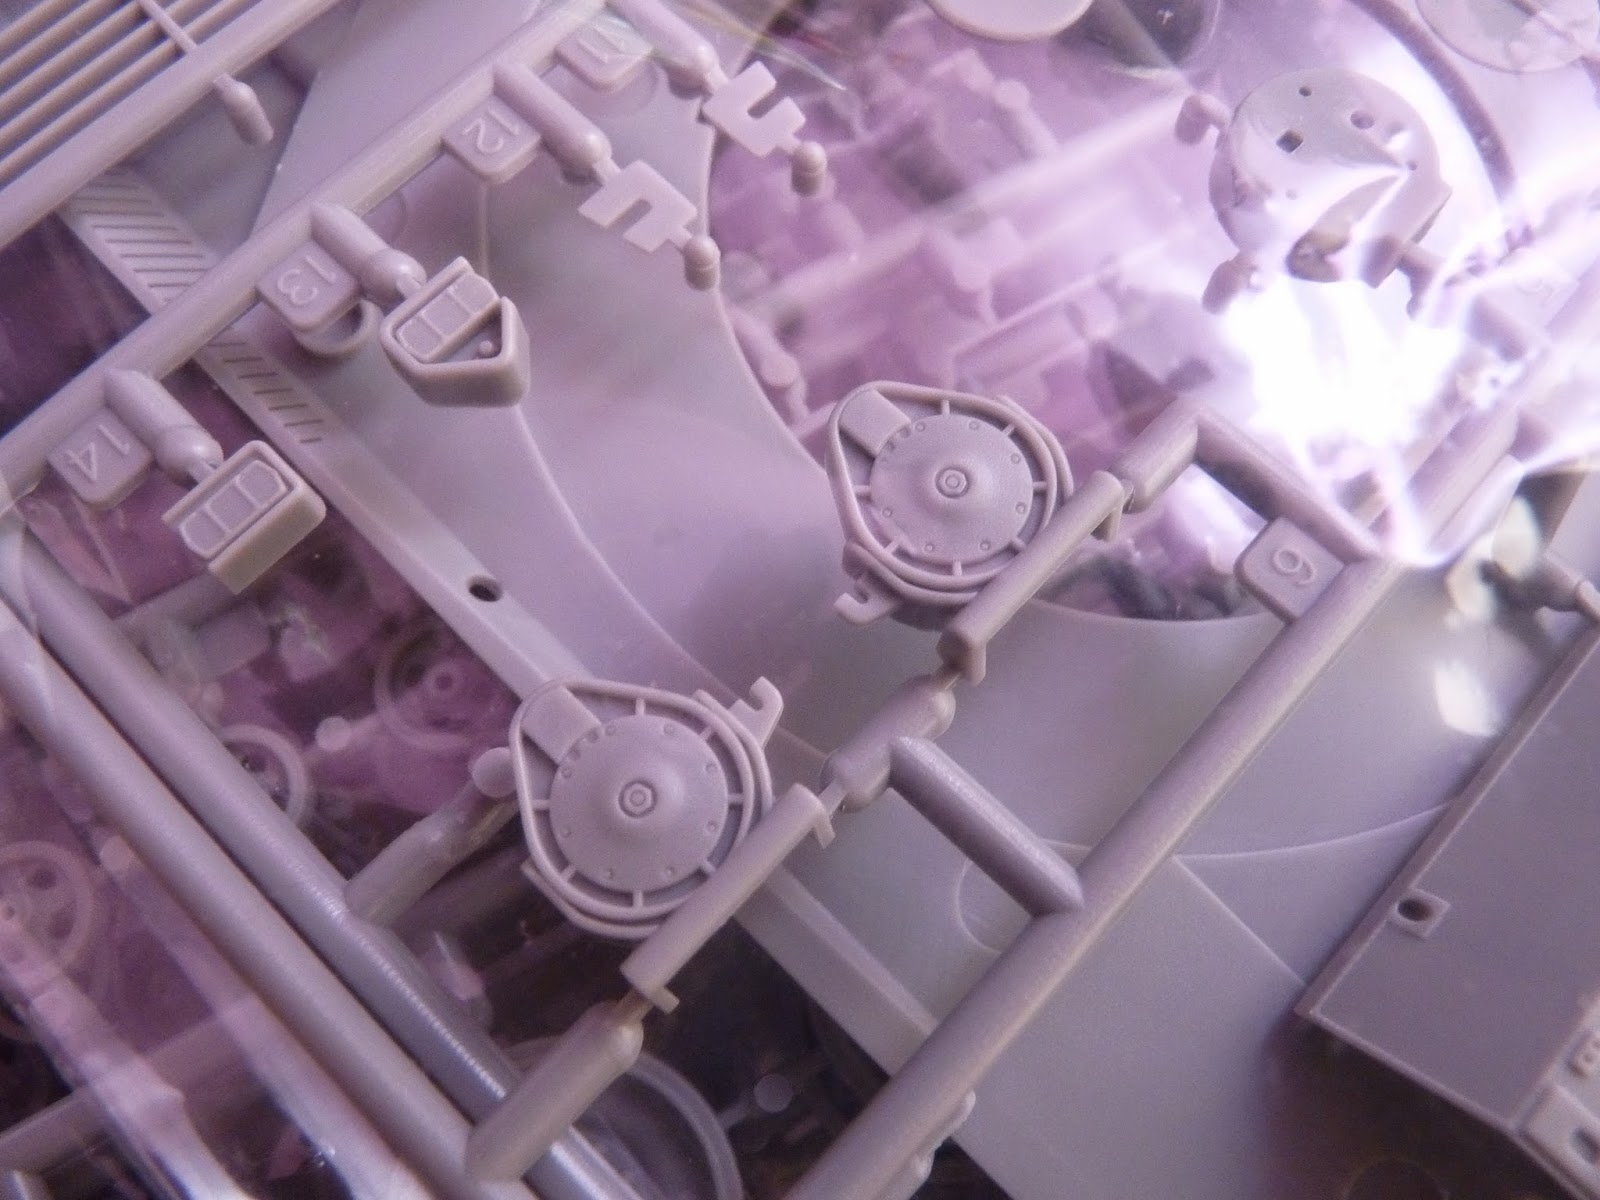
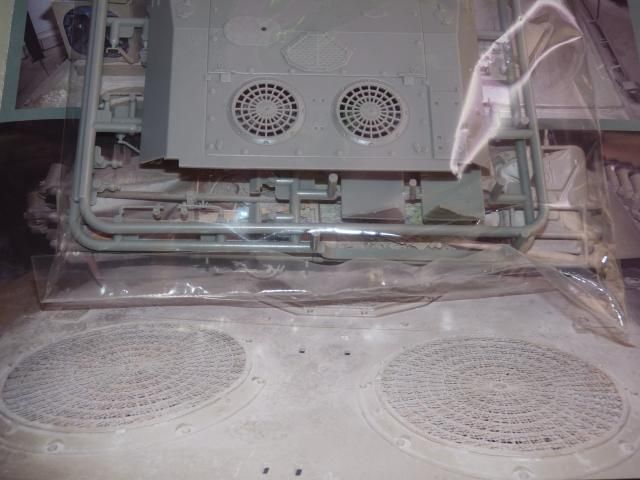
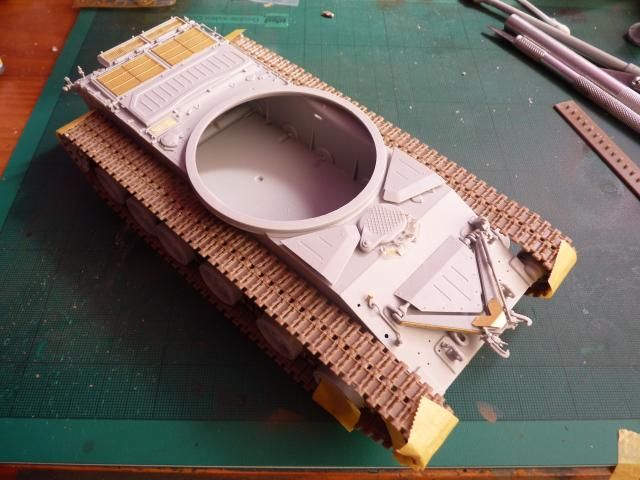
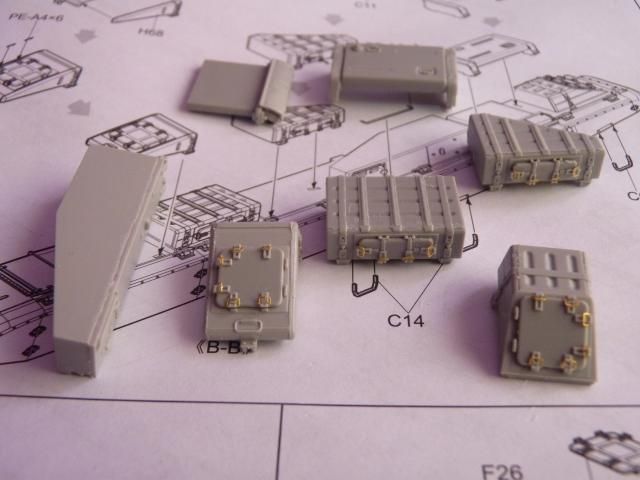
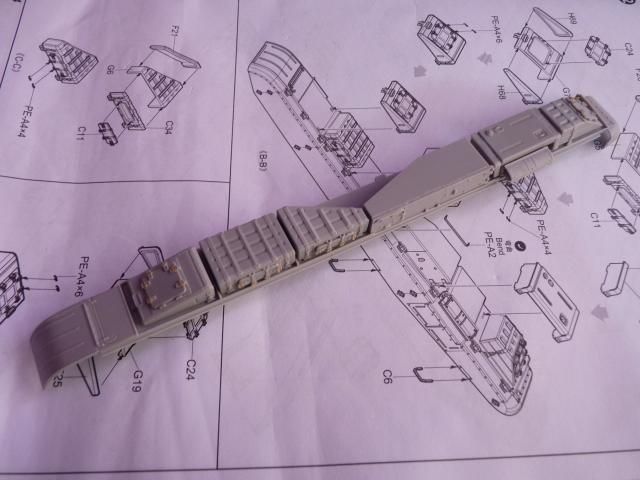
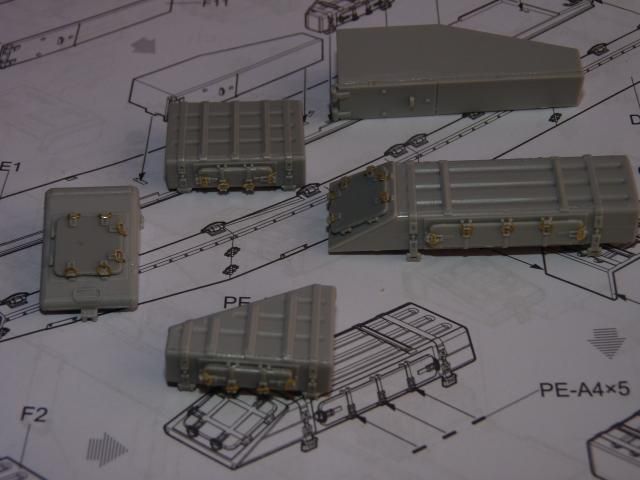
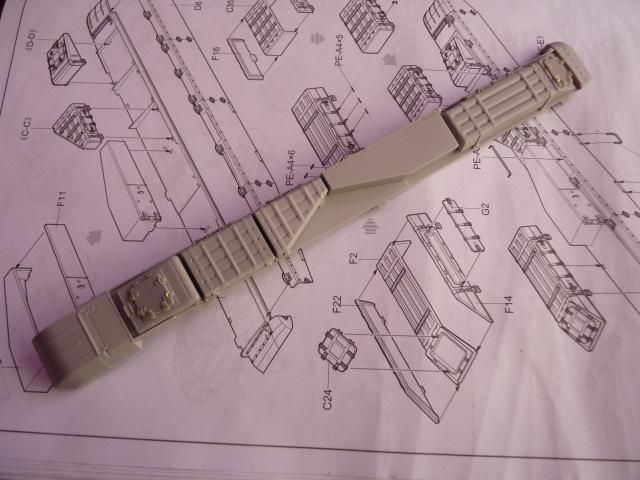
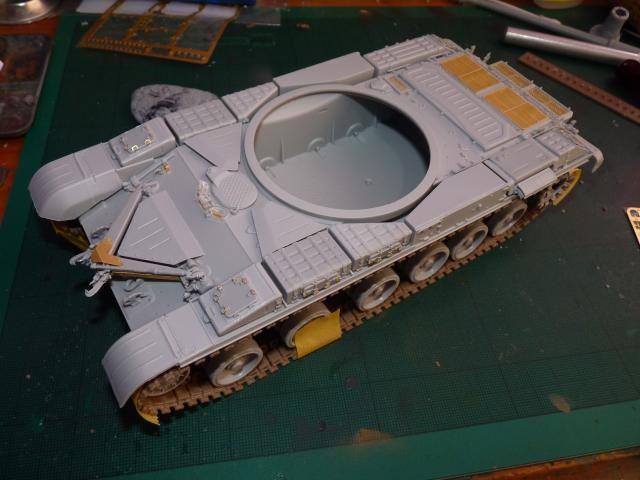
The kit is very well detailed and has excellent mouldings of the details. Very little cleanup is needed. A PE fret is included for the engine vent screens. The add on armor packages and slat armor are extremely well done and simply need to be removed from the sprue and glued in place. There are many smaller bits that add detail to the kit, such as triangular lift handles, that are often left off of other kits. The main gun looks great out of the box. There is minimal filling needed, and most of that is on the bottom of the barrel since the connection for the sleeve is at the top and means a bit of a visible seem is a good thing.
A little informations that need to be known with this kit is that even though this is named 99B, it's actually a 99A1. There is no 99B in the world, only 99A1 which is the currently latest version used by the PLA while the 99A2 is undergoing trails and development.
As much as the kit is great, I couldn't resist getting the Voyager Upgrade kits for it. It did help with quite a bit with how the kit looks but there are a lot of stuffs on the upgrade kit that I didn't put on. In hindsight, I do regret spending money to buy the Voyager kit as the kit is great by itself.
The entire kit was painted with Mr.Hobby Aqueous as it was the most closest and best colours for the PLA vehicles. I painted the ZTD-05 with the same paints and I was happy so I just used Mr. Hobby Aqueous.
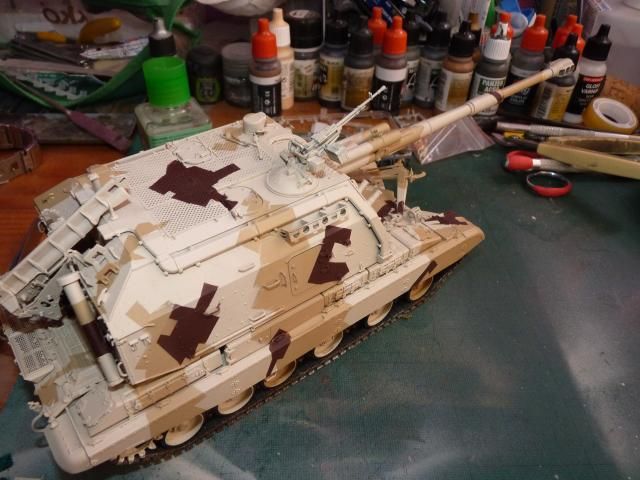
The scheme is obviously the digital camo from the 60th Anniversary Parade but the turret number is my girlfriend's birthday, July 13, as she insisted that from now on, all the vehicle numbers are to be put on in this. ( I'm pretty sure you guys are aware what I have to go through .. hehe ). I was going to build it absolutely weather free but I didn't like how it looks so I put on small amount of dust effects on the wheels, tracks and lower part of the hull to depict a vehicle that is going back to the garage/base by the end of parade.
Last time when I built my ZTD-05, I cut my own patterns and it resulted in crooked and uneven lines. So this time, I look around and found pre-made masks from J's Works. I jumped at the chance and bought it ASAP and using it makes me a happier man.


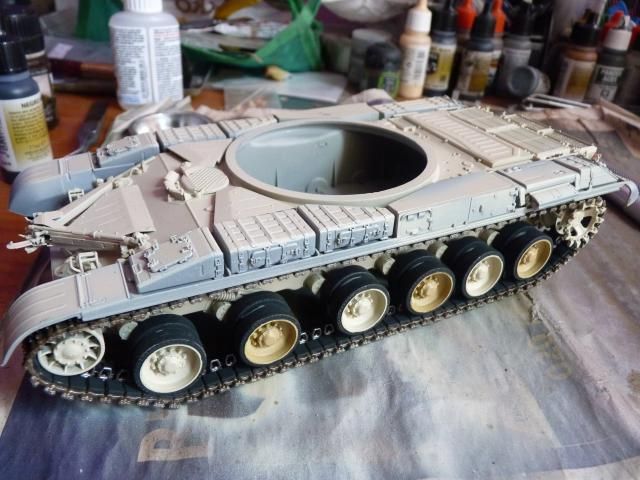
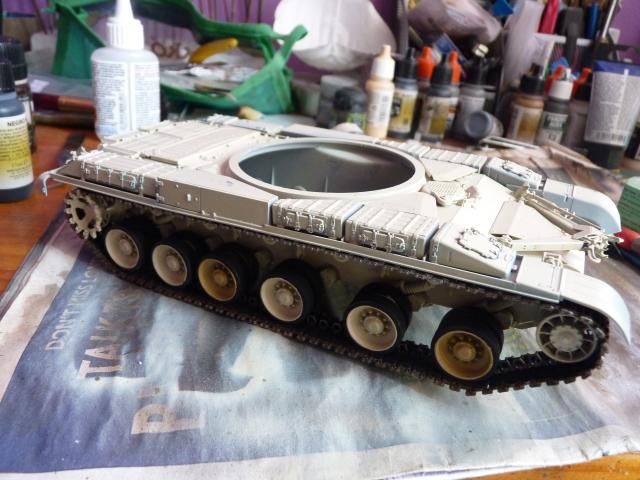
The running gears -


 And the lights -


 And as usual, my show case photos from various angles -


Well, that's all I can say about this. As you all know, my patience is my bane so the usual hiccups are met but nothing I can complain. I could have done a better jobs on colouring the periscopes, some of the P.E works and also on some of the over- and under-sprays but at least it is presentable. All in all, this was a very enjoyable build apart from those hiccups but still, I am more than proud to have this on my shelf.
Read more >>
I have here another kit that I have been working on for quite some time. With every new addition added to the log, this one get push further and further behind along with 2 other kits on the bench.. It was a struggling effort to finish this as I cannot resist the call of the new additions but I pulled through and finished it finally.
The kit is very well detailed and has excellent mouldings of the details. Very little cleanup is needed. A PE fret is included for the engine vent screens. The add on armor packages and slat armor are extremely well done and simply need to be removed from the sprue and glued in place. There are many smaller bits that add detail to the kit, such as triangular lift handles, that are often left off of other kits. The main gun looks great out of the box. There is minimal filling needed, and most of that is on the bottom of the barrel since the connection for the sleeve is at the top and means a bit of a visible seem is a good thing.
A little informations that need to be known with this kit is that even though this is named 99B, it's actually a 99A1. There is no 99B in the world, only 99A1 which is the currently latest version used by the PLA while the 99A2 is undergoing trails and development.
As much as the kit is great, I couldn't resist getting the Voyager Upgrade kits for it. It did help with quite a bit with how the kit looks but there are a lot of stuffs on the upgrade kit that I didn't put on. In hindsight, I do regret spending money to buy the Voyager kit as the kit is great by itself.
The entire kit was painted with Mr.Hobby Aqueous as it was the most closest and best colours for the PLA vehicles. I painted the ZTD-05 with the same paints and I was happy so I just used Mr. Hobby Aqueous.
The scheme is obviously the digital camo from the 60th Anniversary Parade but the turret number is my girlfriend's birthday, July 13, as she insisted that from now on, all the vehicle numbers are to be put on in this. ( I'm pretty sure you guys are aware what I have to go through .. hehe ). I was going to build it absolutely weather free but I didn't like how it looks so I put on small amount of dust effects on the wheels, tracks and lower part of the hull to depict a vehicle that is going back to the garage/base by the end of parade.
Last time when I built my ZTD-05, I cut my own patterns and it resulted in crooked and uneven lines. So this time, I look around and found pre-made masks from J's Works. I jumped at the chance and bought it ASAP and using it makes me a happier man.
Well, that's about as much I can sum up about the build.
I know it is not perfect but this is probably one of a very few kit that I am very happy with and is totally satisfied. I really loving how this came out.
It's time for the photos -
(If you think some are small, just click on them )
Some close ups of the sights -
And as usual from me, the Gary Wintin Shot -
Well, that's all I can say about this. As you all know, my patience is my bane so the usual hiccups are met but nothing I can complain. I could have done a better jobs on colouring the periscopes, some of the P.E works and also on some of the over- and under-sprays but at least it is presentable. All in all, this was a very enjoyable build apart from those hiccups but still, I am more than proud to have this on my shelf.
I couldn't keep building if not for my supporting friends and comrades. Thank you guys for always supporting me. Thank you dear readers for your patronage as well.
Until Next time.