

Hey guy. Sorry for the wait. Lets pick up where we left off from the first update.
As you recall, I was putting on the suspensions. I followed up the suspension assembly with the wheels on the arms -

The instruction calls for putting in the inner wheels first ( naturally ) so I went ahead with that.
This is what I get after I put on both layer of wheels. A word of advice if you are building this, make sure all the wheels are aligned. The suspension are kinda fiddly and tend to make the wheels go off-aligned.
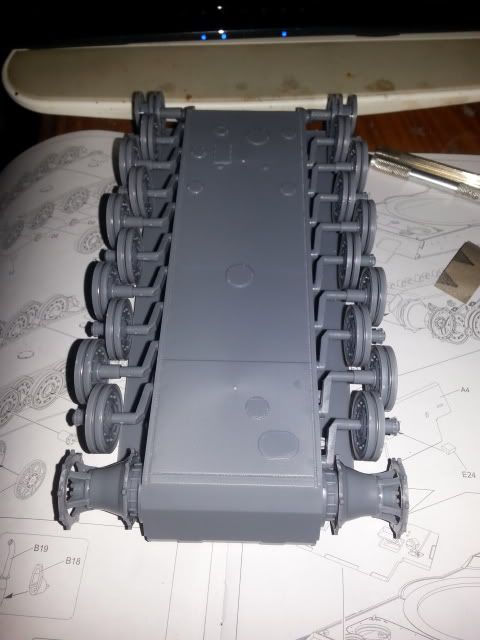
And this is what the suspension can do -
Be careful though as there are quite a lot of torsion stress and too much playing around will brake up the torsion bars. I almost broke one.
And as you can see from that photo, I put on the whole lower part together and applied some tamiya putty to rough up the surfaces. The Engine deck actually comes as a separate piece but the engineering behind it is quite good that gluing the deck on on the hull was just smooth and took only bare minutes.
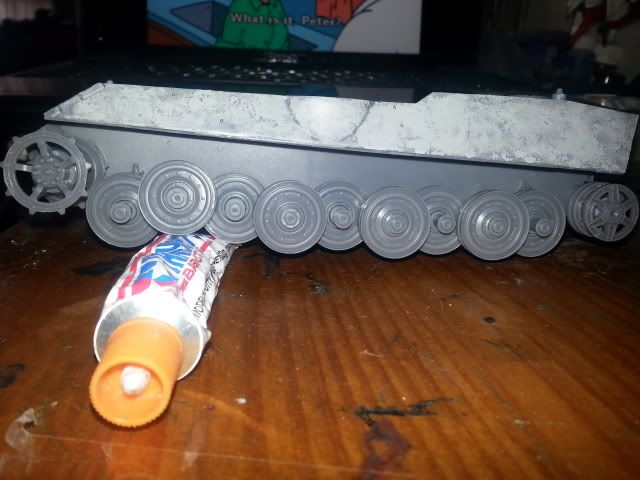
Here is how the whole lower part looks -
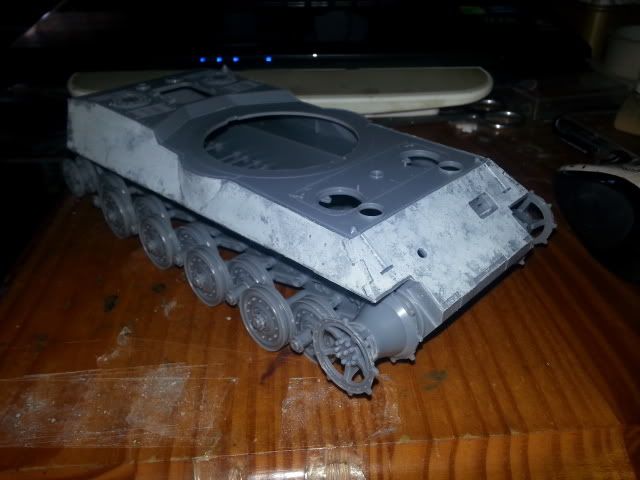
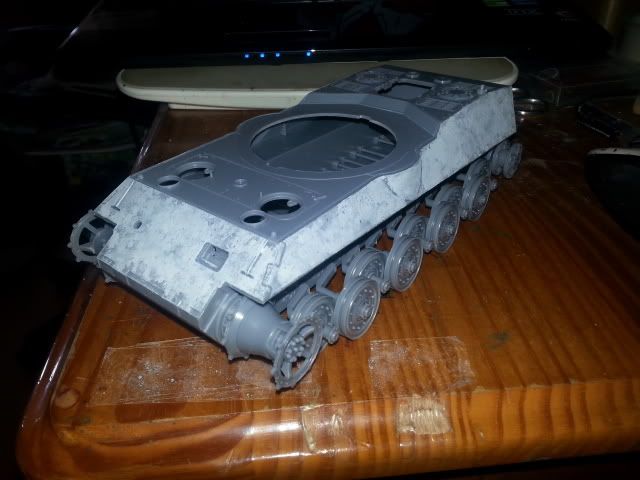
For some reason, they made the front armour slab a separate piece off the hull. Unfortunately, mine was a little bit wrapped and gluing it on was a little bit tricky for me. And again, as you can see, I put texture on the front and sides of the hull as some research lead me to conclude that late in the war, the german war industry was re-cycling the metals so the quality of the metal surfaces and won't be as smooth as the texture on the , say, tigers or KT.
Here is a comparison shot with the King Tiger if anybody is wondering how big this thing is -

I also rough up the turret considerably. The kit comes with well-made casting texture but these details are a little bit soft so I decided to put in more texture.
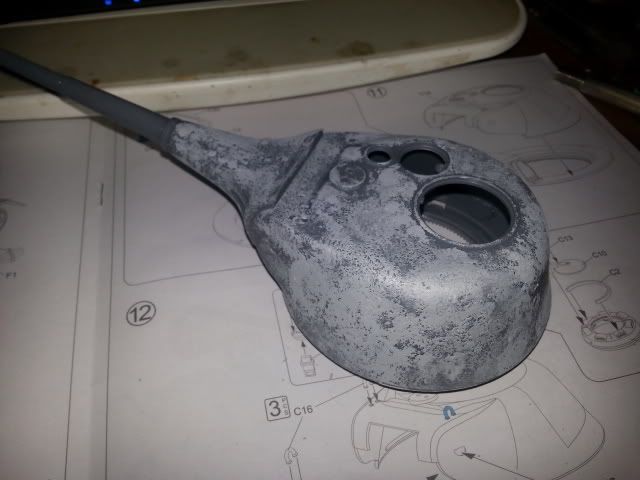
I decided to put on the things I need to put on the engine deck. The engine hatch, hooks, filters cups, PE mesh so on so forth -

I opted to used the far superior Voyager Etch rather than the use the kit supplied etch.
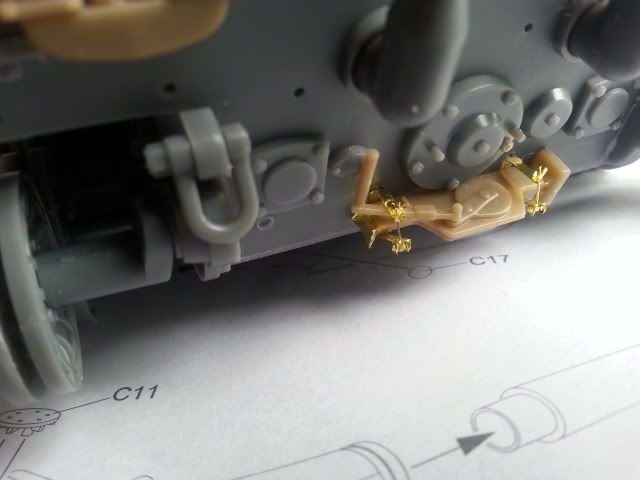
I put on the Exhaust as well and also managed ( with great difficulty ) to put on the jack rack and the jack.
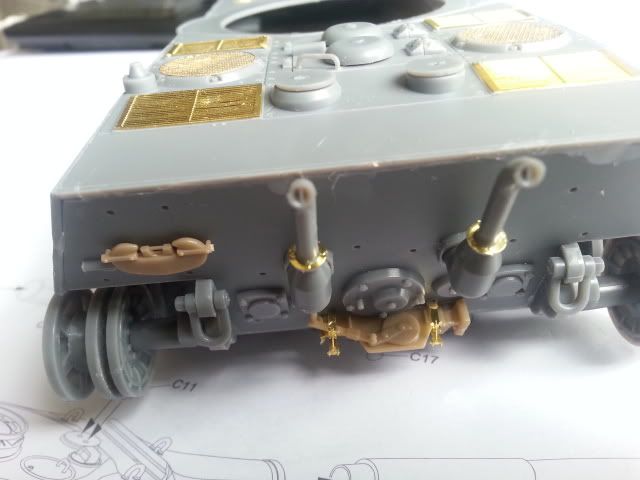
A bit more closer view of the jack ( I hate Voyager. So complicated. What could be done with one piece for Eduard takes like 3-4 pieces with Voyager)
I decided to deviate a bit and start making the tracks. Did I mention that tracks are workable? The tracks seems to be made by modelkasten ( a view some of the modellers who already build this commonly share but nothing solid ) and they are a bit delicated but function perfectly.
I only manged to put on a few yet. I have to put on 102 per side -

Well, that's it for this update. Hope you guys enjoy this. The usual, comments, feedback, suggestion and advices are welcomed.
Stay Tuned for more.
Oh, and here's the muse for this update. Throw Back Classics -
0 comments:
Post a Comment