Thursday, 28 November 2013

W.I.P Dragon 1/35 Nashorn - Part 3

Right... Time to update this -

Last time, I left off after putting on the small stuffs on the side wall of the super structure. 

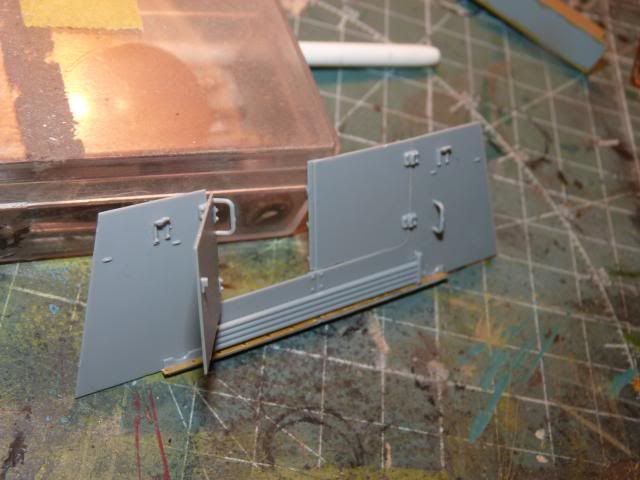
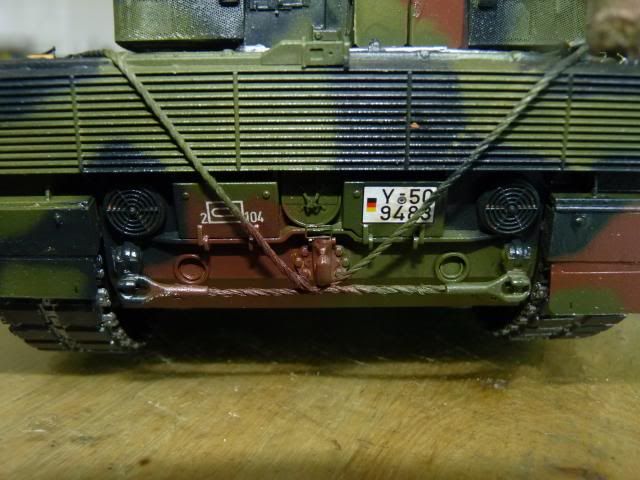
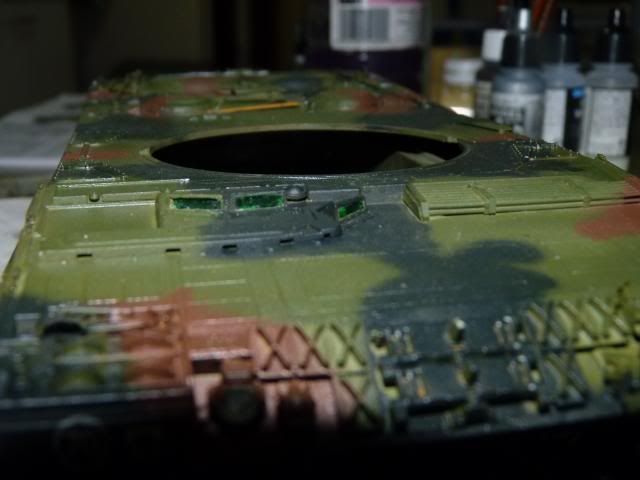
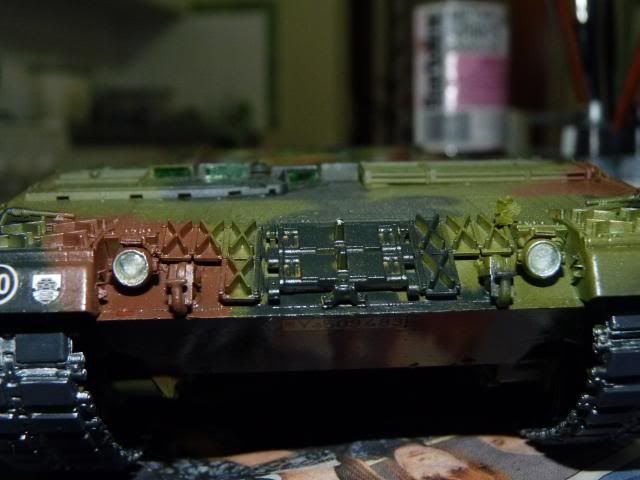
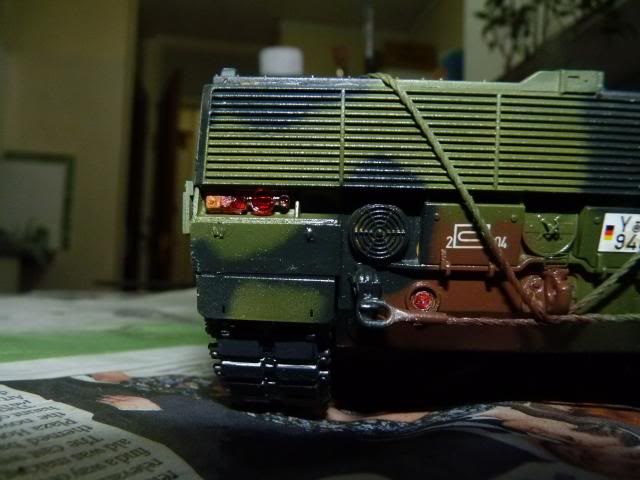
Now, it's time for the rear wall - 
Image

and this is the rear of the vehicle ( the outside wall of superstructure )
Image

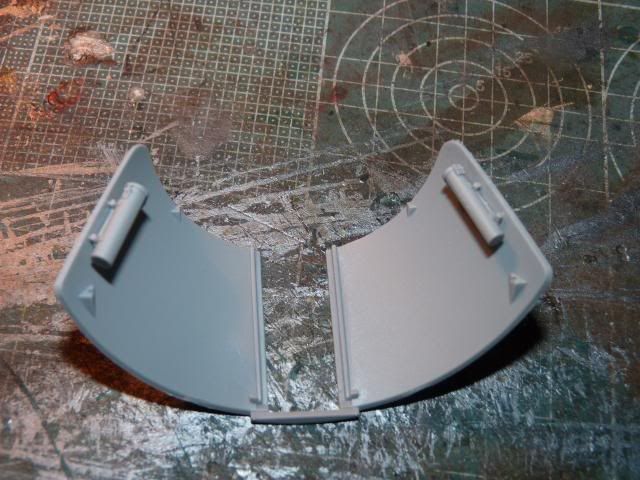
Finished the gun shield. I just had to put on those two little things ( what are those? ) -
Image

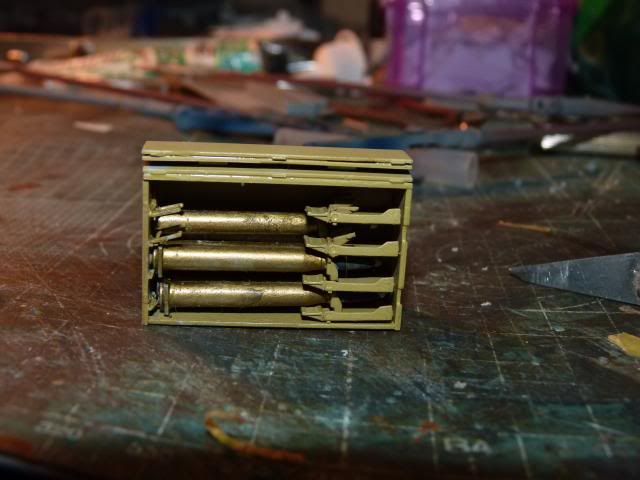
Finished one of the magazines -
Image

I had to modified them a little bit to have those little round holders on the empty rack folded down.
I realise that that paint jobs on these shells need a serious retouch which I will do so eventually. I just hope I do not forget about them later on.

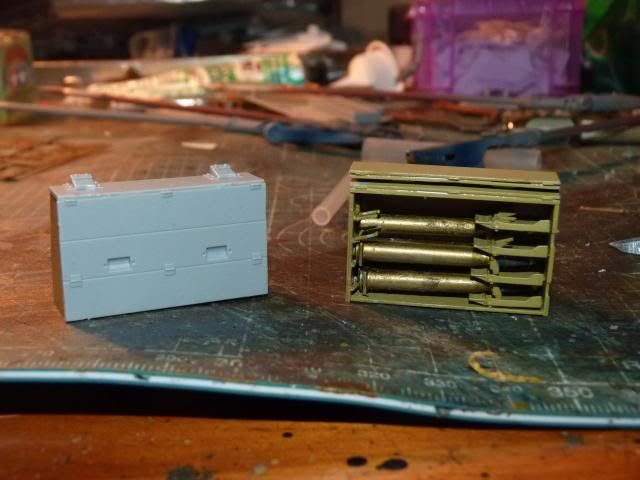
I will be showing one magazines open and one closed -
Image

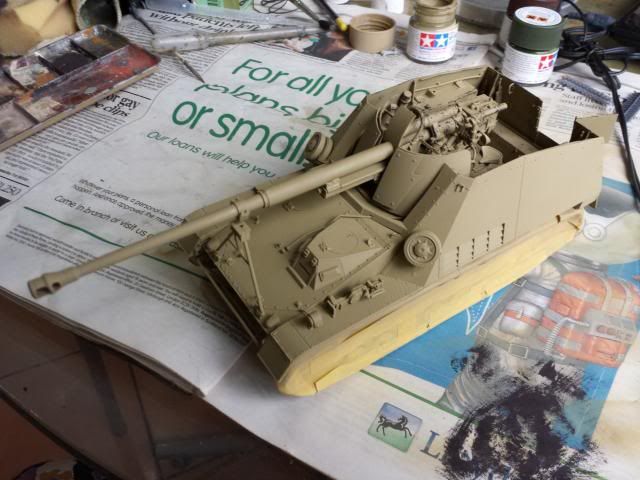
And this is how this baby is looking now -
Image

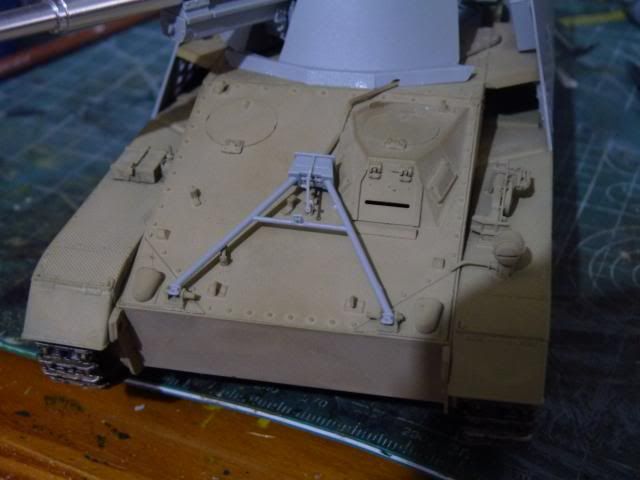
After that, I finished up the front glacis by adding on the remote-controlled gun-travel lock -
Image

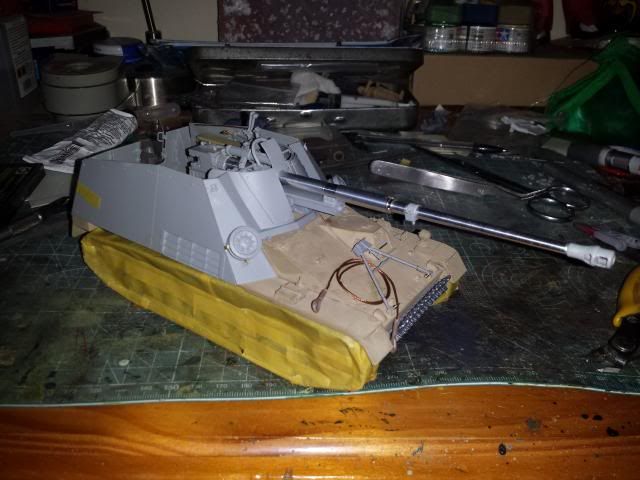
Followed that by closing the angled walls and by adding the extra spare wheels to show a '' initial-modified '' version -
Image
Also managed to find a spare tow cable to put on.

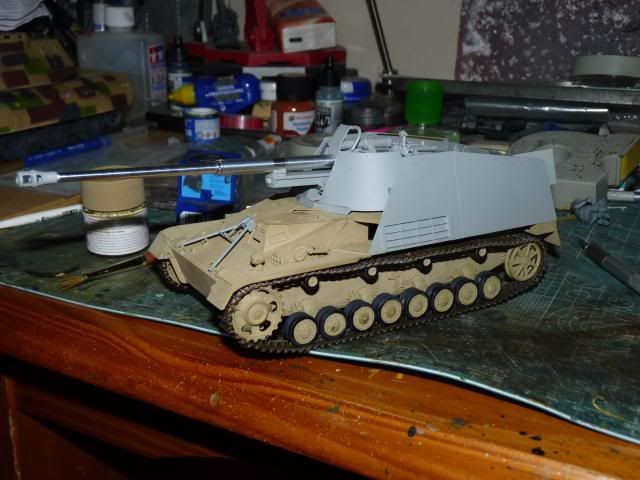
And with that finished, I put on the base coat -
I put on thin Tamiya dark yellow over a base of Buff+Deck Tan+Desert Yellow

Image

I will leave you guys with this. Till the next update

Read more >>

Monday, 25 November 2013

W.I.P Dragon 1/35 Nashorn - Part 2

Hey guys ... Got an update here ... 

Last time, I left off at the fenders so lets continue from that. 
I attached the fenders and put on the first base coat so that I can put on the Tracks ASAP -


After that, I painted the wheels, put up the tracks after that and painted them so that I can get it out of my way and concentrate on more stuffs -


After that, I started on the gun-
I honestly have no idea what this is called but this it the one that hold the barrel and goes into the cradle ( somebody please tell me what this is )


After that, the breech ( quite a lot of steps and parts just for that ) -

Followed up by the Muzzle brake -

the whole thing - 

I followed that up with a recoil cylinder -

Started building up the left armour-struts for the cradle -


and this is the right -


and this is the gun sight -


And if you are building this, be careful of this step on the left armour-strut 


D20 is supposed to go into the little hole where it says D-14 and D-14 is actually supposed to go into the the half-circle slot above D-7. I learned about the mistake the hard way so if you guys are building this, be careful of this.

And I moved on to some small bibs-and-bobs on the inside of the sides of the super-structure -


Also, if you are building this, be mindful of this step as well -

MA7 is a PE part and it's kinda situated very low and conflicting with M31 swing arc so you might want to move it up so that M31 can swing properly. But that's your choice.

And I will leave you guys at this step. I will keep you guys updated. 
Read more >>

Wednesday, 20 November 2013

W.I.P Dragon 1/35 Nashorn - Part 1

Hey guys..... 

The leopard2 is about 90% finish and I kinda run out of steam on that so that cat is shelved for a week or two until I can decide on which weathering effects I will go through with ... 

Hence, I have decided to work on my third dragon and second open-topped vehicle, beautiful vehicle known as the Nashorn.
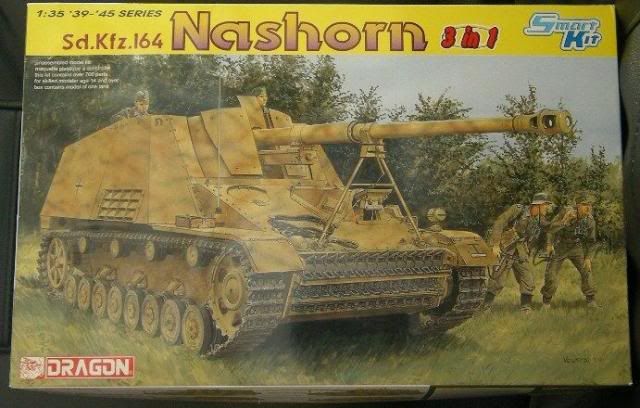
This is the kit -
Image

I would love to show the sprues but there are just so many in this case that it will become so long. But, I can tell you that this kit has - 1,103 parts (798 in grey styrene, 240 “Magic Track” links, 35 etched brass, 24 clear styrene, 2 springs, 2 coil springs, 1 length of wire, 1 turned aluminium gun barrel)
That really is a LOT of sprues. Most of them are not even for this kit. Usual dragon .. you know.. anyway 
I started on the shock absorbers -


and the bogies -


Which was relatively easy, compared with my Dicker Max.
Followed that up with the first part of the front glacis plate; some kind of wire hub for the lights -

And then, there's the second part which is the visors and the hatch. The visors can be made workable but I looked at the instructions and having no intention of showing any interior nor to get frustrated over putting together some complicated stuffs , I just skipped all the steps and just closed the driver visors shut. 


now if you are also building this kit - be aware of the following - 

The four little hinges that I circled on the manual is not labelled and I had to spend a good deal of time trying to find them. They are actually on the F sprues. So if you are building this, be on the look out for this.
After that, I put on the rear plate on the hull tub -


and I glued on the glacis. A bit of patient and filling is required -


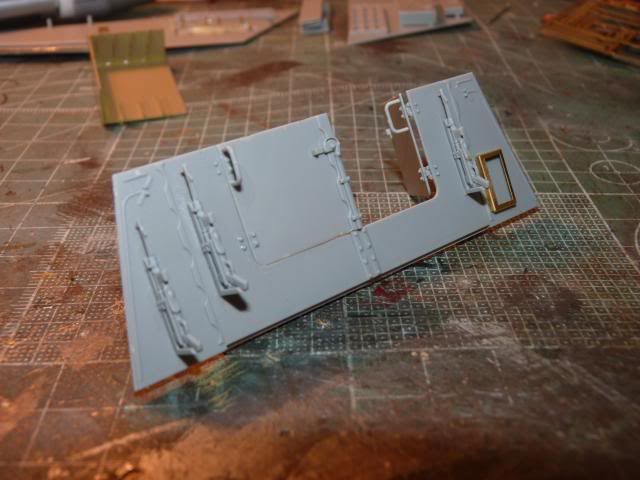
After that, I went back to the back plate again and put on the bibs and bobs as instructed. Naturally, I left the muffler off for now -

After that, I decided to put on the exhaust pipes that leads to the muffler. The kit is a 3-in-1 comprising of initial, initial-modified and early. I went for the initial-modified and put on the pipes on both side like so - 


As you can I have also put on the wheels and idler.

I have also attached the little box that is associated with the initial-modified version which also have the mud-flap on it. Too bad I don't have any brass sheet lying around. I couldn't damage it as it was plastic. ''sob '' 
You can also see the two ends of the exhaust pipes which will in turn go into the muffler later on -

After that, I finished up the front fenders. Much to my surprise, that was all there is on the front fenders-

Alright folks, I will leave this here for now. 
I will keep you updated.

Until the next one.
Read more >>

Monday, 18 November 2013

Final update from Monoeye Publishing

Hey gunpla enthusiasts.

I have here a kind of final update from Moneye Publishing.

Just yesterday, Derick has just confirmed with me the book will finally be out on the 30th of November. It will be in a e-book format and will be sold on Amazon.

There will be a '' Print on Demand '' service for those who has to have the actual paper version as well. I will update you with the link when it finally come out.

Only a week or two left guys. I would like to thank you all for hanging in there with Monoeye Publishing all throughout this project.

Until the actual release of the book, here's a sample page that Derick has sent me -


I will update you with the link when it finally comes out.
In the mean time, have a good time modelling.......
Read more >>

Thursday, 14 November 2013

W.I.P Tamiya Leopard 2 A6 - Part 5

Alright people... I have some updates for you all - 

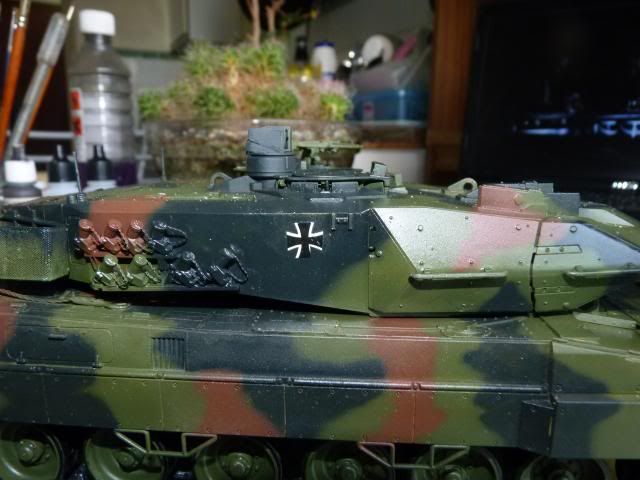
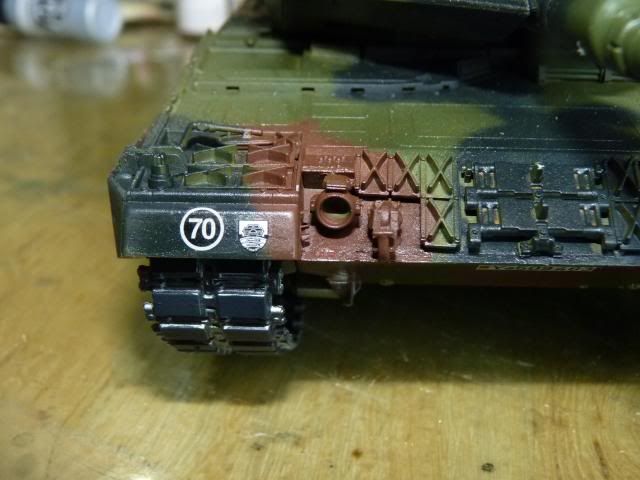
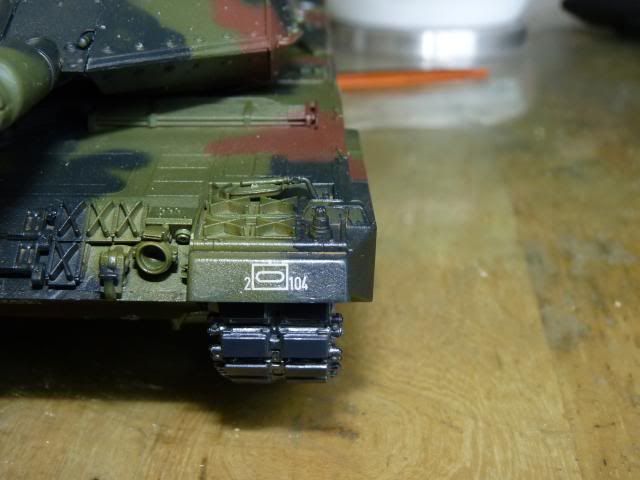
The first thing I did was putting on the decals -
Image

Image

Image

Image

Image

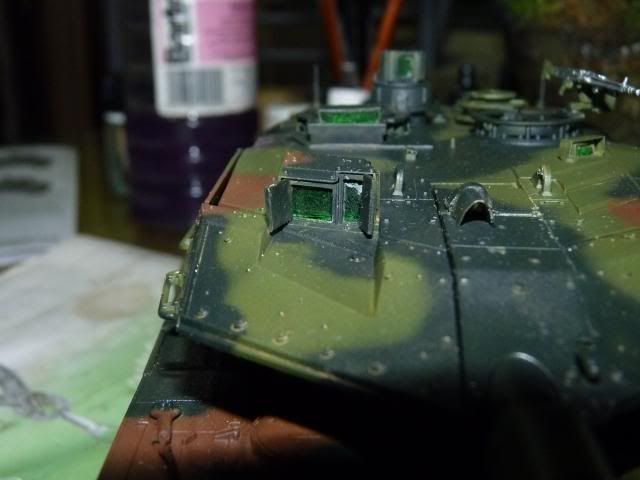
And I followed that up with the optics and lights -

Driver sights
Image

Front lights 
Image

Rear lights 
Image

Gunner sight
Image

Commander periscopes and sight 
Image

Now what comes afterwards is something that I have never done before - foliage Camouflage

The first thing I did was a camo net with lots of leaves on it. 

Image

The net was bandaged soaked in thinned down ''Field Green '' to ease painting and the leaves are Parsley. I thought of using coriander but I couldn't take the smell LOL. The net was wrapped and glued on with science bond glue as it is better to use then super glue. 

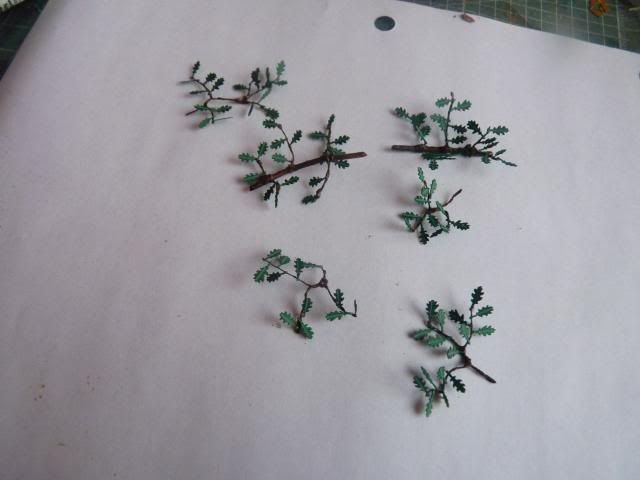
And I ordered some leaves from Plus models and made myself some branches from wires, painted them in brown and I got these - 

Image

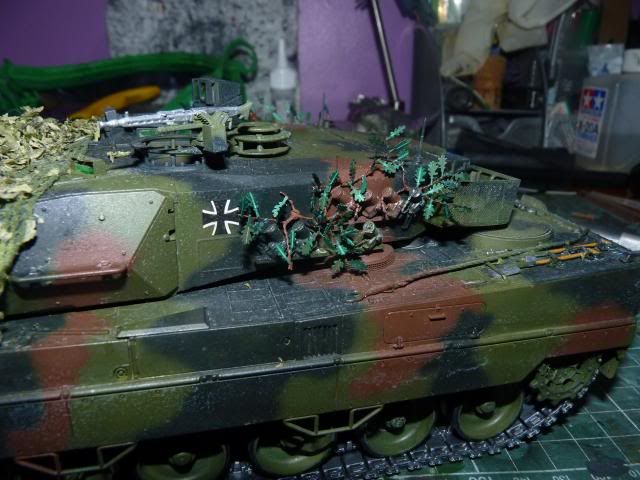
Which will go on the model like so -
Image

Image

I noticed the Clear varnish I put on have misted a bit. Probably the cold, windy weather must have affected it. Doesn't matter, it will be gone after weathering so I don't really mind. 
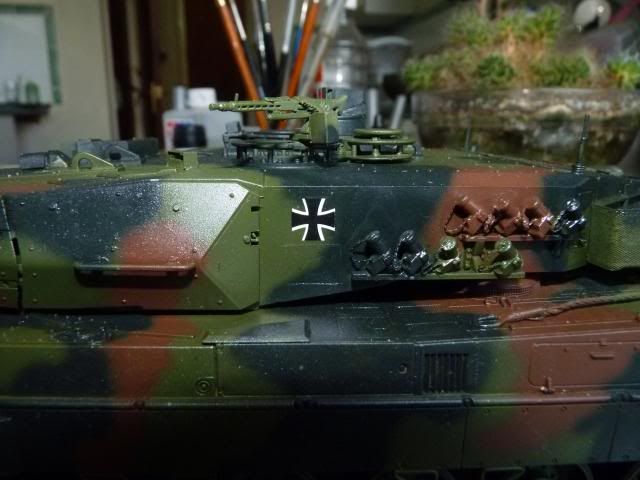
Starting from here, I will be working on with a little artistic license as to how the foliage and camouflage are placed. 

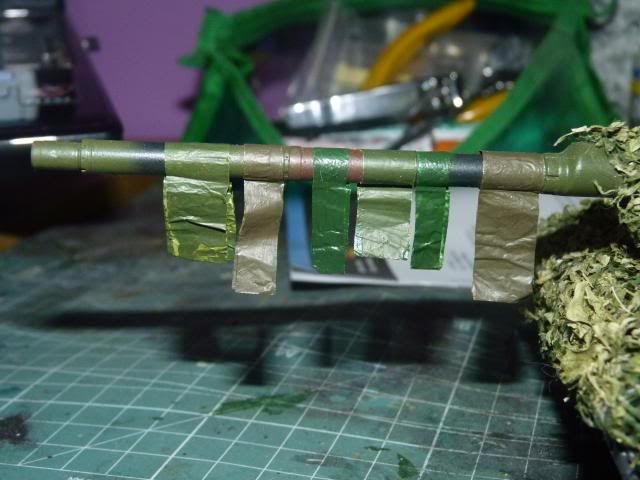
I have seen those tanks draped with some kind of tape and fabric on top of the camouflages and also on the barrel so I decided to try putting these on -
Image

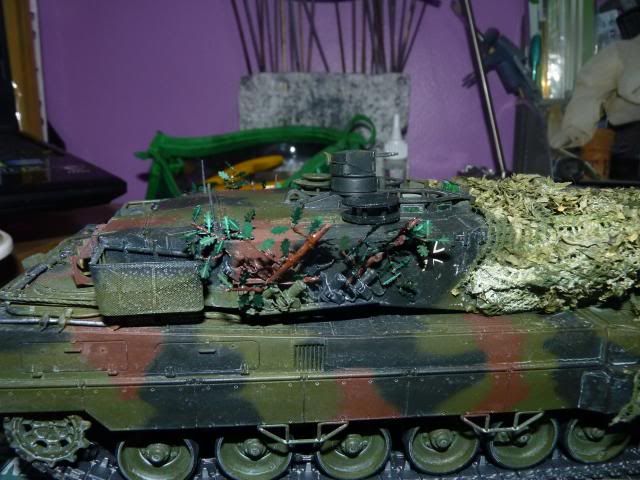
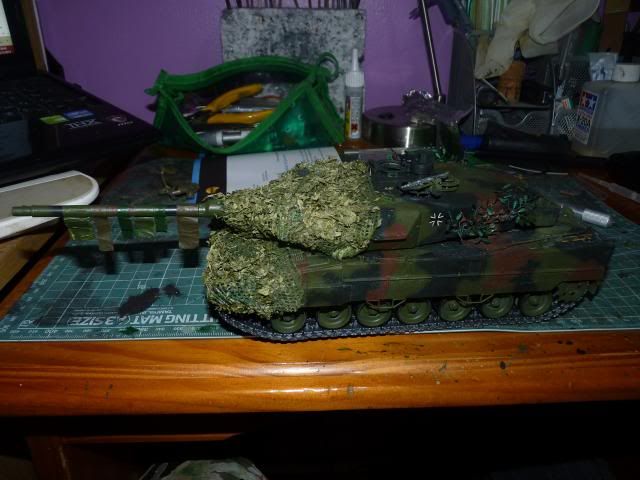
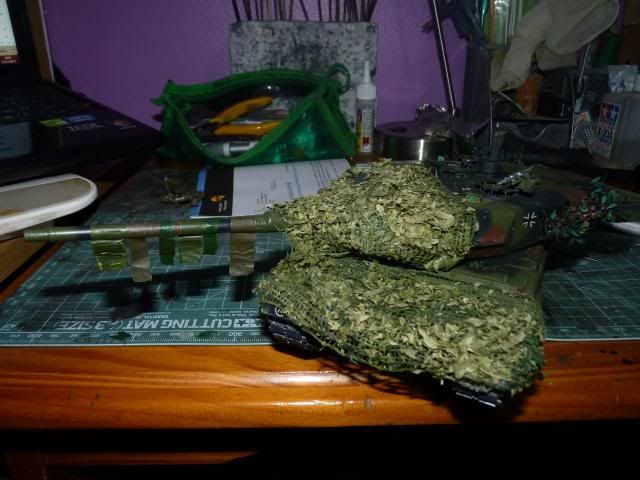
so combining all of these, this is how my Leo is looking now -
Image

Image

Image

I wanted to try out something that is new for me. How that didn't came out very bad.

Read more >>