

Right guys - time to update this;
Last time, I stopped after I put on the first base coat so let's carry on after that.
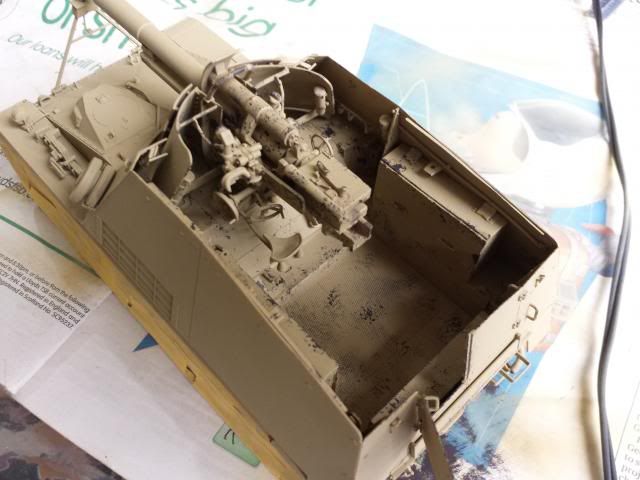
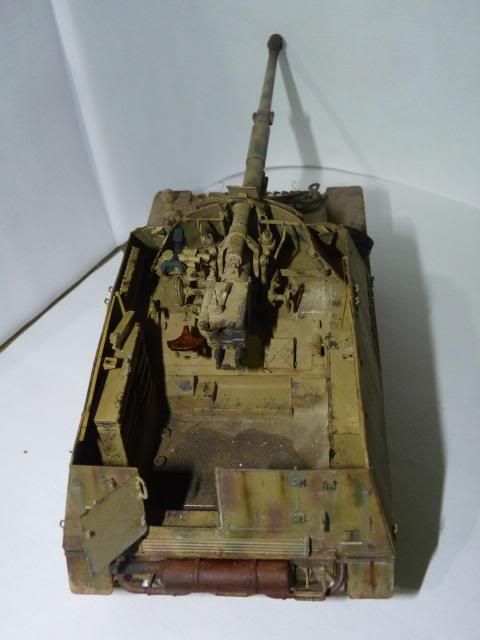
After putting on the base coat, I was bored that day so I decided to do something fun, which is chipping and the only place I can chip before putting on the camo scheme is the interior so I went ahead and chipped the entire interior-
and the gun -
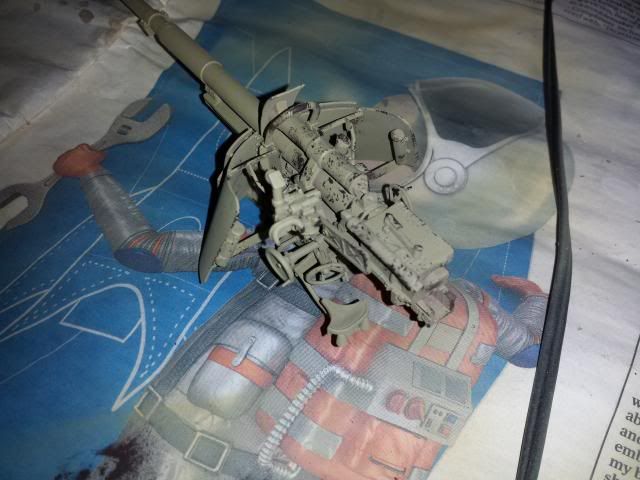
Not exactly a first class work but I ain't complaining ......
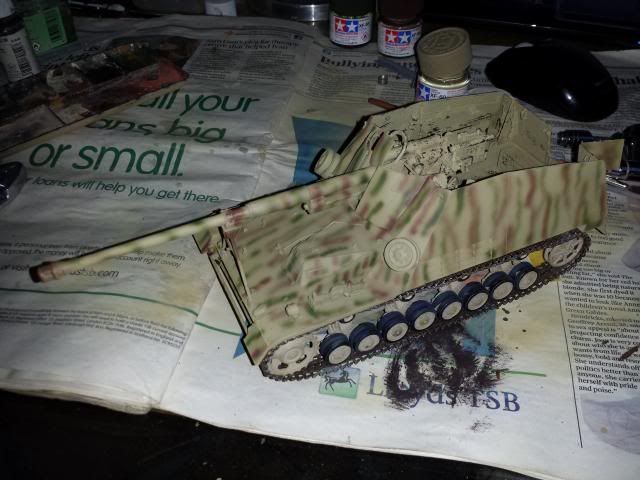
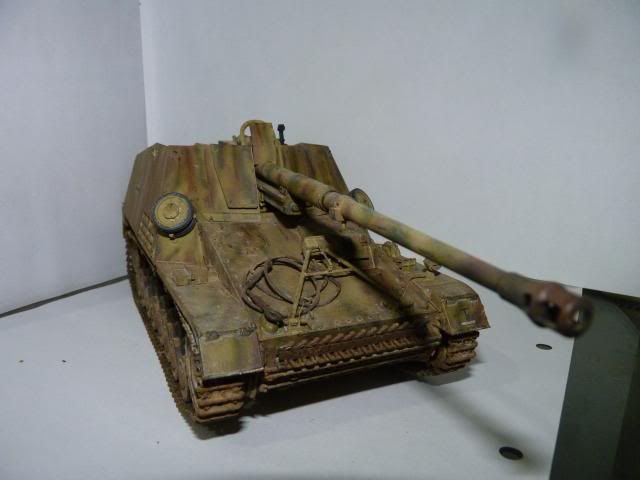
After that, I put on the camo scheme. I had to spend a good amount of time to look for it but it was finally my friend who suggested to do this scheme and I am very thankful for that as it looks great and kinda stand out from what I normally do-
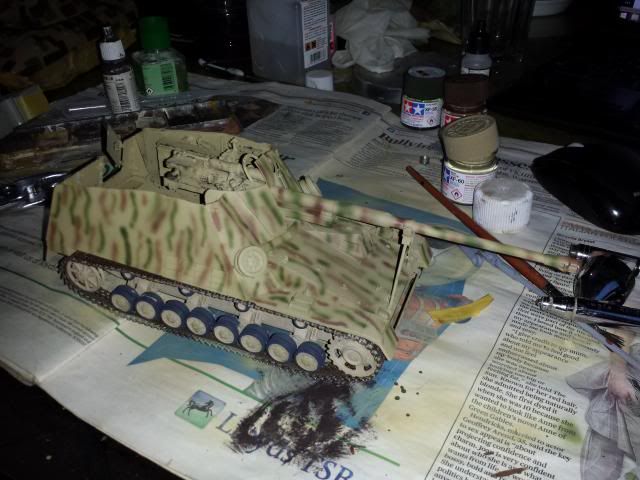
( squiggly line ... squiggly line ... remind me of Stewie )
LOOOL
Anyway... after that comes the decals - ( forgive the highly glossed surface )
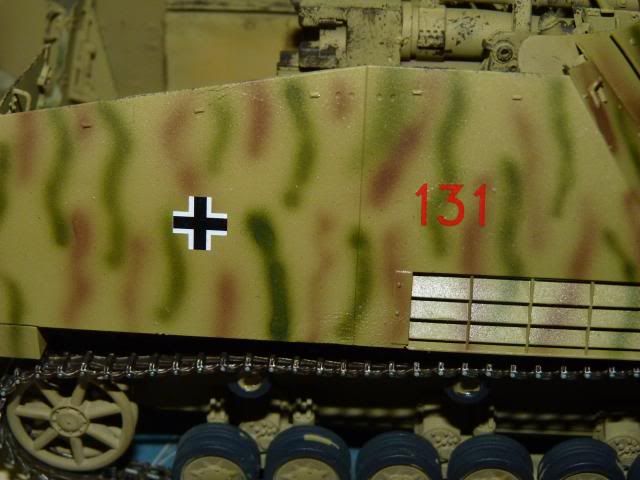
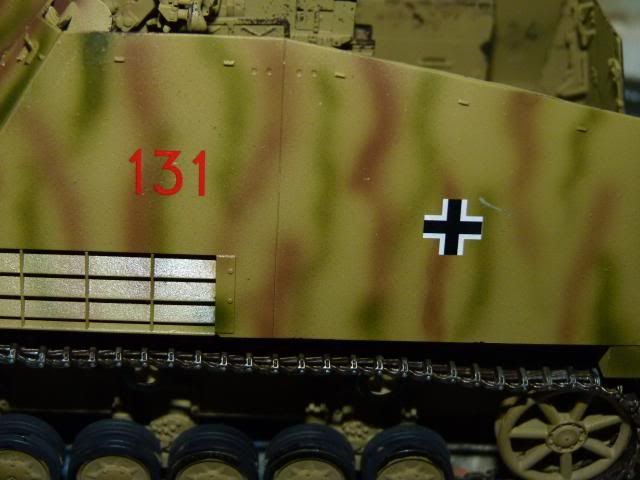

I followed that with some streakings -
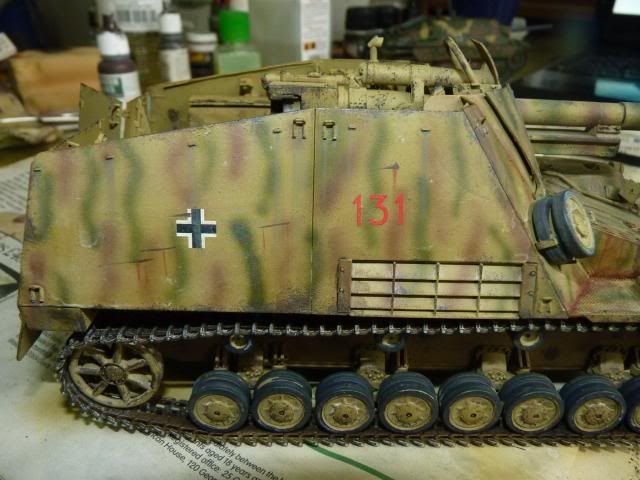

You can also see some small scratches on the side of the super structure.
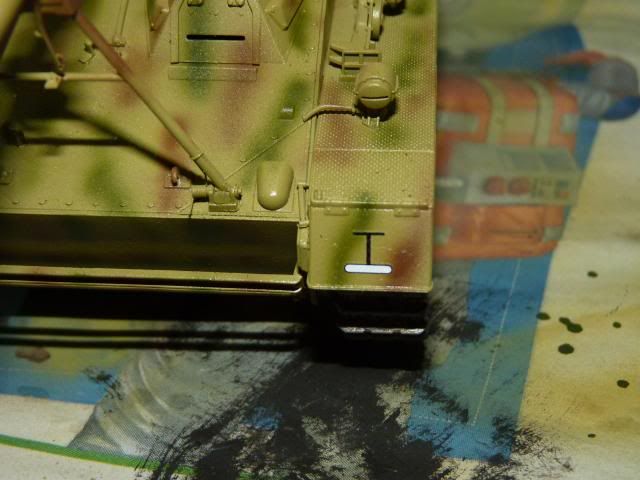
I looked around the model and I saw that little area there just perfect for putting in some rust from pooled water so I went ahead and did that along with some streakings and various chippings as well -
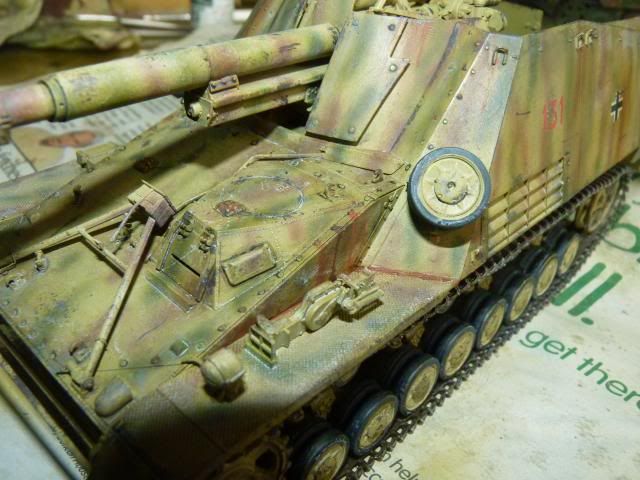
I noticed my Matt Varnish become a little frosted which will be wiped away with some thinner later on.
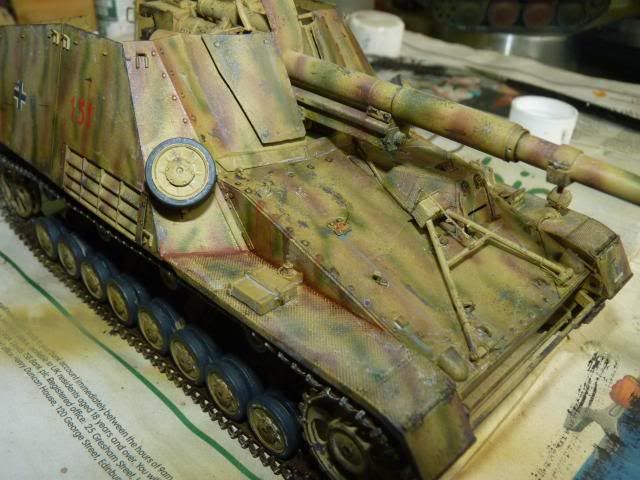
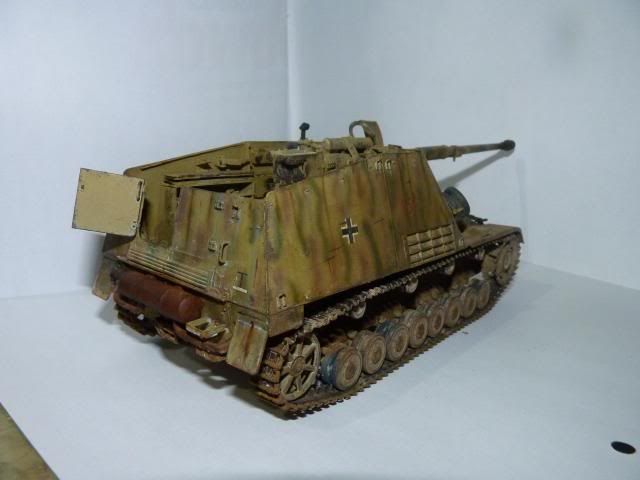
Here is the rear. I also found a rust-trap so I put some rusts in there as well -

Next is the muffler.
Note - If you guys are building this, be very very careful with the muffler as the instruction was VERY misleading and I put in the wrong way and it didn't fit so I have to take the darn things apart ( AFTER it as been painted and rusted ), put the little attachment point the other way around from the instruction and spend another 1 hour painting and rusting it. Be sure to dry fit that darn thing before you guys glue it.

I noticed it's a little bit red ( probably because of the burnt serpia ) so I darkened it a bit more -

Now it's the time to get dirty ( literally ) with pigments -
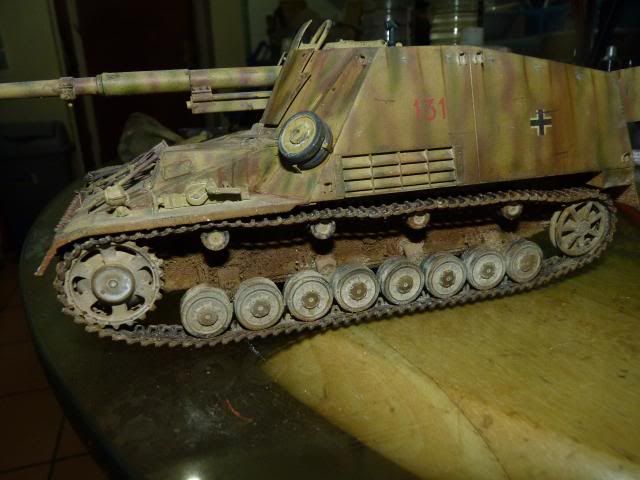
I noticed the colors on the 2 wheels are different. I pondered for a bit should I fixed it but I like it that way so I'm gonna be keeping it like this.
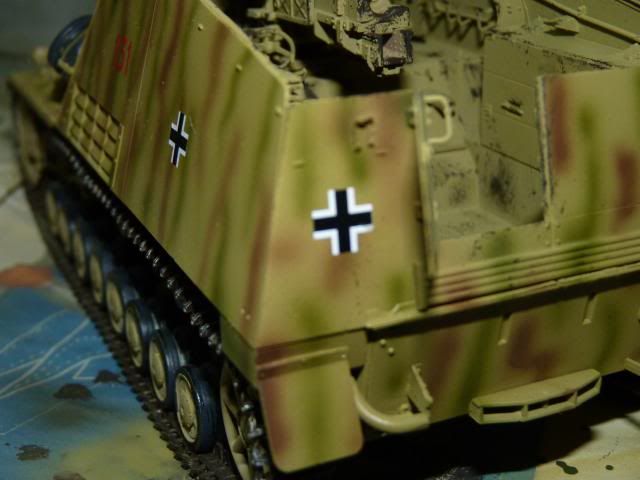
And here's how the might rhino look after all the weathering was done -


( I took the pic while waiting for the wash to dry so yeah )
Well, that's it for now. Whew, this was a rather long update. Next will be the crew ( which I am not looking forward to >_< ) ...
Until next time
Last time, I stopped after I put on the first base coat so let's carry on after that.
After putting on the base coat, I was bored that day so I decided to do something fun, which is chipping and the only place I can chip before putting on the camo scheme is the interior so I went ahead and chipped the entire interior-
and the gun -
Not exactly a first class work but I ain't complaining ......
After that, I put on the camo scheme. I had to spend a good amount of time to look for it but it was finally my friend who suggested to do this scheme and I am very thankful for that as it looks great and kinda stand out from what I normally do-
( squiggly line ... squiggly line ... remind me of Stewie )
LOOOL
Anyway... after that comes the decals - ( forgive the highly glossed surface )
I followed that with some streakings -
You can also see some small scratches on the side of the super structure.
I looked around the model and I saw that little area there just perfect for putting in some rust from pooled water so I went ahead and did that along with some streakings and various chippings as well -
I noticed my Matt Varnish become a little frosted which will be wiped away with some thinner later on.
Here is the rear. I also found a rust-trap so I put some rusts in there as well -
Next is the muffler.
Note - If you guys are building this, be very very careful with the muffler as the instruction was VERY misleading and I put in the wrong way and it didn't fit so I have to take the darn things apart ( AFTER it as been painted and rusted ), put the little attachment point the other way around from the instruction and spend another 1 hour painting and rusting it. Be sure to dry fit that darn thing before you guys glue it.
I noticed it's a little bit red ( probably because of the burnt serpia ) so I darkened it a bit more -
Now it's the time to get dirty ( literally ) with pigments -
I noticed the colors on the 2 wheels are different. I pondered for a bit should I fixed it but I like it that way so I'm gonna be keeping it like this.
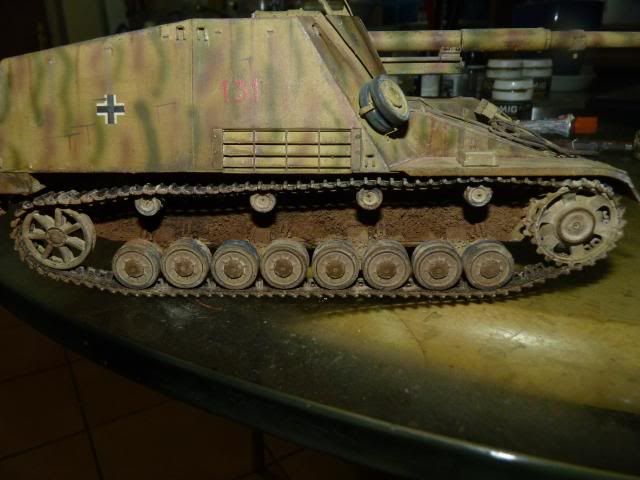
And here's how the might rhino look after all the weathering was done -
( I took the pic while waiting for the wash to dry so yeah )
Well, that's it for now. Whew, this was a rather long update. Next will be the crew ( which I am not looking forward to >_< ) ...
Until next time
0 comments:
Post a Comment