On to the turret -
I glued the turret floor, roof and the back wall together -
I put up the Mantlet after that; it's pretty well done and gun elevation is very stable and controlled. Love it.

Coming up next is the gun barrel. I glued two halves of the lower half of the barrel, cut off the bag thingy ( for the life of me, I can't remember what is is called ) from the kit and glued on the resin piece. It looks a lot better and more defined-
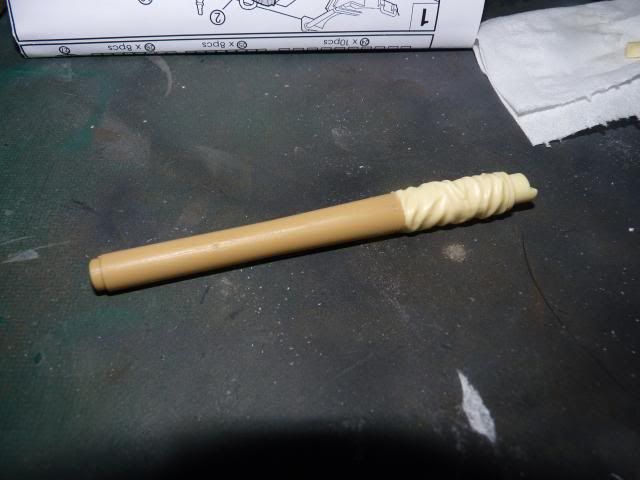
after that, finished up the barrel -

The great size of the barrel can be appreciated here.. love those big guns
After that, I have to put on the floor of the gun mantlet on top of the big gaping hole on the turret floor -
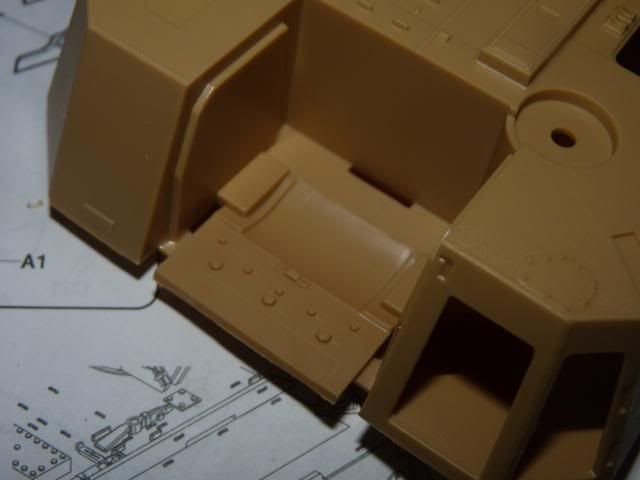
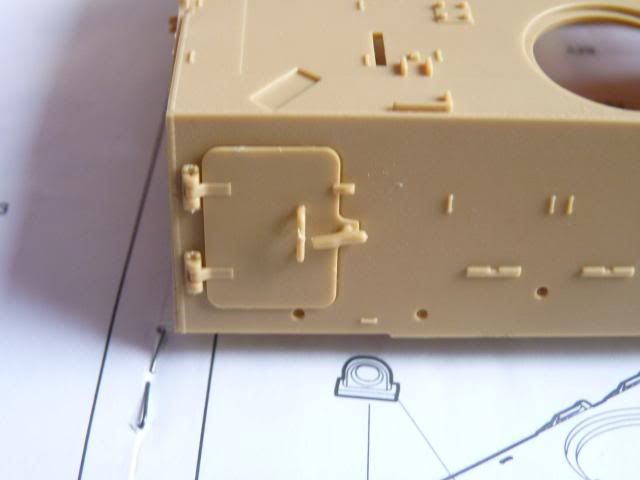
I followed that by putting on all the various doors on the sides of the turret -
Started with two on the rear of the turret -

And the remaining doors on the front left side of the turret -
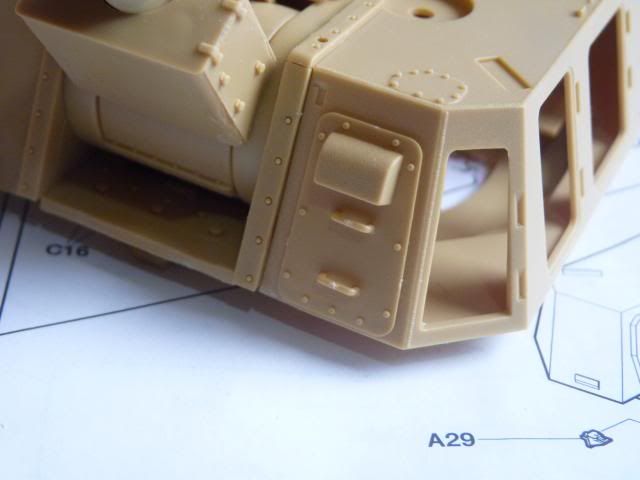
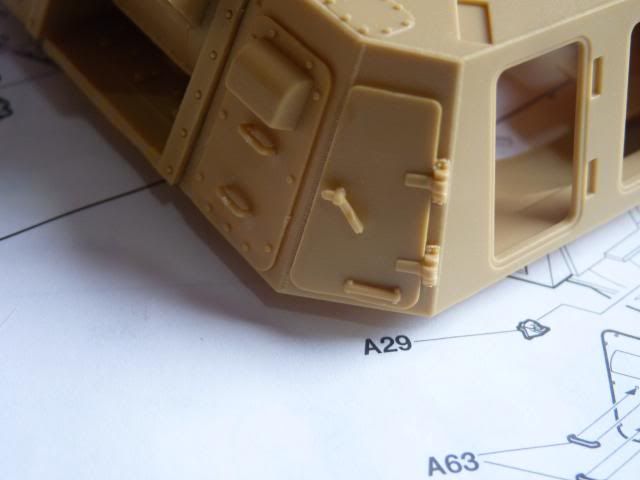

The small details are a little bit soft but looks pretty presentable.
After that, I moved back to the front glacis plate. I put on all the hatches doors and some handles and lock -
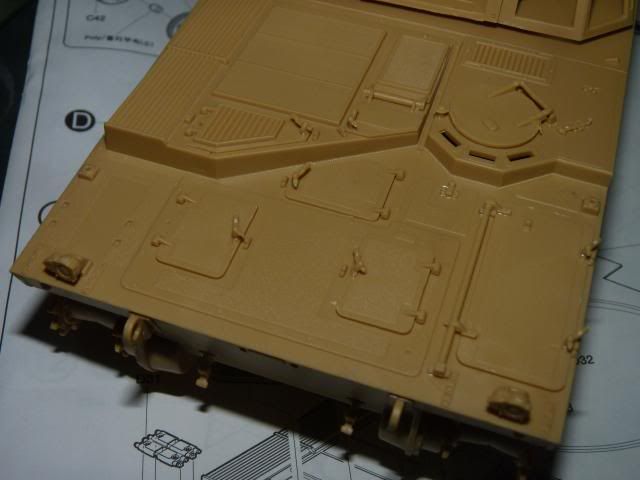
Put on the vision blocks for the driver. The blocks are provided with their covers closed. I could modify it into showing the covers opened but I couldn't be bothered.

After that, I put on the photo etch for the engine grilles -
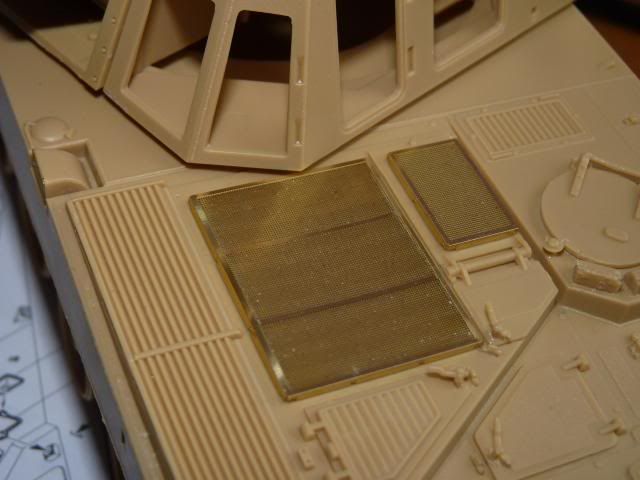
and a exhaust cover -
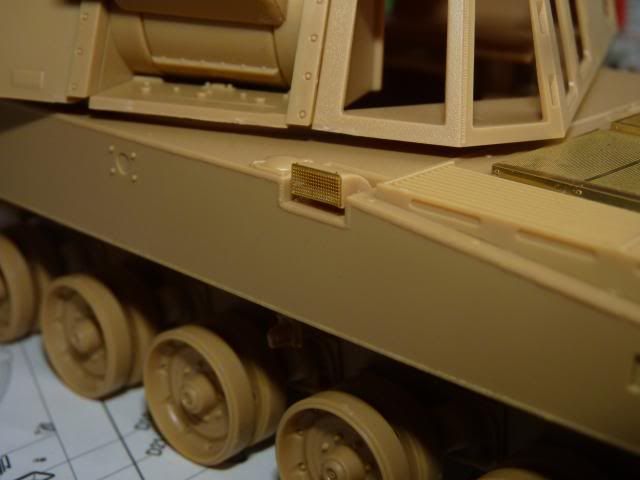
and put on the head lights -
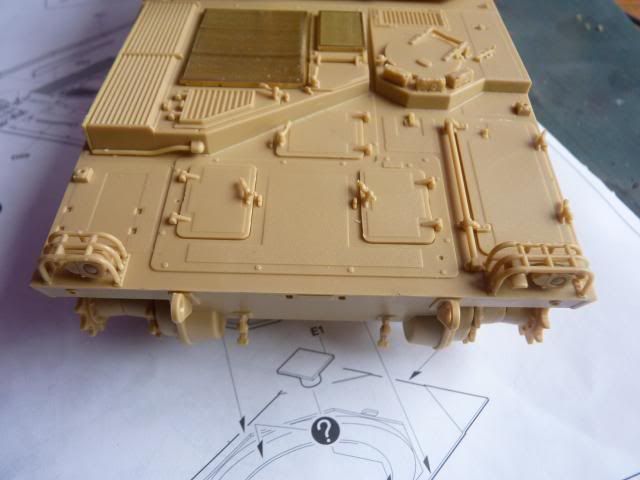
Doing pretty fine so far, haven't met with that much problem yet and enjoying ever bit of this.
Wel, that's it for now... until the next update....
Thank you for looking...

Coming up next is the gun barrel. I glued two halves of the lower half of the barrel, cut off the bag thingy ( for the life of me, I can't remember what is is called ) from the kit and glued on the resin piece. It looks a lot better and more defined-

after that, finished up the barrel -

The great size of the barrel can be appreciated here.. love those big guns
After that, I have to put on the floor of the gun mantlet on top of the big gaping hole on the turret floor -

I followed that by putting on all the various doors on the sides of the turret -
Started with two on the rear of the turret -


And the remaining doors on the front left side of the turret -


The small details are a little bit soft but looks pretty presentable.
After that, I moved back to the front glacis plate. I put on all the hatches doors and some handles and lock -

Put on the vision blocks for the driver. The blocks are provided with their covers closed. I could modify it into showing the covers opened but I couldn't be bothered.

After that, I put on the photo etch for the engine grilles -

and a exhaust cover -

and put on the head lights -

Wel, that's it for now... until the next update....
Thank you for looking...


0 comments:
Post a Comment