

Hey guys.... As you all know, I have finished the Type 99, DANA and Pzh 2000 and I have been infected with the Arty fever. It doesn't help that Dr. Turner ( His YouTube Channel ) is also doing a similar theme like me so we become some what of a bit of rivals, racing with each other will be able to build as much ( or all ) of the SPG kits out there. So this time, to compliment my fleet of SPG, I will be adding the K9 thunder of the R.O.K army to the rooster.
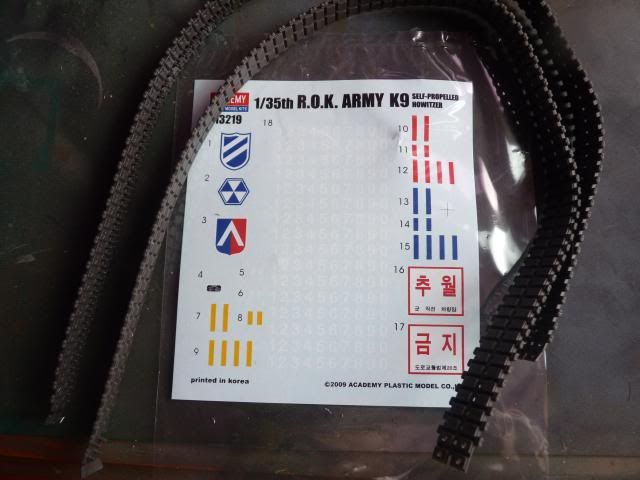
The kit is a few years ( I think it came out in 2010 ) one but a pretty decent one-
Here's the box -

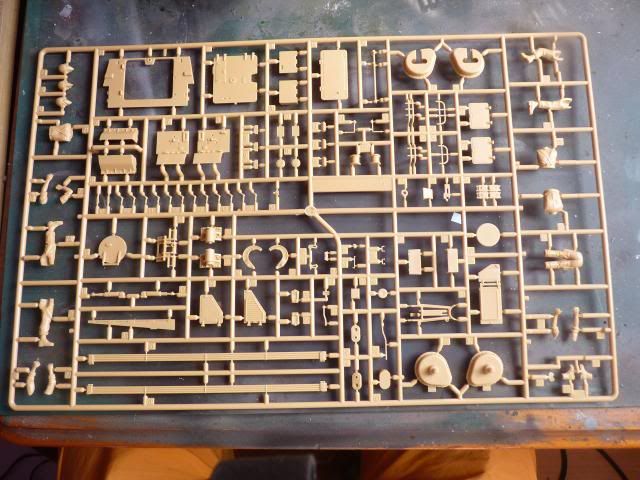
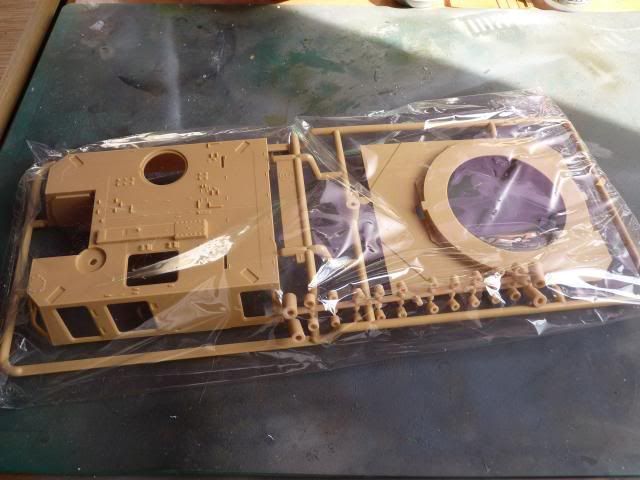
Sprue shots -


While walking around the Southen Expo show at Hornchurh a month back, I managed to accquired this little box -
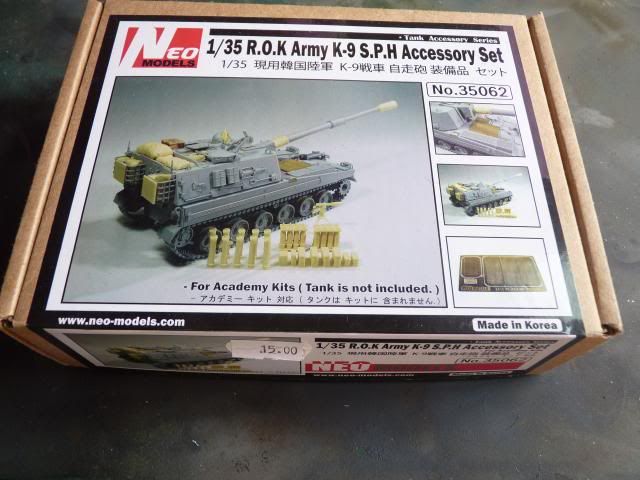
The resin parts are well casted and it also include a smell fret for the engine grilles. A lucky find indeed. I wanted to buy a more dedicated set from Orange Hobby but it was expensive so I backed out of that.
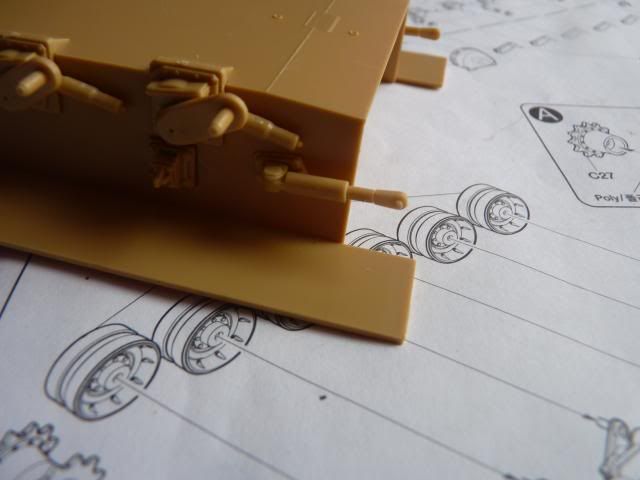
As per standard, everything starts from the lower hull -
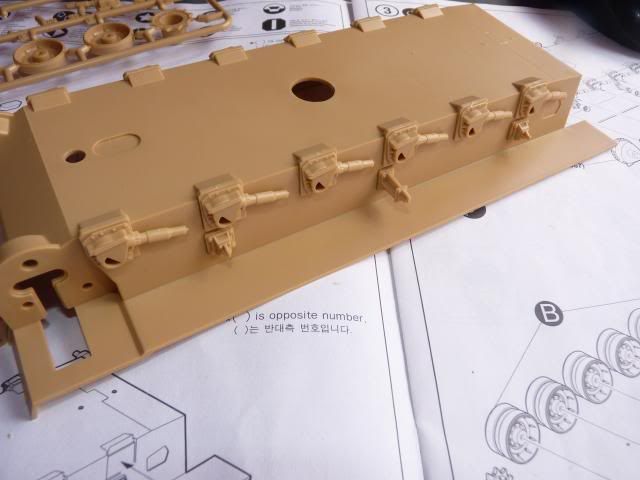
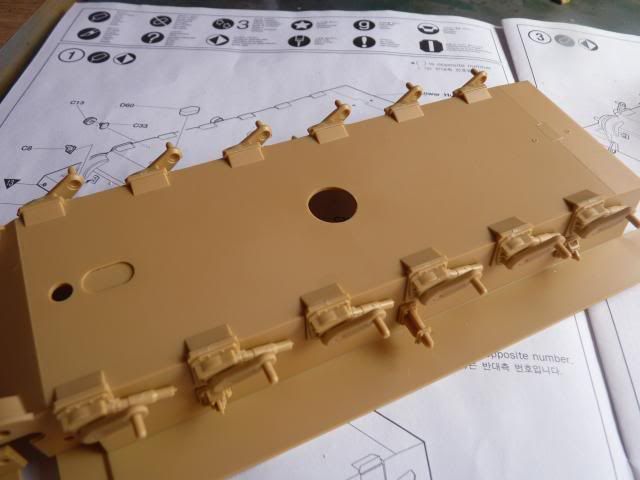
The instructions calls for the gluing of the return rollers arms -
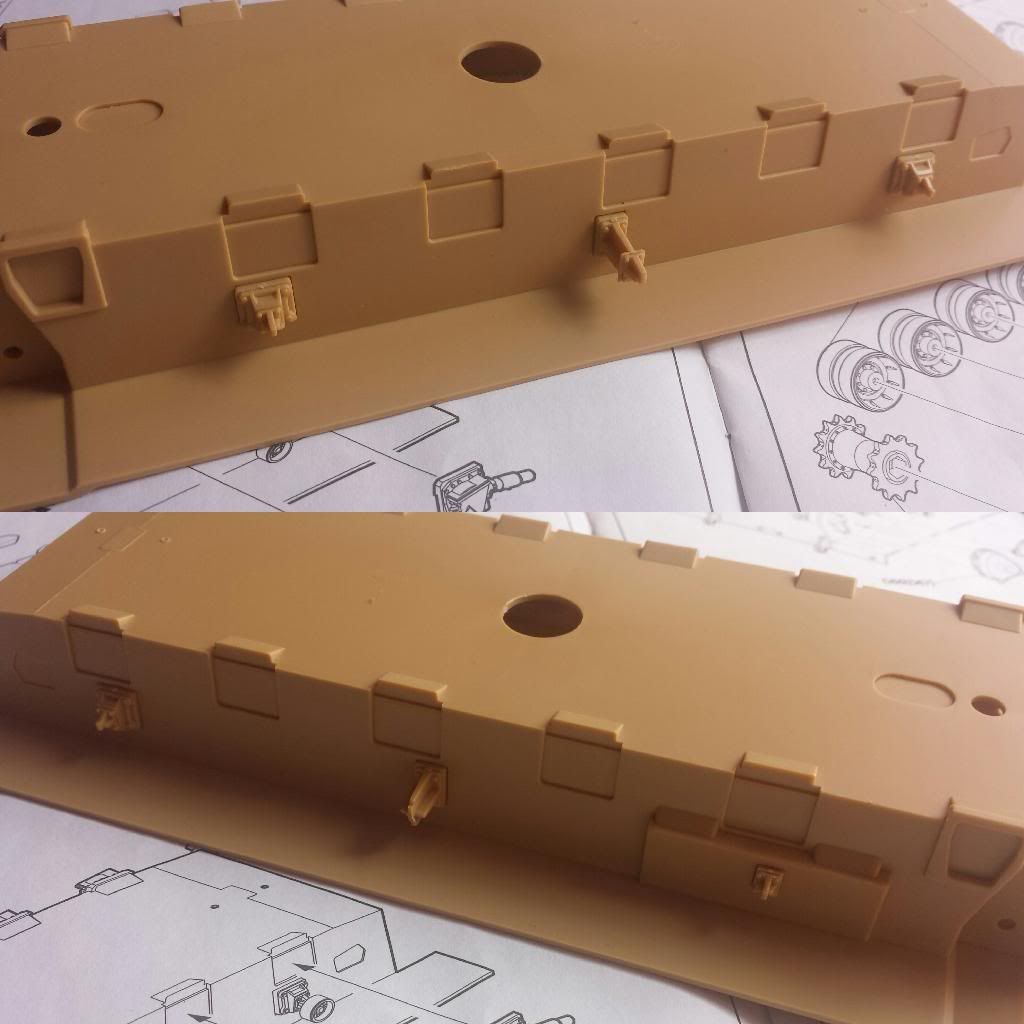
following with the show absorbers ( I think they are shock absorbers ) -
and the suspension arms -
Followed up with two hooks and circles -
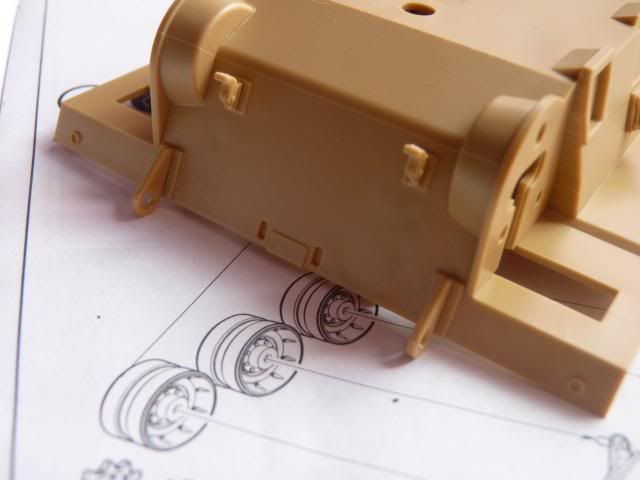
The transmission and sprocket hub -

Followed by what I believed to be a shock absorber for the idler wheels -
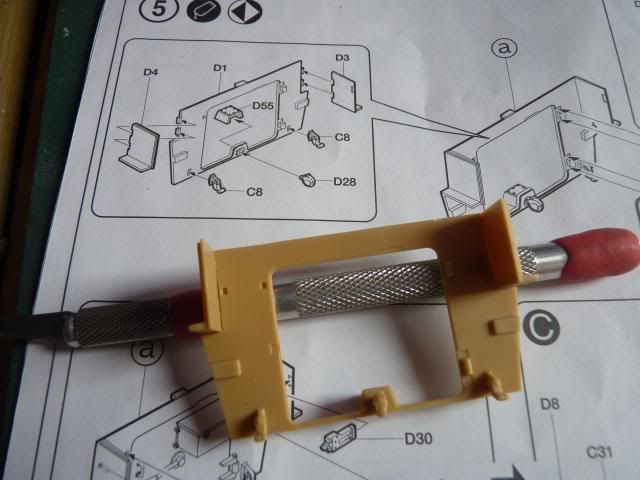
Then, I had to build the rear hull, following the instructions as you can see in the picture -
and the door of the rear hull -
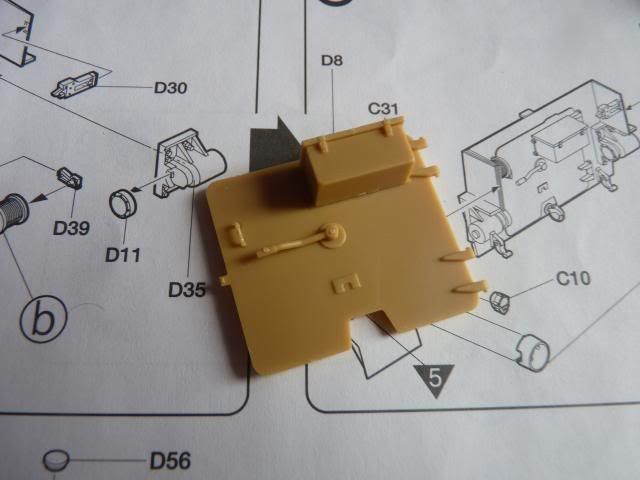
which goes on quite nice and tight on the rear hull -
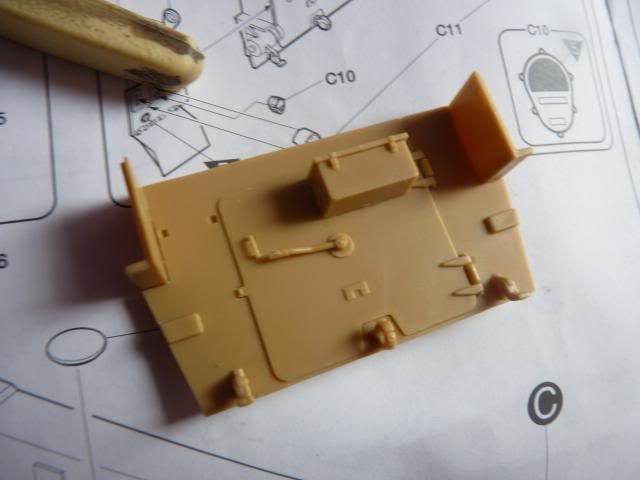
I then had to put on the sides of the rear hull and the mud flaps -
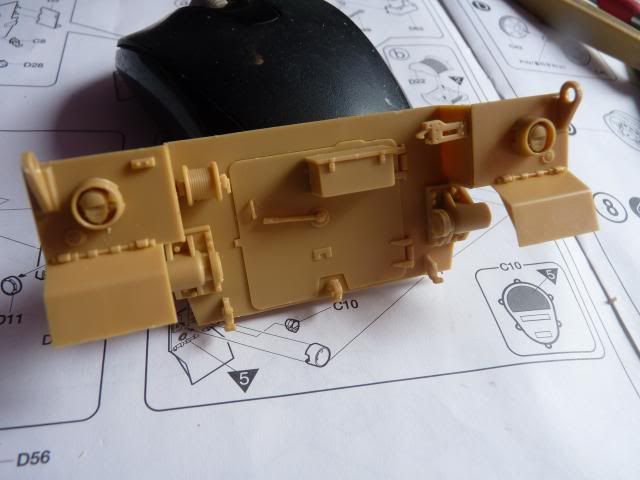
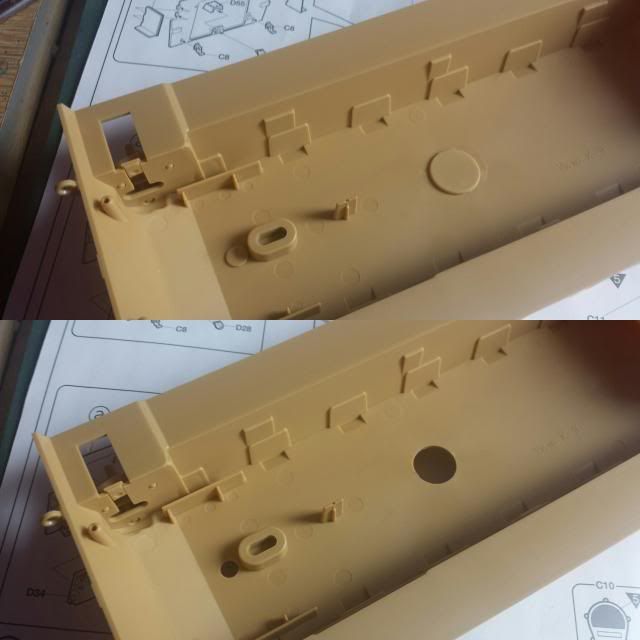
Academy has made this kit into R/C convertible so they included some pieces that is used to closed up the holes on the belly -

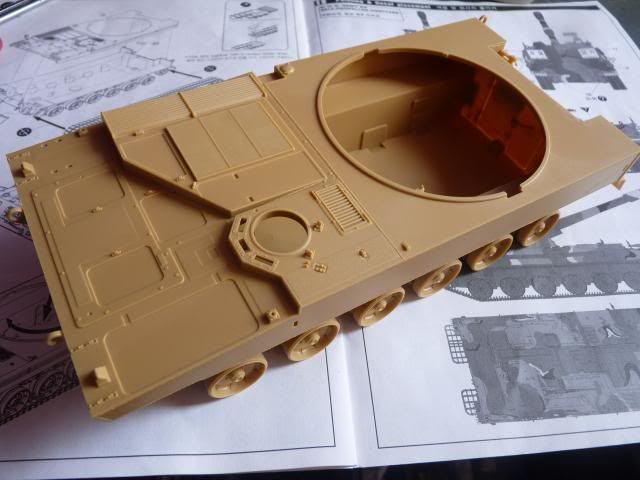
Checking everything, I glued the lower hull and the upper hull together. There was no problem with the front, it went on very smoothly with no seams but the rear hull was a bit of a problem. I still have to fill the gap but also put in some welding seams as I have seen from some reference photos. -
So that's it for now ... stay tuned for more..
I'm sure I will enjoy this as I enjoyed the Type 99.
0 comments:
Post a Comment