

Right... Time for an update for this gal -
Now that I have put on the upper hull and chassis together, I moved on to the rear of the vehicle -First step, I put on all those parts that I have shown with the arrows-
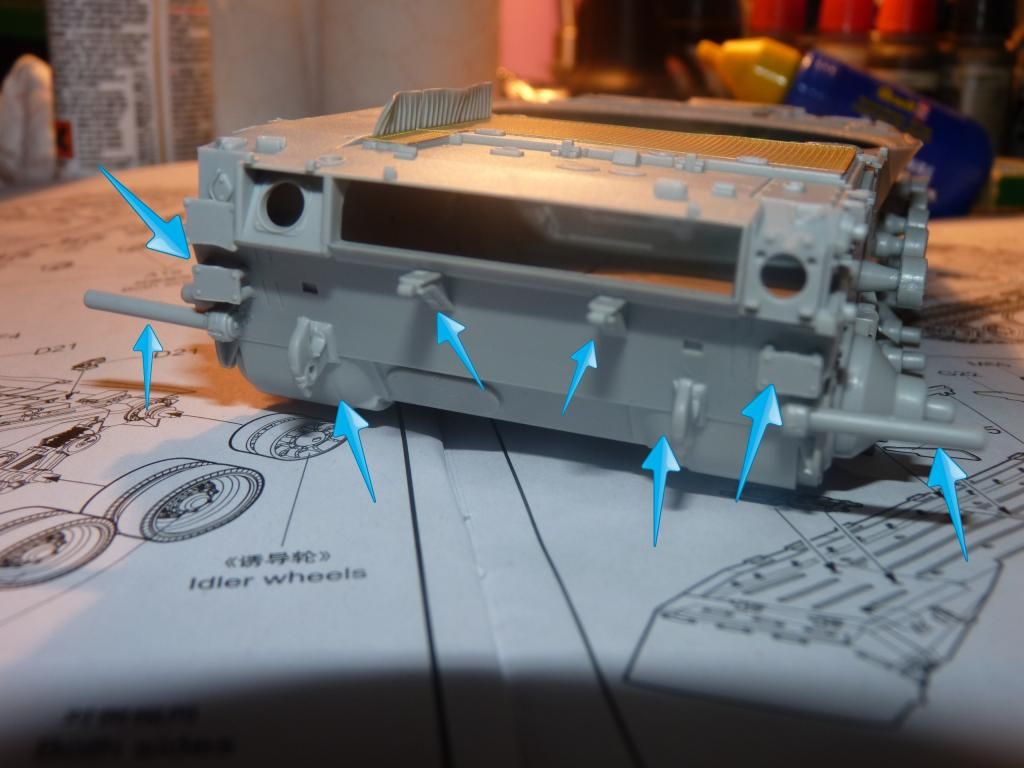
Followed by two more -
The one on the vehicle's left is a cover for the exhaust
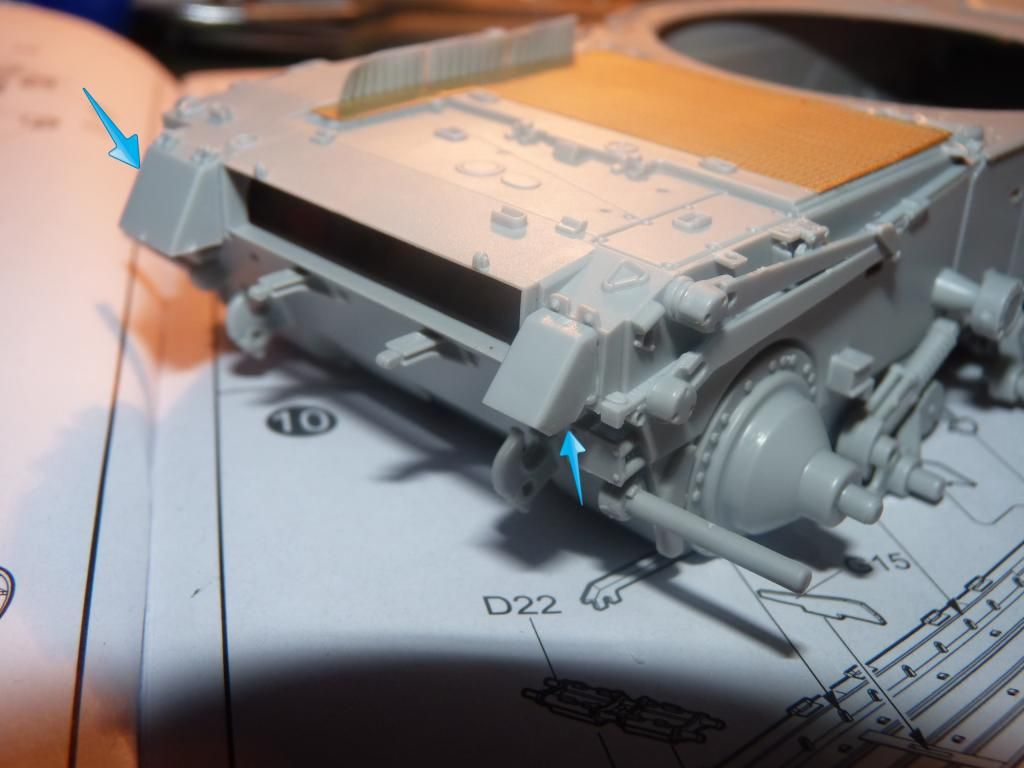
Next, I put on the overhang grille/intake-
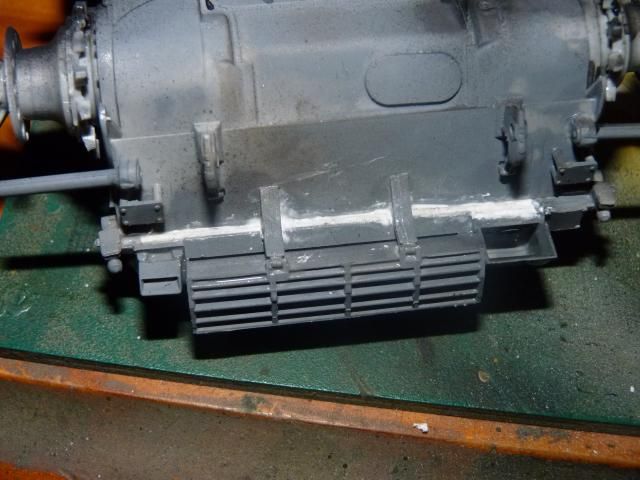
After putting that on, I did an inspection of the tank all around and I noticed there is a big gap along the edge of the engine cover over-hang and the rear hull. I cut off some plastic strips to size,slide them in, glue them and finally closed it up with a great product; Deluxe Materials Perfect Plastic.Next, I put on the overhang grille/intake-
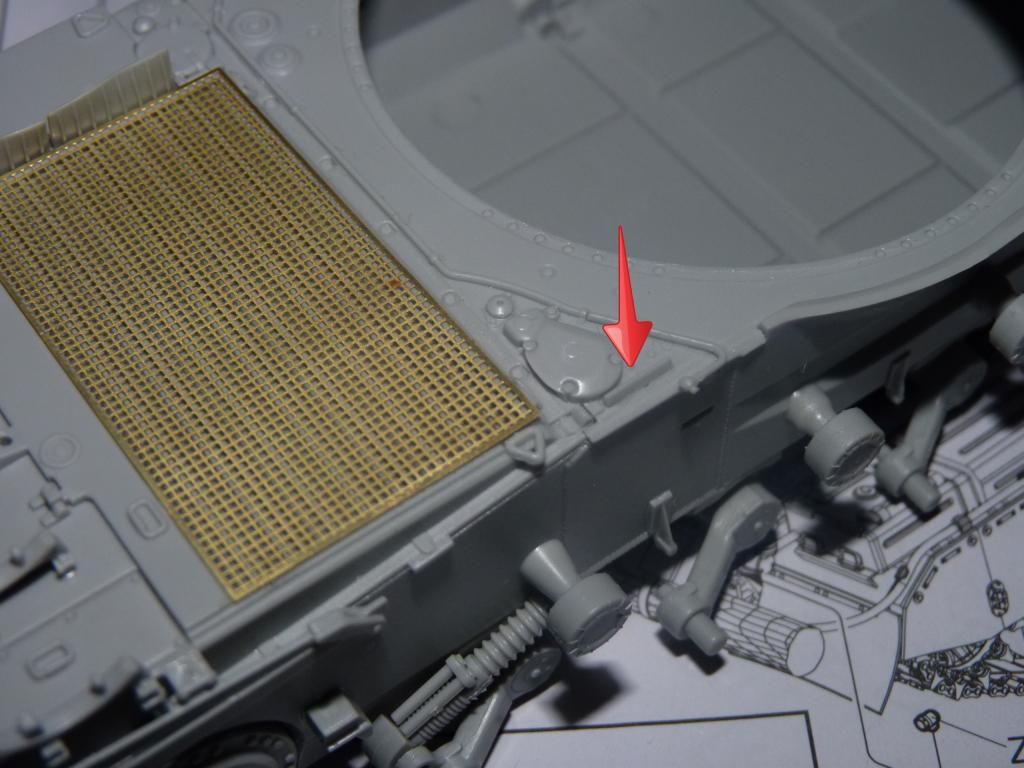
Another thing I noticed after inspection was that there seems to be a little slot just in front of the engine cover but it hasn't been called out in the manual. Using observations and logic, I noticed that I have to put on part Y15 in this little slot ( as shown in the photo with the red arrow )but the instruction totally omitted that. Therefore, I just put it on as I'm pretty sure this is where it goes.
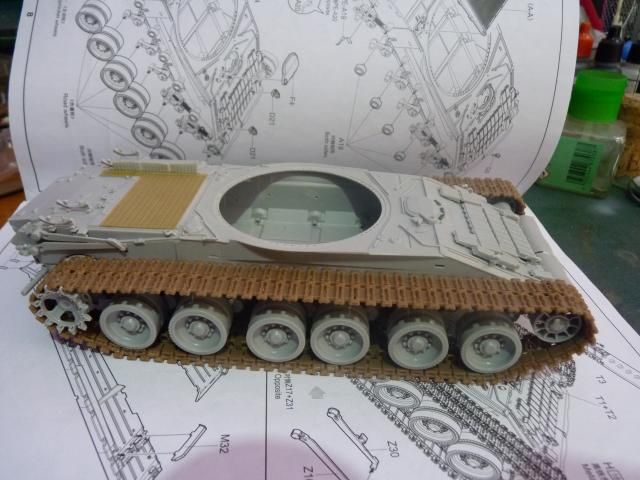
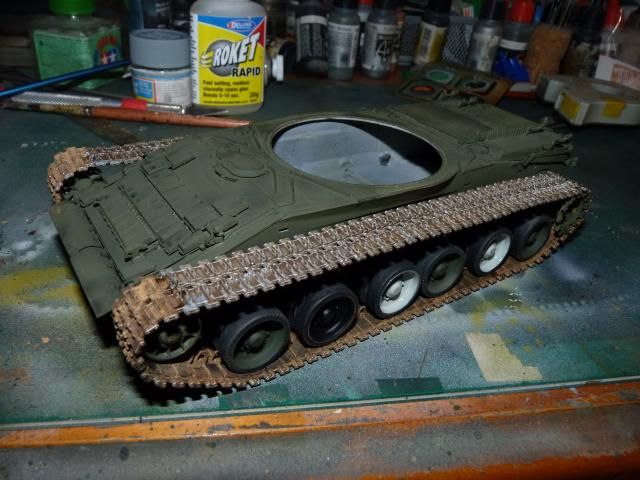
Now that I have put on everything I need to put on on the lower hulls and the top hull, I decided it's time I build the wheels and started making the tracks to make painting easier.

I painted the wheels according to the colour scheme I want to go for -
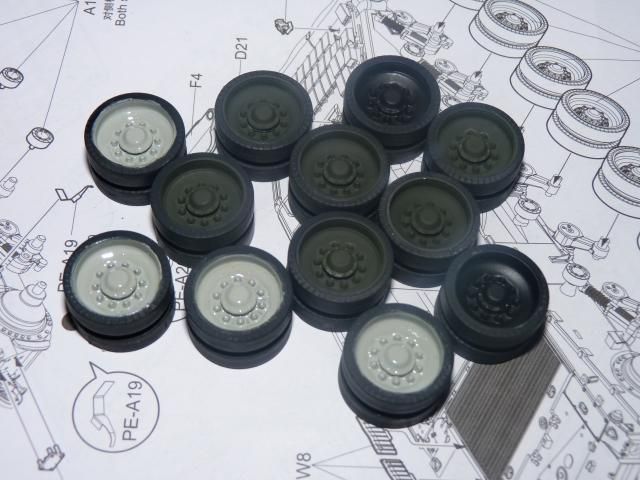
Yes, this is basically a prototype for the T-80UD for the Ukrainian army but I want to see it with a Russian Black-Dark Green-Grey scheme; not to mention such scheme can be seen in the T-64BV in Crimean crisis.
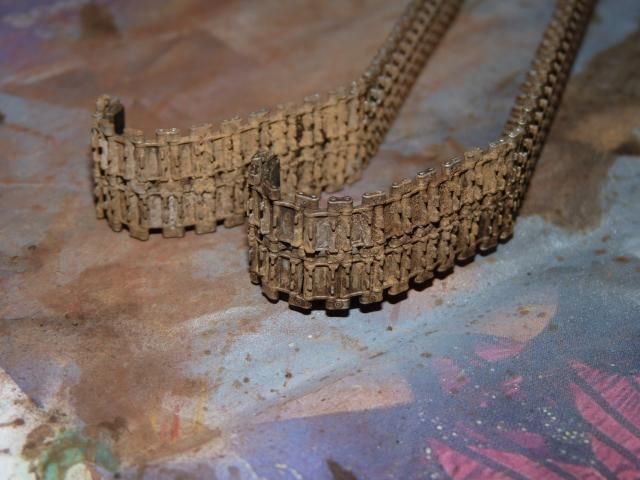
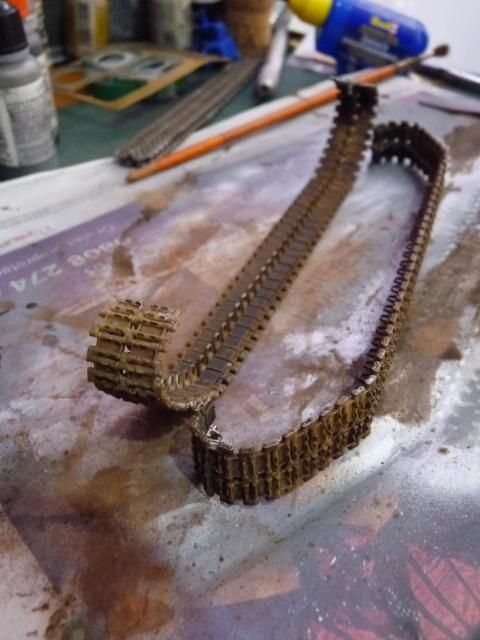
Painted and weather the tracks -
After that, I painted the lower hull, chassis and the top hull with a base of dark green, let it dry and put on the wheels and tracks-
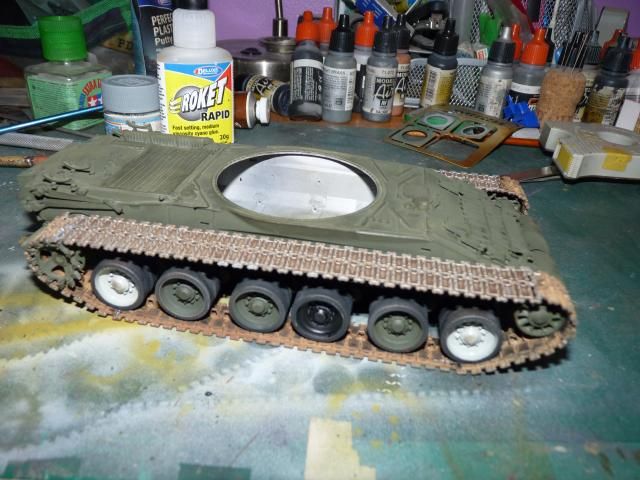
After that, I moved on to step 11 and 12;Step 11 being the right fender and side skirts -
and step 12 being the left fender and skirt -
Glued them on to the side of the hull and voila - we now have an almost complete hull.

That's it for now. See you at the next update
0 comments:
Post a Comment