

Works continued on the Turret.
Last time, I left things here -

Before I work on it, I had some almost empty bottle of green paints so while cleaning them, I decided to spray all those green on the turret as a mean to serve as a primer so you will see a very light green painted turret on this update
Anyway, I started putting on some of the things I need to put on.
This is the turret left side -

The search light at this point has no lenses install so as to make masking easier. The gunner sight comes closed which would be a PITA for some people who like to show the sights open but I don't mind; less masking job for me.
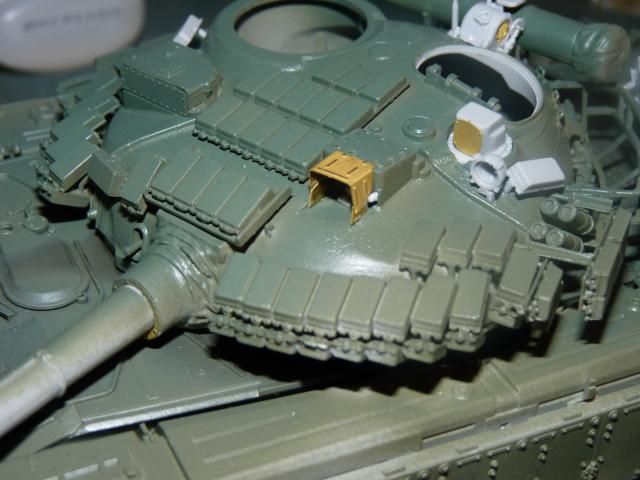
This is the turret back top -
I don't know what is that little thing is; it kind of looked like a speaker or a ventilator. The instruction calls for the little P.E parts to be closed but after careful dry fitting, I found out I can leave it open so I left it open as you can see from the photo. On top is the back search light ( or is it a convoy light? a little big for a convoy light no ? )
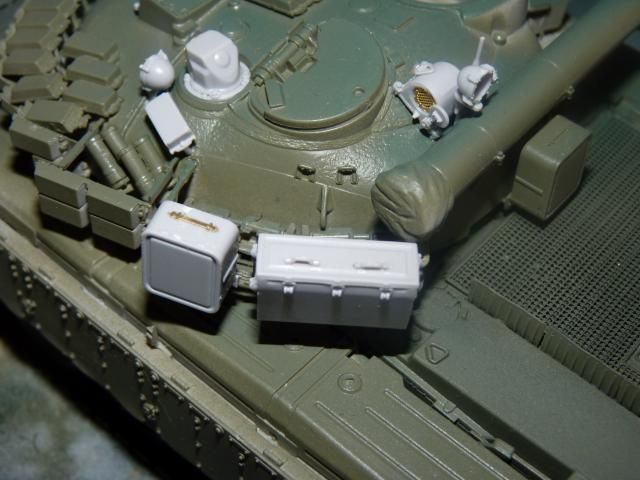
Turret left back -
I put on the last of the little box that we see on T-80s ( this is the third and last one on this T-80 version) along with a larger storage box on the turret rack.
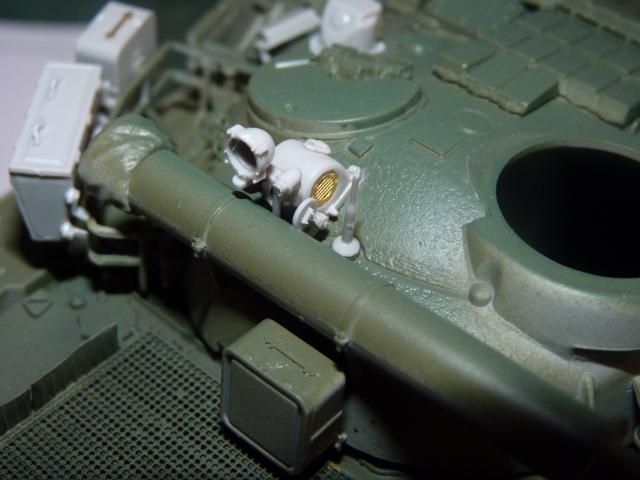
Come backing to the front left again -
I put on the shade or cover for the gunner sight. I think this is the direct sight. Care was exercised not to overly apply the CA glue to avoid a very messy attachment.
After that, I moved on to the Commander Hatch and the RWS.
The whole thing is a quite complicated and it strained my eyes to the braking point. Luckily, having build the Zvezda T-90's commander hatch and MG, this is nothing. After about 3 swear/curse filled hours, I finally got it -
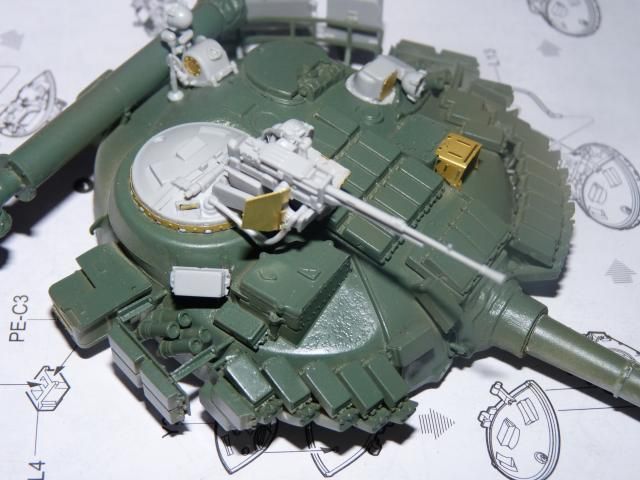
Back top view of the hatch and gun -
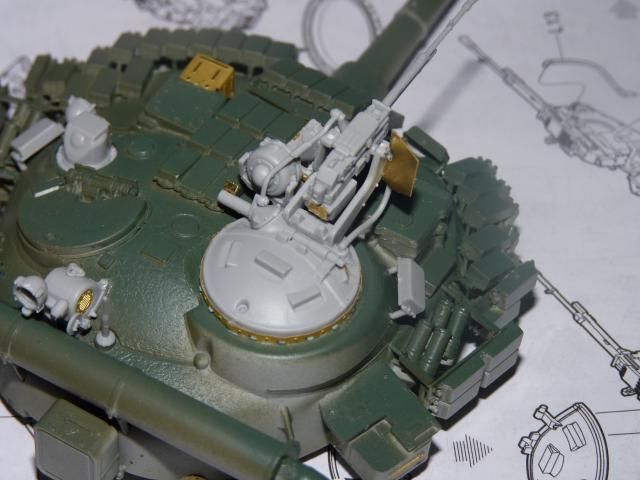
At this point, you will notice that I haven't put on the MG ammo box. I'm still thinking should I or should I not put on the ammo box at all.
After that, i moved on to the last piece I need to put on the turret; the big light ( is it IR or normal light or switch-able?) on the right side of the gun -

and Last but not least, the front lights. Again, no lenses are install so as to make masking easier.
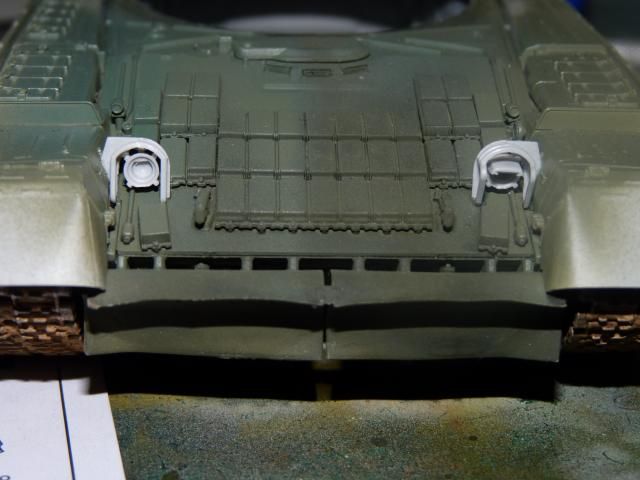
Finally happy and confirming with the manual that I have nothing more to put on, I masked all the running gears and tracks and started painting.
Firstly , I gave it a blast of Tamiya Dark Green for base coat -

After that, I sprayed on Aircraft Grey from Mr. Hobby Aqueous -
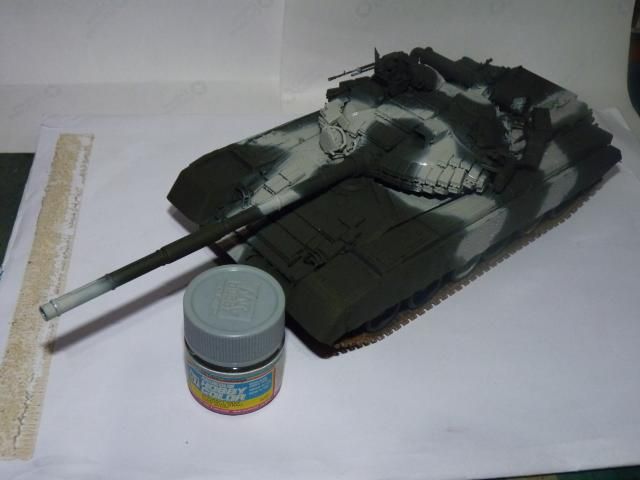
The airfact grey I used is glossy but once I flat coated it, there shouldn't be a problem.
And Finally, finished off with VMA Black.
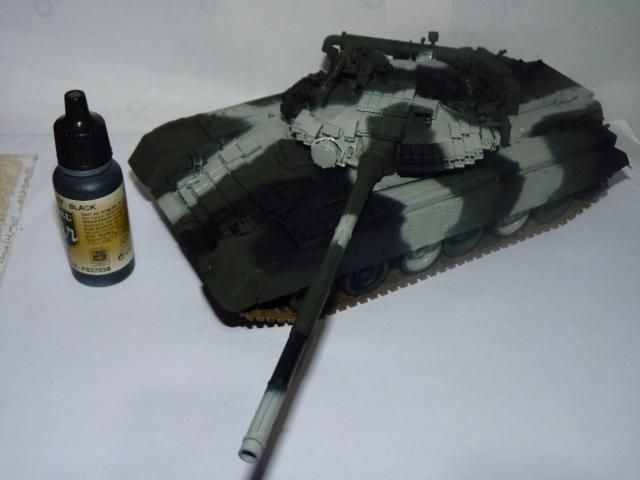
Since I am a very lazy guy and couldn't be bothered to mask, there were over-sprays but nothing a few precise re-spray of the previous colour couldn't fix.
And that's that. Almost complete. Next step is the weathering. Stay tuned for more. Thanks for reading.
0 comments:
Post a Comment