

anyhow,, this is what i got ...
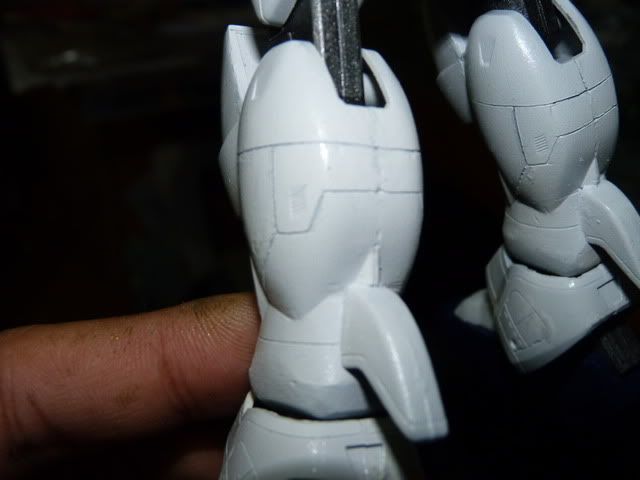
I will show you guys a close up pic of the skirts and -
 - you will see that there are , how should i say, dots dots dots appearing all over the front skirts..
 and when you look at the back skirts -
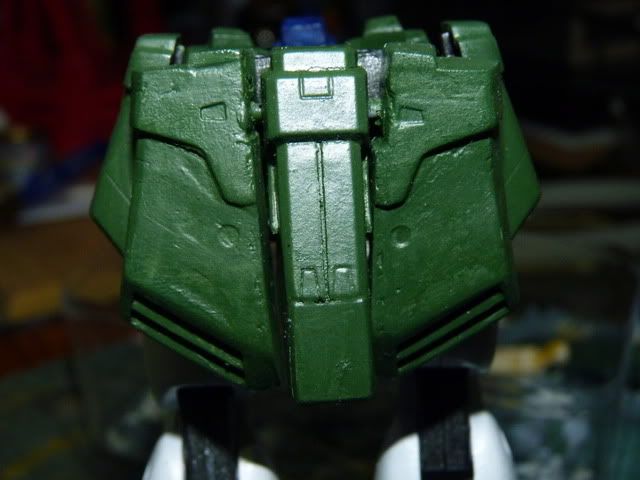
- you can see a somewhat smooth ( if not for my noobish hands, i could have made it better by smoothing the parts pretty well,, but... )... surface...I don't exactly know what happened... but I know that has something to do with the primer... i could feel the rough dotted surface after i primed it... i though it would be ok when i paint it.. but apparently, it is not that ok...
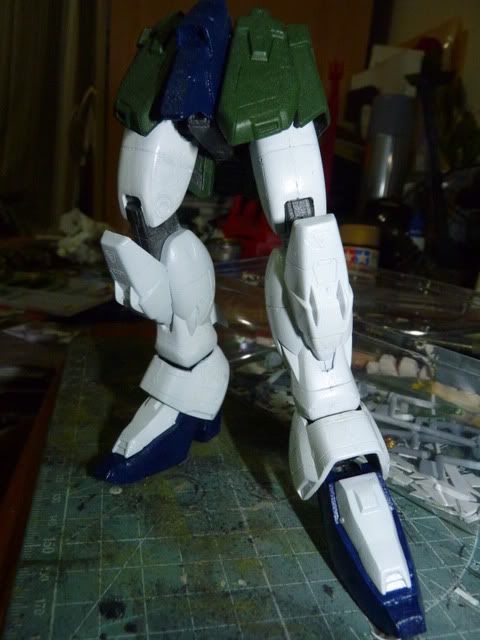
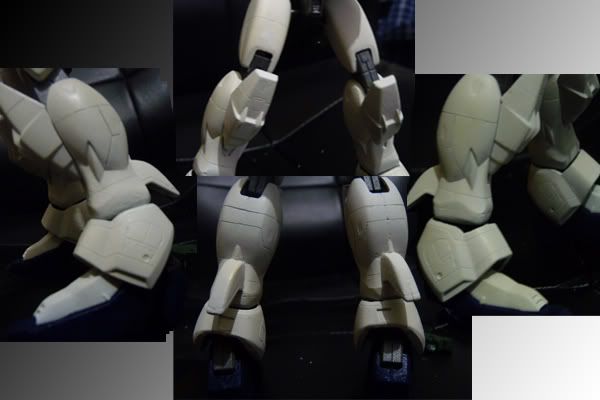
ok.. moving on... i scribed some panel lines on the calves following of my friends suggestion ( i think, it was phantompain)... and i scribed it somewhat similar to the original panel lines.... and i also installed a pair of leg booster as you can see ( the nozzles are detached for the paint to dry) -
- as any one would have guessed, the boosters are scavenged from the 1/144 deathscythe gundam ( I am glad i bought that little guy)... i mean, come on, the nataku is a high speed melee MS, no way it's practical for it to move so fast with just the two booster on his backpack... so, to further reinforce that.. i make this -
 - ta da, another pair of booster.. and that one swivel up and down and yes. the poor little 144 deathscythe had to gave up his parts for the glory of the double dragon..
  ( and yeah, the booster idea comes from the MK. II)
happy with the booster and moving on, I was deeply upset with my own skills so i corrected that mistakes i made on the skirts and the legs.. and the smudges... and the finger prints
Again, My hand painting sucks..... the painting you gonna see will look like crap in your eyes.. for that, do forgive me... I did my best but i was at my limit....
As you all know.. i made a custom V fin, right??? I happend to have lost that V fin so i had to scratch build another one.... Did the best i could but still can't achieve perfect symmetry...
I just draw a shape that i want to cut on paper and glue that paper on the pla-plate and i just cut it out... i don't know why, i did every measurement carefully and i still mess up the symmetry.... anyway... i cut out that V fin plate and attached that 2nd camera looking thing by making a triangle by stacking plates and etched the middle of that triangle so that the borders are raised...
as you can see from the pictures -
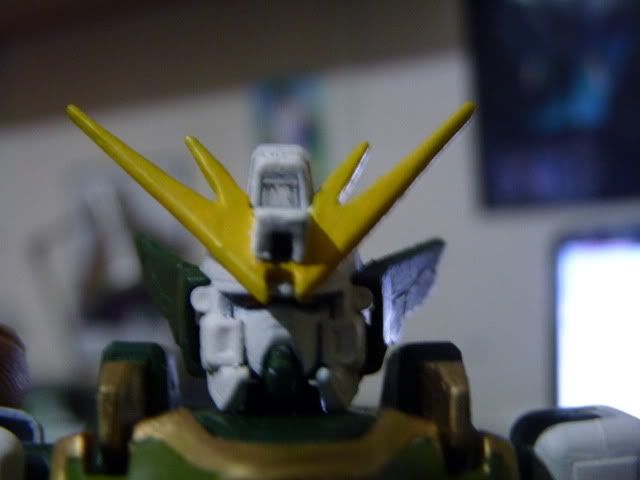
I have to say,, I like it.. but i don't love it .. cos it is not symmetrical AND some what not sharp enough as a MG V-fin..
moving on... i was lazy to put in putty so, i fix a mistake i did like so in the picture

I love how it looks.... . and next, the legs...I was very very unhappy with the paint i got with tamiya gloss white .. so i switched to Revell Acrylic White...Had to restrip the paint, sand a bit and as seen in the picture.....
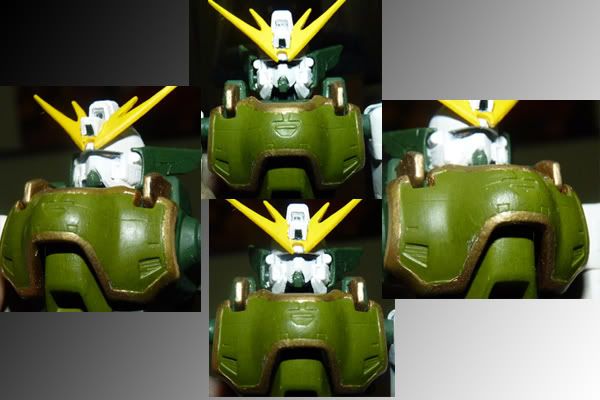
Next, regarding the finger print i got, i striped, resand, reprimed and repaint the middle chest piece... the whole chest piece is hand painted and the gold were painted by masking the chest piece with blue tack... (it works quite well)
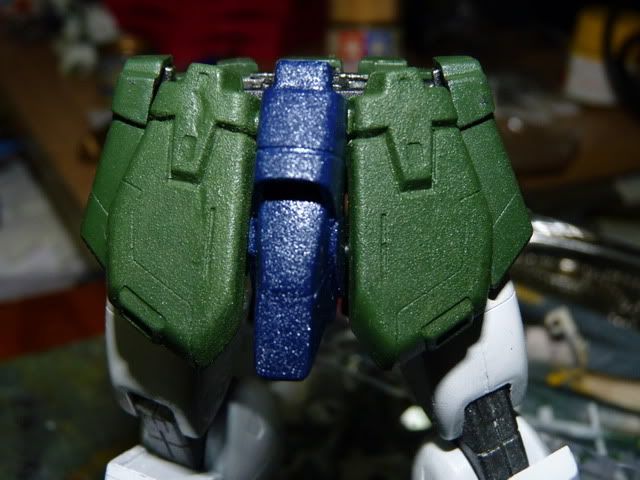
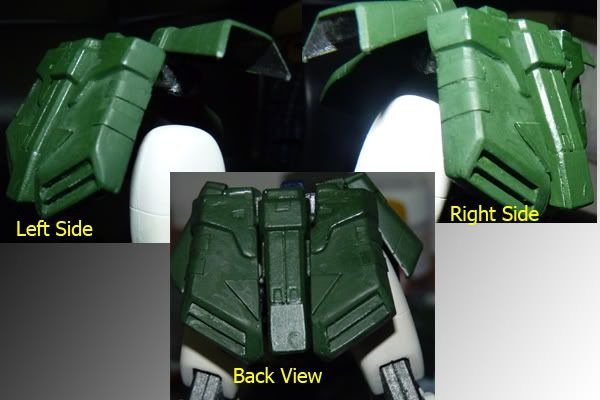
And if you could refer back to the previous update, the back skirts are really really awful and i hated every thing about it.. so i did a little sanding and a very small amount of details on it... ( fixed the front skirts too but forgot to take photos, sorry)
and the photo of what i did..
Well, that's it for this update... after 10 months, this WIP getting near to finish... I know that i make too many mistakes... but this is my limit for this WIP... hopefully i can improve on the next WIP...
As Usual, Thank you all for reading and C & C are welcome... Stay tuned...
0 comments:
Post a Comment