

I worked on the Breech and the inner parts of the Turret .. Because the kit has a working rear escape hatch, Tamiya decided to put in the ammo rack ( but strangely enough, no ammo at all )
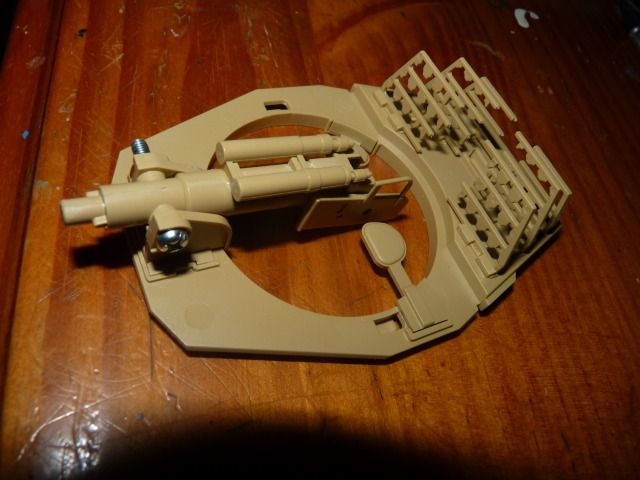
I really like how the gun vertical traverse is controlled by a screw.. very very rigid and very tight and makes it work just perfect
There's still a huge seam line in the middle of the breech but since it will be hidden, I don't bother
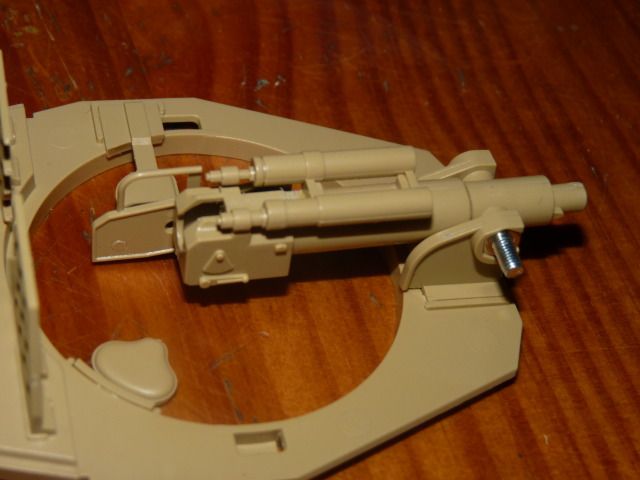
The mantlet didn't want to fit perfectly so I had to fill it out
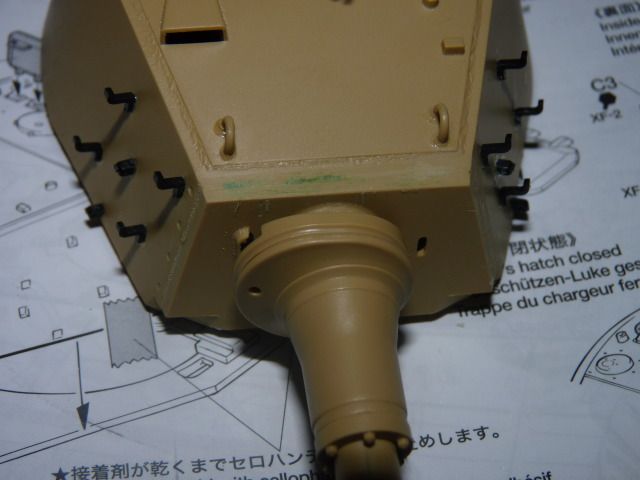
and those little S shaped hooks for the Spare tracks are glued on after it -


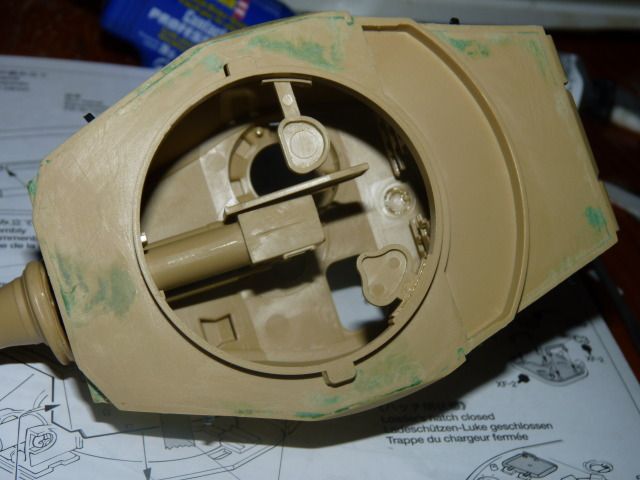
Closing up the turret from the bottom .. despite my best efforts, there are humongous gaps and I just can't help fill and sand them
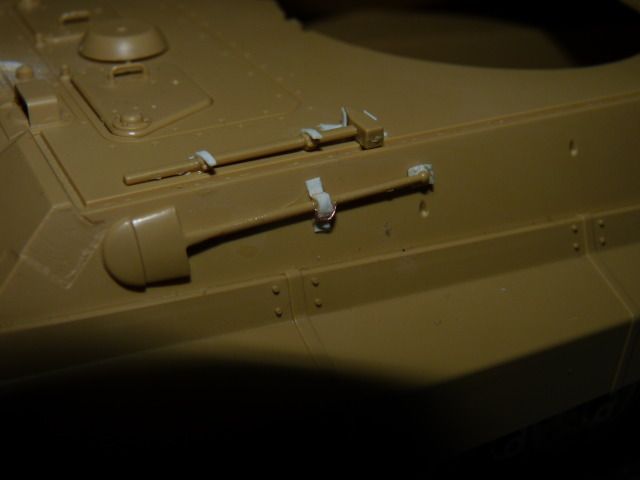
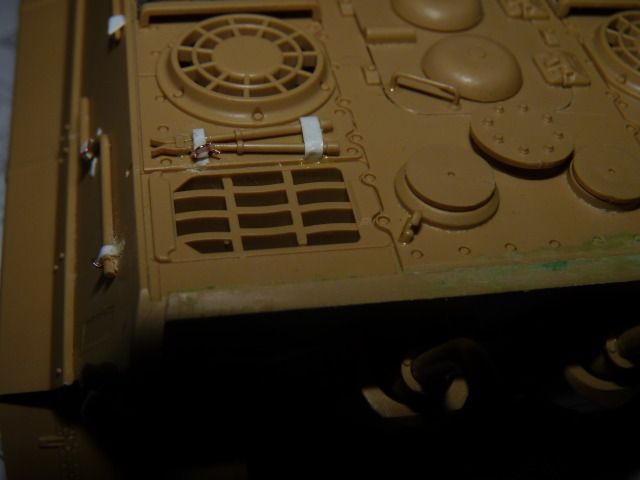
After that comes the fun parts .. I was doing research about the King Tiger and I found some little bits and bobs of stuffs that were missing on the kit so I decided to put them on to the best of my degree
On my research, came across this particular picture -

and since the kit lacks those details, I SB ( scratchbuild ) some of a 0.25 Stryene sheet and 0.2mm stryene rod
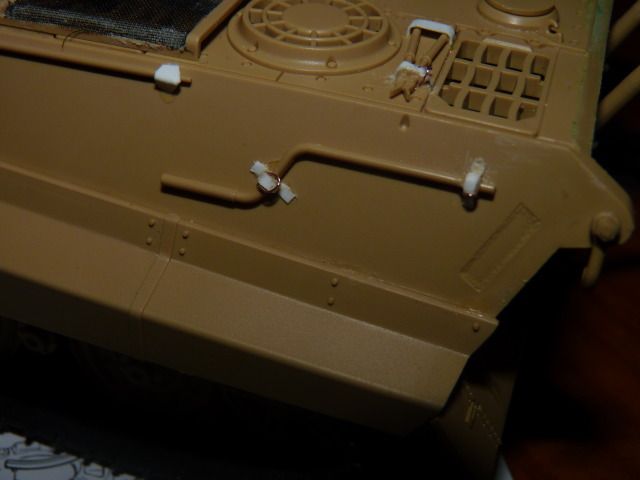
Right -
Left -
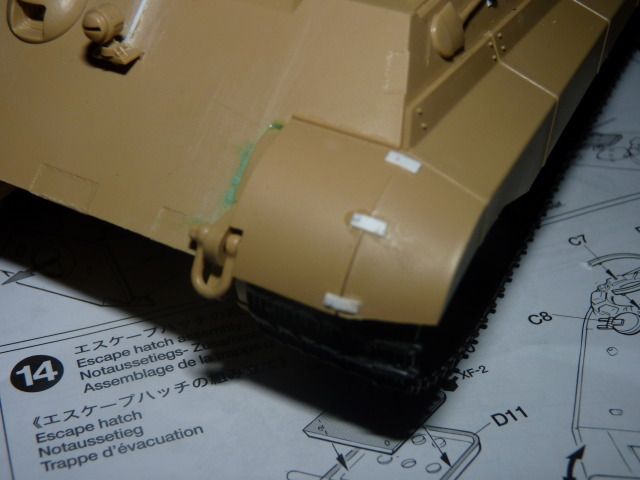
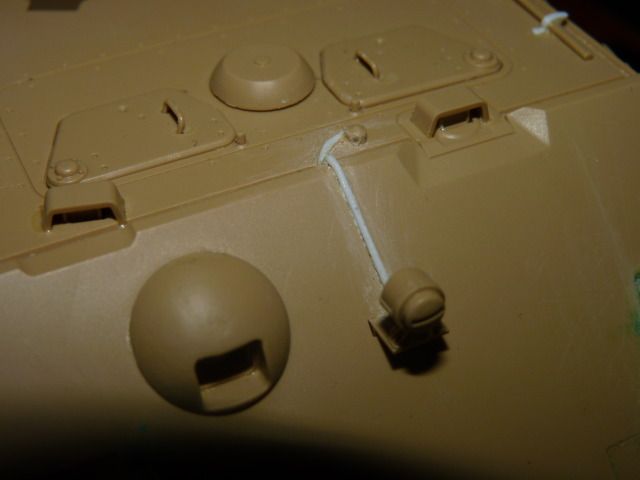
Obviously, no research is need to realize that there was no wiring for the single head lamp on the front glacis Plate so further improvising was need. For that I used 0.2 mm stryene rod and glue it on the glacis plate and into the little hub just like on the real thing
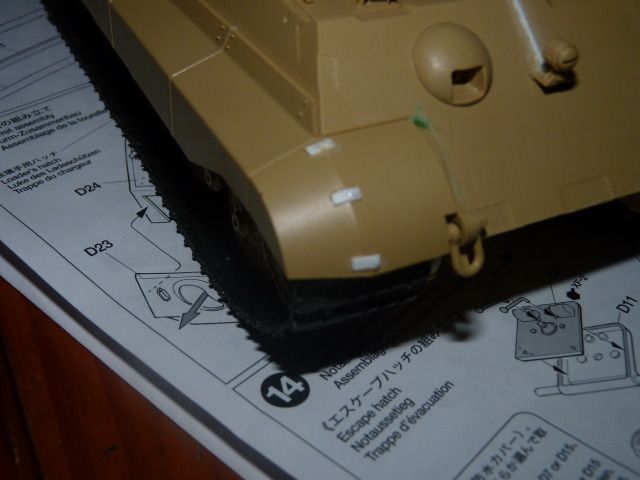
And I wasn't exactly too happy with the tie downs on the base kit so I decided to improve them as well
I used 0.25 mm thick stryene sheet and cut those little parts accordingly and glue them on ..
I was lucky enough to stumble across a short length of cable at work and I use the wires inside as those little belt buckle for the tie down
after that I put on the meshes according to the instruction
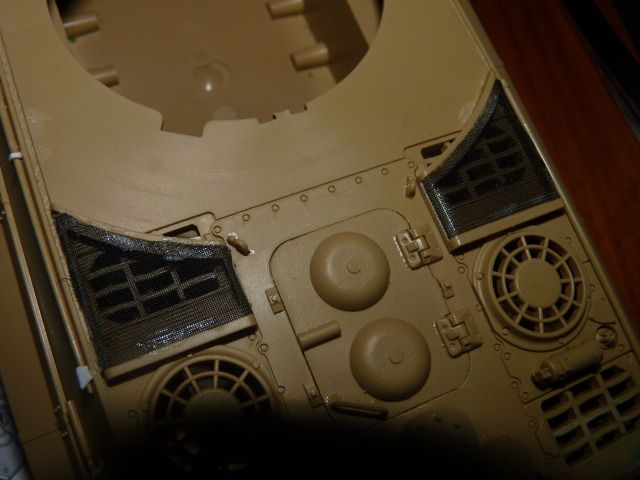
I thought about putting meshes over the other areas as well, but I found that not all tigers have meshes on all of them so I just opted out to put meshes over the other areas
anyway, that's all folk.. Hope I don't disappoint you guys
0 comments:
Post a Comment