

More details about the LeClerc can be found here ( if anybody wants to know more, that is) - http://en.wikipedia.org/wiki/AMX-56_Leclerc
This kit was released in Spring 2005. As standard from Tamiya and not to mention as a post-2000 kit, this one is just beautiful. This is the only kit in history with Die-cast metal wheels, which give the model a very strong stability and very nice details. There's a few inaccuries that I have noticed in my researched but nothing that I can't complaint ( I'm not really a rivet counter).
This gal is painted in Nato Green, Nato Brown and Nato Black. Scheme is per the instruction as I have found that all LeClerc was painted in the same pattern.
The Scheme for this gal is to go heavy with dust and dirts as I want to practice with what I have learned from reading AK's Weathering Magazine. I sprayed Humbrol Enamel Khaki, thinned with white spirit, onto the parts where I want the dust and just use a brush wet with white spirit to break apart the sprayed on enamel layer so that it forms irregular and random pattern. There a total of 6 layers of Enamel on there. After that, the whole tank was given a dusting of MIG pigmet's ''' Light Euporean Dust ''. I kept every other weathering to a non-existent level as such machine are kept reletively clean.
The Crews are painted with an assortment of paints; Citidal, Tamiya, Vallejo and Revell. While I am very happy with the face on these two, ( which is clearly an improvement over my other figures ), I seriously F**ked up the uniforms. I was supposed to give them a wash of Voilet mixed with Brown but I used Acrylics for the wash and the wash was a little thick and I seriously F**ked up my six hour long painting on the figures. Thank lord I didn't messed up the faces or I would have jumped off the window. So with that mistake, and having no more mental energy to re do the uniform, I decided to go heavy with the dust on the crew. I hope it doesn't look that bad.
Apart from that Hiccup with that crew, I love every bit of this gal. I love the kit and I'm quite satisfied with what I did, albeit it could look better but stil, I'm happy.
But enough chit-chat .... Its time for the photos -
Lets start with some walk-around, profile views
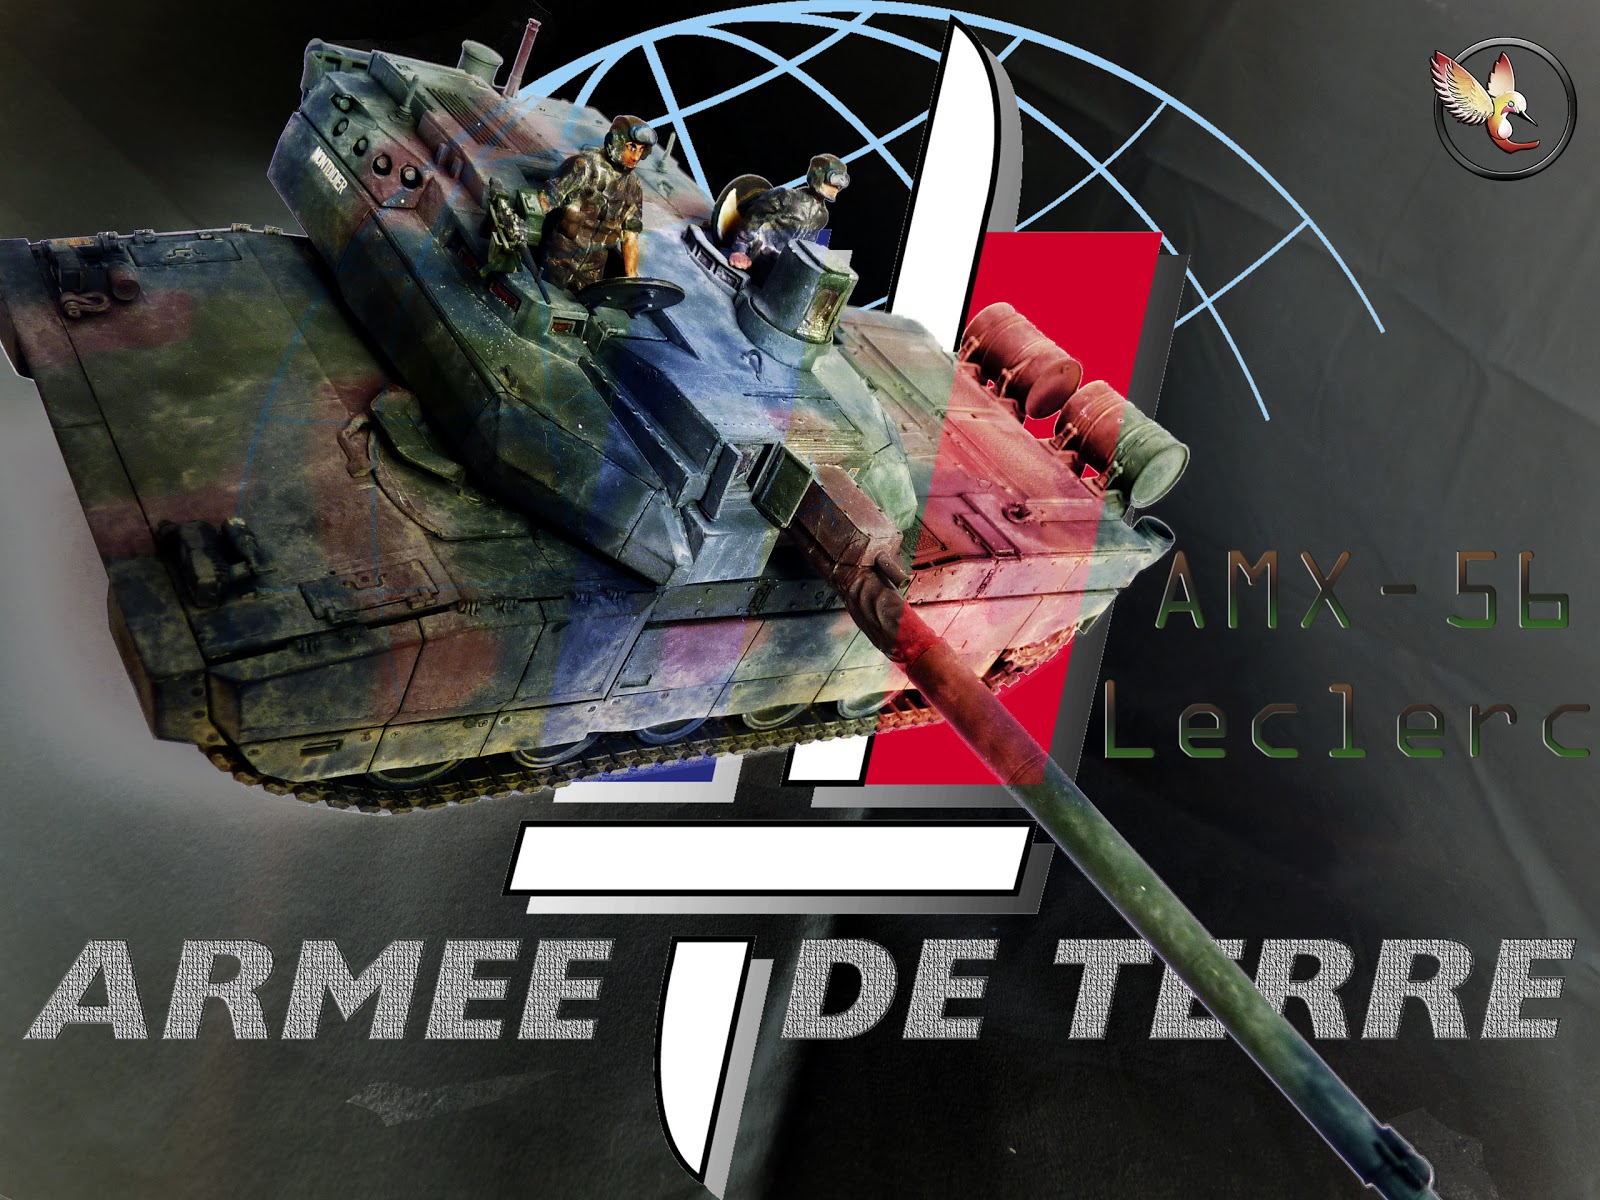
( oh, I made a cover photo of sorts for this gal )


here are the two figures -


And this is the Gunner -

You can see how much I messed up the uniforms
I also shot some photos for some of the detail painting I did, its not really much but you're welcome to have a look -

Link to Full Album - http://s1001.photobucket.com/user/hummingbird2012/library/LeClerc/Close%20ups
And I shot all around views of the Dust layers I put on -

Link to Full Album - http://s1001.photobucket.com/user/hummingbird2012/library/LeClerc/Dusts
It won't really feel like a finished kit from me if I do not play around with this and take some photos from various angles so here it is as usual....
AND ... BANG -


And That covers all I have done.
I know I am not a pro and I still have much to learn but I really love how this looks ( successfully manged to put on a very nice and convincing dust effect) and really enjoy knowing how much I can apply what I have learned these past few months. I'm really happy to add this in my list of finished kit.
And as always, I could not finish this without the support of my great friends and peers and comrades. Your supports are much appreciated.
Thanks for looking. C&C and feedbacks are welcomed.
P.S - Yes, I am aware of the finger prints on the sides of the turret. Stupid me forgot to put on gloves.. :( oh well....
oooh damn gary that camo is killer!!! love the details on the crew and on the weathering on the tracks! gorgeous job on this tank my friend!!
ReplyDelete