

I was talking about the tracks. Lets deviate from that for a while as I decided to put on the PE parts from Voyager.
First thing I put on was those little hatch-lock-thingy. I had to cut off the moulded one and glue on the PE parts -
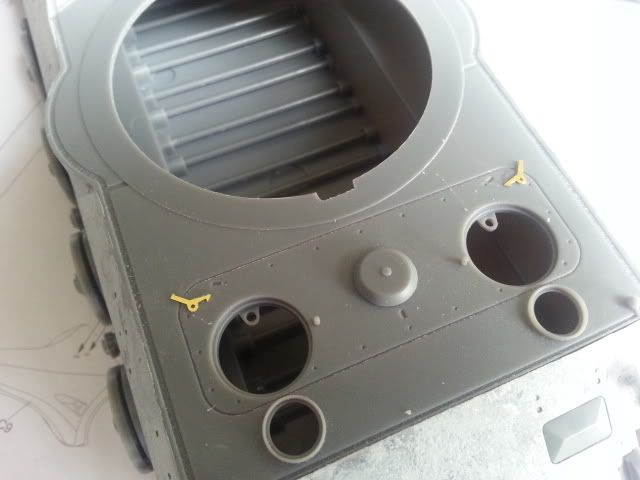
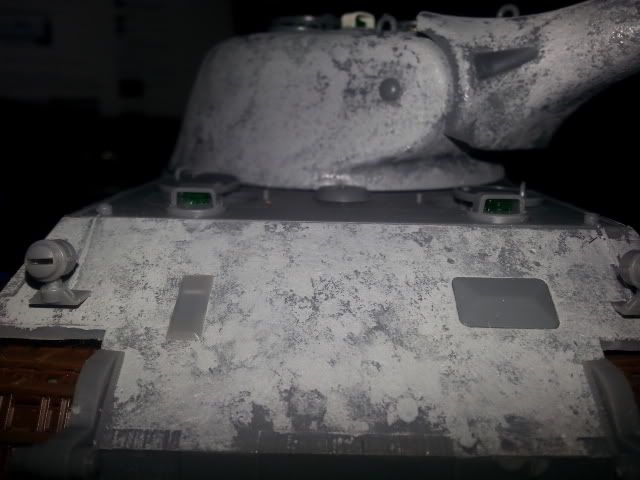
I then went about putting the two head lights ( I have to admit, I am impressed by the moulded on cables ) and a little rectangle block to close what I think is a pistol hole. I also decided to lose the letter box vision hatch. Knowing myself, I will break it and lose it if I left it open. LOL.
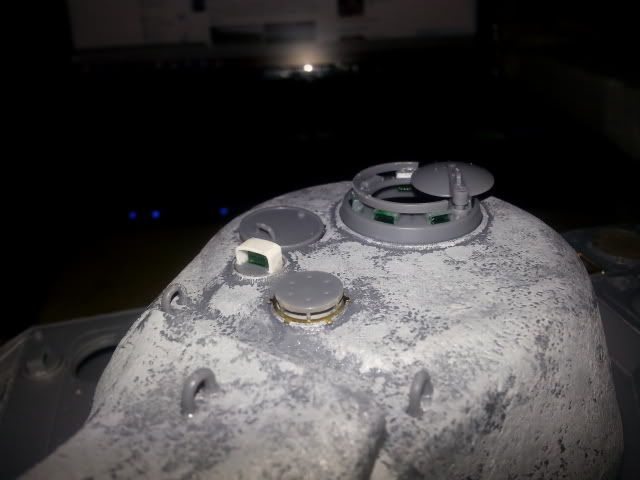
Followed up by a little ring of some sort that is supposed to go under the air-filter cap -
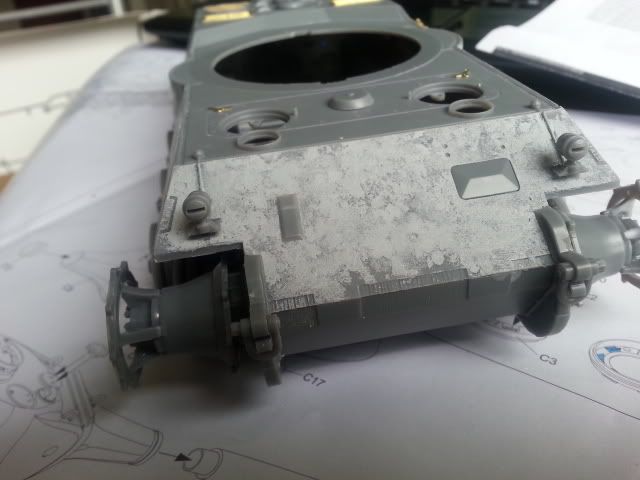
Managed to put in, with some difficulty, the chain and the close defence weapon port plug
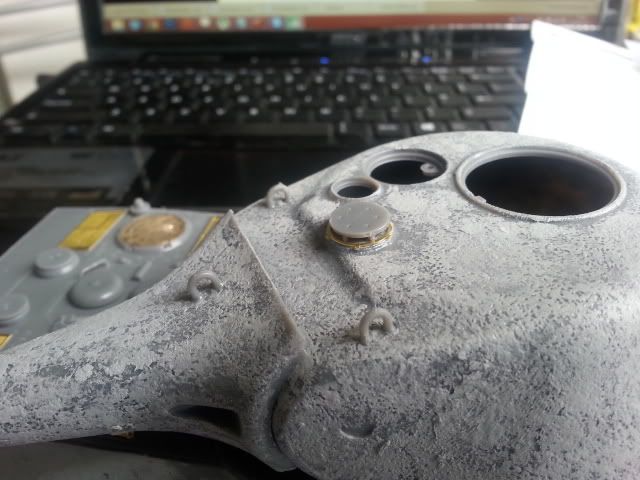
I put on the periscopes for the driver and radio operate after ward -
Followed by the visor for the Loader. I had to fashion a Scratch-built periscope cover as I have seen to lost it somehow.
Now, lets get back to the tracks. Here is a pic that I test fitted. I have only put on 100 at this point.
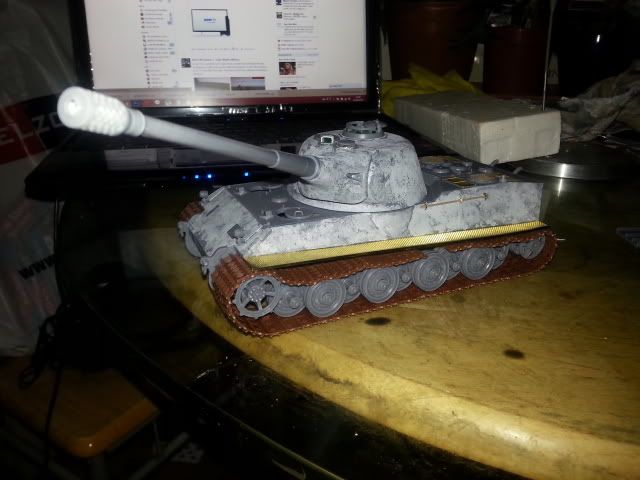
And here's the dry-fitted track, a total of 102 links as per the instructions -

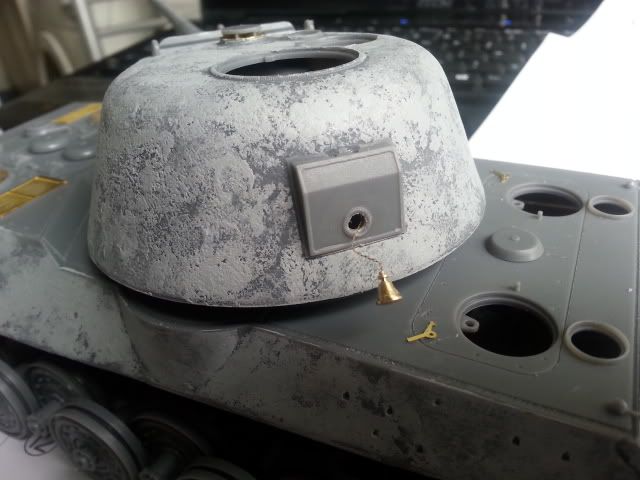
Now here comes a major modification to the kit I made. As you can see from the photos above, the commander cupola and hatch sits directly on the same axis of the gun. If I think I know about tanks, that would be directly behind the breech. For a 10.5cm gun in L/71 Calibre, the breech would be huge and if the commander is sitting there, he would have become pancake with the first shot. Not to mention, the loader would have a hard time loading as well, with the commander in the way, well, sort of. These may or may not be true as this is a paper-panzer and we will never know but I will let logic dictate on this one and I just went ahead without looking back. So, the most sensible thing to do here is the move the cupola to the left of the turret. Here is a picture of it -
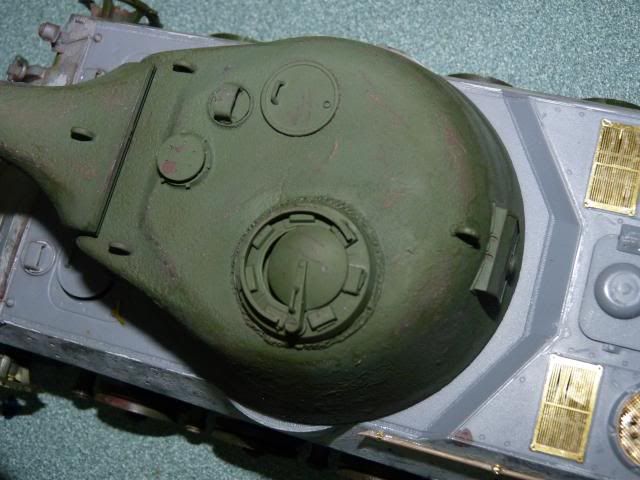
Its quite faint but I even put in a weld seam around the bottom edge of the cupola.
As you can see, the turret is in the base colour, Olive Green. After the cupola modification, the turret was more or less finished so I went ahead and base coated it. While doing so, I went ahead and paint the wheels and the lower chassis in anticipation of the easier track painting and installation.
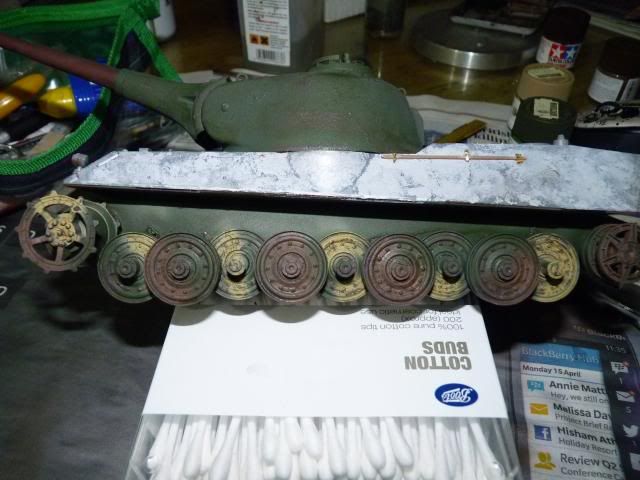
This is the left side and there, you can see Red-Brown patches on the outer wheels and Dark-Yellow patches on the inner. The right side is paint the other way around, Dark-yellow on the outside and Red-brown on the inside. Just wanted to do something different.
Well, that's it for this update folks. Thank you all for the kind comments I have been getting and thank you for viewing my work and being supportive. Stay Tuned for more.
0 comments:
Post a Comment