

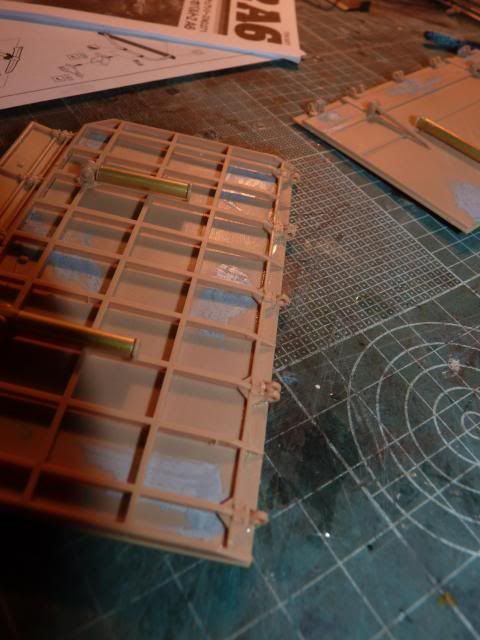
Right guys. I got an update for this baby. Last time, I stopped at the turret. This time, I will be pushing myself to take extra care and make those workable flaps. Firstly, I put on the the hydraulic cylinders on the upper/front part of the main flap - 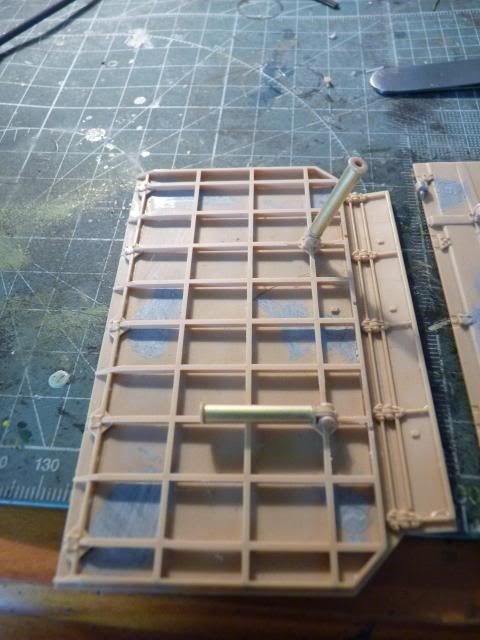
and followed that up with more cylinders on the lower/back part of the main flap -
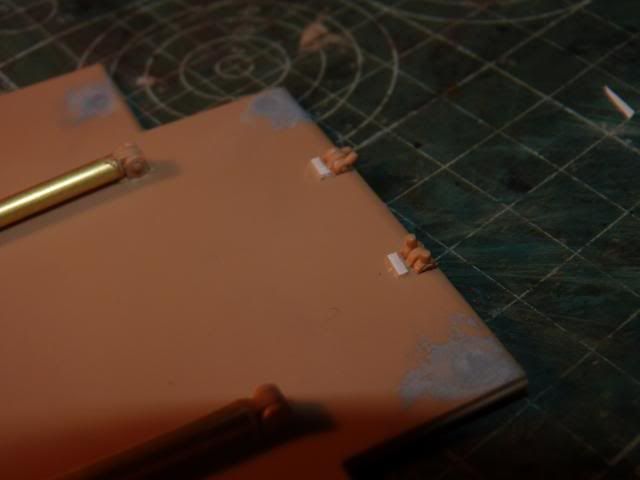
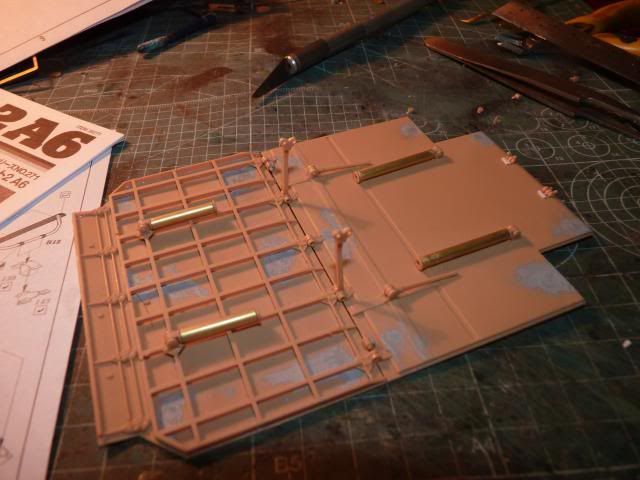
Followed up those teeny tiny little hinges ( I believe they are called hinges ) on the lower/back where the upper/front will join -
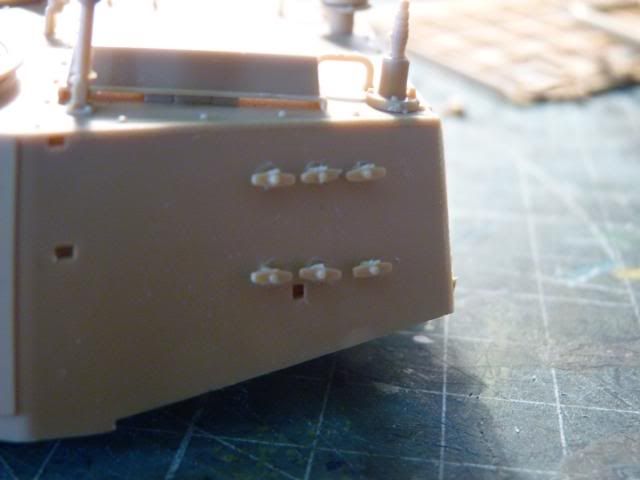
More of those teeny tiny parts that will be glued on to the main attachment points on the lower front chassis. I had to put down small strips of plastic to stop those bloody things from popping out from weight and stress.
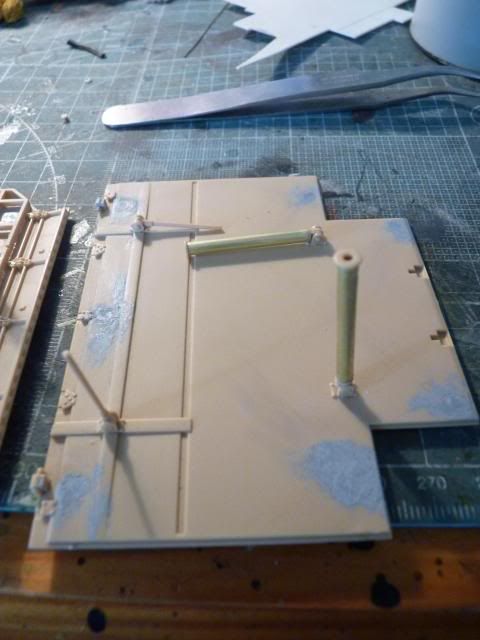
And these are the hinges on the upper/front which will be let the two flaps join -
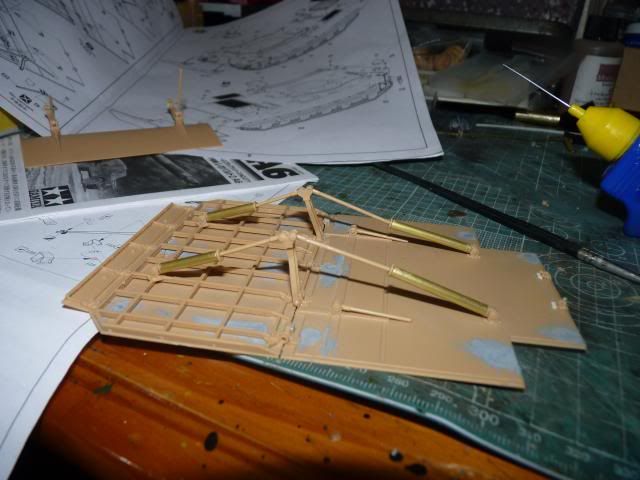
Followed up with some kind of arms that will hold the rod on the hydraulic pistons -
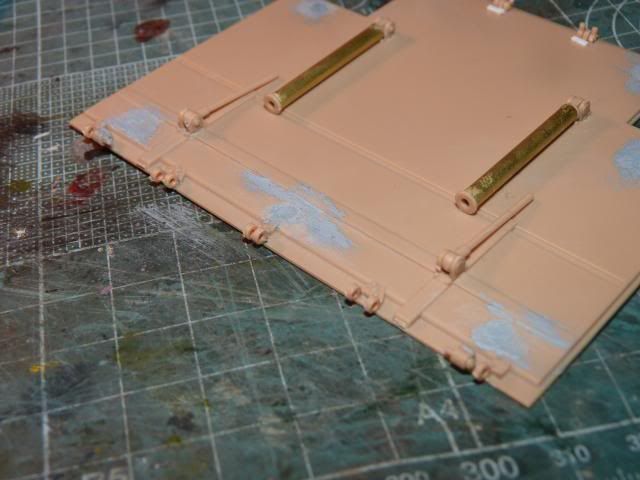
The rods goes on with the arms closed off on each ends-

A few number of curses flew by as the plastic that was supposed to be inserted all along the axis of the hinges broke. But I managed to salvaged the situation. WHEW.After making sure every glue is dry and the attachments are strong, I can now move the flaps -
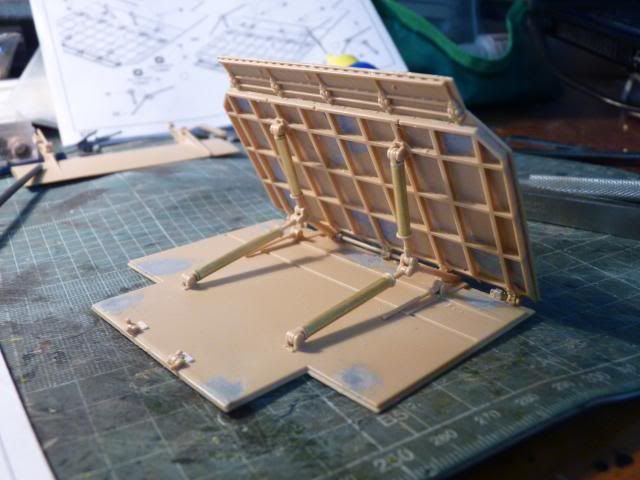
I had a series of mini heart attack putting these flaps together. And this is the rear flap with its two main hydraulic rods ( the rear flap was easy to put up )-

I moved on the complete the turret. I had to put on yet more tiny pieces. I honestly have no idea what these are and putting them on was a pain in the back side... oy vey
Right-

Left -
And then, I put on the turret basket, WHICH comes in one complete piece in a separate sprue, nicely casted and easy to clean up-
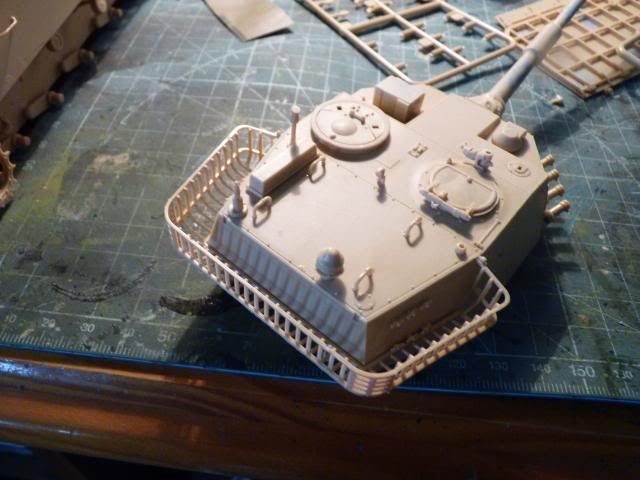
And I put on various bibs and bobs throughout the turret and finished everything except the optics -

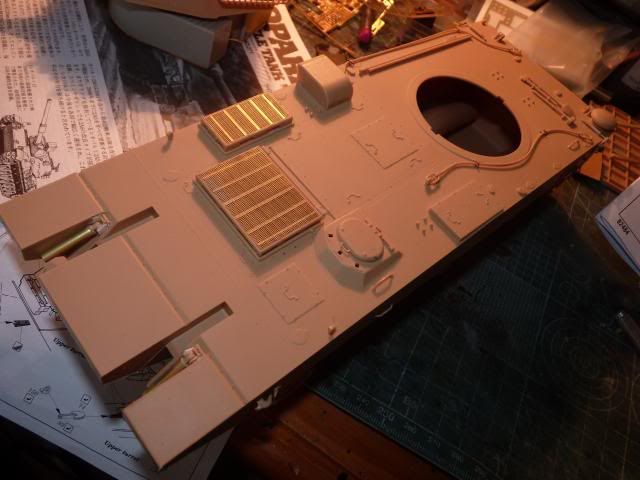
I also put on the secone PE engine grille and that finished up the hull -
Primed and the first colour laid down for my digital camo to come -
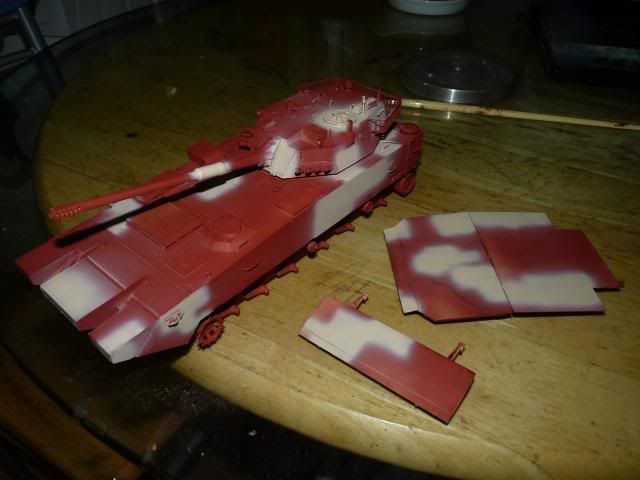
Boy, I am so dreading this digital camo. That's it for now, I will keep you guys updated.
0 comments:
Post a Comment