

Anyway, with the Lowe finished ( I just need to take photos of it, which will come soon I assure you ) and finally finished painting the infernal digital camo on the ZTD-05, I decided to unwind and start a new build. This time, I will be a building a lean,mean killing machine, one of the top MBT known as the Leopard2.
The kit was a gift from a dear friend, the name is Bret and goes by Mech Tech on our Mecha Lounge Forum. Thank you dear Bret for giving me this kit. It would have cost me nearly £40 if I have to buy one myself. As a sign of gratitude, I sent him a Zvezda T-90. He really loves it.
Well, no special introduction would be needed for this kit.

Here is the sprues and parts laid out for you guys -

Per Tamiya Standard, some of the parts are really simplified so I bought a set of Eduard PE.
Here is the set of P.E laid out -

The very first thing I did was put on a piece of Photo Etch part on the arm for the return roller -
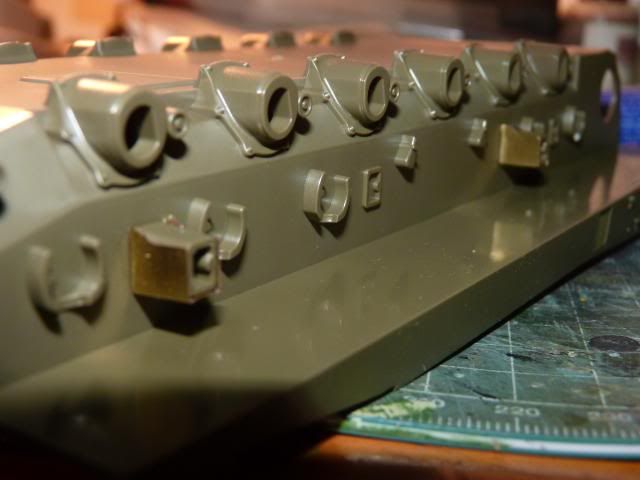
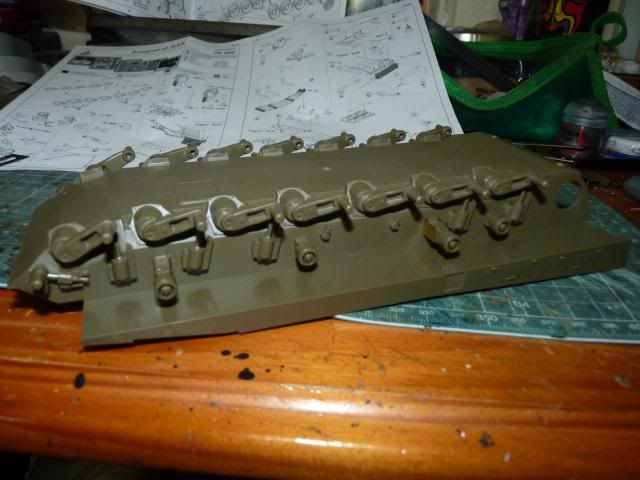
Followed up by a complete attachment of the Suspension arms, shock absorbers and return rollers -
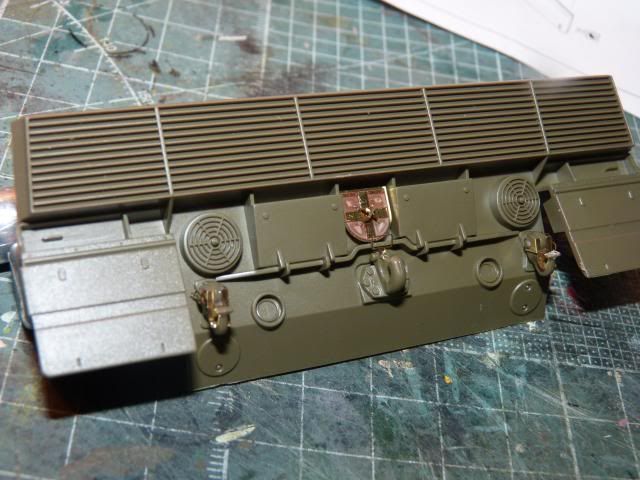
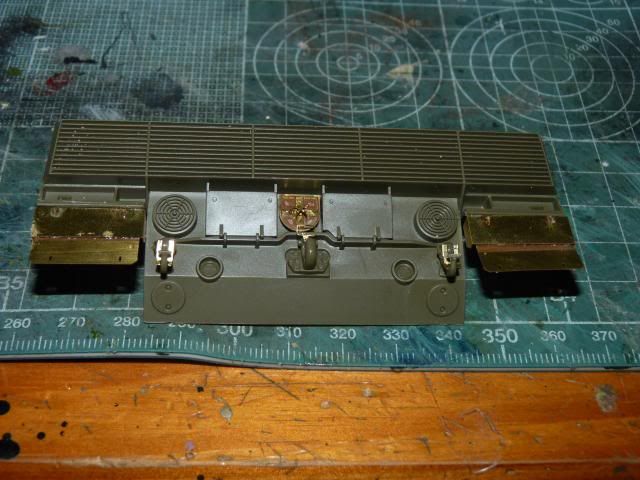
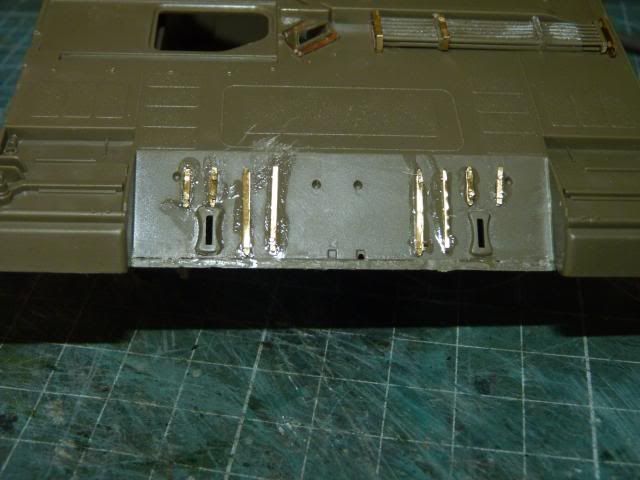
After ward, I moved on to putting some more pieces and photo etchs on the rear hull -
You can see those itty bitty P.E parts I put on the tow hooks. Here's a close up on one of them -

I decided to get rid of the kit supplied mud flap and put on the after market P.E.
Followed up by some more P.E on the front hull -
More P.E on the side of the sliding-driver-hatch
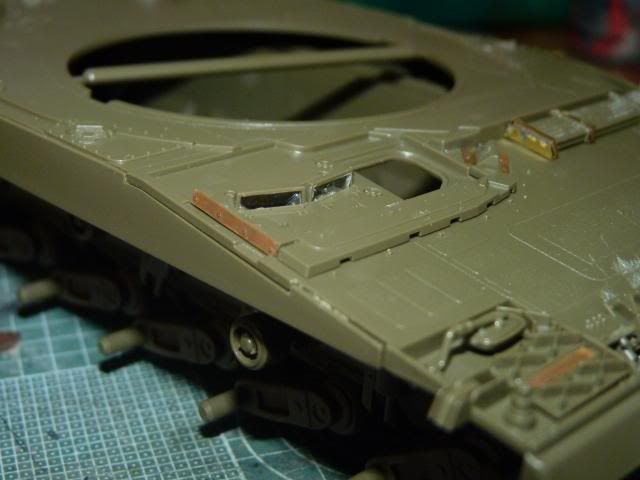
Some more P.E on what I believe are a storage for the Gun-cleaning rods -

More P.Es and other parts put on the front left -

Front right -

and this is how the entire nose looks like -
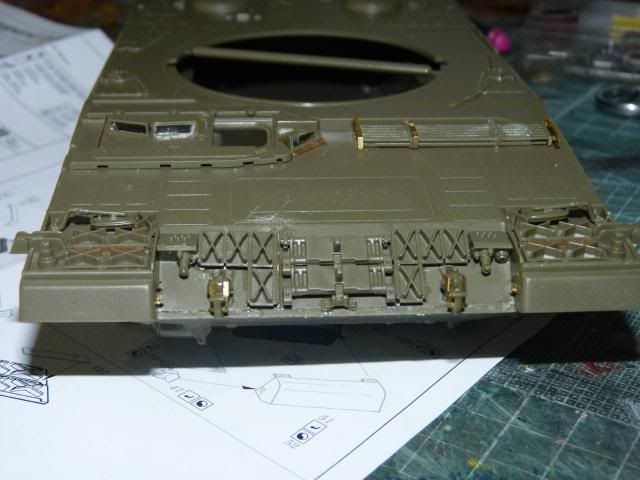
That's the Front hull taken care of Next update, I will try to finish the rear hull.
See ya next update
0 comments:
Post a Comment