

Well, here comes yet another finished kit from me. This time, it's a paper-panzer from a relative new company called Amusing Hobby. And the vehicle is called '' Lowe '' ( Lion in German ).
The Panzerkampfwagen VII Löwe (Lion) was a design for a super-heavy tank created by Krupp for the Nazi German government during World War II. The project, initially code-named VK 7001 (K), never left the drawing board, and was dropped in late 1942 in favour of the Panzer VIII Maus. As I want to focus more on the kit itself ( as a mini review) please jump over here to read more about the Lowe - Link
Amusing Hobby is from Japan, relatively new company and have released the VK1602 Leopad, VK3002DB, Neubaufahrzeug, Lowe and will soon add the Object 279 in their product. I haven't built the other ones but I have read some pretty favourable reviews about their products and when I bought the Lowe, I wasn't disappointed.
Regarding about the kit's quality, the plastic quality is close to Trumpeter's quality. A little bit brittle and a bit rough but very well casted. The kit include its own set of photo-etch, clear plastic for the periscopes, workable suspension AND workable tracks. The price was not that high as well so it was very well worth it. The instruction comes in a booklet style, clear and precise and I didn't see any printing or part mistake as well. The turret and the mantlet comes with moulded on cast-iron texture which is pretty beautiful by itself. The part count is relatively low and most of your time will go into making the suspensions, wheels and the tracks.
The down sides of the kit were that there is no tow cable included and the casting of the tools ( moulded separately in a different colour ) are really soft and the details aren't that good on that. The perforated muzzle brake is also moulded with closed openings. No parts for any of the interior is included and no machine guns, both bow and commander's, are included.
I decided to buy a set of voyager etch for this baby regardless of its own etch parts and this will be the last time I will buy Voyager. It's too complicated. Anyway, most of the tank is build out of box apart from the voyager set, the IR devices, the commander cupola replacement and roughing up the cast texture even more.
- The IR devices was bought from Great Wall Hobby and one salvaged from my Trumpeter E-100.
- The Commander cupola was, in my opinion, directly behind the breech so I moved a bit further to the left like the Tigers or Panthers.
- The cast texture was roughened up even more just for some visual interest.
The build was very very enjoyable. I made a full account of the W.I.P in the previous posts and you are welcome to look over at them if you are curious about how well the kit goes together. Actually, let me make a list here for the Work in Progress posts -
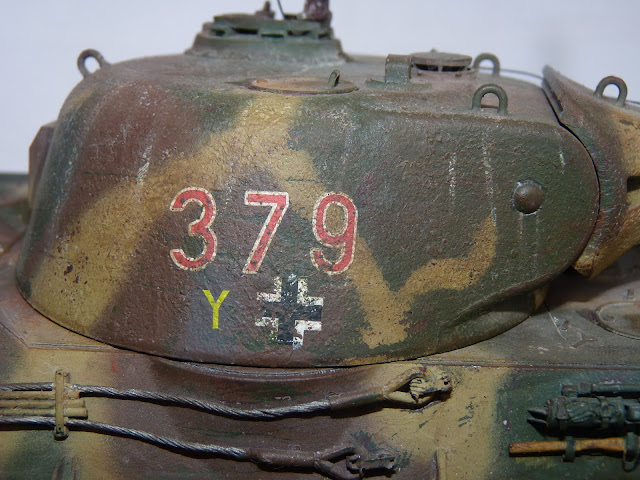
I painted this all in Tamiya colours; dark yellow, red brown and olive green. Clear green was used for the optics. Chippings were made with hair-spray and I chipped with hull-red to show the primer colours. Only a small amount of chipping with Camo Black-Brown was made. The crew were painted with Vallejo for the skins, Tamiya and Vallejo for the uniforms ( I am ,however, not happy with the condition of the figures)
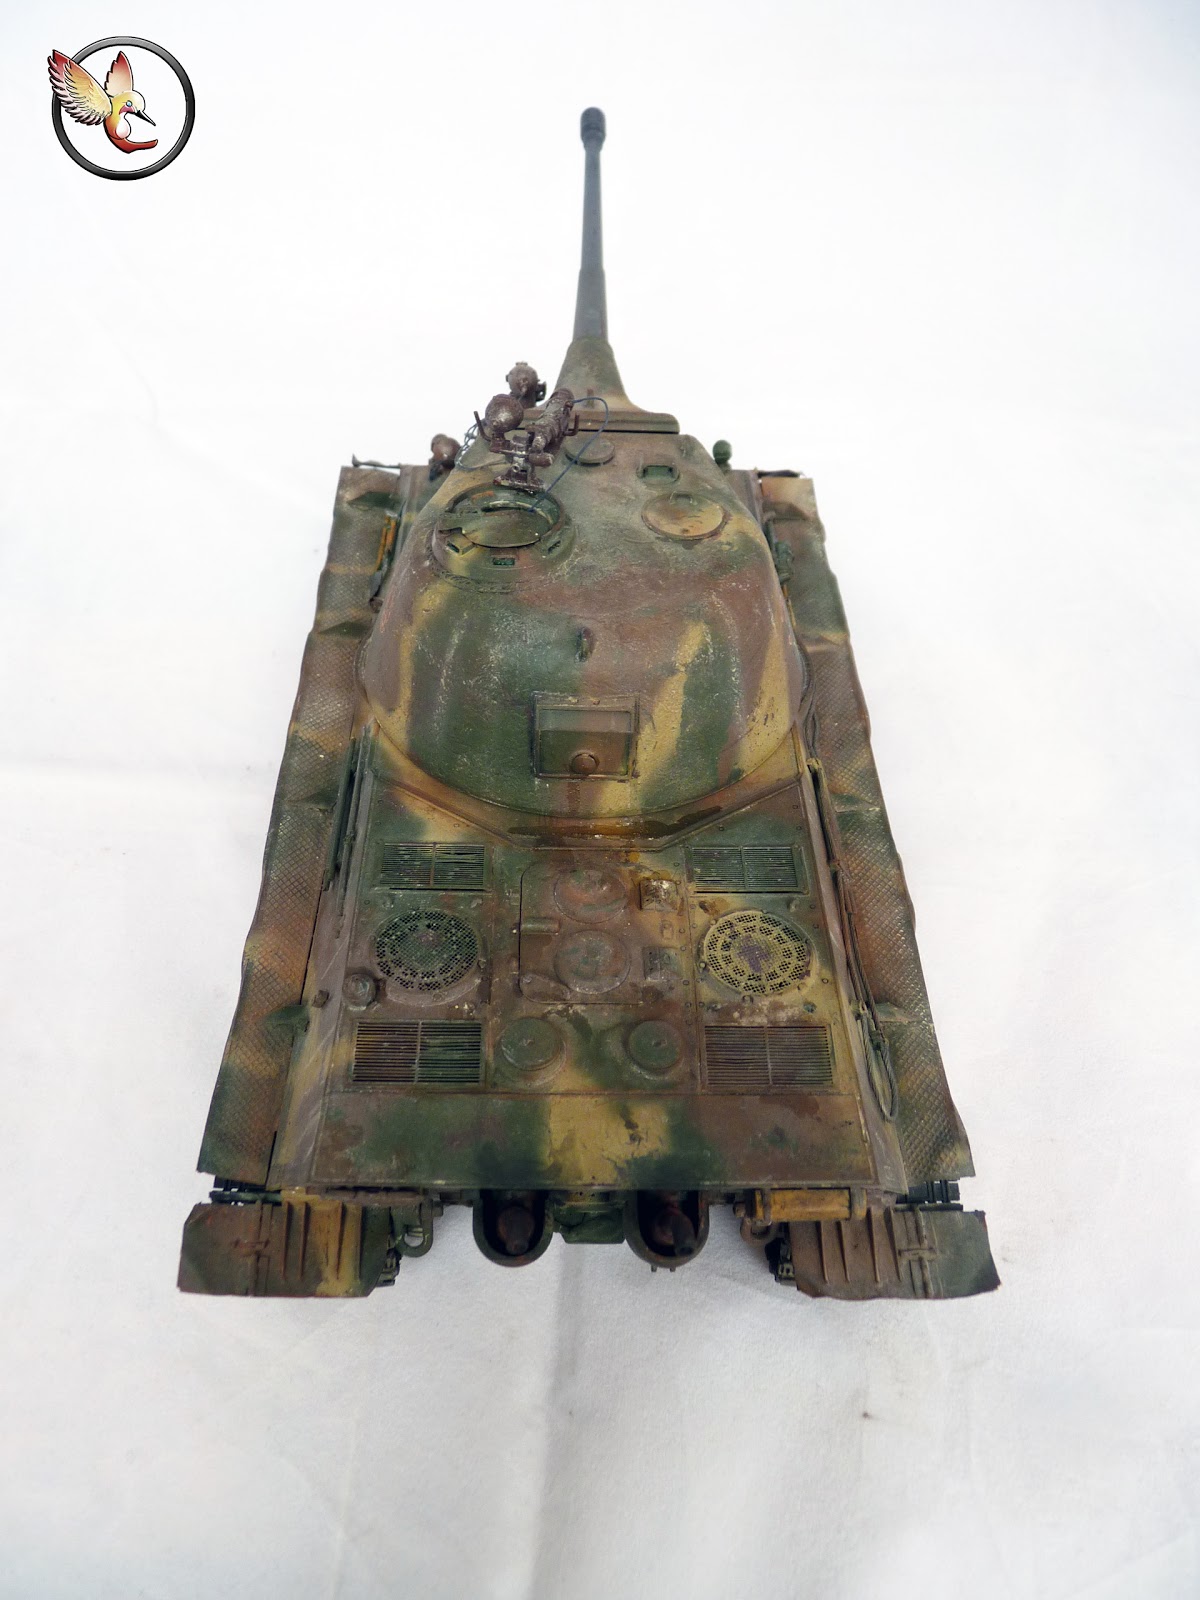
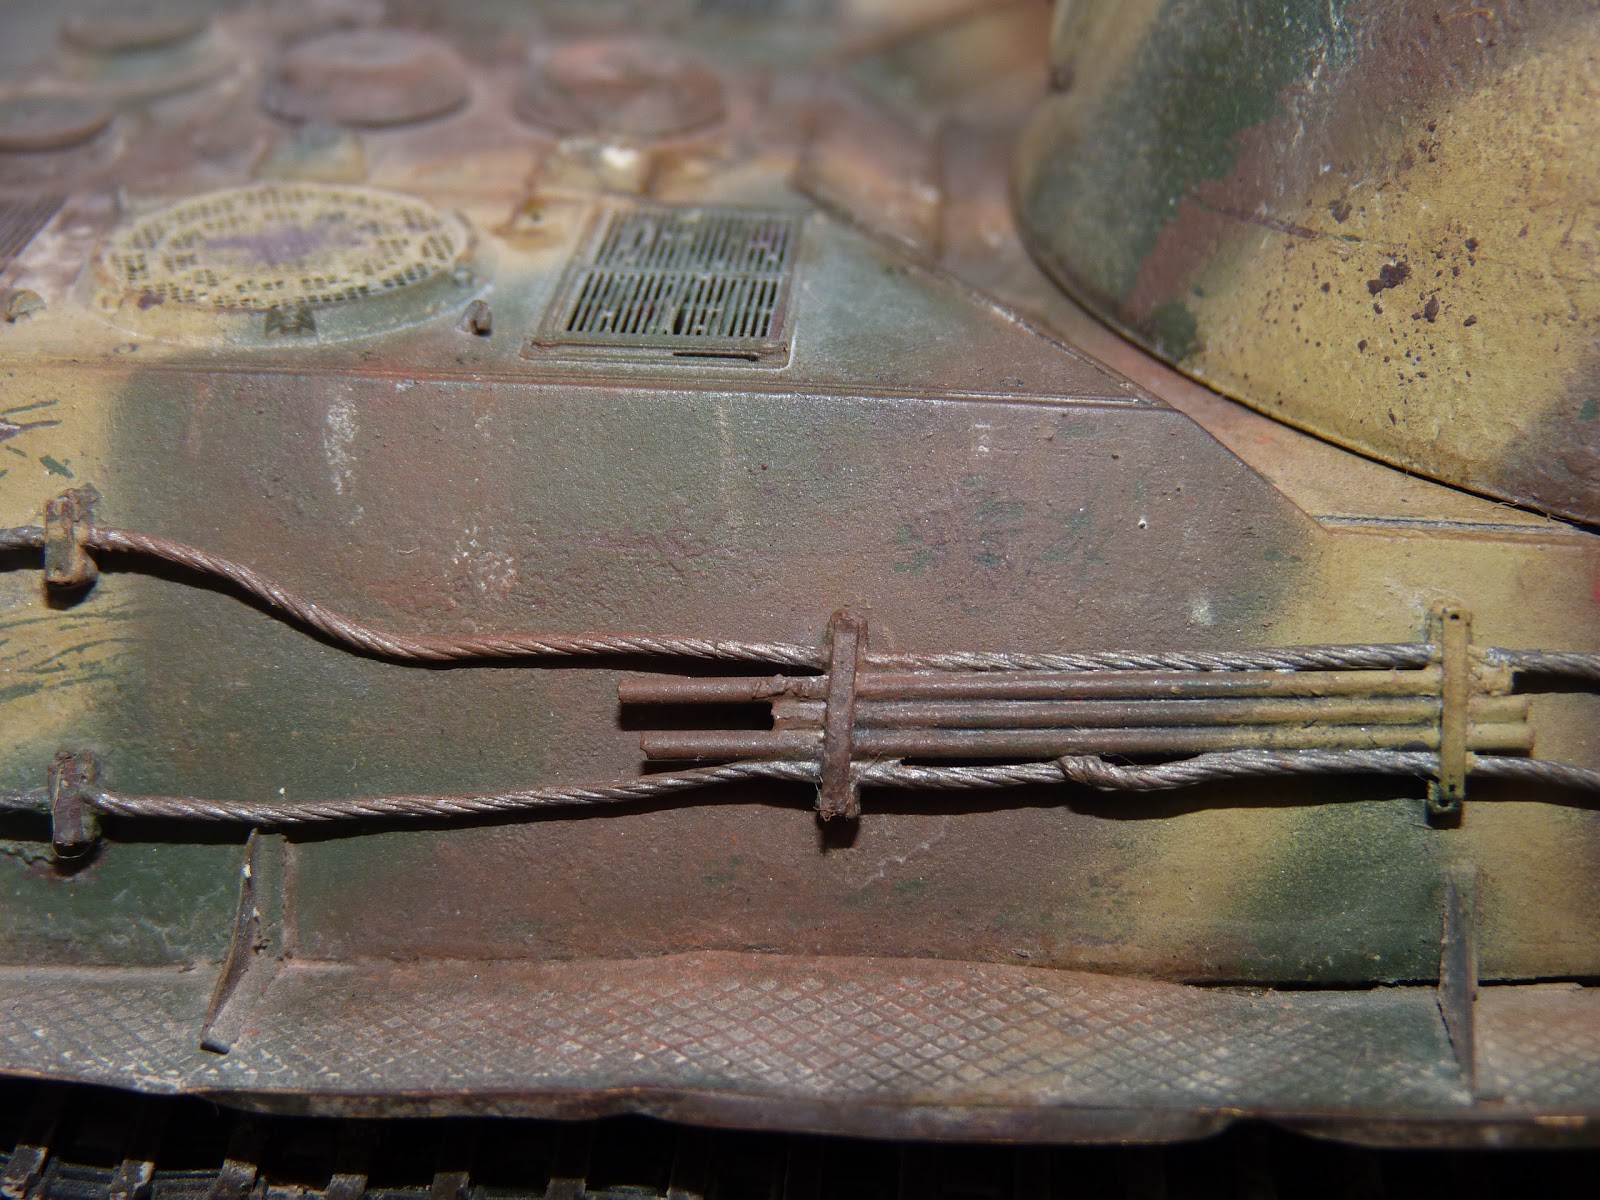
The weathering was made in a urban setting. MIG rubble dust, rust, light European dust, European earth and black smoke pigments were used. Rust was mixed with rubble dust to depict bricks stain and the rest are mixed all in random way to show the dusts and stain of a urban environment.
Well, that's about as much I can sum up about the build. The exact steps can be found in the 5-part W.I.P.
I didn't really had any hiccup with this kit however. The kit goes on really well and love every bit of the steps in building it. I'm vary satisfied with what I did, albeit it could look better but still, I'm happy.
It's time for the photos -
(If you think some are small, just click on them ) 


Here are the close ups ( sort of ) for the wheels-
First set is the left -


And the right -


And on-board equipment and the exhaust -


Here are the close up shots of the chippings -


These are the close ups of the IR devices -


And here are the periscopes -


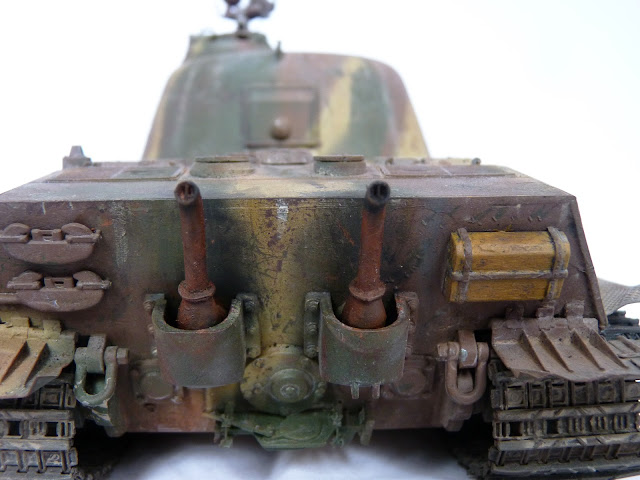
This is the Perforated Muzzle that I drilled out -

And here are the crew shots -


And as usual, my show case photos from various angles -


And a few more I took with the crew on it -


And as usual from me -

To be honest, I am not particularly fond of my own paint job on the figure. I still have a hard time painting the bloody faces....... GRRRRRR, the horror...
I know I still have a long way to go to be classed as one of the masters and I won't stop until I reach that kind of level. I couldn't keep building if not for my supporting friends and comrades. Thank you guys for always supporting me. Thank you dear readers for your patronage as well.
Until Next time.
0 comments:
Post a Comment