

This is my first finished kit to greet the new year with. I will be greeting the new year with a newly finished Type 10, one of the recent offering from Tamiya. Released in September 2013, this kit is very beautifully moulded with moulded-on antislips, clear plastic sheets ( as usual from Tamiya ) and rubber tracks. A very beautiful kit that I can only find 4 draw backs -
1. Price. It is quite a steep retailing at around £44.
2. Lack of PE. With this price, the least they could do it put in some PE.
3. The usual Vinyl mash for the turret basket which is a very complicated basket. I had to buy E.T etch for it.
4. The grab handles are moulded on. It looks ok but on a vehicle that has so many grab handles, I just had to change them.
Apart from those four draw backs, everything else is solid.
I painted this gal in Tamiya JGSDF Dark Green and a mix of JGSDF Brown and normal Brown. A lot of references seemed to show hard edge patterns, I did the green first and masked it off and applied the brown. I just followed the pattern from the instructions. I wanted to exercise artistic license and went for a what-if winter scheme but since I have already made the Type90 in that way, I just decided to keep it factory scheme.
I debated on how to weather it, mainly snows and mud but I realize I have to build more dusty builds as practice so I decided to keep the weathering to a dusty appearance. I didn't do it all dusty ( like my Leclerc) just a moderate amount of dust. The dust was applied first with two layer of oil wash and brushing pigments on top after that.
The crew's face were painted with Vallejo colours and the uniform was with Tamiya colours. I did the JSDF Flecktarn like how I did the Bundeswehr Flecktarn; use a sponge and dab the pattern on.I have to admit it doesn't look perfect but it does look acceptable.
I still suck at painting figures but I did a very satisfying paint job on the face. The eyes were a bit of a let down but since I didn't want to mess up the face, I stopped fixing after 3 times. Usually, I paint the faces by brush but in this case, I airbrushed on a base flesh, brush on the highlights and then wash it to tone it down.
I build the kit mostly OOB except the P.E for the grilles and the turret baskets, the assortment of stowage in the basket and the scratch built grab handles made from wire . The basket was too big and it felt stupid not to have anything in it so I just jammed most of the stowage stuffs I have lying around.
Well, that's about as much I can sum up about the build.
I'm quite satisfied with what I did (on the tank). I am however, very unhappy of the figures and the sorry state the eyes are in. I do love the uniform though.
It's time for the photos -
(If you think some are small, just click on them ) 


The on-board tools -

The Machine Gun -

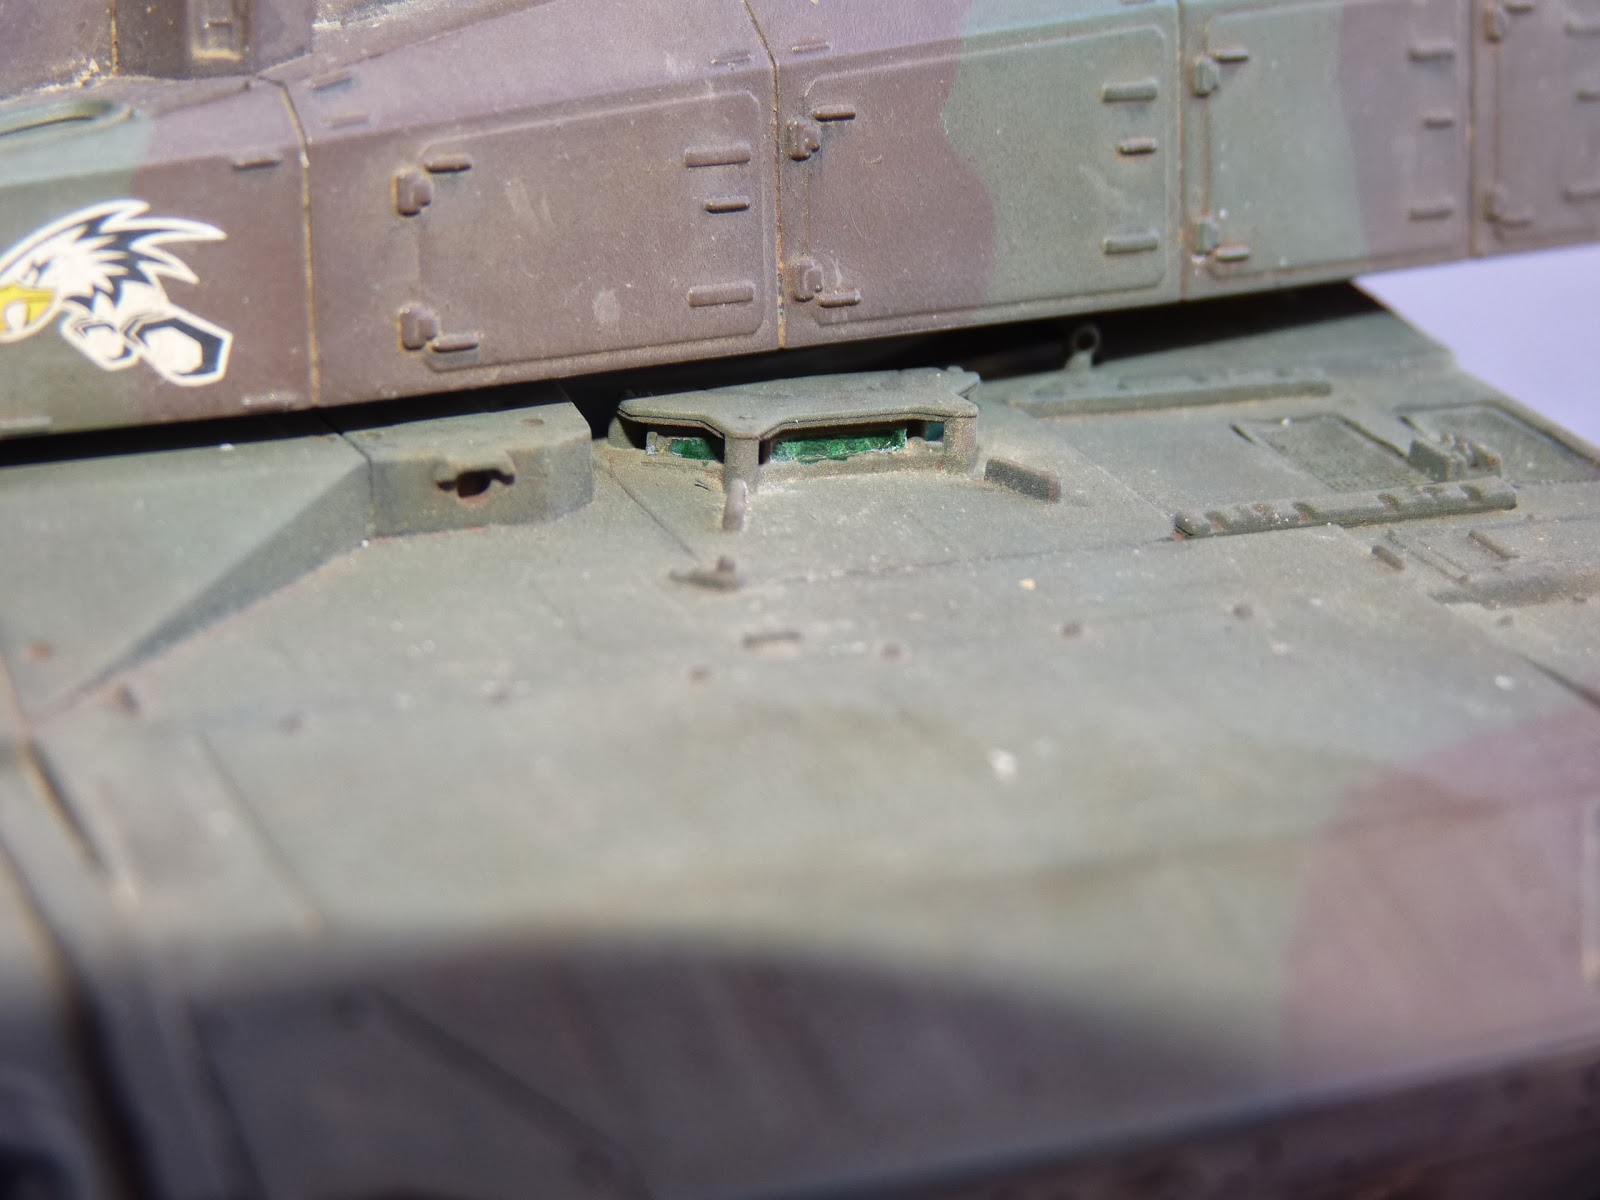
The Periscopes and sights -


The crew -


Here is the stowage in the baskets -


And as usual, my show case photos from various angles -


And as usual from me -

To be honest, I am not particularly fond of some small hiccups on this. I handled it rough and the side skirts keep falling down and I have to keep reattaching it which gave me a obvious gap on the edges. My figure painting skills still sucks but I'm painting more and more and getting the hang of it. I still suck at applying panel line wash and wash around raised details but this gal made a good practice for me.
Thank you guys for always supporting me. Thank you dear readers for your patronage as well.
Until Next time
0 comments:
Post a Comment