

First of all, I would like to apologize if I spamming with so many updates and finished stuffs lately. That is not my intention to do so. It's just that I build 3 -5 kits simultaneously and takes roughly the same time to complete them so the finished date are closed to each other.
This is the trumpeter kit released late in 2012. This is definitely one of Trumpeter's best, superbly molded that comes with features you would only get from aftermarkets. I did not see any flash nor sunken areas. A seperate compartment provides the hull along with the wire tow cable, the newly cast turret and an aluminum barrel.
There are two photo etch frets that provide several small parts that attach to the hull as well as intake and exhaust screens.
Another nice touch is that the rubber rims for the road wheels are separate items and already molded in black. I never liked painting road wheels so it saved a lot of time for me.
I honestly had no idea what exact shade the cold war era Soviet tanks are so I just winged it with what green I had in my stash. I used Vallejo Russian Green, Vallejo Field Green, Vallejo Olive Drab, Mr. Colour Aqueous Light Green, Tamiya Nato Green, Tamiya Olive green for base, shadows, highlight and chippings. I honestly cannot remember where I used which colours though.
I wanted to show the vehicle with somewhat dried up mud and moist mud. I didn't really want to do very dry nor very wet mud and it was touch-and-go for me but I think i manged to show the mud just the way in the middle of dry and wet.
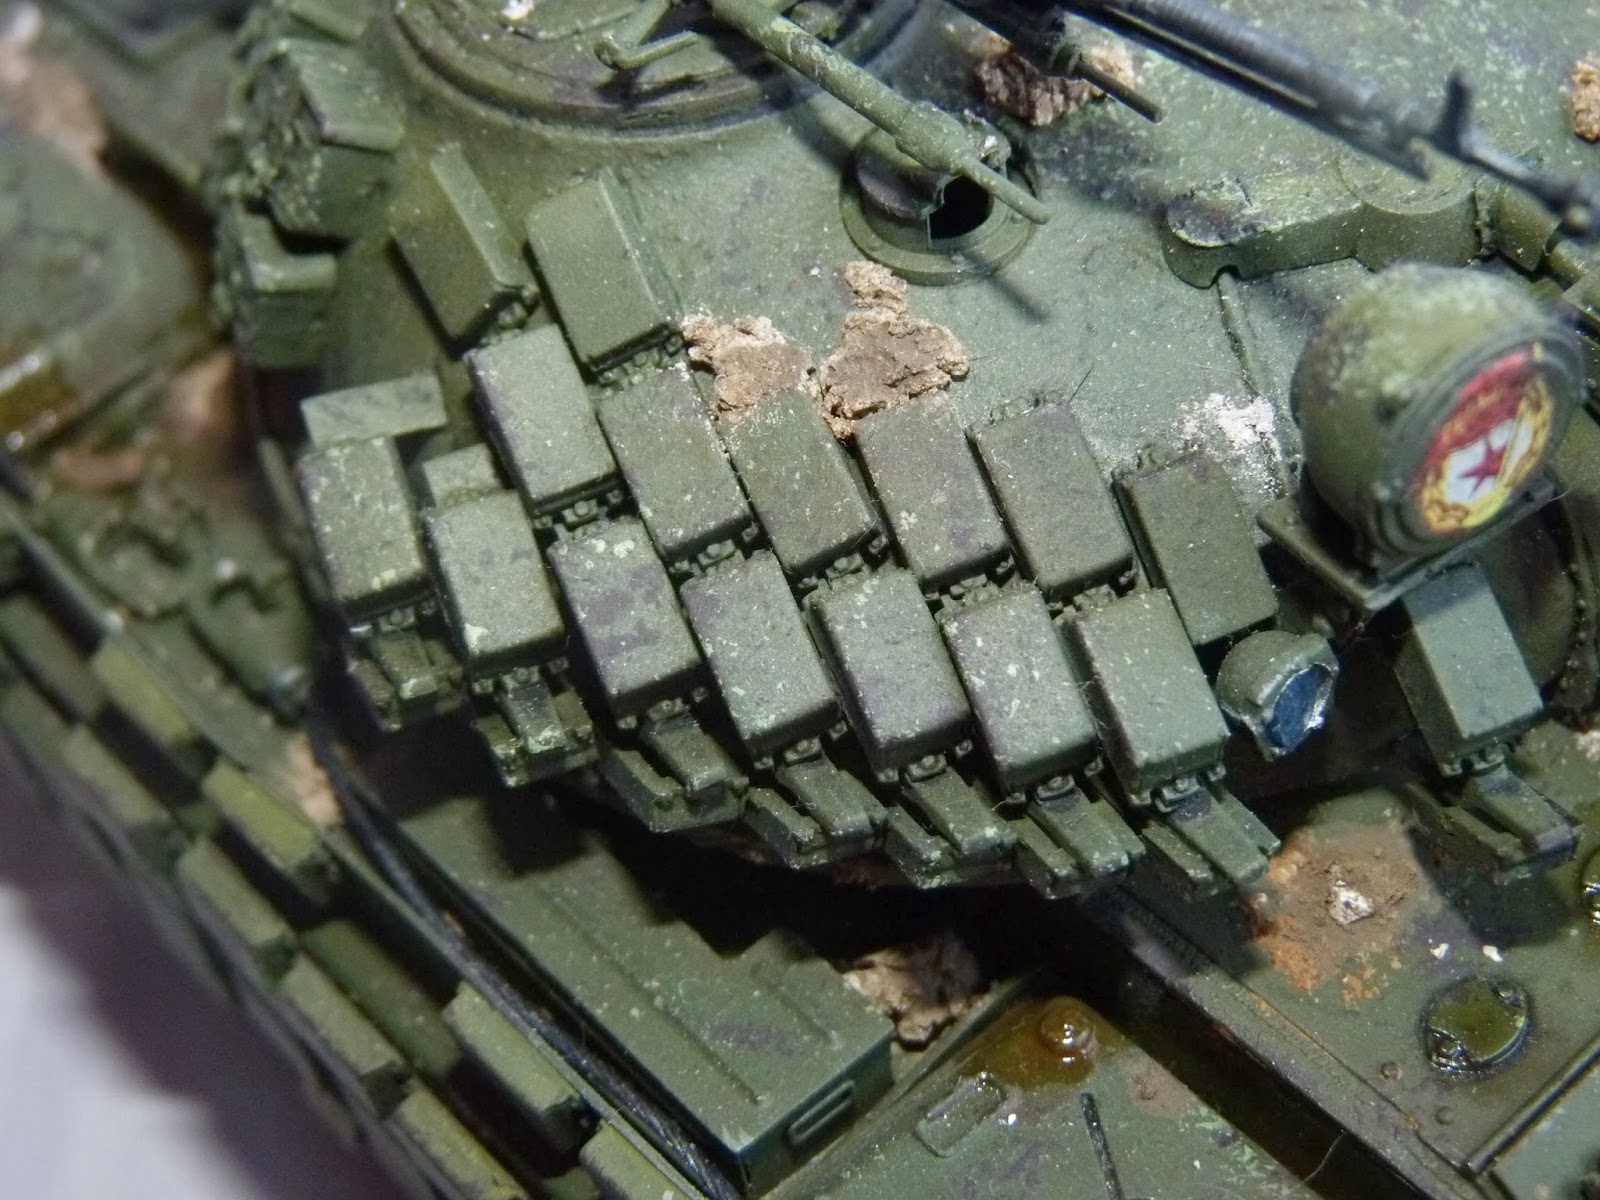
While weathering this one, I got hands on Issue 6 of the '' Weathering Magazine '' and in there they show how to do dirt and ground debris on the top of tank from artillery splash. I was inspired by that and decided to go for a vehicle operating in a Chechnya war. I put on clumps of earth and mud from artillery splash on top of the turret and hull. I tried my best to make it as logical as I could but I doubt I did enough justice to it. Oh well, there's always the first step in everything.
The mud and earth effects were made by means of plaster, pigment, enamel paint, AK wash and acrylic resin.
It's time for the photos -
(If you think some are small, just click on them ) 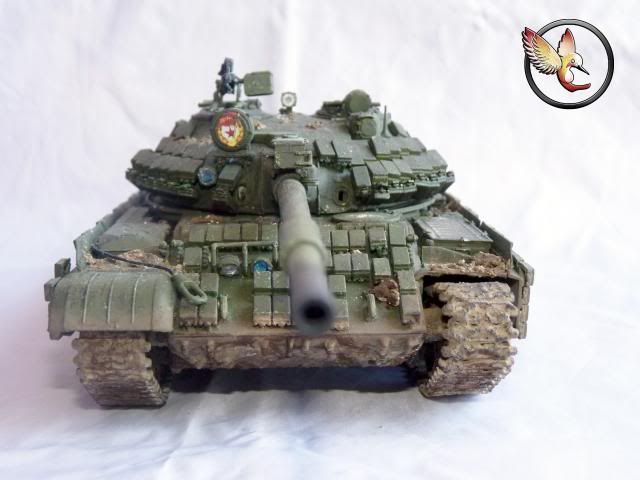


Close ups of the wheels -


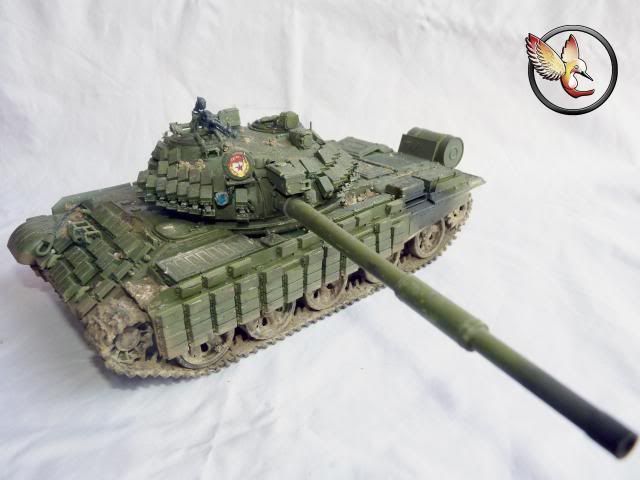
And as usual, my show case photos from various angles -


And as usual from me -

Well, that's about as much I can sum up about the build.
I really love how this one look. I am however, very unhappy of my impatience that leads to the lack of filters and lack of weathering effects on the top of the tank and the the sorry state the mud are in. I do love the chipping and highlighting I did though.
Thank you guys for always supporting me. Thank you dear readers for your patronage as well.
Until Next time
0 comments:
Post a Comment