

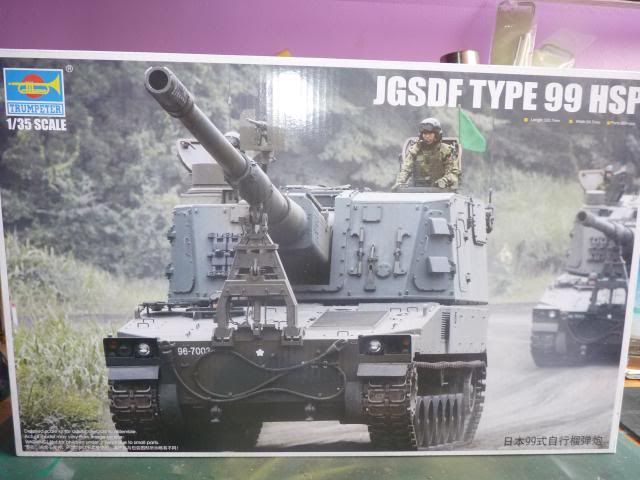
I have been wanting to get this kit for a long time as I have an interest in JGSDF vehicles but I wasn't sure of this but when I saw a friend building one and after listening to him go and on about this lovely kit, I couldn't resist. Not to mention, my favourite forum - International Scale Modellers - is doing a artillery kit SiGs build so I had to get this.
Let's start with the sprue and Box shots shall we ? -
Let's start with the sprue and Box shots shall we ? -
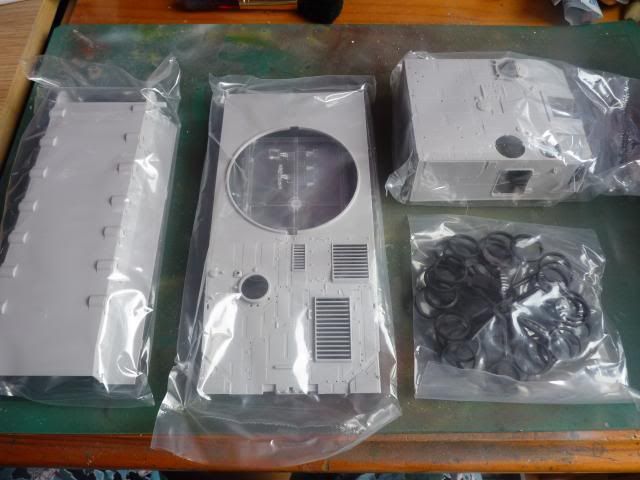
Yes, these are Rubber Tires ... Thank you Trumpeter .. for making my life easier.
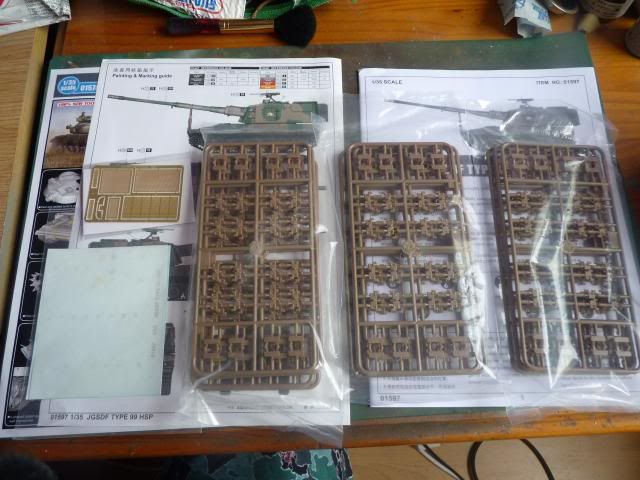
Individual tracks and seperate rubber pads. I love this option, as you can depict a vehicle either travelling in urban areas or in the range.
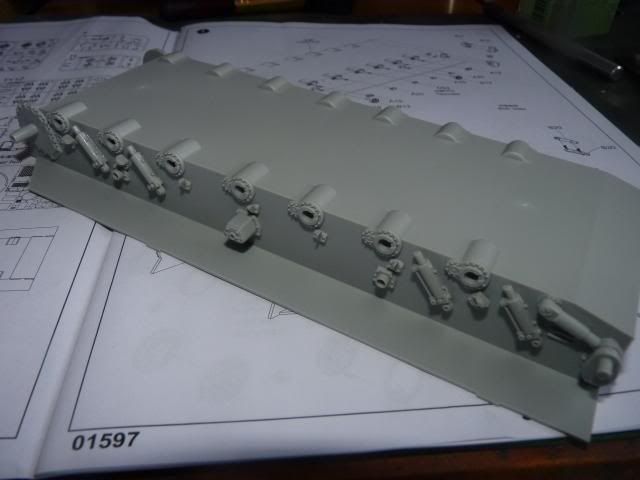
Everything starts from the lower hull so I put on all the shocker absorbers and bibs and bobs -
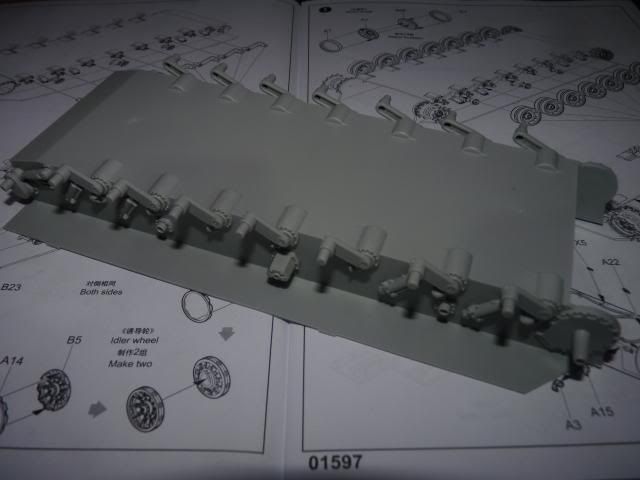
Followed that up with the suspension arms -
After that, I put on the little tiny grab handles on the front plate. I have decided to left off the two cables until I have painted the vehicle.
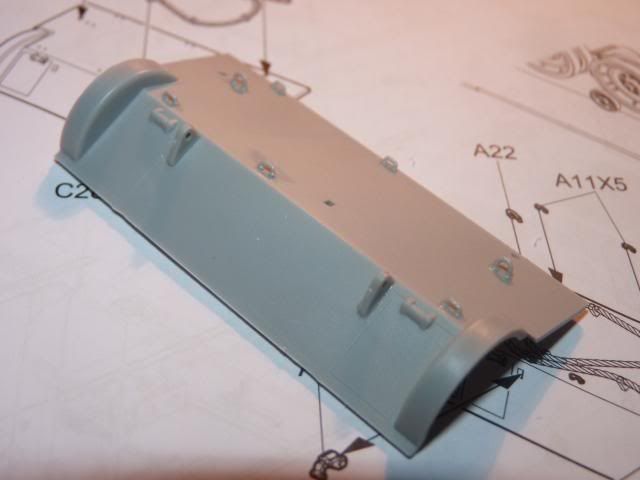
It is quite tedious but I love the fact that those little handles are not moulded on like the Tamiya Type 10.
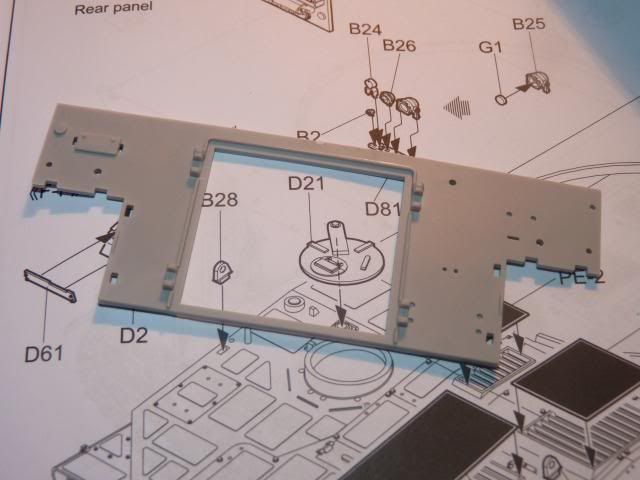
After that, I turned my attention to the back plate. Here we have the back plate by it self, with nothing on it -
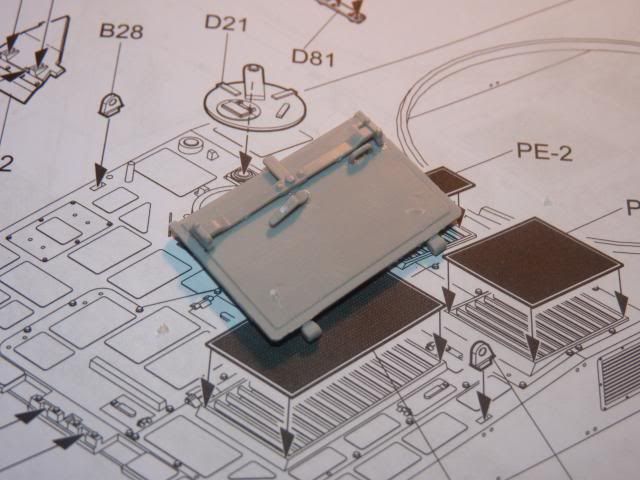
the first step in the instructions calls for the inside of the door -
The fully equipped back plate -
There is an option for the two little racks that you see there; it can be depicted with the jerry cans on or off. The rack is moulded into the jerry cans along with the restraining strap. I couldn't find any references with the jerry cans on so I opted for the empty rack version.
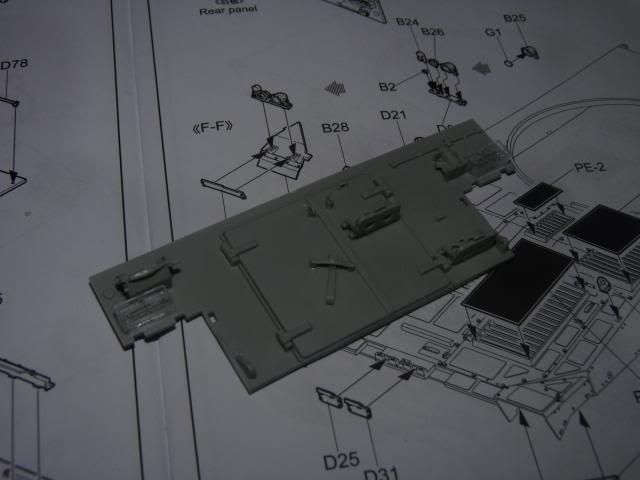
I made a little boo-boo there and realized it too late. I was given an option of either using clear parts or plastic parts for the tail light.
As you can see her on the real thing -
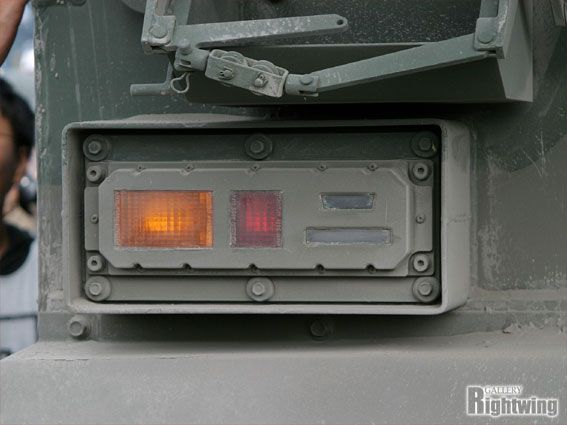
The longer white bar is on the bottom but I either mis-read the instructions or the instructions are mis-lablled that I put it on the other away; i.e, the white longer bar is on the top. I realized it too late take it off.
After that , I put on the back plate which went on without any problems and the fit was excellent. I had some problem with the front plate -
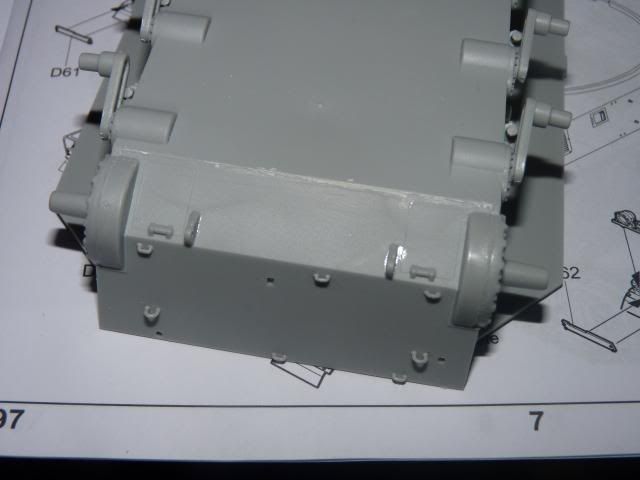
As you can see, I had to use some filler between the joint.
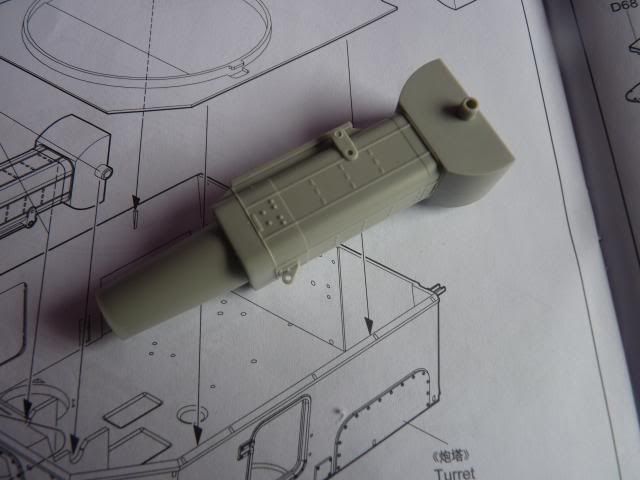
After that, I deviated from the instructions and made the mantlet and base of the gun -
Nicely detailed, a total of 6 parts goes into that -
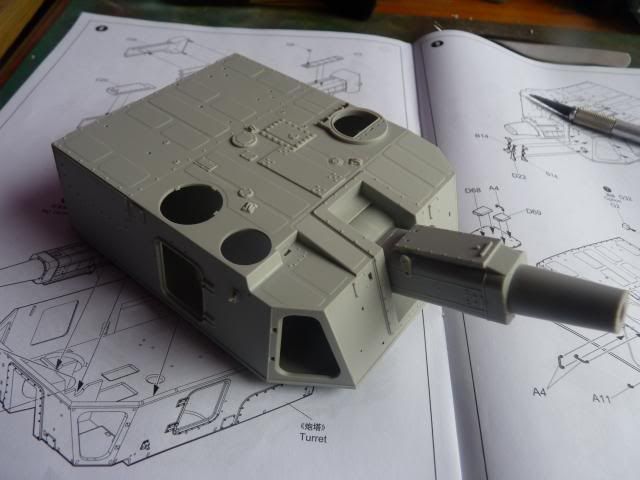
Insert that into the turret from the inside and glued the two halves of the turret on and voila -
The turret with the barrel glued on -
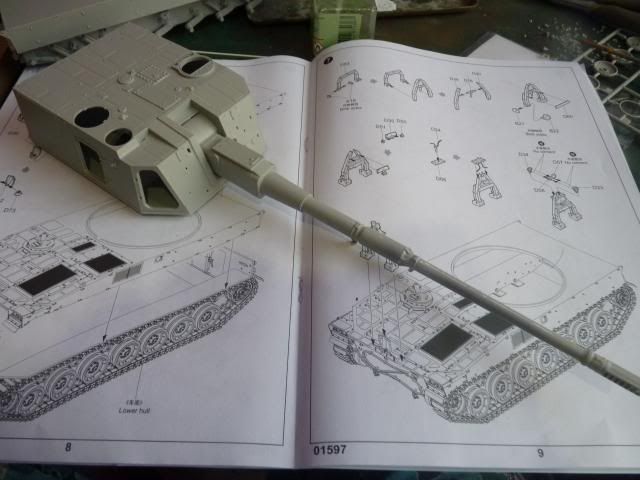
Being a 52 calibre gun, it is very massive. My kind of weaponry.
Right.. so that's it for now for the first update. I will keep you guys updated. IF anybody is interested in modern armour, this is one of the kit you have to get ....
Until the next update
0 comments:
Post a Comment