

So, let's get down do it Shall we?
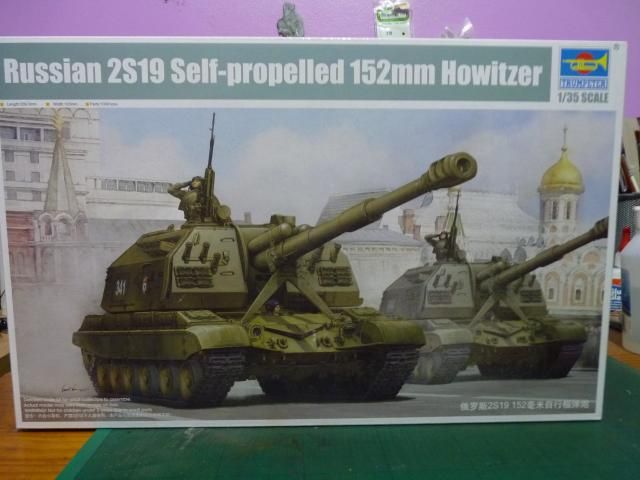
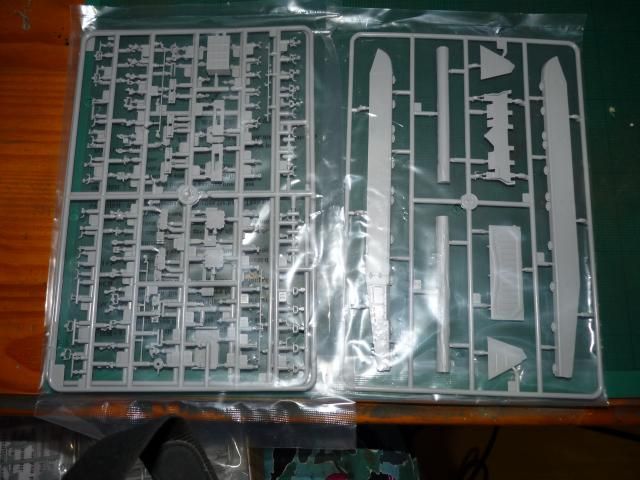
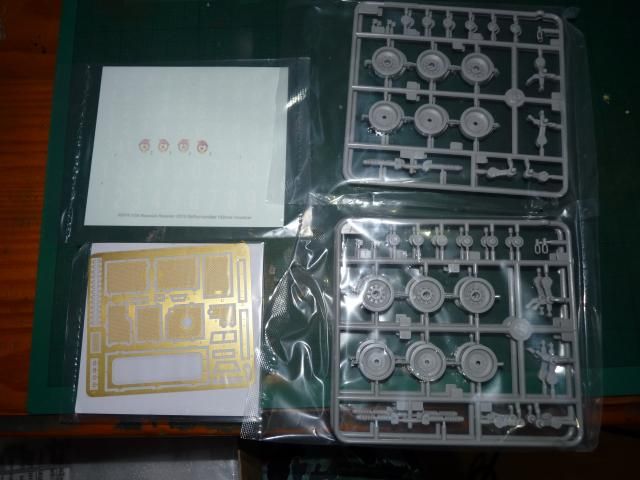
As usual, box shot -
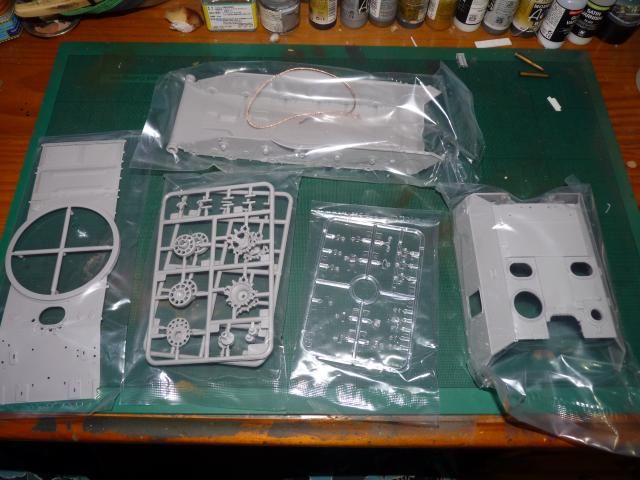


The start of the build is pretty much the usual like any AFV; start from the lower hull.
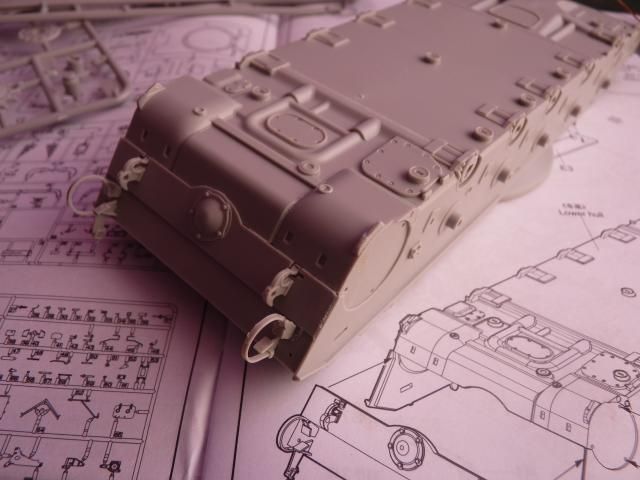
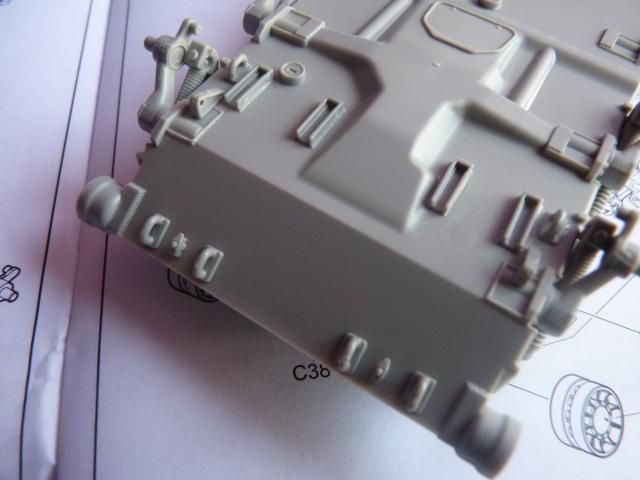
For this particular one, start from the rear hull plate -

The rear hull plate is a separate piece and very well detailed. The strap for the un-ditching log goes on as well as the towing hook on it. After that, the hull plate is glued to the lower hull. There is a slight difficultly trying to make it sit properly but a few second of carefully holding it in place sorted that out -
Next, I had to build the convoy lights and the wire for it. That is comprises of 4 quite small pieces and it was such an assault on my eyes to focus and put it on. But I did it -
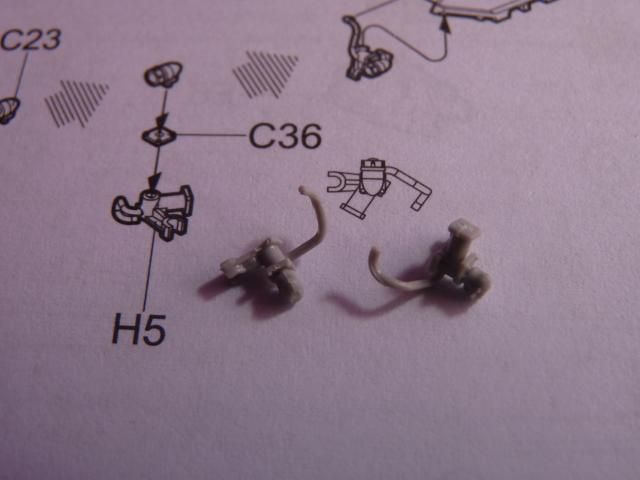
Those little convoy lights goes on the hull like so ( it is upside down on the photo ) -
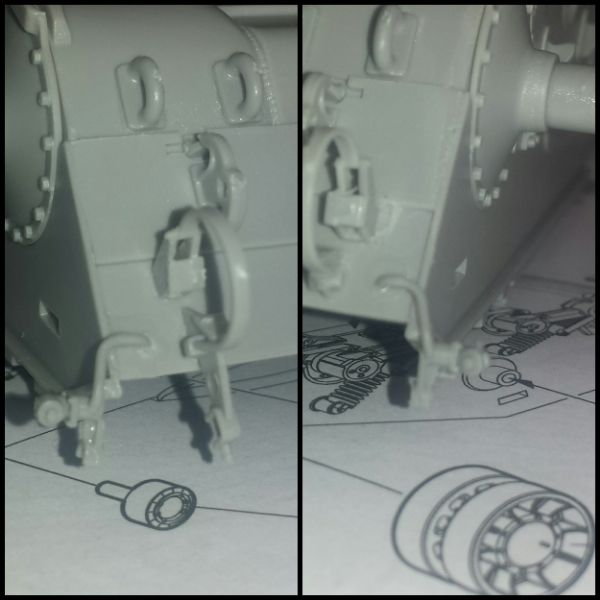
After that, I had to put on these little triangle thingys which I believe are stopper for the wheels swing arms ( so that the arms won't move up so much ) -
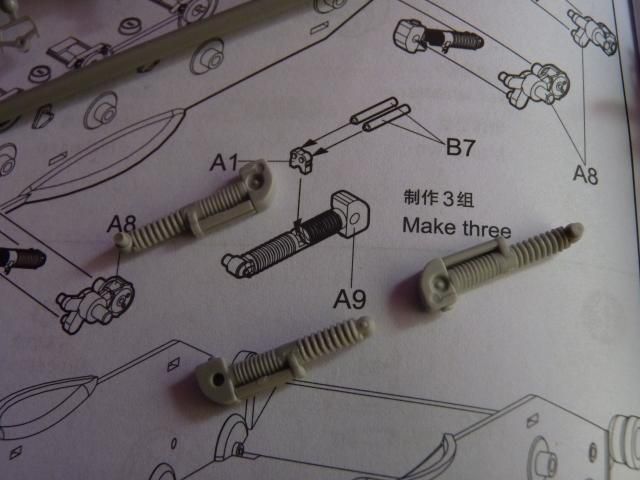
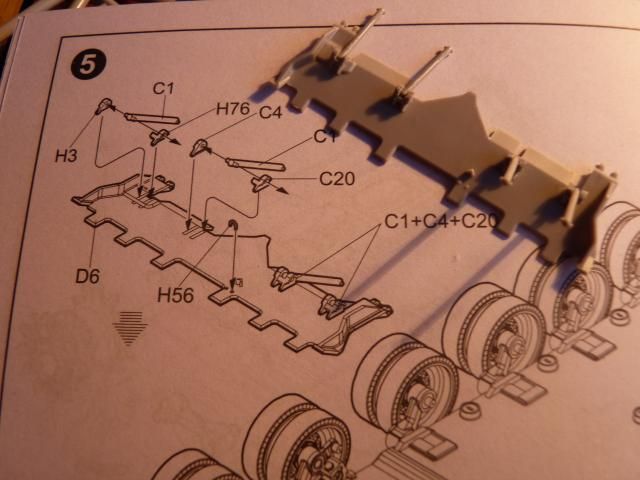
Followed up by shocker absorbers which is made up of 4 pieces each -
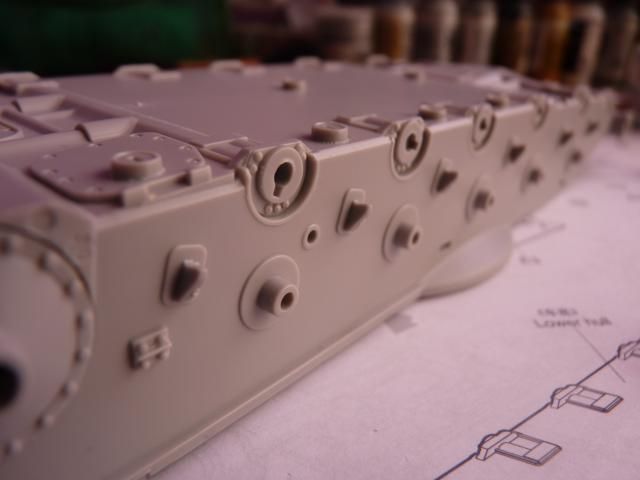
and they goes on the hull like so; 3 shock absorbers per side -
The non-shocker-absorber arms haven't been glued on yet but I guess you have a pretty good where they goes to from this photo anyway.
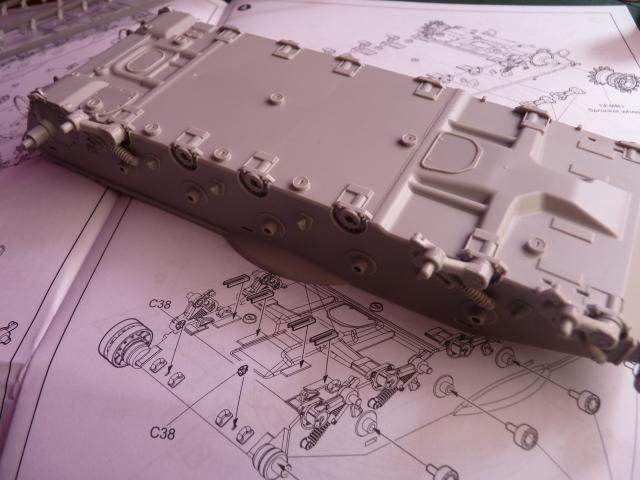
After that, I put on the various little things that are needed to be put on to the front and front-bottom -
Followed up with the engineering blade ( I think it is called the engineering blade )
Attached into the slots glued on earlier like so -

After that, it was time to do the wheels and voila .... we now have completed from step 1 through 5 -
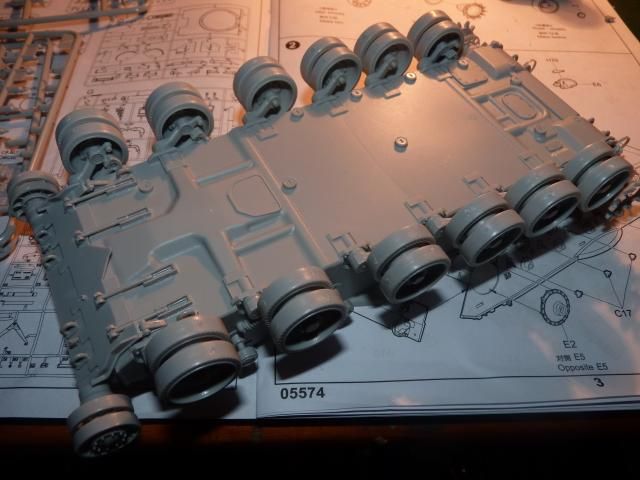
and that gentlemen, makes up the entire lower hull. Next step, the upper hull....
See ya then......
Sexy tank
ReplyDelete