Good day all.. Time to update on this .. I will be putting up the turret this update -
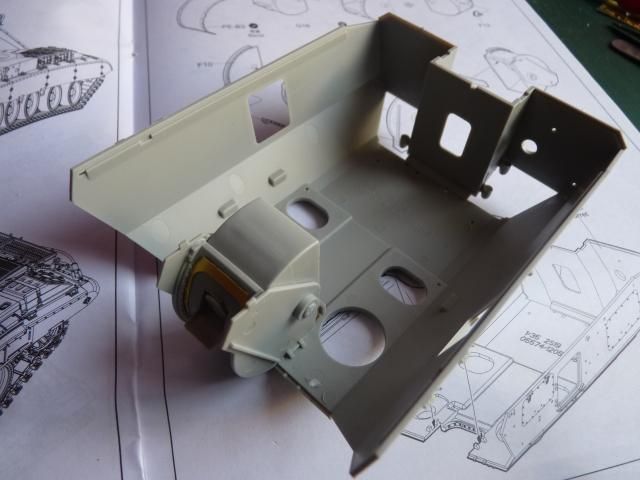
Started with the mantlet made and glued into the inside of the turret -
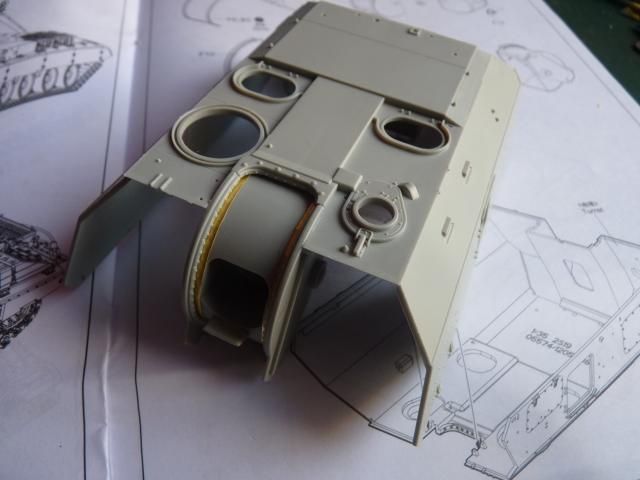
It is held inside like so -
Started with the mantlet made and glued into the inside of the turret -

It is held inside like so -
Quite a stable set up and quite strong. It should be able to handle a metal barrel should a AM company ever made one in the near future.
Closed up with the floor like so - ( a little extra care should be exercised or there will be some gaps along the edge )
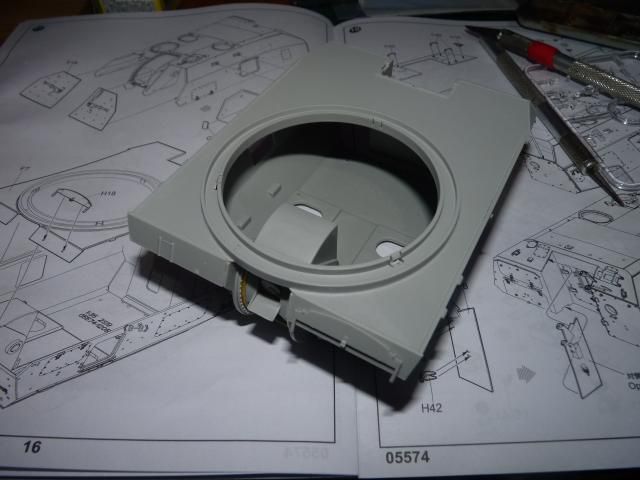
The upper back roof of the turret is a separate piece and all these extra appendages have to be glued on - Be careful as you will be dealing with a lot lf small parts -
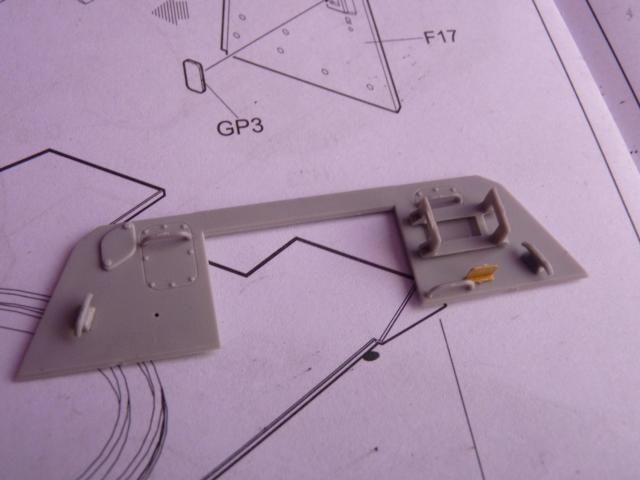
I had to followed that up with those two plates -
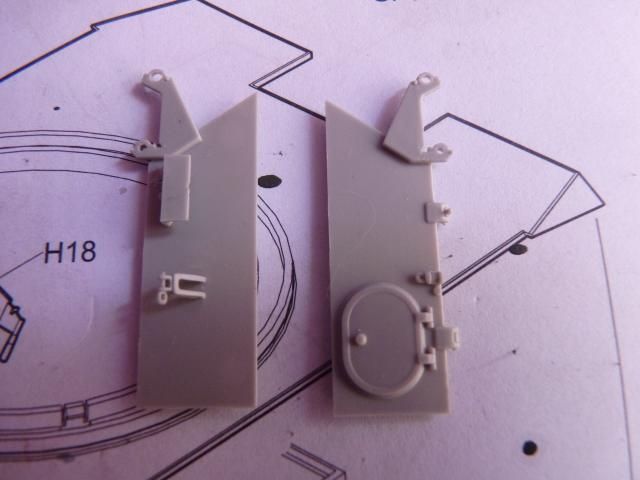
and all three goes on the back of the turret like so-
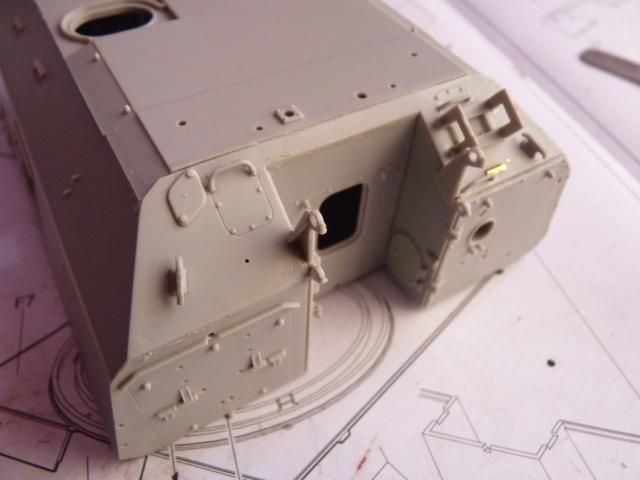
Glued on all the hatches that need to glued -
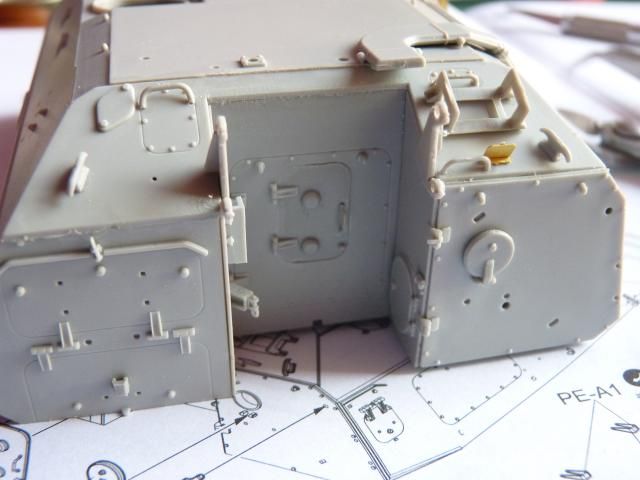
And I put on all the little pieces as well as the big tube thingy ( what is that? a lot of russian vehicles has that on them).. again be very careful as you will be putting on so many small pieces -
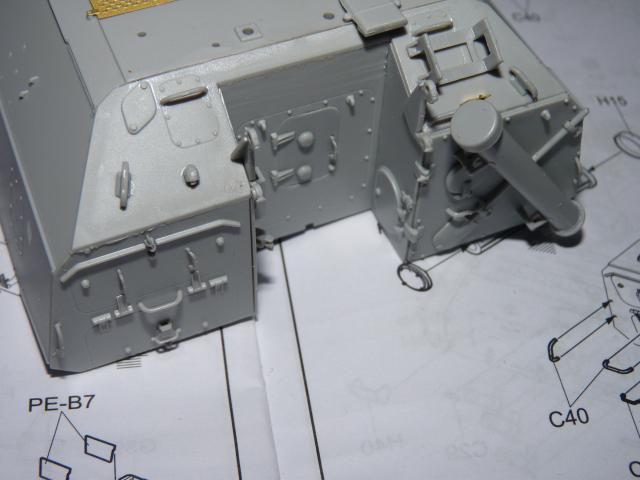
Followed that up with some kind of air filter pipe and a full P.E Rack ... take extra care with the PE Rack and which way it bends. You need to insert partitions inside and the inner walls has notches for the partition to glue onto. I also glue on the hatch and grab handles on the right side of the turret.
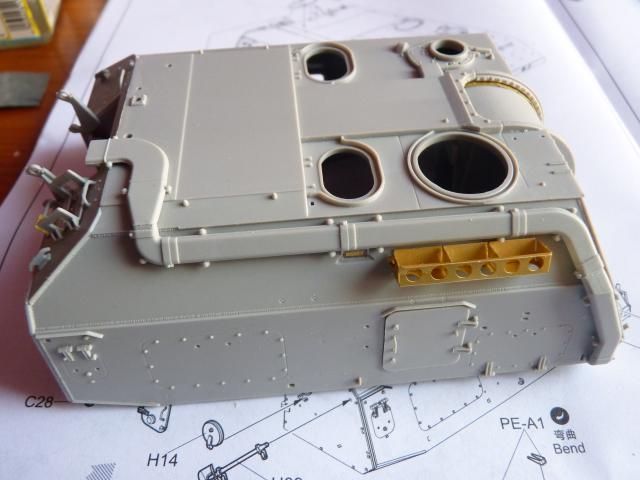
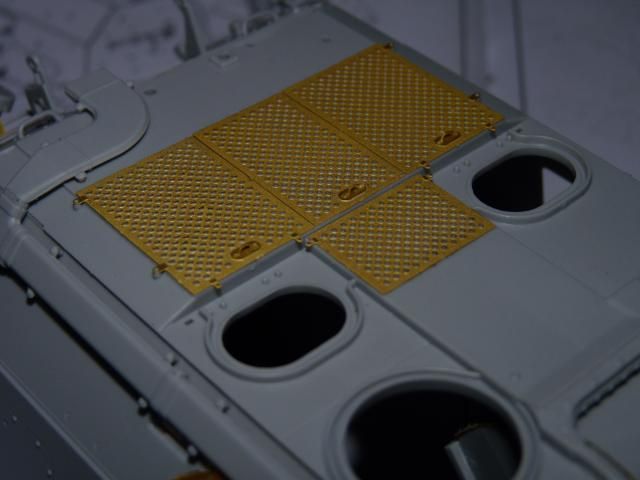
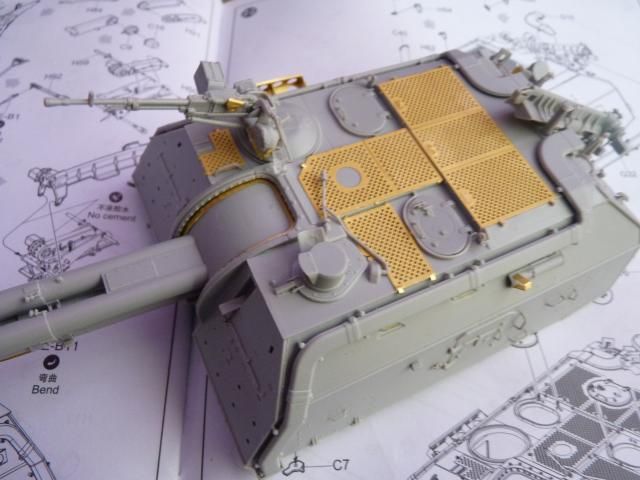
I put on the P.E thread plate on the roof of the hull. Again, be very careful when you glue them. There are very small little pegs and those pegs has to go on to the little slots on the extrusions of the etches.
After that, I built part of the mechanism for the shell feed from outside. The instructions call for the entire mechanism to be built but I strongly suggest building this part first -
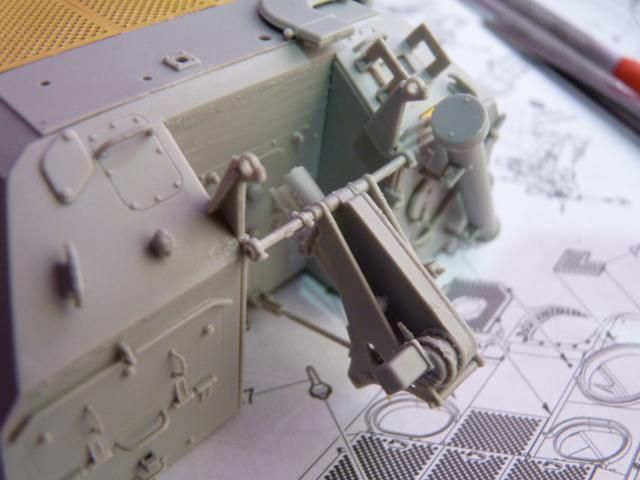
and then build the folding down tray and glue on the hinge at the end of the first part -
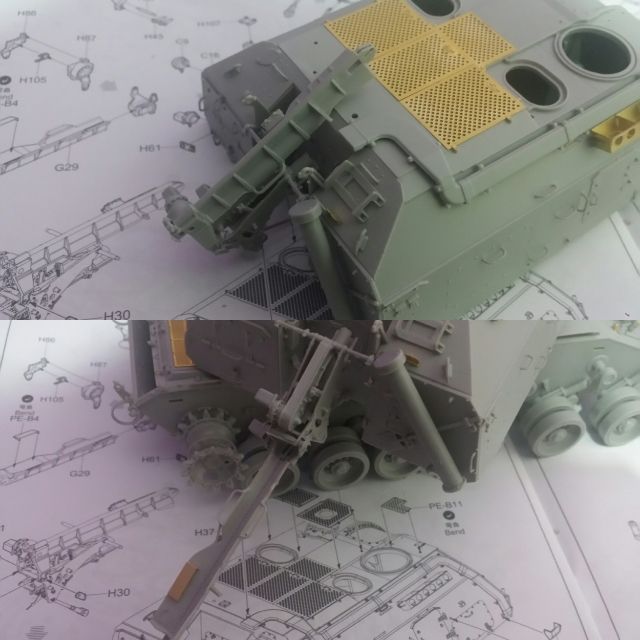
This is the most fragile part of the turret and GREAT ( and I cannot stress enough ) care must be exercised.
And I built the left Air filter or ventilations pipes and grab handles and I glued on all the thread plate on to roof -
And I built the left Air filter or ventilations pipes and grab handles and I glued on all the thread plate on to roof -
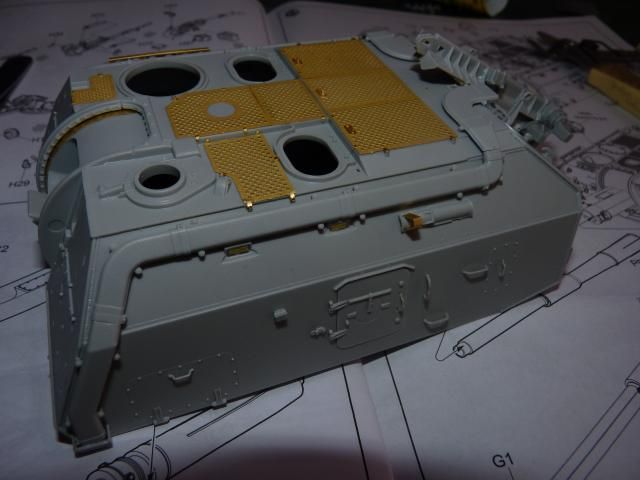
Followed that up with a recoil cylinders; I had to glue on four small pieces on the cylinders and it was such a chore so be careful.
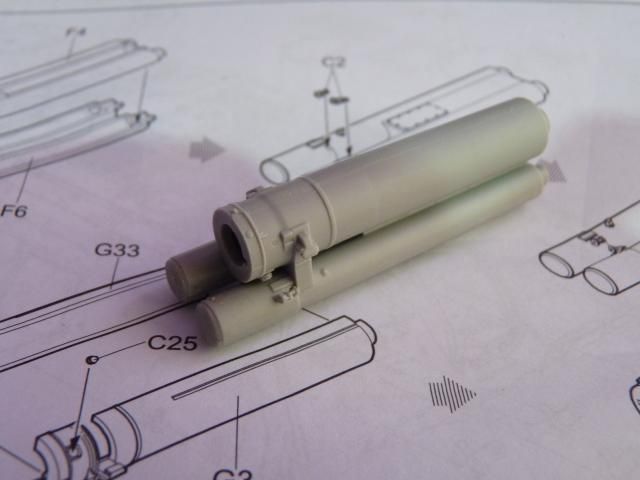
Worked on the barrel; I had to glue on those little P.E pieces along the notches indicated on barrel. The P.E pieces are very small angle and long triangles so they are prone to bending. Be careful. Also, at the perpendicular side of the triangle, there is a little peg that has to go into the slot located on the base ring on the end of the barrel. Be on the look out for that for proper fitting -
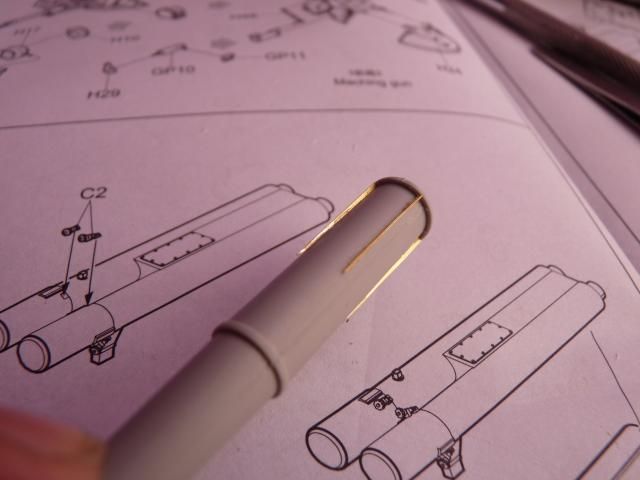
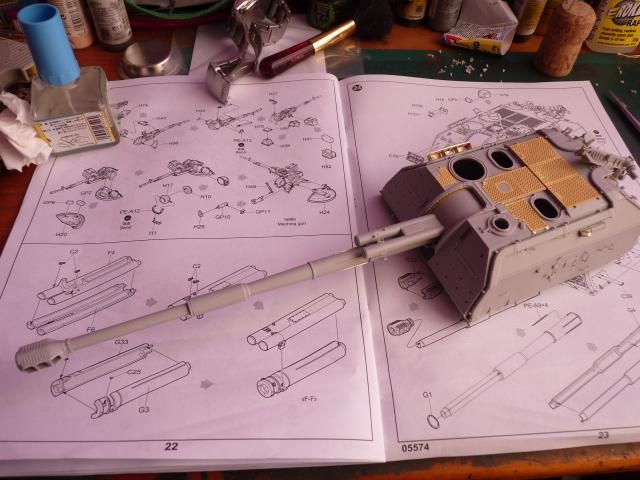
Everything goes in nicely; a bit of something to be aware about, make you glue on the muzzle brake after the barrel has gone on.
I built the commander hatch and the DShK machine gun. That hatch and machine gun is attached together much like that of the T-90. I think it is the same as the T-90. Such a lovely piece of moulding, this one-
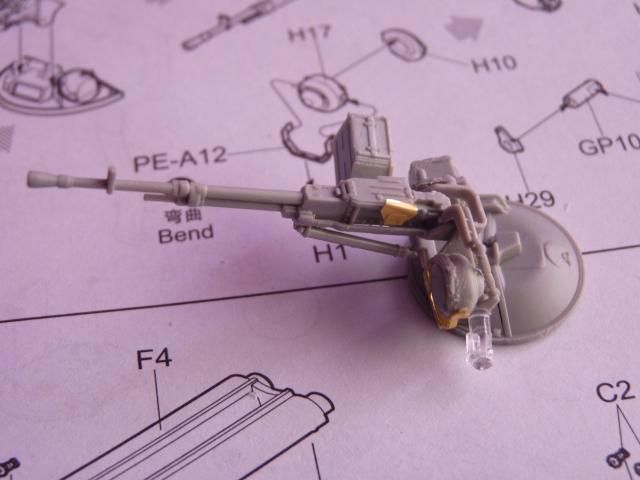
That and all the other hatches and the big hub for the sight goes on -
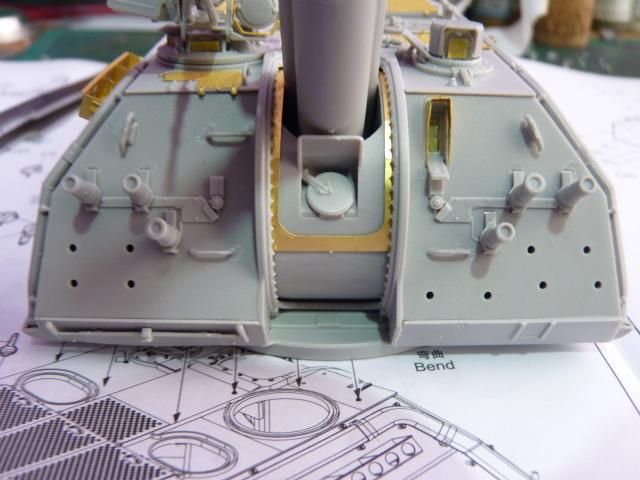
After that, I put on the smoke grenade launchers onto the front hull. If you recall, I point out an error of the mis-labelled P.E part at part 1 of my build. I actually found out where it goes. It goes on the top of the rectangle vision port on the left side of the turret-
I had forgot to build this radiator piece so I build that -
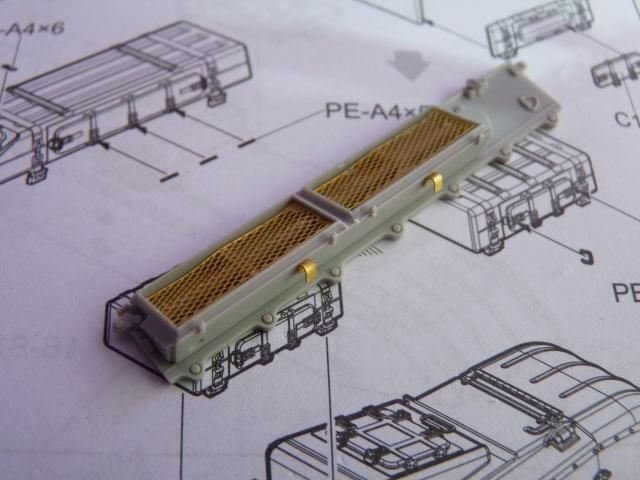
which goes on the end of the engine deck -
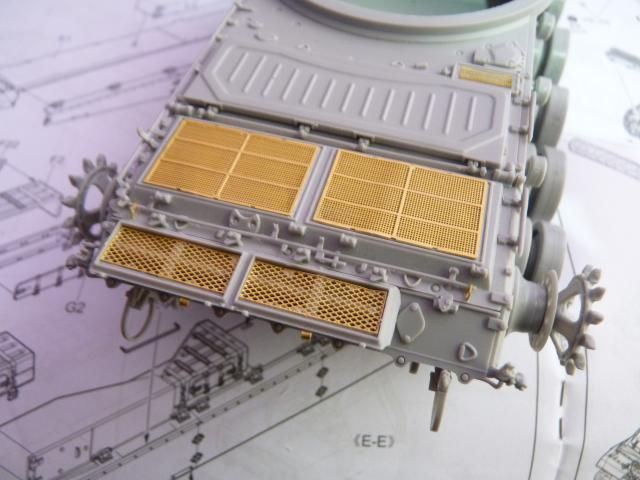
With that, the entire turret is done. I just need to focus on the annoying tracks and the fenders and side skirts
More to come in the next update ....


0 comments:
Post a Comment