

lets start shall we -
First of all I did this -

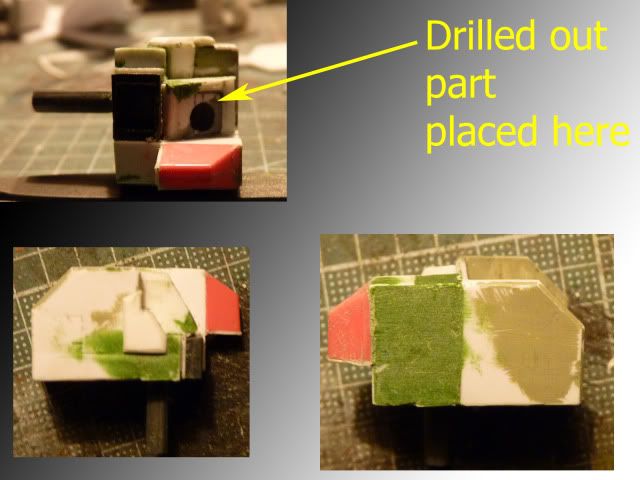
I had to drill that bit out so that that I can do something for the power cable to go into the gun, I mean, it would not be practical for a such a huge gun to function without a proper power source -
The drilled out part was then attached on the gun's gimmick as you can see in the photo and that part is further refined -
So, now the power cable will go into the gun like so -
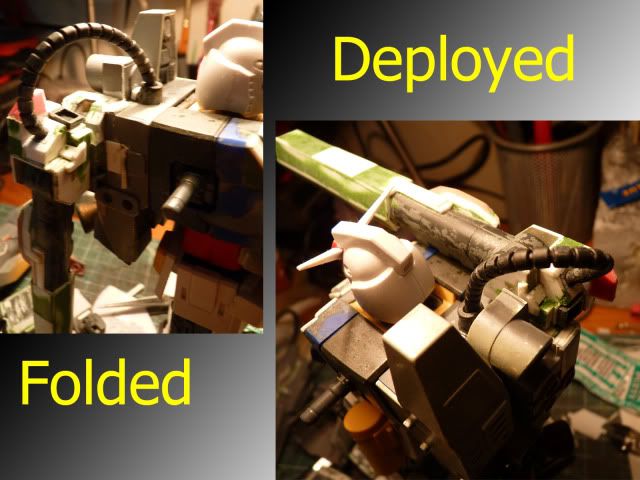
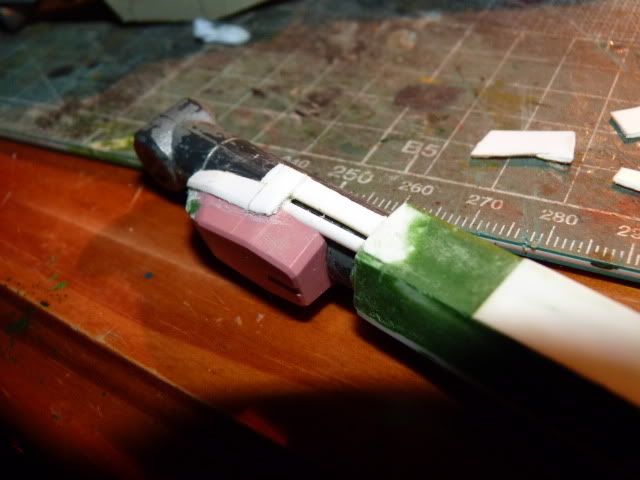
And I also put on some new parts on to the gun .. as a mean of refining it ..
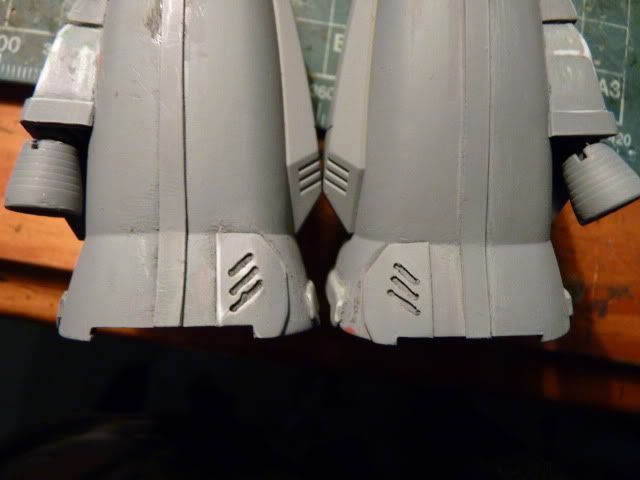
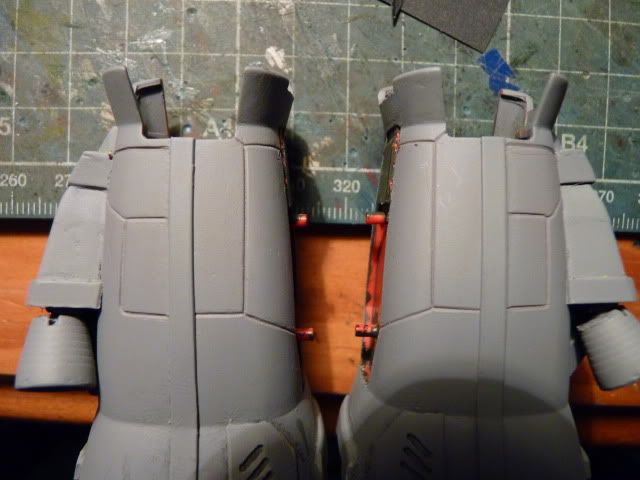
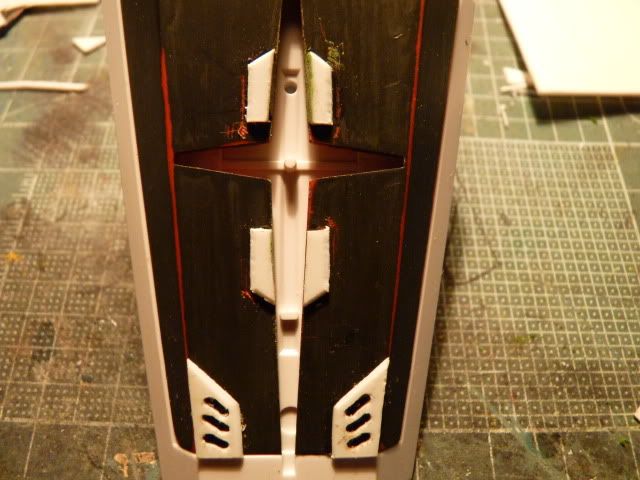
After that , I put on a strip of plate along the seams there the two halves of the leg armour meet -
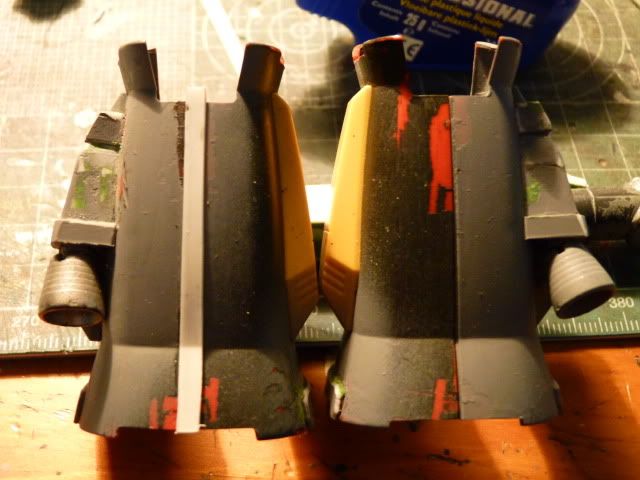
That's my little trick of avoiding permanent sealed panel lines ..

Didn't want to go heavy on panel lines and/or pla plate so I only put on these on the feet

after that, put those little plates on the back of the leg armour for details -
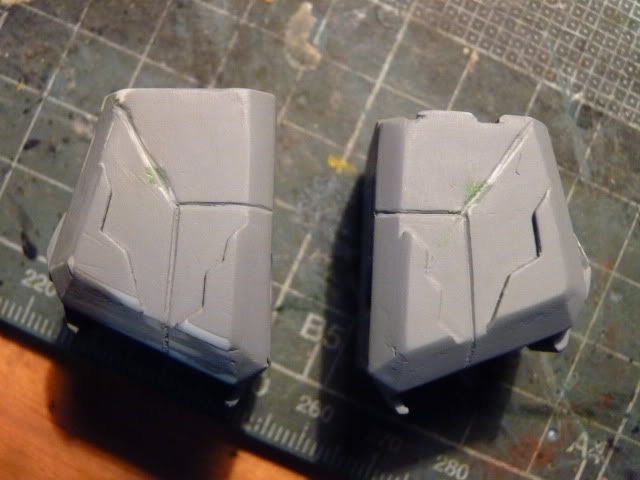
Scribed panel lines on the shoulder armour, left and right, on both front and back
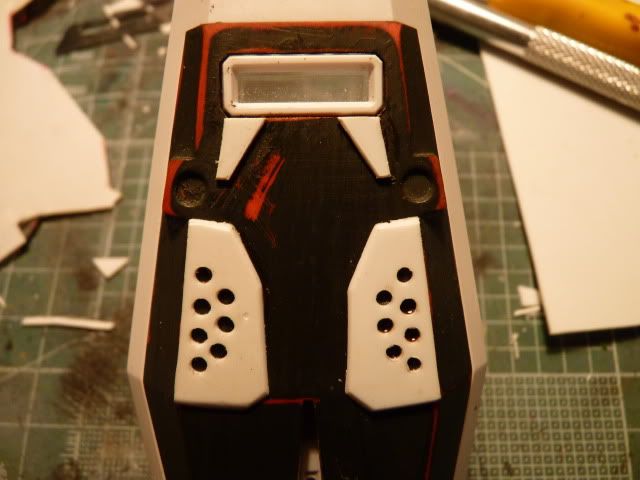
After that, clean up the chest armous and scribed some panel lines on it

More scribing ... more panel lines
And want to try more platings and detailings so went happy-happy-plating on the shield
Well.. that's about it ..... I haven't build anything with that much details and panel lines so the Perfect is acting as a test bed for me to improve on my detailing skills ... and I have to say, I enjoy all those detailings
This is it for any works to be done on this baby... next update, would be painting ... I am still thinking about the paint scheme ..
oh and before I forget.. I name this Baby ... Just like my ''Raven '' .. This baby is named '' Koenig Gustav''' ... Gustav, being the name of the famous killer croc in africa ...
Well, this it for today ... Thank you all for reading and being fan of my works.. you guys rocks.....
Stay Tuned for more
more plates!! paste! paste! paste! paste! paste! paste! paste!
ReplyDelete