

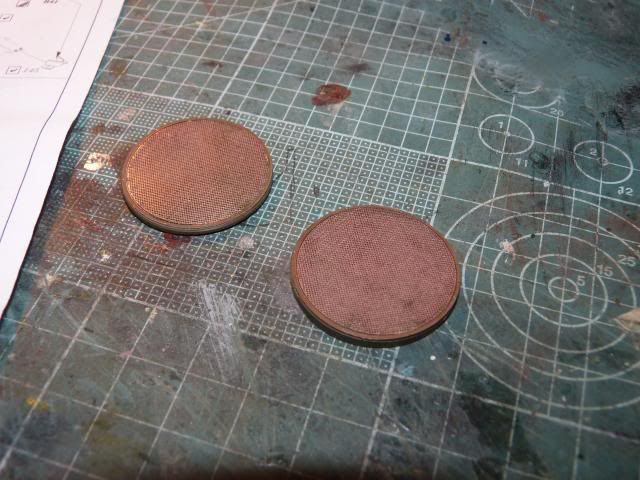
I first I started off by putting on the photo etch grilles for the two cooling unit -
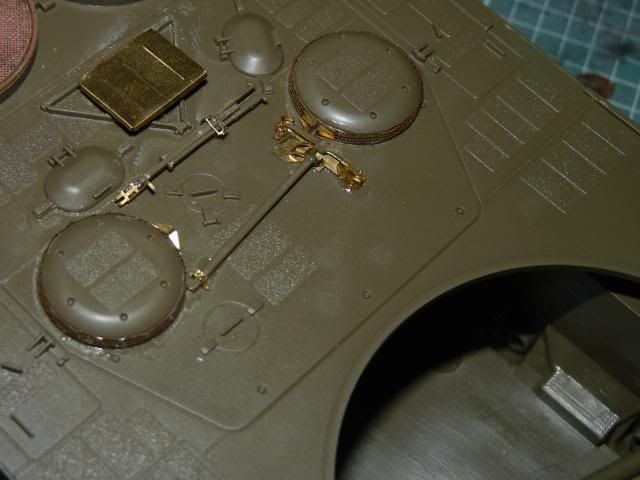
I deviated a bit and decided to put on the photo etch around the two little domes, which are the air intakes grilles for the engine. I also on the little box ( what it is, I have no idea ) that is sitting on a what is supposedly a tripod stand. I also put on some PE on the little thing which is the third leg of the stand I mentioned. I also made the storage area and attachment for the pick axe.
I cut off the saw from the kit and replace it with a P.E part. Also made a storage box for the saw and made sure the saw sit nice and tight in the storage box -

Followed immediately by a crow bar next to that saw and another two ( which I do not know what ) on top of the saw storage box
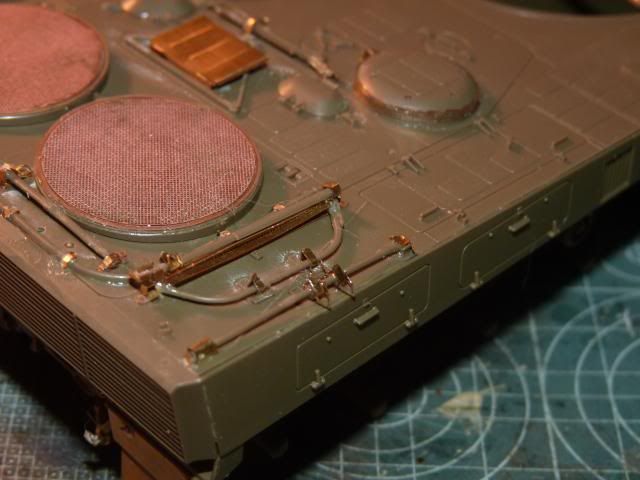
The left side of the engine deck is occupied by two Shovels -

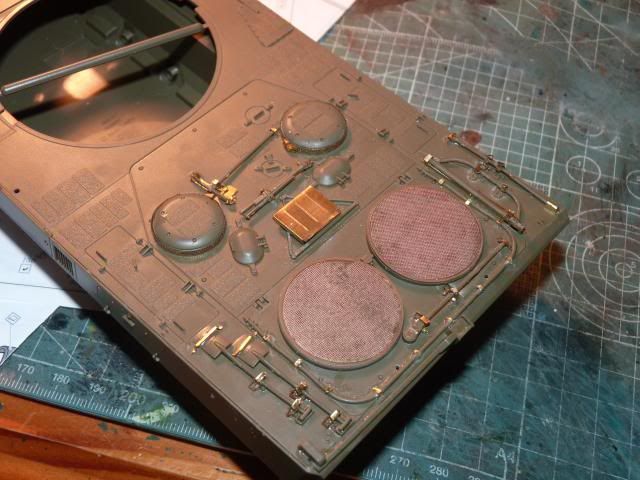
And here is the most rear of the deck, where a long round spanner ( I belive it is a spanner ) sits. You can also see other small PE brackets along the raise line.

Here is how the entire engine deck looks with all those PE.
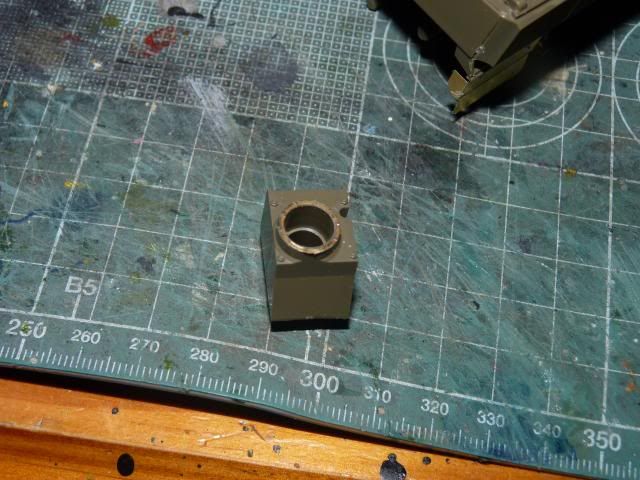
Happy with the entire and having completed assembly on the entire hull, I moved on to the turret. First, I put on a ring of PE on the orginal mantlet -
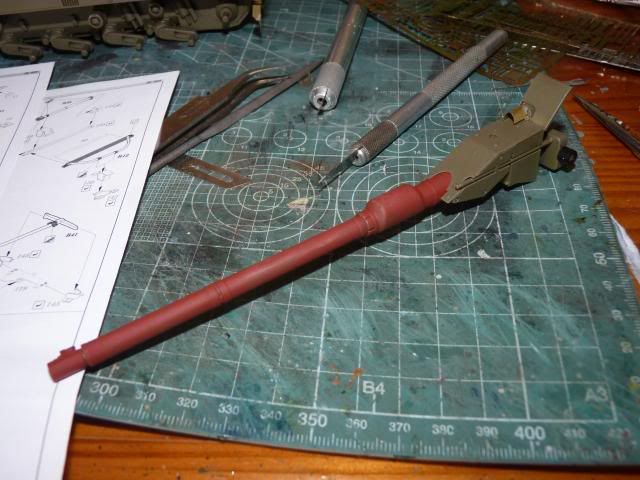
Made the entire mantlet along with the barrel -
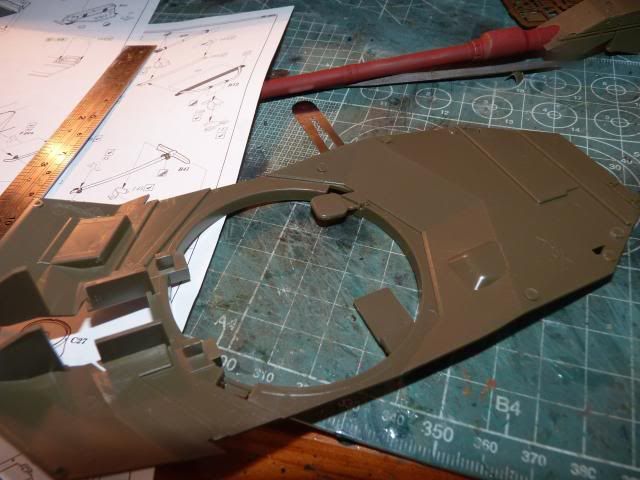
Followd by gluing two little parts for the commander and loader figures to stand on -
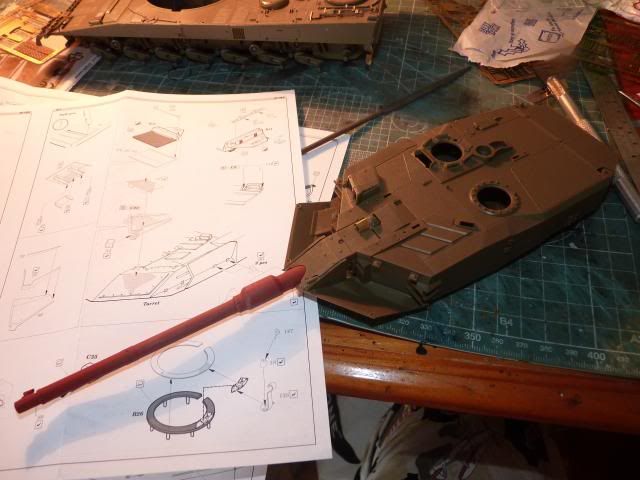
And the Upper turret glued on -
There you have it. That's it for now. Stay Tuned.
The leopard is coming along nicely. I agree about the large spanner that's what I've always thought it was. If its what I think it is I would have thought it was a torque wrench for doing up the tracks, but why would you have a torque wrench sitting out in the open.
ReplyDelete