

Right.. time to update this ....
Last time, I stopped after I put up the turret. Now, I start by putting some of those I need to put on top of the turret roof -

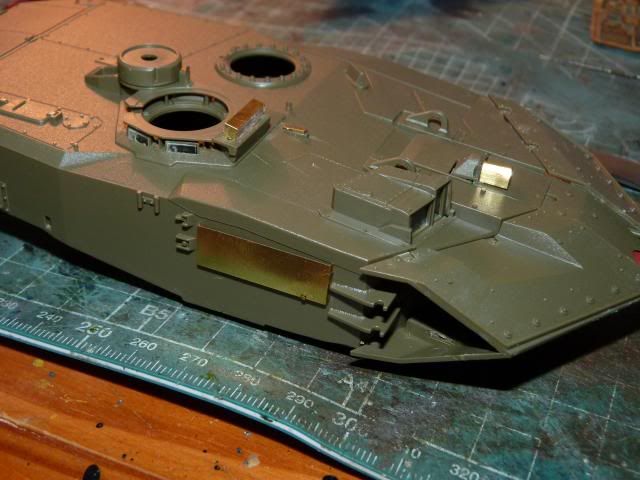

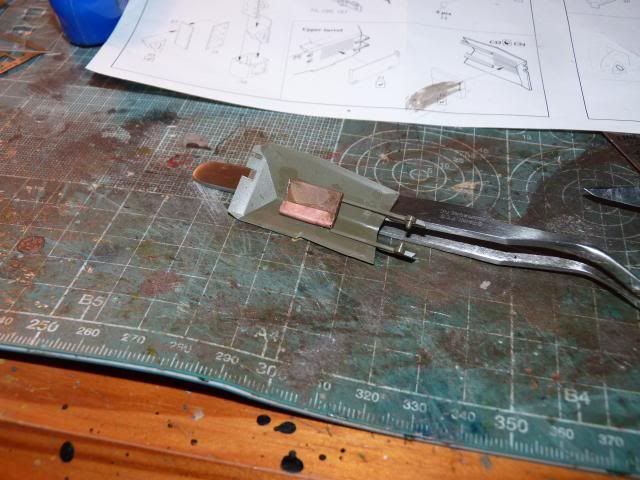
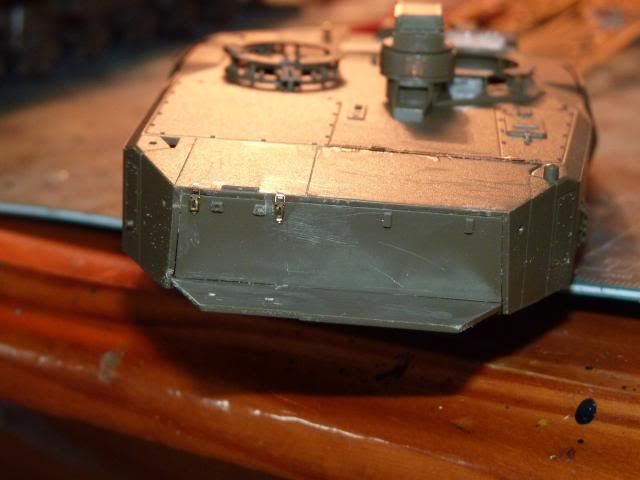
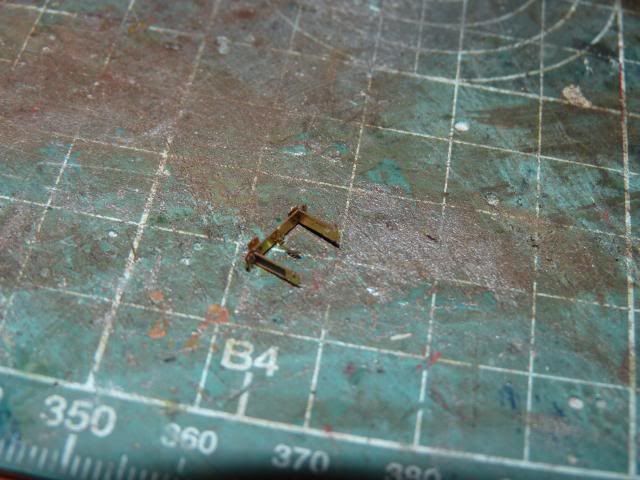
Followed up by what seems to be a fold-able rack -
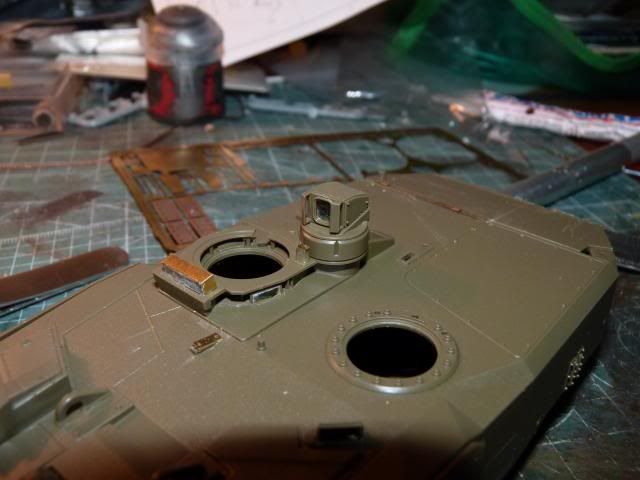
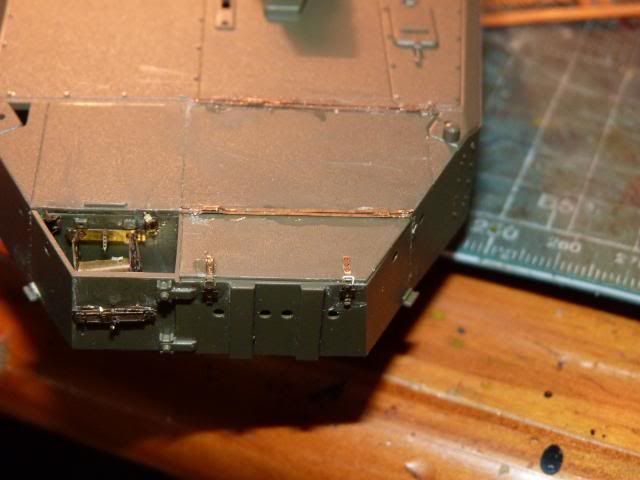
Which goes on to front wall of the turret bustle like so along with some more stuffs on the floor -
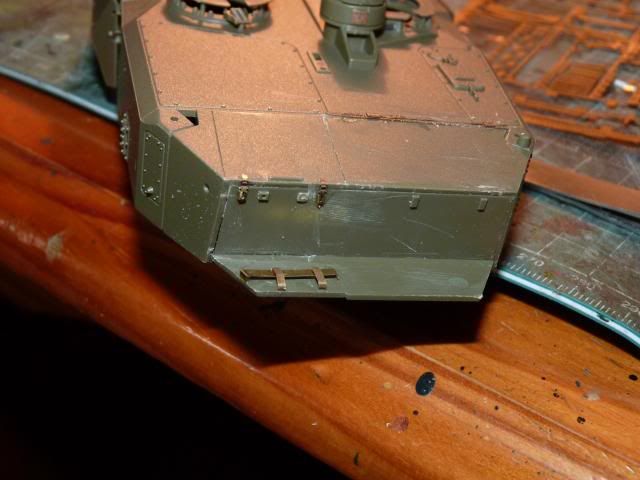

The same kind of rack was built for a second time and put on the outside of the turret bustle -

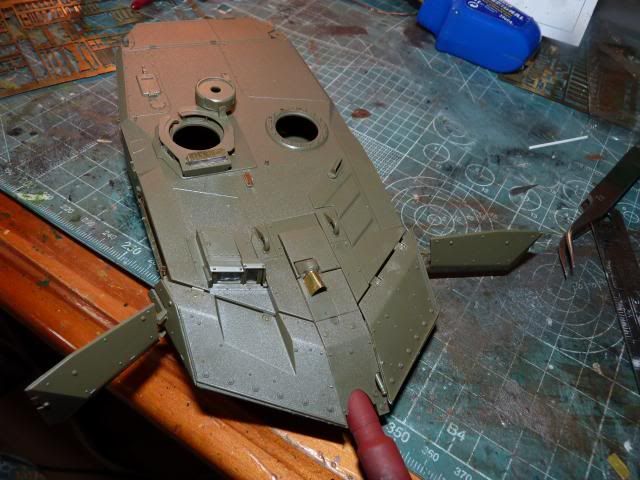
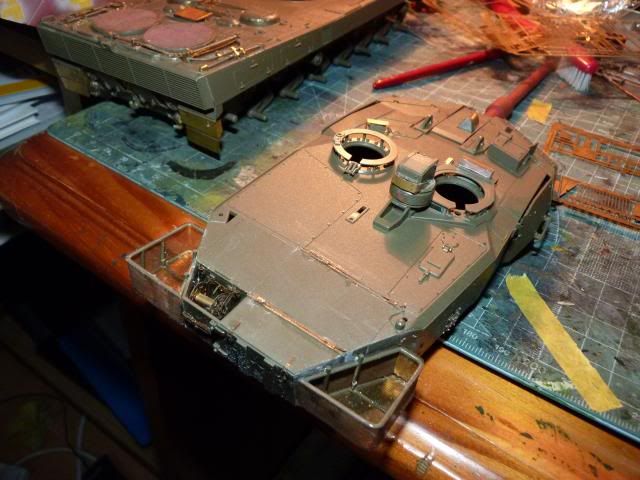
And the entire rear turret wall was attached -
Two side baskets for the rear turret was made from kit supplied parts and PE -
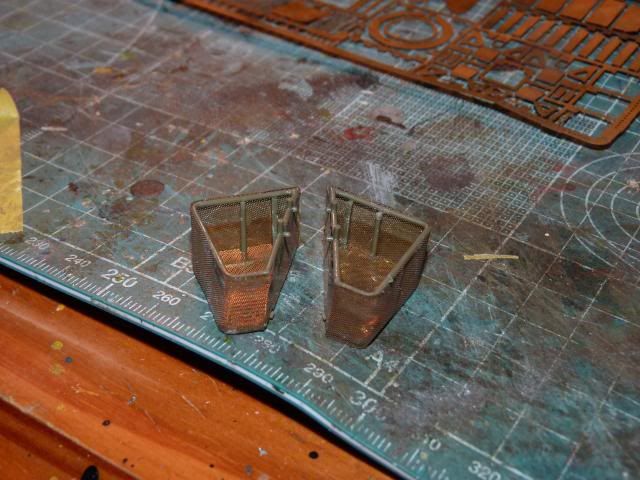
Which goes on the turret like so -
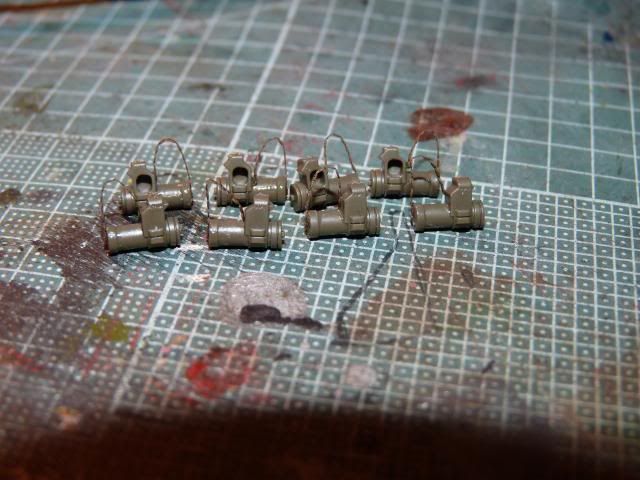
And I have to spend 2 pain-staking, eye-aching hours of putting those tiny chains on the smoke launchers caps -
Left side -

Right Side -

After that comes the wheels -

And now, this kitty is about this complete -
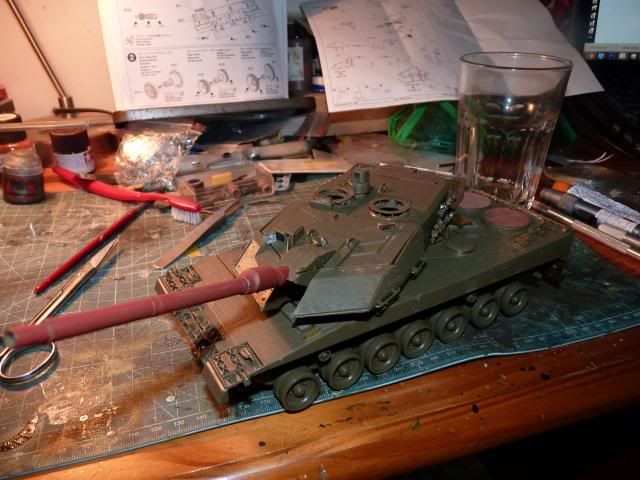
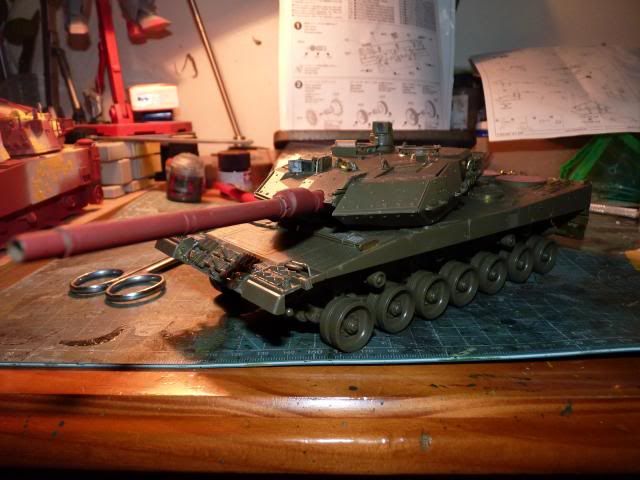
Until next time and many thanks for all the supports as always.
Oh, and I just remembered, one of a reader said that my old background was making things hard to read and that fonts are small so, I changed the background and will start typing in this bigger font. Hope that's ok with you guys.
I have two versions of 1/35 HOBBY BOSS Leopard 2 the Danish and the Germans. Killed the Danish tank tho for Gundam conversion. Looks great but hows the fit bro?
ReplyDelete