I manged to put on those tiny little pieces of PE on those already small little parts .. oh my eyes -
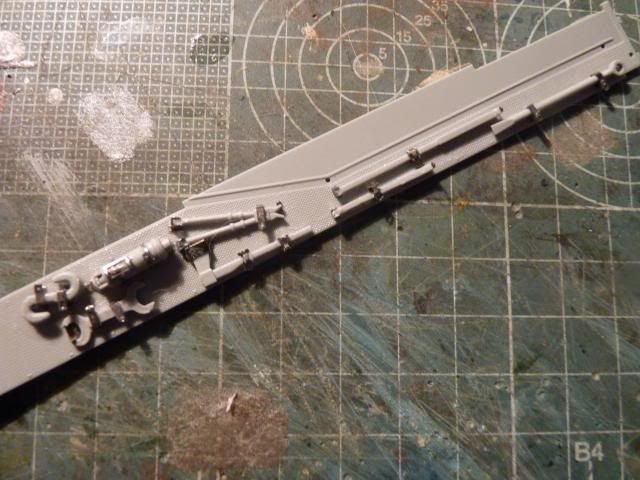
another shot of the same stuffs -

That's the complete list of tools on the left fender minus the spare tracks
And I managed ( barely) to put to make the jacking blocks and put them in the brackets and whatever they are called and finally, on the right fender
The entire thing looks like crap due to the complicated build process but im guess it should be fine from afar and after primer ( fingers crossed )

Next, I decided to build the gun ... I started with the breech ... I knew the front would be heavy and after some research, I found out that other people moan about how heavy the barrel is if the Aluminium barrel is used and thus, I decided to improvise.
The gun breech is made up of 4 parts and after studying and dry fitting, I jammed down a fair amount of Milliput into the hollow parts of the breech like so -

After dry fitting and shifting around the putty, the gun breech goes up pretty beautifuly and with a solid and heavy feel to it -
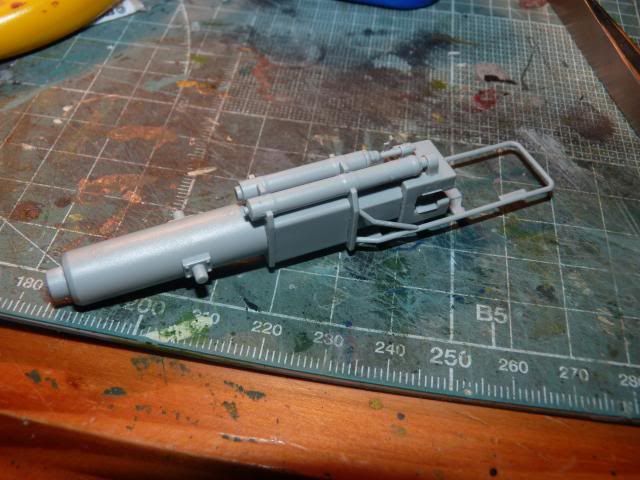
Followed that with the gun mount which kept me PRETTY busy and made me swear alot out of frustation dealing with such tiny pieces and not to mention, the geniuses at Dragon was showing a mystery piece on the instruction and took me around an hour to finally realize that piece is not even on the sprues. I was left really pissed off but still, I pushed on and managed to put this up -
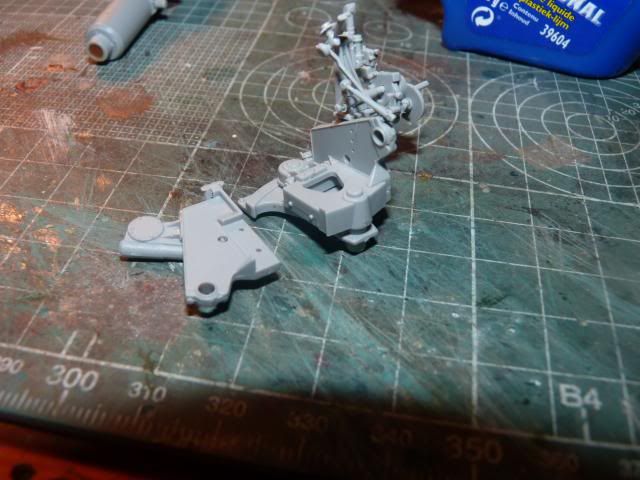
Everything goes on together well, including the gun shield -

The vertical traverse was so loose due to the mis match of the diameter of the holes on the gun mount so I drop a fair amount of cement and wait a few second and started moving the gun up and down along the axis so that it won't dry completely and at the same time, make the fixing a bit more tight
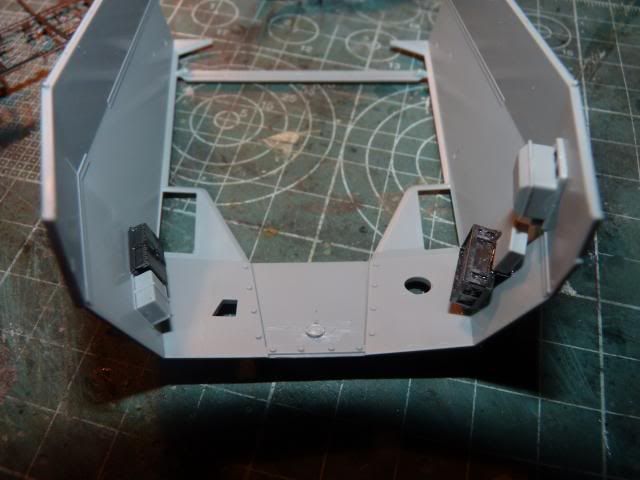
More PE parts- the radio and a First aid box.. not as complicated as the Jacking block so it was done rather quickly -
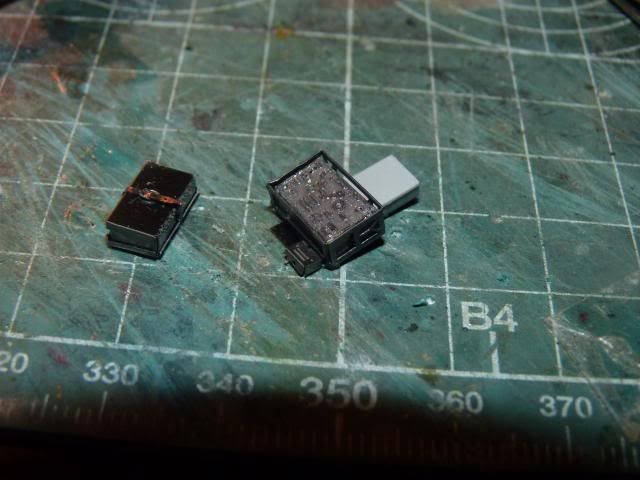
Those two along with 2 more box of somekind goes on the wall of the Superstructure -
Put on the Muzzle Brake after that
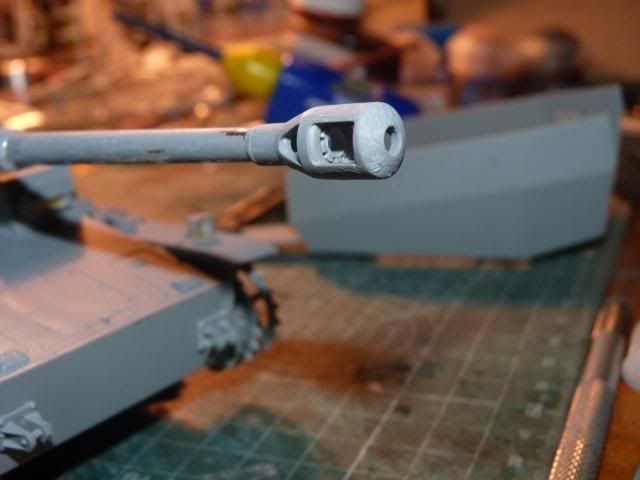
I decided to put on some texture ( don't know why )
and dry fitting everything, this is how it looks now -
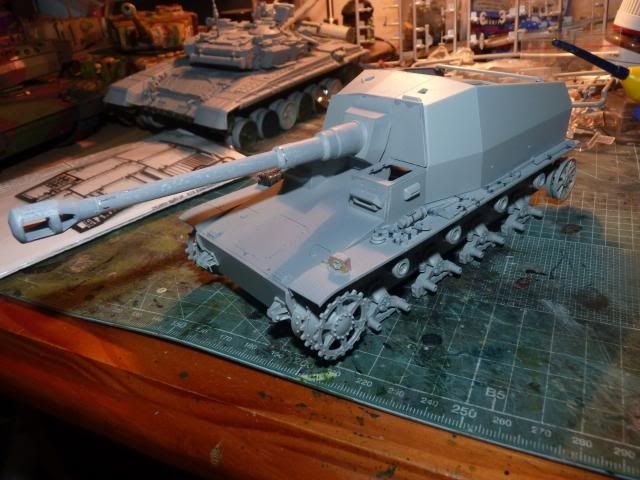
All in all, I am having fun setting this baby up ...
well, that's it for this update... stay tuned and thanks for all the suppor


0 comments:
Post a Comment